To sharpen photos without artifacts, diagnose the cause of the softness first, reduce noise before you touch a sharpening slider, then apply a restrained pass with masking to protect edges, skin and fine texture. Most crunchy-looking images were sharpened twice, or sharpened before the noise was dealt with.
Sharpening itself is not complicated. What makes it fiddly is that the controls interact, and a setting that looks perfect on a foliage-heavy frame can wreck a portrait. This guide is a repeatable workflow you can run on every image, in Lightroom Classic, Photoshop, or any editor with a detail panel.
One thing worth saying up front: sharpening creates the appearance of detail, not the detail itself. It increases contrast along edges so your eye reads the boundary as crisper. Information the camera never captured cannot come back from a sharpening slider.
Table of Contents
- What You Need
- Step-by-Step: How to Sharpen Photos Without Artifacts
- 1. Check the original image and choose a sharpening approach
- 2. Work on a duplicate, denoise and establish a baseline
- 3. Apply restrained sharpening
- 4. Protect edges, textures and smooth areas
- 5. Inspect the result for artifacts
- 6. Save the sharpened version for delivery
- Common Mistakes
- Sharpening the entire frame at full strength
- Setting Radius too wide
- Sharpening before noise reduction
- Sharpening a file that has already been sharpened
- Judging at full-screen size only
- Fixing it after the fact
- Frequently Asked Questions
- What is the best way to sharpen photos without artifacts?
- Why do my sharpened photos have halos around edges?
- How much sharpening is too much in Photoshop?
- Should I sharpen a low-resolution or noisy photo?
- Is it better to sharpen the whole image or use a mask?
- Can I fix a photo that is already over-sharpened?
- Conclusion
What You Need
You need four things, and only one of them is software.
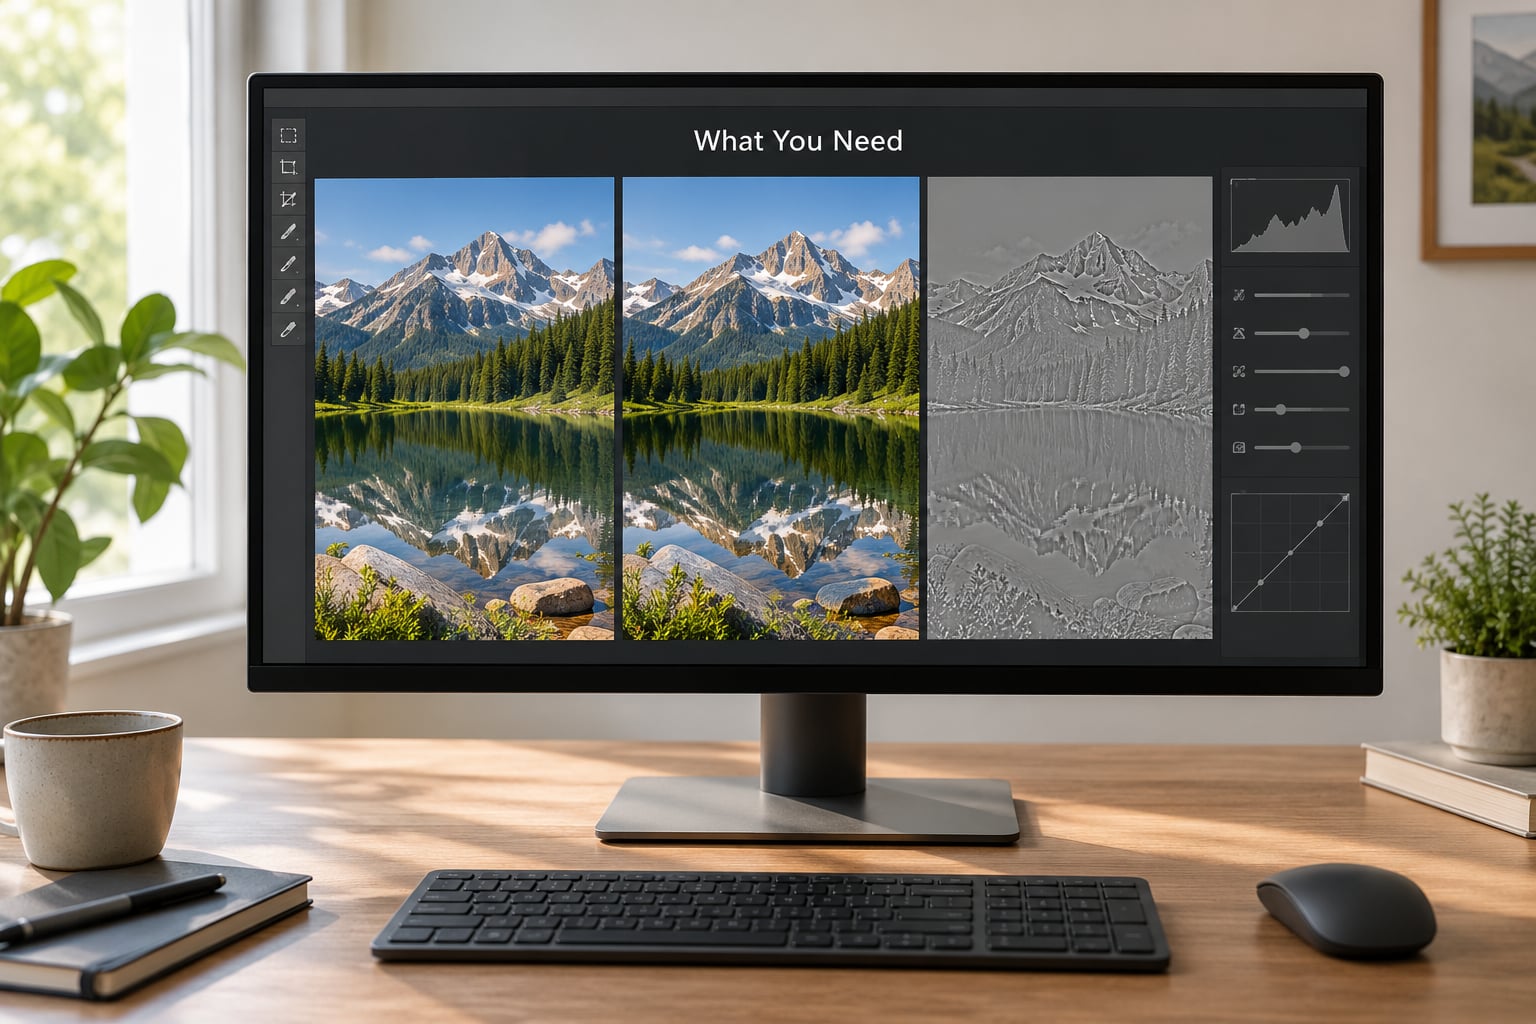
- A photo editor with a sharpening tool. Lightroom Classic, Adobe Camera Raw and Photoshop all have one built in. GIMP, Affinity Photo and most free mobile editors include some form of unsharp mask or high pass filter.
- The original RAW file, not a JPEG downloaded from a social platform. A JPEG has already been sharpened once by the camera and again by whatever app saved it, and a second pass is where halos come from.
- A display you can trust. An uncalibrated laptop screen set to maximum brightness will make any image look over-sharpened, and people then dial the slider back to compensate and send the file out far too soft.
- A rough idea of the delivery size. A photo that will be viewed at 1080 pixels wide needs a completely different radius than a print at 300 dpi.
Keep the window at 100 percent zoom for the sharpening stage. A monitor at fit-to-screen hides exactly the artifacts you are trying to avoid.
Step-by-Step: How to Sharpen Photos Without Artifacts
The order below is not stylistic. Reducing noise and correcting blur before sharpening gives you a cleaner base to work on, and skipping that order is the reason so many sharpened files look worse than the originals.
1. Check the original image and choose a sharpening approach
Look at the image at 100 percent before changing anything, and work out why it looks soft. Different causes need different responses, and sharpening is the last step in three of the four cases below.
| What you see | Likely cause | Correct technique | What to avoid |
|---|---|---|---|
| Everything slightly soft, no directional streaks | Missed focus or a soft lens | Restrained global sharpening with masking | Large amounts of sharpening to fake focus |
| Streaks running one direction | Subject movement during exposure | Motion deblur or stabilisation, then sharpen | Sharpening first, which bakes in the blur |
| Grainy speckle, especially in shadows | High ISO or a short exposure | Noise reduction first, then light sharpening | Sharpening before noise reduction |
| Background soft, subject sharp | Intentional shallow depth of field | Selective sharpening on the subject only | Global sharpening that fattens the bokeh |
| Whole frame lacks pixel-level detail | Low resolution or an upscaled file | Upscaling first, then a light final pass | Heavy radius, which produces visible ringing |
If the subject is sharp and the background is not, you have depth of field, not a defect. Sharpening the whole frame there is the single most common way to get crunchy micro-contrast around hair and fur.
2. Work on a duplicate, denoise and establish a baseline
Duplicate the layer or make a snapshot, so the untouched version is always one click away. Then set a before-and-after view and zoom to 100 percent on an edge with high contrast, which is where halos appear first.
Run noise reduction before sharpening. Sharpening amplifies anything that varies from pixel to pixel, and that includes grain. If your high-ISO file needs luminance smoothing around 20 to 40 in the Lightroom Detail panel, do that pass, then sharpen, then reassess.
The same logic applies to blur. A Topaz Community thread on combining Super Focus with upscaling made the point repeatedly: correct motion first, sharpen edges second, and reversing that order gives a worse result. In plain editors, the fallback some photographers use is a mild blur pass as a cheap de-noise before sharpening.
3. Apply restrained sharpening
Start lower than your instinct suggests, then look at the image full-screen. In Lightroom Classic, the Detail panel gives you four controls, and here is what each one actually does and how it misbehaves when pushed.
| Control | What it does | Artifact when pushed too far |
|---|---|---|
| Amount | Overall strength of the effect | Crunchy micro-contrast, brittle edges |
| Radius | How far the contrast spreads either side of the edge | Dark and light halos, ringing |
| Detail | How much fine texture is affected | Grain amplification, harsh skin |
| Masking | Limits the effect to strong edges | Too high, and only silhouettes sharpen |
A reasonable starting point for a normal 24-megapixel file is Amount 40, Radius 1.0, Detail 25, Masking 30 to 40. Portraits want less Detail and more Masking, around 15 and 50. A group shot of five people should start even lower, because every face gets the same amount and you cannot adjust them one at a time in a global pass.
Radius scales with output size. Roughly 0.5 to 0.8 for a photo delivered at full social resolution, 1.0 to 1.5 for a photo that will be resized down, and 1.5 to 2.0 for a large print. The same radius used across all three is why shared images look plasticky on a phone.
In Photoshop, Smart Sharpen gives you Amount, Radius and a Reduce Noise option, with a choice of Gaussian, High Pass and more. High Pass gives the cleanest control and the most obvious halos when overdone. The filter method is worth learning: convert the layer to a smart object, apply High Pass at 1 to 2 pixels with 16-bit depth, then blend it back with Overlay mode and mask it as needed.
4. Protect edges, textures and smooth areas
Global sharpening is fine for a flat, evenly lit subject and wrong for almost everything else. Selective sharpening takes longer, and the time saved by skipping it comes back later as a retouching job.
Use the adjustment brush in Lightroom, or a layer mask in Photoshop, to paint sharpening only where the camera actually resolved detail: eyes, hair, fabric texture, an architectural edge. Use a radial filter for a subject in the centre and a gradient filter for a foreground plane.
Repetitive texture deserves special care. Foliage, brick, gravel and knitted fabric are all high-frequency patterns with real gaps between elements, and a global pass turns those gaps into dark halos. Either mask them out or drop Amount for that region.
Skin is the most common complaint in forums, with people describing AI tools that leave faces looking plastic or cartoonish. That usually means detail was invented rather than recovered, and the fix is to mask faces out of the sharpening pass entirely and handle them with frequency separation instead.
5. Inspect the result for artifacts
Sharpening errors hide at full-screen size. Check at 100 percent with this short list, and switch between the before and after versions rather than trying to remember what the original looked like.
- Light or dark halos along high-contrast edges, especially around hair and rooflines
- Jagged or stepped edges where the frame meets the background
- Grain that suddenly appears in areas that were smooth a moment ago
- Skin that looks waxy or textured like orange peel
- Repeating texture with dark outlines between elements
- Colour fringing along thin high-contrast lines
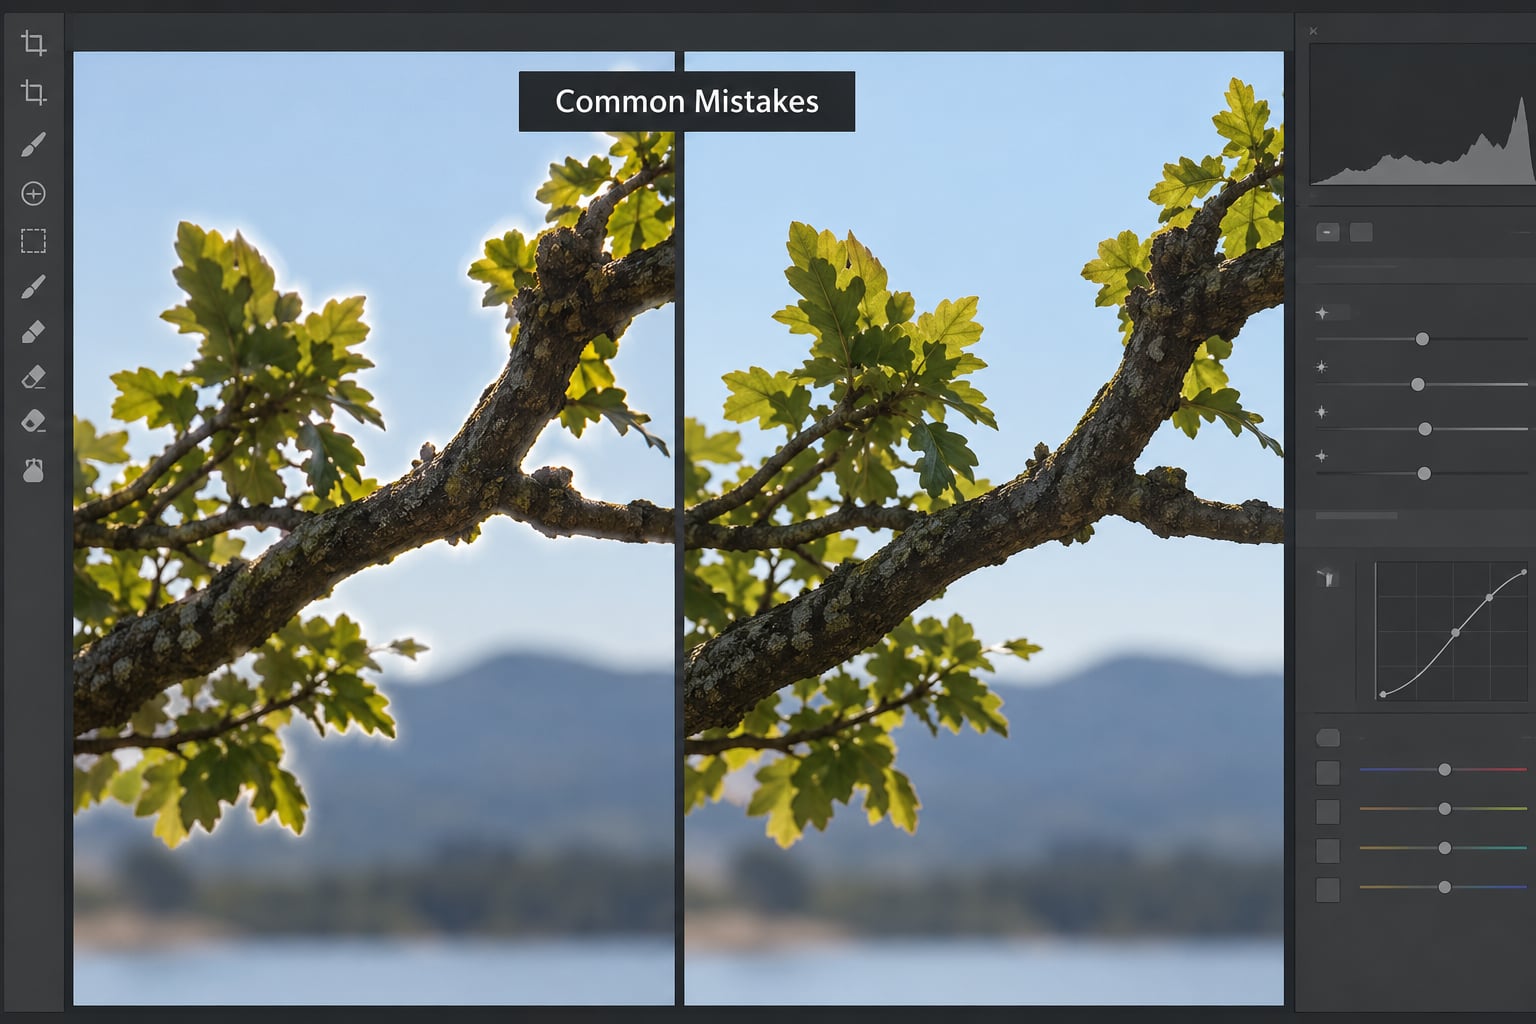
- Micro-contrast that reads as digital crunch at 100 percent but vanishes when zoomed out
Then zoom out to 50 percent and look again. Sharpening that only holds up at full screen is over-sharpening.
6. Save the sharpened version for delivery
Sharpening belongs last, at the final output size. Sharpen a 6000-pixel file and it is too subtle once the image is resized to 1080 pixels wide for social, which is a common reason exported files look softer than the edit did on screen. The matching problem is a scaling-algorithm difference, not a sharpness change, and it explains why a file can look sharper in one app than another without anything being wrong.
Export to sRGB for web delivery, keep the layered file with the smart object intact so you can revisit the radius, and never run the sharpening filter over a finished export. Every pass adds contrast at the same edges, and halos accumulate in layers that a single pass never produced.
Common Mistakes
These are the errors I see most often in edited files, each with the correction that works.
Sharpening the entire frame at full strength
One global pass with a high Amount is applied to sky, skin and shadow equally, and smooth areas show sharpening more than detailed ones do. Mask the subject, reduce Amount, and leave the background near zero.
Setting Radius too wide
A wide radius bleeds bright pixels into dark areas and dark pixels into bright areas, which is exactly what a halo is. Drop Radius to 1.0 or below, raise Masking, and zoom to 100 percent to confirm the glow is gone.
Sharpening before noise reduction
Sharpening makes grain larger and more visible, and the noise reduction that comes afterwards then smears the very detail you just created. Reverse the order.
Sharpening a file that has already been sharpened
Camera sharpening plus app sharpening plus a manual pass is three stacked effects on the same edges. Work from the RAW file, or from an unsharpened source, and only add one pass.
Judging at full-screen size only
Halos and crunchy detail are invisible when the image is fitted to the window, so a workflow that only ever looks zoomed out produces files that fall apart when printed. Inspect at 100 percent before you export.
Fixing it after the fact
You do not have to start over. Drop Amount to zero, then rebuild in this order: raise Masking to protect flat areas, lower Radius to kill the halos, lower Detail to calm the crunch, and finish with a selective pass on the subject. Each of those four moves reverses a specific artifact.
Two habits keep the results consistent across a shoot. Save your settings as a preset once you have tuned one frame properly, and apply them as a starting point rather than a fixed rule.
Frequently Asked Questions
What is the best way to sharpen photos without artifacts?
Reduce noise first, then apply a restrained global pass with masking, and finish with a selective layer on the subject. Start at Amount 40, Radius 1.0, Detail 25 and Masking 30 in Lightroom Classic, or use Smart Sharpen with Reduce Noise enabled in Photoshop. Inspect at 100 percent before exporting.
Why do my sharpened photos have halos around edges?
Halos appear when the sharpening radius is too wide, so the increased edge contrast bleeds past the boundary into neighbouring pixels. The bright side spreads into dark areas and the dark side spreads into bright ones, creating a visible glow. Lower Radius to 1.0 or below, raise Masking, and check the result zoomed in.
How much sharpening is too much in Photoshop?
Too much is the point where micro-contrast becomes visible as texture at full-screen view, rather than at 100 percent. A practical test: zoom out to 50 percent and compare with the original. If you can see the sharpening effect without hunting for it, drop Amount until you cannot. 40 to 60 percent on Smart Sharpen is a common starting point.
Should I sharpen a low-resolution or noisy photo?
Yes, but lightly, and in the right order. Noise reduction comes first, then a low-contrast pass with a narrow radius, because sharpening amplifies grain as readily as detail. For a genuinely low-resolution file, upscale first, then apply one final sharpening pass sized to the new output resolution. Avoid wide radii, which ring badly on upscaled images.
Is it better to sharpen the whole image or use a mask?
Use a mask whenever the image has a distinct subject. Global sharpening treats sky, skin and shadow identically, and smooth areas reveal artifacts more than detailed ones do. A global pass is acceptable for flat, evenly lit subjects such as product shots on seamless backgrounds. Masking costs extra minutes and removes most of the artifacts that prompt retouching requests.
Can I fix a photo that is already over-sharpened?
Usually, yes, without starting over. Set Amount to zero, then rebuild in stages: raise Masking to protect flat areas, lower Radius to remove halos, lower Detail to calm crunchy texture, and re-add sharpening selectively on the subject. If the file has been sharpened three times over, working from the original file is faster and always looks better.
Conclusion
The safest first step is the one most people skip: duplicate the image, look at the original at 100 percent, and work out whether the softness is focus, movement, noise or something you did on purpose. From there, reduce noise, correct any blur, apply a restrained sharpening pass with a narrow radius, and protect skin, skies and repetitive texture with a mask.
Judge the result at 100 percent and again zoomed out. If the sharpening only shows up when you hunt for it, you have it right. If you can spot it from across the room, dial Amount back and re-check at 100 percent before the file goes anywhere near a client or a print lab.