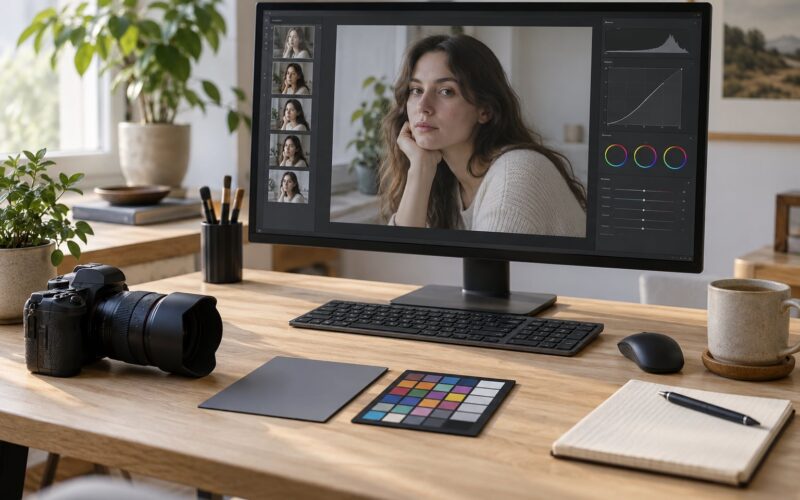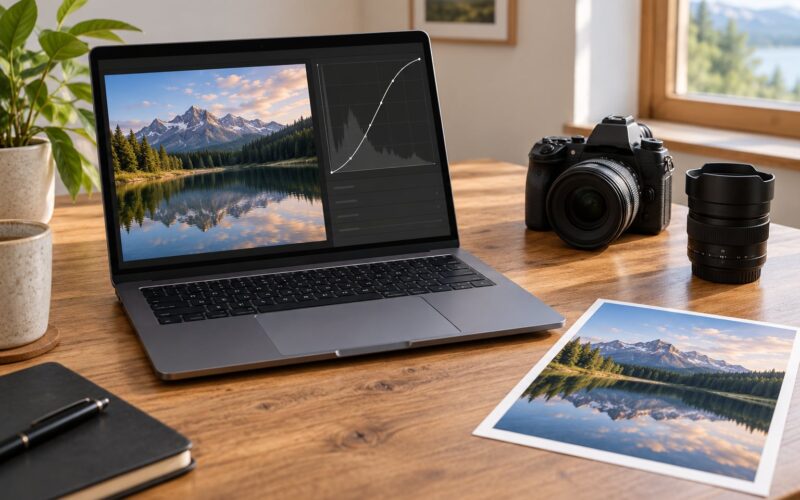
High ISO noise is the random grain and coloured speckle a camera creates when it amplifies a weak signal, and you tackle it in two places: at the shoot, by capturing as clean a file as possible, and afterwards, by reducing what is left in a non-destructive editor. Here is how to reduce noise in high ISO photos without sanding the detail off your subject.
The honest version takes about two minutes of extra care in the field and three sliders in Lightroom. The part most people skip is the first one: most noise problems are really exposure problems in disguise, and no slider fully replaces photons.
Table of Contents
- What You Need
- How to Reduce Noise in High ISO Photos Step by Step
- Use the Lowest ISO That Still Gets the Exposure
- Shoot RAW and Avoid Extreme ISO Settings
- Stabilize the Camera and Focus Carefully
- Add Light Instead of Raising ISO
- Reduce Noise Selectively in Editing
- How to Reduce Noise Without Creating Plastic-Looking Detail
- Common Mistakes
- Frequently Asked Questions
- Does higher ISO cause more noise?
- Is 3200 ISO too high?
- How much denoise should I use in Lightroom?
- Should I underexpose to keep ISO low?
- Does noise reduction reduce image quality?
- What does the Luminance slider do in Lightroom?
- Start With the Cleanest Capture
What You Need
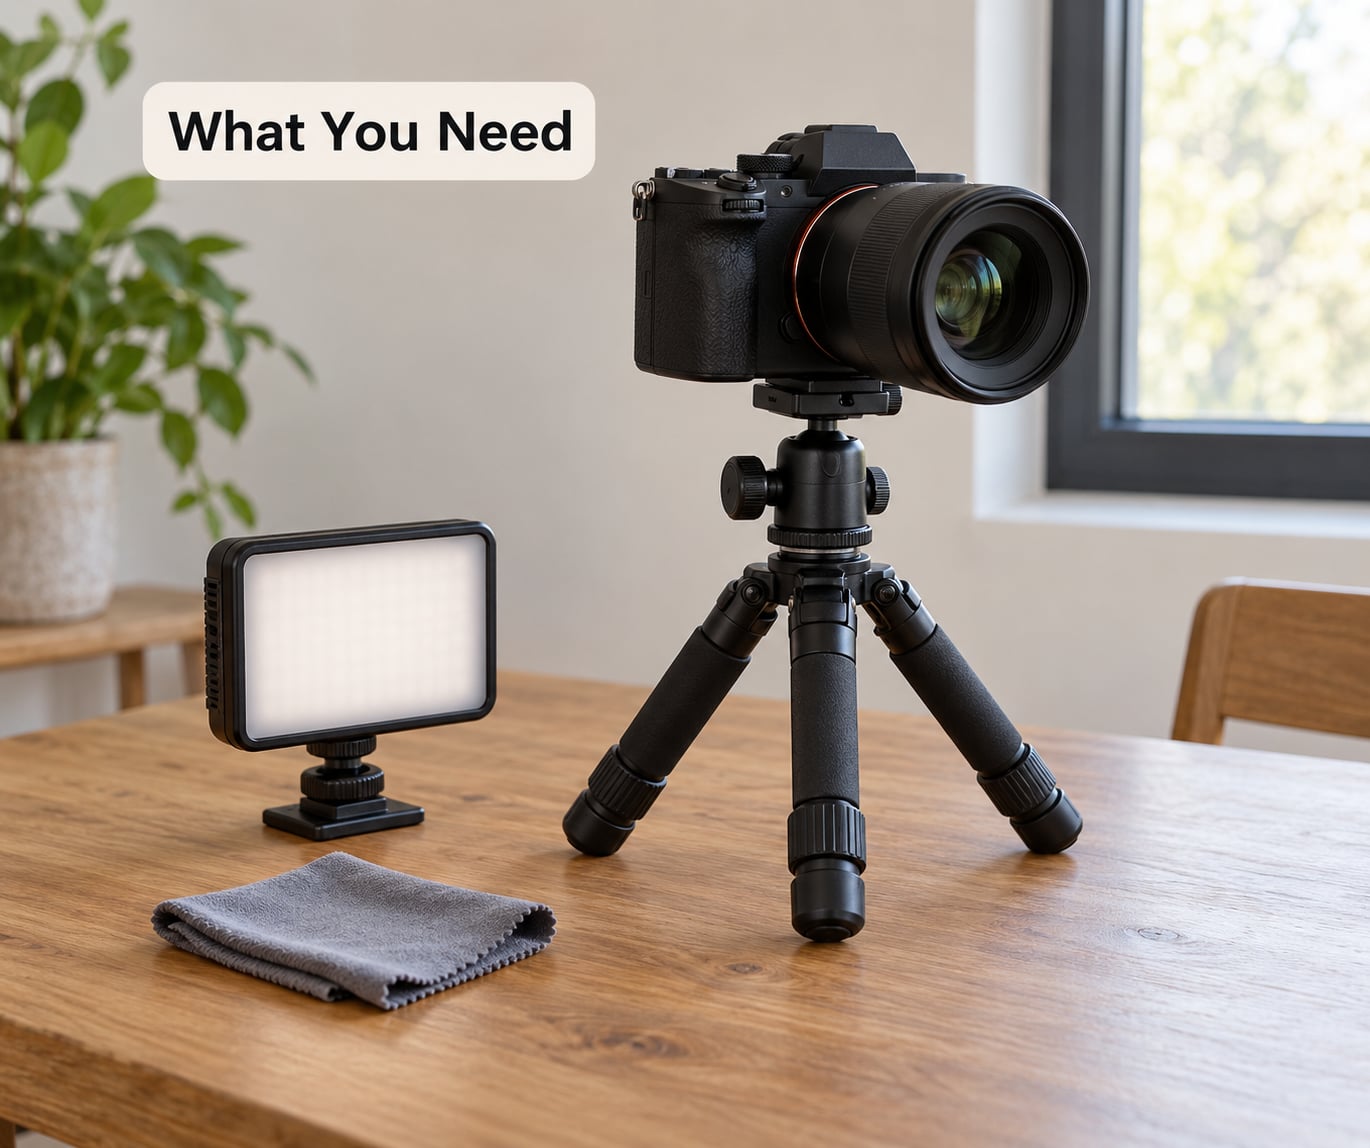
You do not need a special rig, but you do need a few things in reach before you head into a dim room.
- A camera with manual ISO. Any modern mirrorless or DSLR body lets you set ISO yourself; if your camera only offers auto ISO, look for an ISO sensitivity limit or an ISO ceiling in the menu.
- A fast lens. Anything at f/1.8 or wider gives you two to three stops over a kit zoom. That difference is what lets you stay at ISO 1600 instead of ISO 6400.
- Something steady. A tripod for anything static, or in-body stabilisation for handheld work. Stabilisation buys you shutter speed, and shutter speed buys you a lower ISO.
- Light you control. A small LED panel, a bounced flash, or a white reflector is often enough to drop the ISO by a stop or two.
- A RAW-capable editor. Lightroom or Adobe Camera Raw handles most files. Capture One does the same job with different slider names, and Photoshop is where you go when you want to recover texture by hand.
That is the whole kit list. Everything after this is technique, and technique is free.
How to Reduce Noise in High ISO Photos Step by Step
Work through these in order. The first four happen before the shutter fires and cost you nothing but good habits, and the last two are where you clean up what you could not avoid.
- Expose to the right, then lower ISO as far as the scene allows.
- Shoot RAW so the noise stays as recoverable data rather than baked-in JPEG grain.
- Steady the camera and land focus before worrying about grain.
- Add light rather than gain whenever the situation allows it.
- Reduce noise selectively with luminance, colour, or AI denoise.
- Keep texture by working at 100 percent with moderate settings.
Use the Lowest ISO That Still Gets the Exposure
Change ISO last, not first. When a scene gets dark, open the aperture, pick a shutter speed fast enough to hold the subject still, and only then move the ISO. On a concert that might mean f/1.8, 1/250s, ISO 3200 instead of f/4, 1/60s, ISO 1600 with camera shake.
There is a widespread habit of underexposing two stops so the ISO number stays low, then lifting the shadows in post. That is the worst of both worlds. A darker frame means a weaker recorded signal, which means the sensor’s own read noise gets amplified along with the image, so the shadows you lift back up come back noisy and smeared.
Push ISO when you genuinely cannot gather more light or hold the camera steady: a moving subject at 1/1000s, a narrow aperture you need for depth of field, or a fast lens you have already opened all the way. Every stop of ISO you avoid is worth roughly a stop of cleaner shadows, and every stop you take back is worth a cleaner file.
Shoot RAW and Avoid Extreme ISO Settings
RAW files keep the sensor data essentially intact, which means shadow noise can still be recovered, colour noise can still be corrected channel by channel, and exposure can be adjusted a long way before anything breaks. A JPEG bakes the camera’s processing choices in permanently, so the grain you see in the preview is the grain you get.
Most cameras apply their in-camera noise reduction to JPEGs only, so if you shoot RAW you can ignore the menu setting entirely. That is one more reason RAW wins in low light: the camera is not flattening your shadows before you even open the file.
Find your own ceiling rather than trusting a forum. Shoot a grey card or a detailed surface at ISO 800, 1600, 3200, 6400, 12800 and beyond, then inspect the 100 percent crops. You are looking for the point where colour speckles in the shadows, not the point where grain is merely visible.
Stabilize the Camera and Focus Carefully
Motion blur and noise look similar in a thumbnail and get confused constantly, which is why over-sharpening a blurry high ISO frame is so tempting. Fix the blur at capture instead.
On a tripod, turn image stabilisation off, use a two-second timer or the remote release so your hand never touches the body, and bracket down to whatever ISO the scene needs. Handheld, follow the reciprocal rule: keep the shutter at least 1/focal length or faster, so 1/125s with a 100mm lens. Modern stabilisation systems typically give three to five stops, which is the difference between ISO 1600 and ISO 12800.
Focus in good light or on a high-contrast edge before the lights drop, switch to continuous autofocus when the subject moves, and confirm focus with a magnified preview rather than by eye on the screen.
Add Light Instead of Raising ISO
Consensus on photography forums is blunt about this: high ISO is not the root cause, the lack of light is. Every source you add removes ISO from the equation entirely, and no denoiser matches that.
A small LED panel near the camera will do more for a noisy indoor portrait than any software. Bounce a flash off a ceiling or wall to spread it and drop its effective power, use a white card opposite your subject to fill shadows for no power at all, and get closer with that fast lens instead of zooming.
Some scenes simply will not cooperate. A wedding reception after the last dance, a stage lit by two spots, wildlife at dusk. There, high ISO is the right answer, and the rest of this guide is for the file you bring home.
Reduce Noise Selectively in Editing
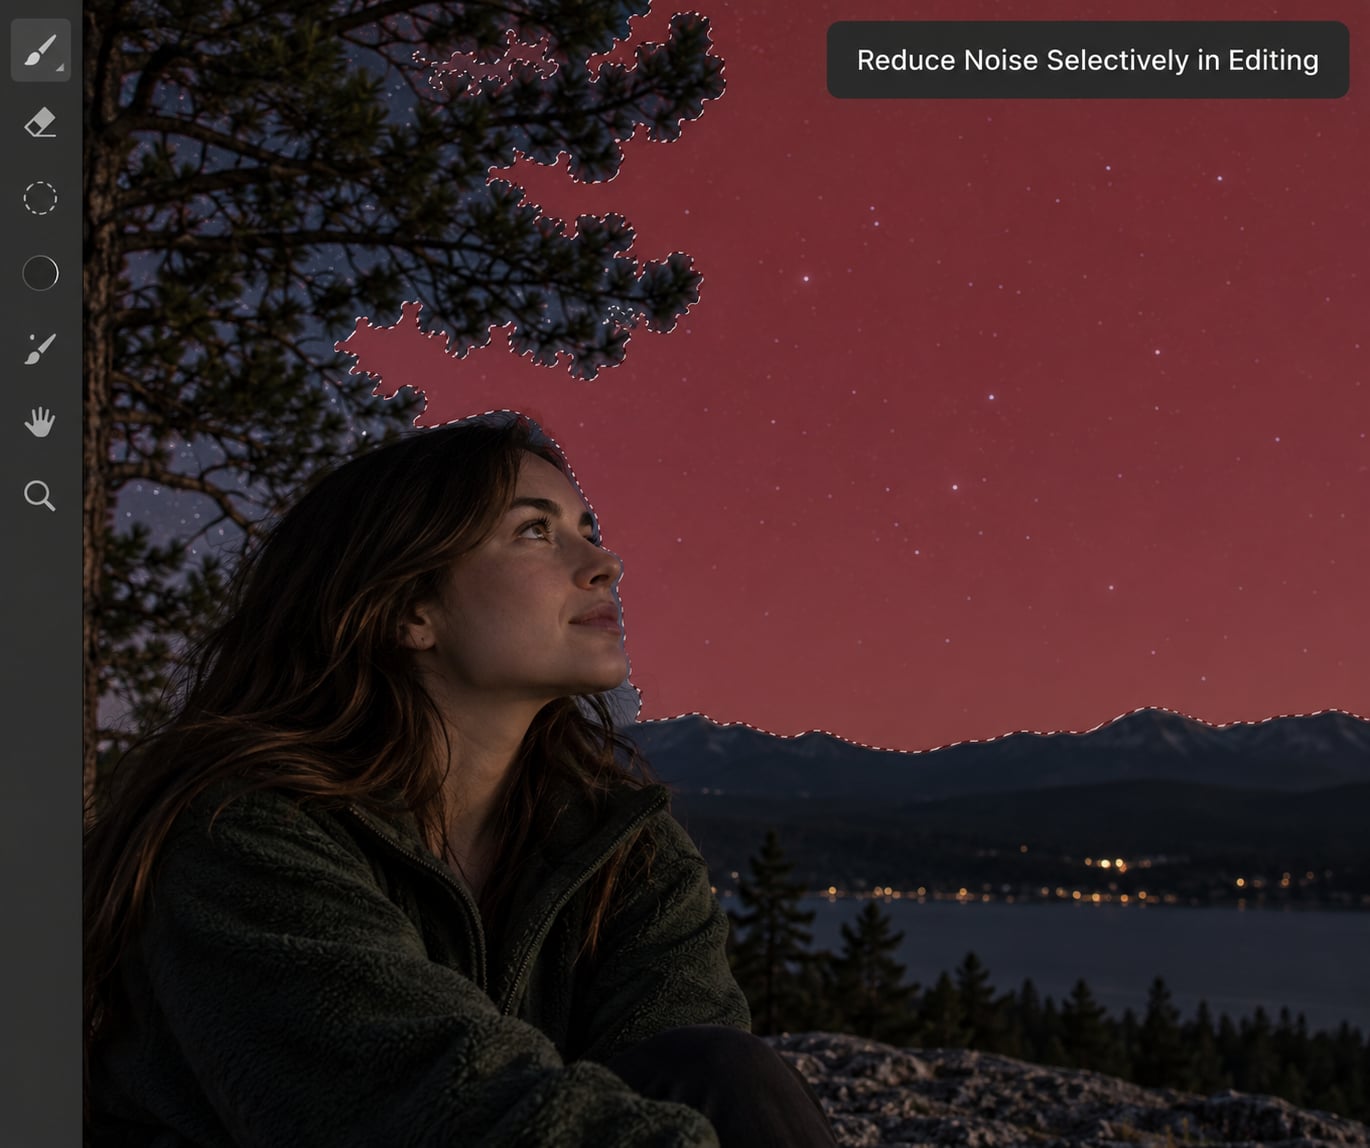
Open the RAW file and correct the exposure and white balance first. Noise reduction works on the data you have, so denoising a badly exposed image just wastes detail.
Zoom to 100 percent, then use these steps in the Detail panel. Holding Alt on Windows or Option on macOS while you drag any slider isolates its effect, which is the single most useful habit in this panel.
- Zoom to 100 percent and inspect the shadows and the subject separately.
- Luminance starts around 10-20 for moderate grain, 30-40 for a noisy concert frame, and rarely needs more. Set Luminance Detail to 50-70 so the noise flattens without dissolving fine texture.
- Luminance Contrast controls the low-contrast clumps. Leave it low or at zero to keep detail, raise it only if grain still looks blotchy after the main reduction.
- Colour and Colour Smoothness handle the red and green speckles that sit in shadows. Move Colour up in small steps; a higher Smoothness smooths the edges of remaining colour patches.
- Apply noise reduction before you build masks. Denoising last means you are denoising around your adjustments, which leaves halos.
- Sharpen afterwards, and lightly. Amount around 40, Radius near 1, and a Masking value high enough that sharpening only touches high-contrast edges.
| Capture ISO | What noise looks like | Luminance NR | AI Denoise strength |
|---|---|---|---|
| ISO 400-800 | Fine grain in shadows only | 5-15 | Skip it, or 10-20 |
| ISO 800-3200 | Visible grain, occasional colour speckles | 15-30 | 25-40 |
| ISO 3200-6400 | Strong grain, colour noise in shadows | 30-45 | 50-65 |
| ISO 6400-12800 | Heavy grain, mottled shadows, weak fine detail | 45-60 | 70-85 |
| ISO 12800 and above | Grain dominates, detail already partly lost | Do not push hard, use AI Denoise instead | 85-100, then add texture back by hand |
Those AI Denoise numbers are starting points, not rules. Open Photo > Enhance > Denoise in Lightroom, set the strength, and judge it at 100 percent. The values above mirror what editors on r/SonyAlpha report using, where luminance usually sits around 30-40 and colour is only raised when speckles actually show up.
For files that need more than sliders, the alternative is a neural denoiser such as the Topaz Photo AI or Denoise plugins, which handle very high ISO better than any manual panel. Use one, then add texture back, and accept that detail the sensor never recorded will not reappear.
In Capture One, the equivalent lives under Cursor > Noise Reduction, with separate luminance and chroma controls and a Detail tab that protects edges. In Photoshop, the Camera Raw filter (Filter > Camera Raw Filter) gives you the whole Detail panel again, and for stubborn files you can convert the layer to a Smart Object, apply a High Pass filter, and mask it back to recover edge detail after denoising.
How to Reduce Noise Without Creating Plastic-Looking Detail
The plastic look comes from one thing: noise reduction applied evenly at full strength across skin, hair, fabric and foliage. Those surfaces are exactly where viewers look for texture, and flattening them is what makes a face look like vinyl.
Several habits keep texture intact. Zoom to 100 percent before and after every change so you judge the actual pixels rather than the fit-to-screen illusion. Use a gentle setting with a high Luminance Detail value rather than a heavy setting that looks clean in the preview and falls apart on a print.
Where the subject matters most, mask the reduction instead of applying it everywhere. Paint luminance reduction at a low value on the background, leave the subject at zero, and use a subject or sky mask when the software offers one. Software retouchers mention a related technique on StackExchange: a large-radius Unsharp Mask softens blotchy noise, though it smears detail too, so treat it as a finishing touch rather than a fix.
Compare before and after at the same zoom, walk away for a minute, and look again. If the file looks clean but lifeless, back every slider off by a third. Grain that is still alive is far less noticeable than skin that has lost its pores.
Common Mistakes
These are the errors that cost the most detail, and every one of them has a simple fix.
Underexposing to keep the ISO number low. A two-stop under-exposure followed by a shadows lift in post produces a noticeably noisier file than exposing correctly at the higher ISO. Expose for the subject and deal with it later.
Applying heavy noise reduction to the whole frame. Global smoothing at strength 80 flattens faces, hair and foliage along with the grain. Reduce globally, lightly, then mask the sensitive areas.
Sharpening before denoising, and sharpening globally. Sharpening amplifies noise as faithfully as it amplifies edges, and a low Masking value lets it into smooth areas. Denoise first, sharpen last, keep Masking high.
Ignoring colour noise because grain was the obvious problem. Red and green speckles in shadows survive most luminance work. Raise the Colour slider in small steps and use Smoothness on what remains.
Using one setting for a whole shoot. A wedding reception moves from ISO 400 to ISO 12800 in an hour, and a single reduction value cannot serve both. Group by ISO range and copy settings across a batch, then adjust the worst frames individually.
Judging noise at fit-to-screen or downsizing to hide it. A file that looks clean at small size can be rough at print size. Check every decision at 100 percent.
Trusting the in-camera preview. The JPEG on the back of the camera has already been processed, denoised and sharpened. Judge the RAW file on a calibrated screen instead.
Frequently Asked Questions
Does higher ISO cause more noise?
Yes, though not in a straight line. Raising ISO increases the amplification applied to the signal the sensor collected, so the sensor’s own read noise and heat get amplified too. Noise grows quickly through the middle range, then more slowly as you approach the top of the camera’s range, where the signal is already so weak that detail is being lost along with the grain.
Is 3200 ISO too high?
Not on a current full-frame camera for most genres, and it depends far more on your body than the number suggests. Shoot a grey card at ISO 3200 and inspect it at 100 percent. If the shadows show colour speckles, step down. A recent full-frame body is usually comfortable at ISO 3200 for concerts and indoor sport, while older bodies struggle well below that.
How much denoise should I use in Lightroom?
Start with Luminance around 10-20 for ISO 800-3200 and 30-45 above ISO 6400, then stop as soon as grain looks even. Set Luminance Detail to 50-70 so texture survives. Raise Colour only when you can see red or green speckles in the shadows, and hold Alt or Option while dragging any slider to see its true effect.
Should I underexpose to keep ISO low?
No. Underexposing records a weaker signal, which means more read noise is amplified along with it, and the shadows you lift afterwards come back noisy and flat. Expose correctly and let the ISO climb. The grain from a properly exposed ISO 6400 frame is easier to reduce and usually ends up cleaner than a brightened ISO 1600 frame shot two stops under.
Does noise reduction reduce image quality?
It does when it is pushed hard or applied evenly across the frame. Moderate luminance reduction with a high Detail setting removes grain while preserving texture, and masking keeps faces, hair and fabric untouched. The real limit is that noise cannot be fully recovered, only reduced, so a badly captured frame will never return detail the sensor never recorded.
What does the Luminance slider do in Lightroom?
Luminance reduces grainy brightness variation across the image, the speckled texture you see mostly in shadows and smooth areas like sky. The related Detail slider controls how much fine texture it protects, with higher values preserving edges and grain structure. Luminance Contrast affects the low-contrast clumping between neighbouring pixels and is best left low to keep detail.
Start With the Cleanest Capture
If you take one habit from this guide, make it protecting the exposure. Meter for the subject, keep the shadows out of the danger zone, and shoot RAW so you still have choices later.
Then work down the list: open the aperture before the ISO, steady the camera, add light when you can, and only denoise what is left. Take that sequence seriously and the answer to how to reduce noise in high ISO photos becomes much less about sliders and much more about the ten minutes before you press the shutter.