The cheapest usable portrait backdrop is almost always something you already own: a clear stretch of wall, a plain sheet over a door, or a roll of paper taped to a closet frame. Learning how to make a cheap backdrop for portraits takes about an hour for the fabric and paper routes, and the whole setup costs about as much as a roll of shelf liner. Here is how to build one, hang it flat, and light it so it disappears behind your subject.
I have shot headshots, families and self-portraits against everything from a bathroom wall to a muslin sheet I dyed myself. The thing that separates a background that looks pro from one that looks like a laundry sheet is not the material. It is tension and distance.
Table of Contents
- What You Need
- Choose the Right Low-Cost Backdrop Material
- How to Make a Cheap Backdrop for Portraits
- Set Up the Background
- Smooth Wrinkles and Secure the Edges
- Test the Setup Before Photographing
- How to Use Paper, Sheets, and a Wall for Different Portraits
- Common Mistakes and Quick Fixes
- Cheap Backdrop Ideas for Different Looks
- Frequently Asked Questions
- What is the cheapest material for a portrait backdrop?
- Can I use a bedsheet as a photography backdrop?
- How do I stop a fabric backdrop from wrinkling?
- How far behind the subject should a backdrop be placed?
- Do I need a separate light for the backdrop?
- Start With a Neutral Backdrop
What You Need
For the wall and sheet methods you need almost nothing: a clear wall, one large neutral sheet, and something to hold it at the top, such as Command strips, a tension rod, or bulldog clips.
For a paper or board backdrop the list is a roll of studio paper or a sheet of foam board, a cutting mat or craft knife, a squeegee or roller, and masking tape to fix the edge while you work.
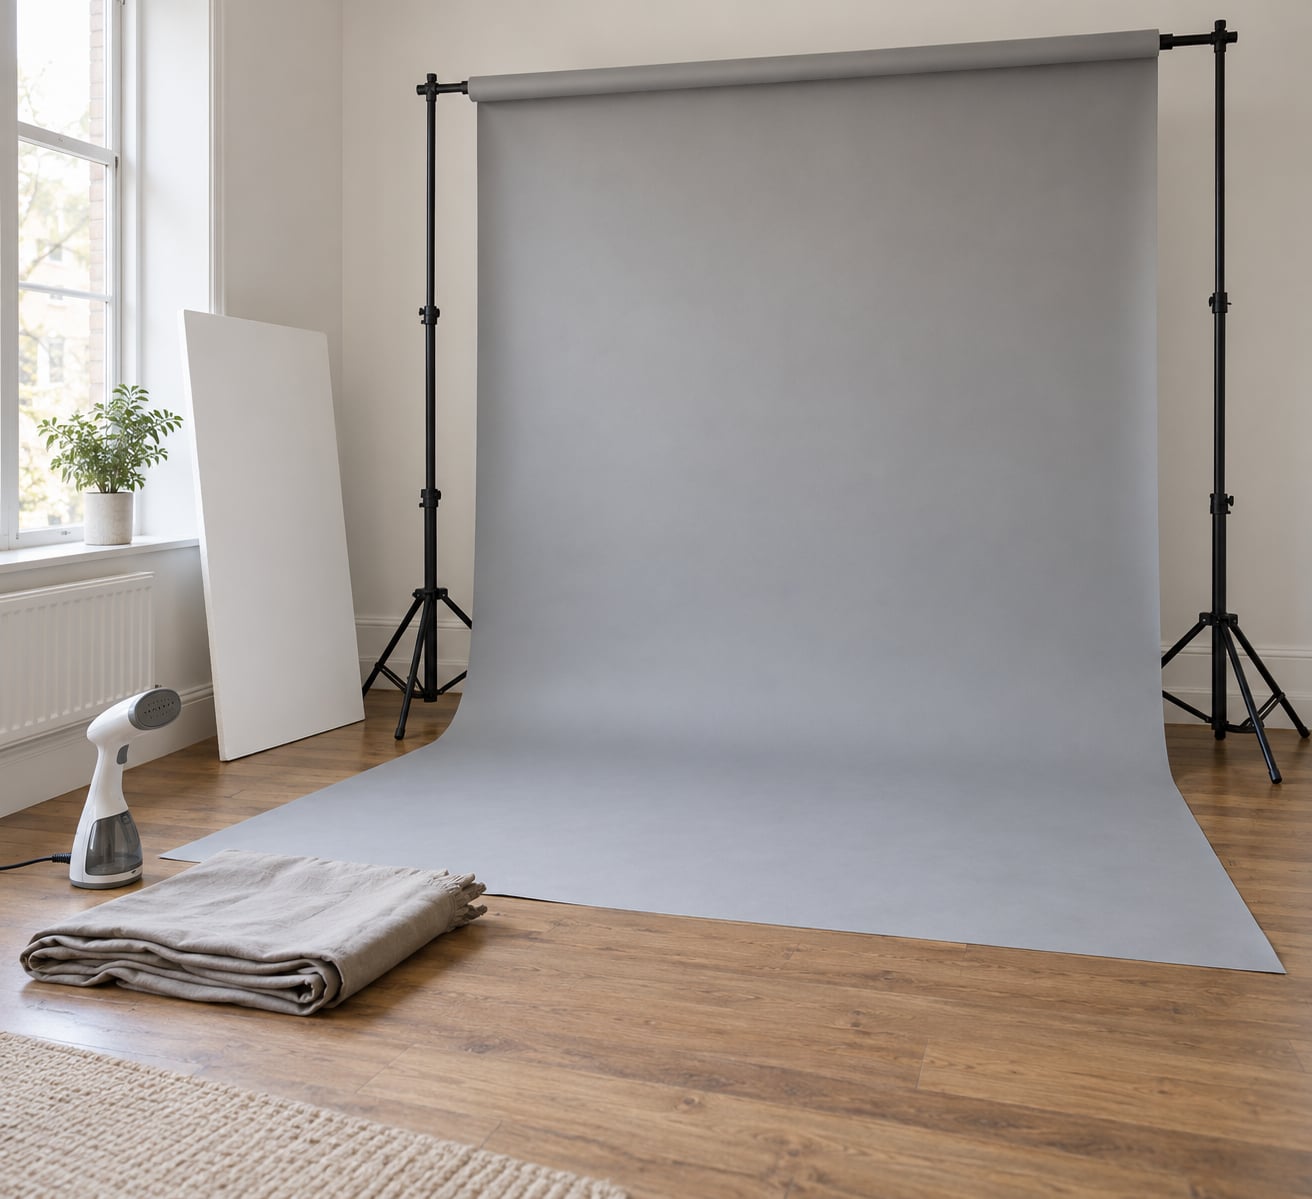
For the fabric route, add the fabric itself (a cotton sheet, a muslin drop, or a dust sheet), two stands or a pair of C-stands, two grip clamps, and a sandbag per stand. The stands and clamps are where most people get surprised, because they routinely cost more than the fabric itself.
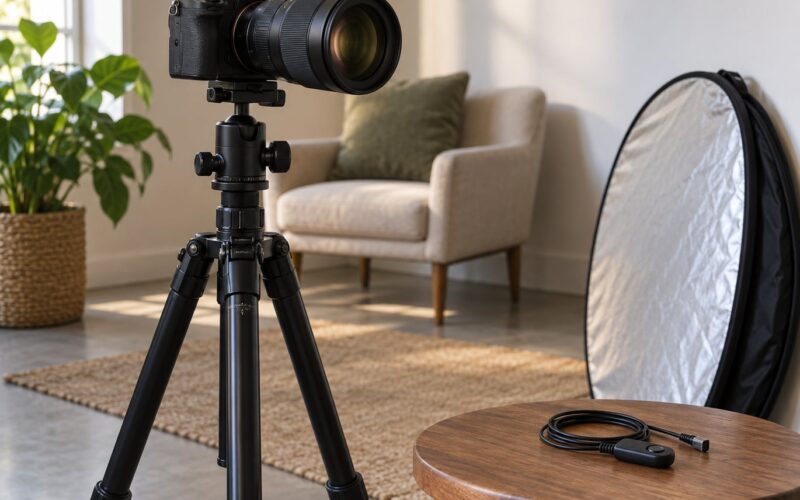
Optional extras: a white reflector or a sheet of white foam board to bounce light back into the face, a small step ladder so you can reach the top edge without stretching, and a handheld steamer or a spray bottle for wrinkles.
Nothing here is specialised gear. If you own a camera and a light that can be aimed away from a wall, you can shoot a decent portrait this weekend.
Choose the Right Low-Cost Backdrop Material
Pick the surface based on how often you will use it and how much room you have. A small room is the usual limit, and a background that needs to be rolled up and carried to a park is not much use if it lives folded in a closet.
| Material | Relative cost | Best for | Watch out for |
|---|---|---|---|
| Existing wall | Free | Quick headshots, small rooms, any subject | Colour casts, scuffs, things hanging on it |
| Cotton sheet or duvet cover | Very low | Soft, informal portraits and headshots | Wrinkles, mid-tone shine, visible seams |
| Dust sheet or muslin | Low | Repeatable work, custom dyed colours, large sizes | Absorbs light, picks up lint, needs washing |
| Seamless studio paper roll | Low to medium | Clean product shots, sweep onto the floor, group photos | Tears when wet, creases permanently once folded |
| Foam board with shelf liner or paint | Low | Tabletop shoots, textured or coloured looks | Flat boards only cover a small area behind a standing subject |
| Primed canvas | Medium | A permanent painted backdrop you reuse for years | Shrinks after priming and needs re-tensioning |
Two rules of thumb. A matte surface always beats a shiny one, because gloss produces a bright patch wherever your light hits it. And a mid-tone grey, warm taupe or muted blue separates from most skin tones better than pure white, which tends to blow out and flatten eyes.
How to Make a Cheap Backdrop for Portraits
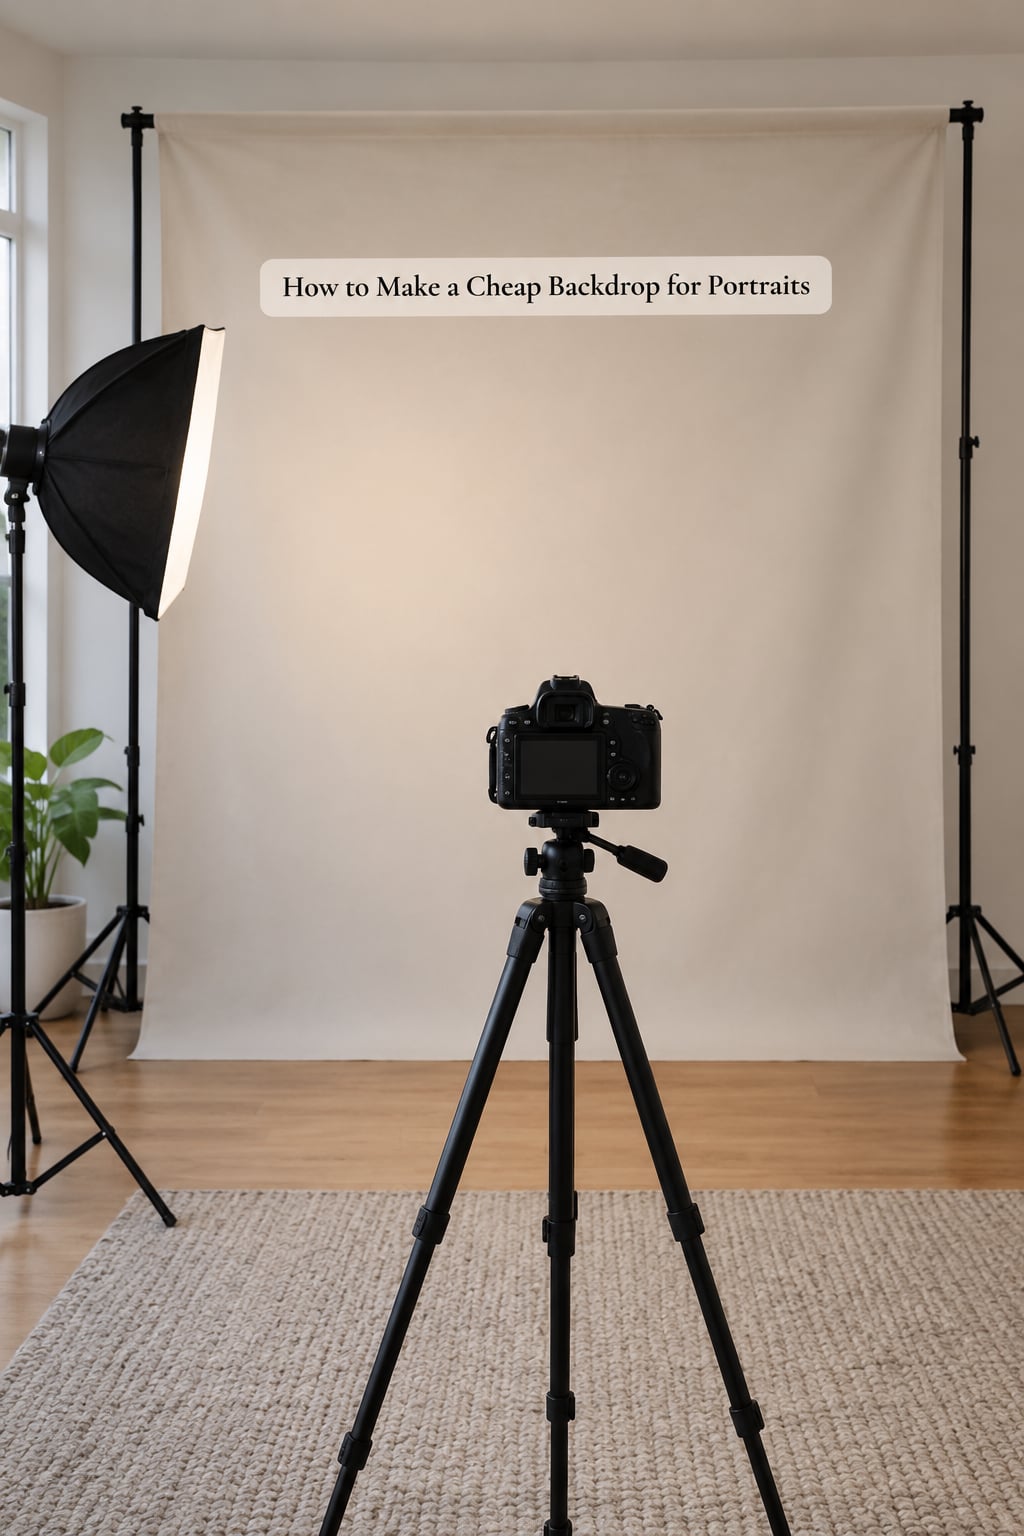
Whatever you chose, the process follows the same five beats: prepare the surface, secure it, pull the slack out, light it separately from the subject, and test before the real frames.
Set Up the Background
Hang the backdrop behind the subject and far enough away that light falling on the subject does not throw a shadow onto it. For a headshot, six to ten feet of subject-to-backdrop distance is a workable range. More distance means softer, less visible shadow edges and a gentler light gradient across the background.
Keep it taut. A backdrop hanging in a loose curve catches a light gradient that looks like a dirty smear, while a flat one reads as a clean, even tone. For paper, tape the top edge and let the length fall to the floor, then curve it toward the camera so the floor and the paper meet with no visible horizon line.
Clear the frame first. Walk to where the camera will sit and look at everything except your subject. Door frames, light stands, radiator pipes and a slightly crooked wall are all obvious on camera, and most of them are one small camera adjustment away from gone.
Smooth Wrinkles and Secure the Edges
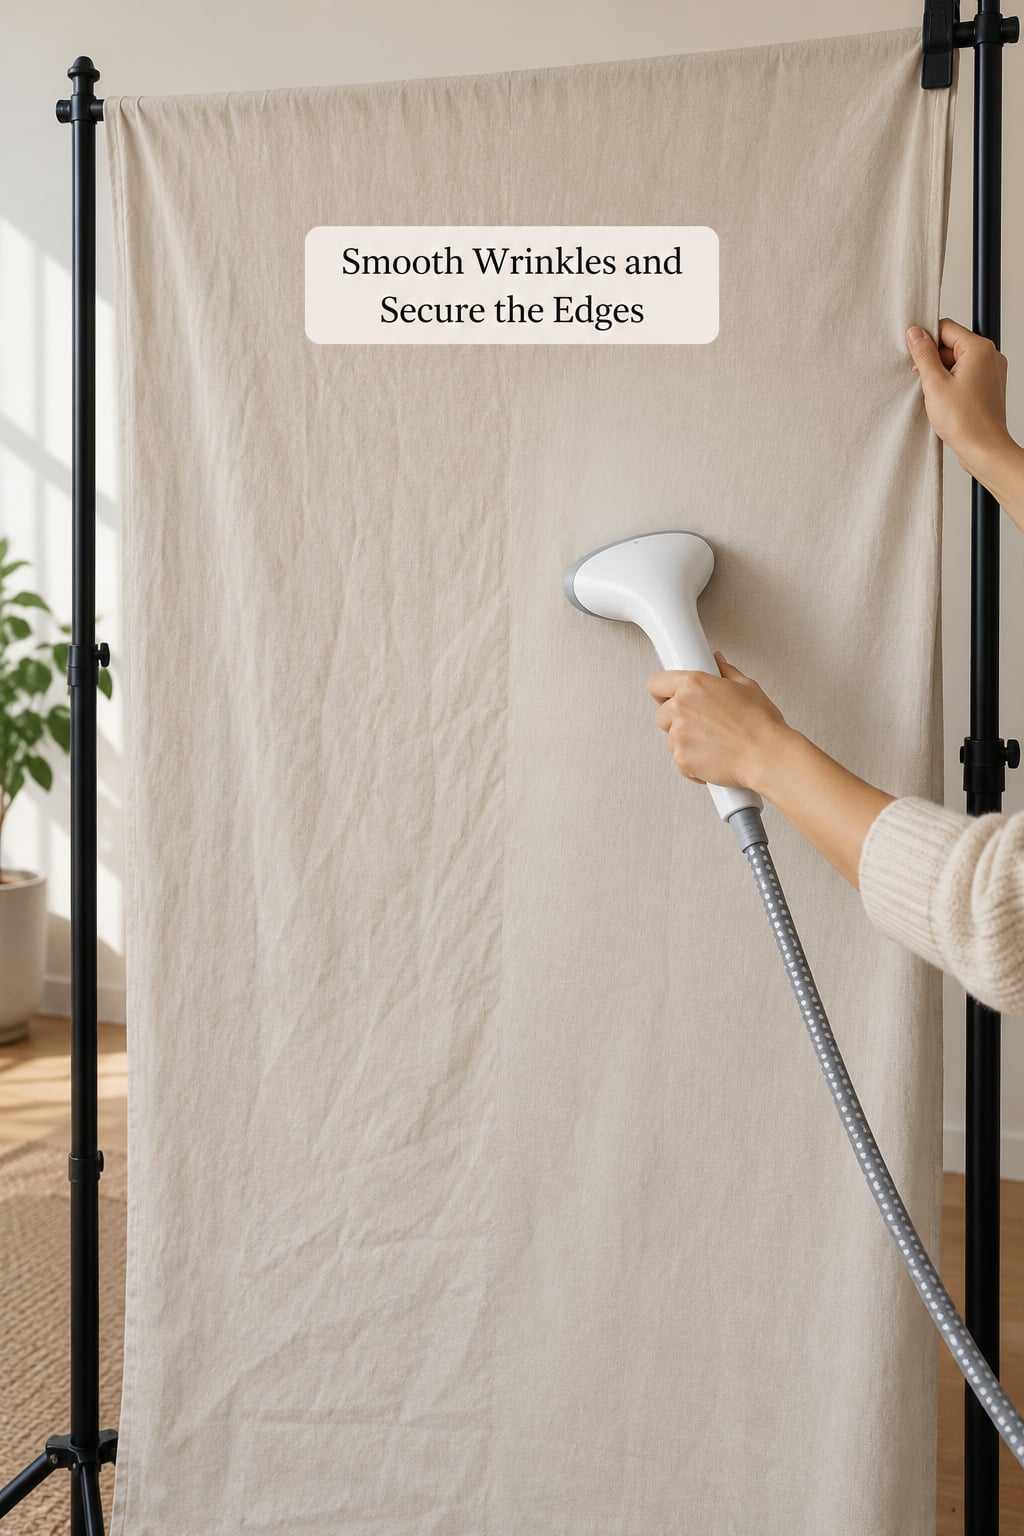
Wrinkles are the number one reason a cheap backdrop looks amateur. Nobody sees them on a hanging sheet, and everybody sees them in a portrait.
Steam first, always. Hold a handheld steamer a few inches from the fabric and let the steam do the work while the material is under tension. For a cotton sheet, a garment steamer or even a steamy bathroom works. Keep the iron off cheap polyester and anything with a printed pattern, and never park a hot iron directly on the fabric.
Then fix the edges. Weigh the bottom hem with washers, hem weights, or a small bag of rice stitched or tied into the corner pockets, and use removable clips or C-stand clamps along the top rather than gaffer tape that leaves residue.
Paper is different: it cannot be steamed. Roll it out the opposite way along its length, weigh it down overnight under books, and work from the back side with a bone folder if you have one. If a crease is already locked in, that area is done. Cut it out and reposition the roll rather than fighting it.
Test the Setup Before Photographing
Shoot one throwaway frame before the real session starts. Look at four things: whether any wrinkle survives at full size, whether the background is even or noticeably brighter on one side, whether the subject drops a hard shadow onto it, and whether the edges of the backdrop creep into frame.
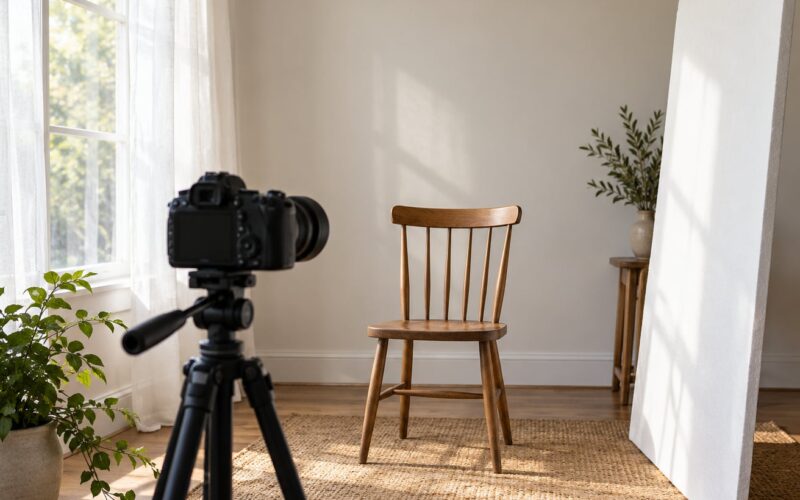
Fix the background light before you fix anything else. Aim it high and slightly to one side, above the subject’s head, so the light grazes down across the material and evens out the tone. A bare window pointed at the backdrop, or a bounce card held near it, does the same job without another light.
Check white balance on the backdrop before you check the skin. A warm wall lit by a cool window will tint every frame, and it is far easier to correct the background alone than to fix a colour cast on a face that is already correct.
How to Use Paper, Sheets, and a Wall for Different Portraits
Paper roll. This is the best option for products, food and group shots where you want the surface to run onto the floor. Tape the top edge to a wall, let the paper hang, and sweep the base toward the camera until the transition curves. Keep a spare roll, because paper tears easily and a wet patch from a spilled drink is unrecoverable.
Sheet or muslin. Ideal for people portraits, couples and anything where softness reads better than clinical. A large neutral duvet cover works surprisingly well if it is plain and stretched. Muslin and cotton dust sheets are the cheapest way to get a very large background, and both can be dyed to a custom colour with fabric dye and salt in a bathtub.
A plain painted wall. The most underrated option in small rooms. Reposition the subject so the frame is all wall, light it so the brightest area falls behind the head and shoulders, and step a little closer with a longer focal length so no room corners creep in. Matte paint only. Gloss will show you every light source in the reflection.
Whichever one you use, the framing sets the size. A headshot needs roughly four by six feet of coverage, a half-body portrait six by eight, and a full-body or group frame eight by ten or more so the background still extends past the subject on every side.
Common Mistakes and Quick Fixes
The backdrop is sagging in the middle. Add a third support point in the centre, or run a thin batten behind the fabric. For a sheet, two extra bulldog clips spaced across the top edge fix most of the bow.
Visible wrinkles and creases. Steam under tension, weight the hem, and never re-fold fabric. If a sheet has been crammed in a cupboard since last year, put it in the dryer on a cool cycle for ten minutes before you hang it.
A shadow of the subject on the background. Move the subject further from the backdrop, or move the key light more to the side and higher. Distance is the fix; extra light is not.
Hot spots or an uneven tone. The light is too close or too head-on. Move it back and up so it grazes the surface, and step further away yourself so the falloff settles behind the subject.
The background is a different colour to the skin. Mixed light temperatures or a strongly tinted wall. Set white balance on the backdrop first, then add a flag or move the offending light to one side to stop it hitting the material.
The backdrop edge appears in frame. Either make the surface larger or narrow the frame. Cropping in a little longer is usually cheaper than buying a wider roll.
Repeated marks, dust and lint. A lint roller before every session, and a wash for fabric backdrops every few uses. Wash cool, line dry, and never put muslin or canvas in the tumble dryer; heat shrinks the fibres and the backdrop no longer fits the frame.
The surface is dull and grubby. Wipe vinyl and sealed board with a damp cloth, spot-clean fabric with a soft brush, and store everything rolled around a tube rather than folded.
Cheap Backdrop Ideas for Different Looks
You do not need a new backdrop to change the mood of a session. Several cheap tricks add separation and texture without spending anything.
Go darker than you think. A charcoal or dark grey backdrop behind a subject in a light top gives instant separation, and it hides dust and creases better than white. Shoot it a little under-exposed and it will deepen further in editing.
Contrast the clothing. Ask the subject to avoid wearing the same tone as the background. A cream jumper against a mid-grey backdrop reads cleanly, while a grey jumper against grey disappears at shoulder level.
Hang a translucent sheet. A thin white or cream curtain lit from behind glows instead of blocking light, and it gives you a soft high-key portrait with a gradient in the corners.
Use a window as the background. Put the subject near a window with a sheer curtain drawn, shoot into the light, and let the background fall into a soft blur. It is a whole lighting setup that costs nothing.
Let the foreground blur do the work. Shoot wide open or near it, focus on the eyes, and the background loses detail on its own. A busy wall that would ruin a flat portrait becomes fine once it is a blur.
Add texture on purpose. A deliberately scrunched, crinkled or stippled surface reads as intentional if the light rakes across it at a shallow angle. Keep the texture shallow, because deep texture in a soft light looks like noise.
Frequently Asked Questions
What is the cheapest material for a portrait backdrop?
The cheapest material is whatever you already have: a clear matte wall, a plain cotton sheet, or a shower curtain. If you want to buy something new, an unbleached cotton dust sheet or a roll of matte shelf liner applied to foam board are the two lowest-effort buys. Both cost roughly the same as a takeaway meal and cover most headshots. Start with the free option and only build a fabric or canvas backdrop once you are shooting regularly.
Can I use a bedsheet as a photography backdrop?
Yes, and most beginners get good results with one. Choose a plain white, cream or grey cotton sheet with no pattern, embroidery or visible seam down the middle, because seams and stripes sit right behind the subject’s head. Hang it on the frame of a door or between two stands, weight the bottom hem, and steam out the creases before you shoot. A darker cotton sheet or duvet cover works better for a moodier portrait.
How do I stop a fabric backdrop from wrinkling?
Tension and steam, in that order. Hang the fabric first, pull it as taut as you can between the supports, clip or clamp the top edge in more places than you think you need, and weight the bottom hem. Then steam it while it is still under tension and leave it hanging to dry. Steaming a slack sheet only moves the wrinkles somewhere else. Never fold a fabric backdrop to store it, because those creases become permanent.
How far behind the subject should a backdrop be placed?
For portraits, place the subject about six to ten feet in front of the backdrop. More distance softens the shadow the subject casts and reduces the visible light gradient across the background. If you have a small room, work in the other direction: move the key light higher and further to one side so less of it spills onto the surface behind the subject. A shorter lens or a step back yourself gives you the same effect without moving the subject.
Do I need a separate light for the backdrop?
No. Most cheap setups work with one light, and a separate background light is optional rather than necessary. Light the subject with your key light, then even out the background with bounced light off a white foam board or sheet, or by aiming an existing window high at the surface. If you do add a second light, place it above and behind the subject, pointing down at the backdrop, so it lifts the tone behind the head without spilling onto the face.
Start With a Neutral Backdrop
Do one thing first: find the largest matte neutral surface you already have, get it behind the subject, and make sure it is flat. Everything else on this list is a refinement of that step.
Secure it at more points than feels necessary, weight the bottom so the tension runs vertically, and light the surface separately from the face so the tone stays even. Put the subject six to ten feet in front of it to keep shadows off the background, then take one test frame and zoom in to check for wrinkles, hot spots and creeping edges.
Once that frame looks clean, you have a working backdrop. Change the colour later with a sheet, a board or a coat of paint, and the same setup will cover headshots, families, couples and product work for years.