Bouncing a speedlight off a ceiling means tilting the flash head upward so the burst of light hits the ceiling and scatters back down onto your subject. It turns one small, hard light source into a broad, soft one using a surface you already have in the room, and the whole setup takes about five minutes once you know where to put the stand. Here is how to use a speedlight bounced off a ceiling without wasting an afternoon.
I have shot entire wedding receptions and family formals with nothing but a speedlight, a stand, and a white ceiling. The technique is not fussy. The variables that actually decide whether it looks good are where you stand, how far the flash sits from the ceiling, and how you balance the ambient light against it.
Table of Contents
- What You Need
- Essential kit
- Step-by-Step: How to Use a Speedlight Bounced Off a Ceiling
- Step 1: Choose a suitable ceiling
- Step 2: Position the speedlight for soft light
- Step 3: Set camera controls and test the flash
- Step 4: Refine the light with a reflector and camera position
- Common Mistakes
- Frequently Asked Questions
- Can I bounce a speedlight off any ceiling?
- Should I bounce the speedlight directly toward the subject?
- How far should the speedlight be from the ceiling?
- Do I need a softbox when bouncing off a ceiling?
- When should I use bounce flash indoors?
- How do I balance ambient light with a bounced flash?
- Conclusion
What You Need
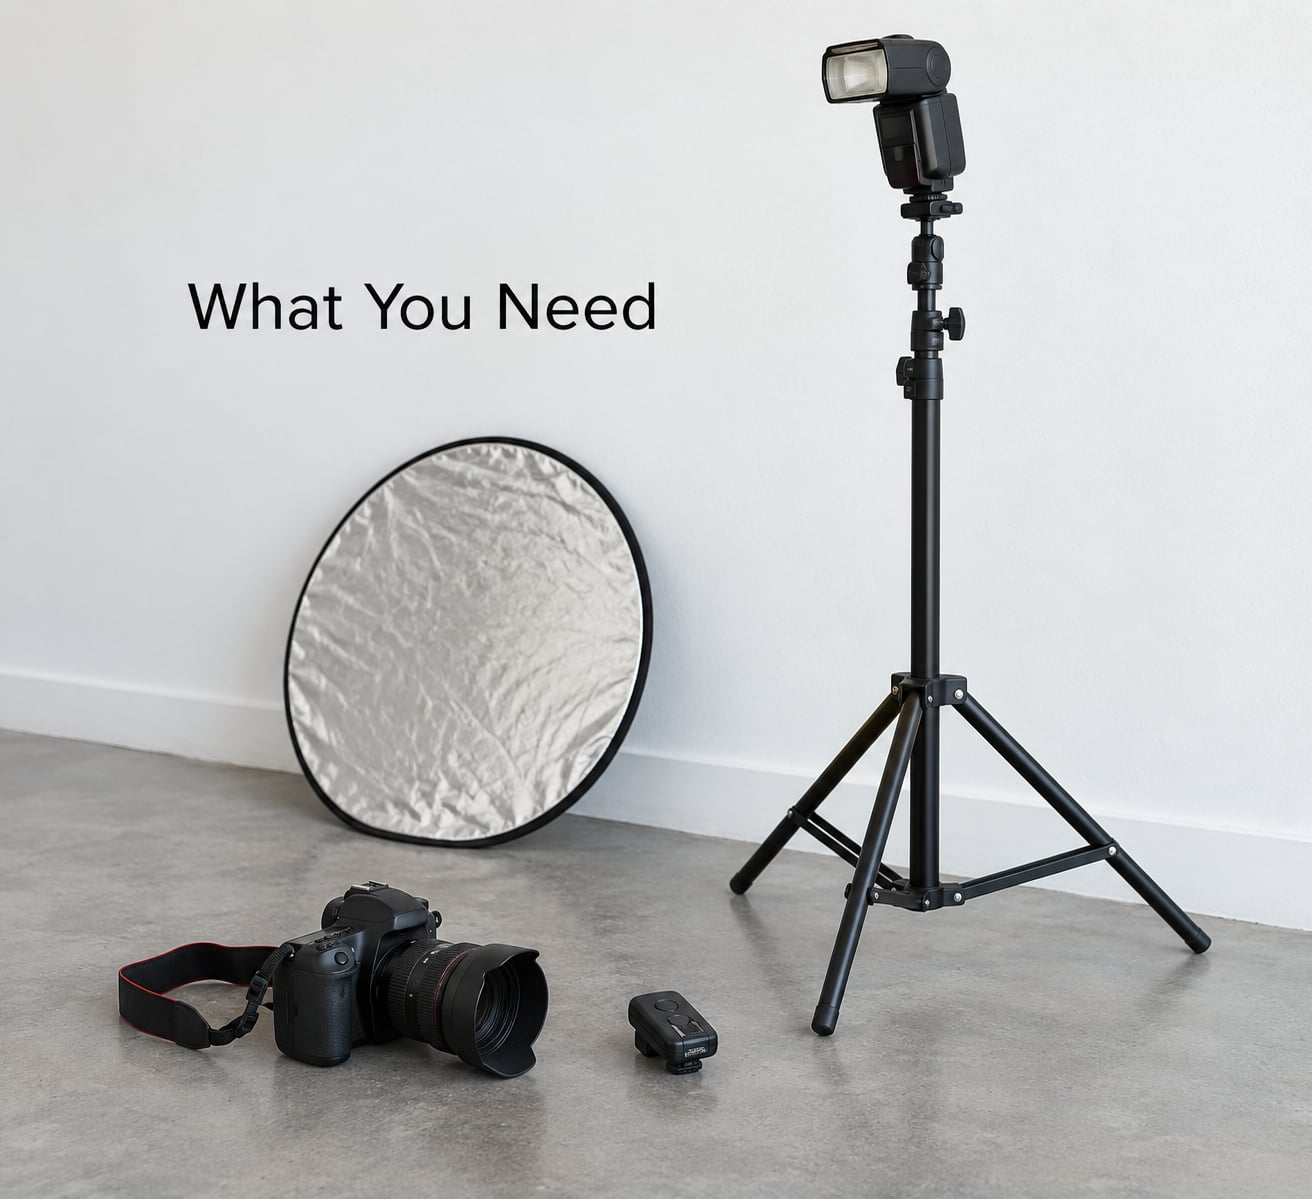
A ceiling bounce needs far less kit than people assume. The ceiling is your softbox, so everything else is support equipment.
Essential kit
- A speedlight with a tilting and swivelling head. Tilt only gets you straight up. Swivel gets you to the 45-degree side bounce, which is the light you actually want on a face.
- A light stand or boom arm. On-camera works in a pinch, but off the camera the flash can sit lower and to one side, which is where the flattering light comes from.
- A trigger. A radio trigger or optical slave so you can fire the flash from the camera position instead of arm’s length away.
- A reflector, foam board, or white card. Cheap, and the single biggest upgrade to a ceiling bounce. It fills the shadow side for nothing.
That is the whole list. A small light meter or a reflector card to eyeball fill on a white wall helps, but you can get through this on the camera’s own meter and a few test frames.
One note on modifiers: if the bounce is working, a diffuser dome over the head is redundant. It cuts your output, and the ceiling is already spreading the light for you.
Step-by-Step: How to Use a Speedlight Bounced Off a Ceiling
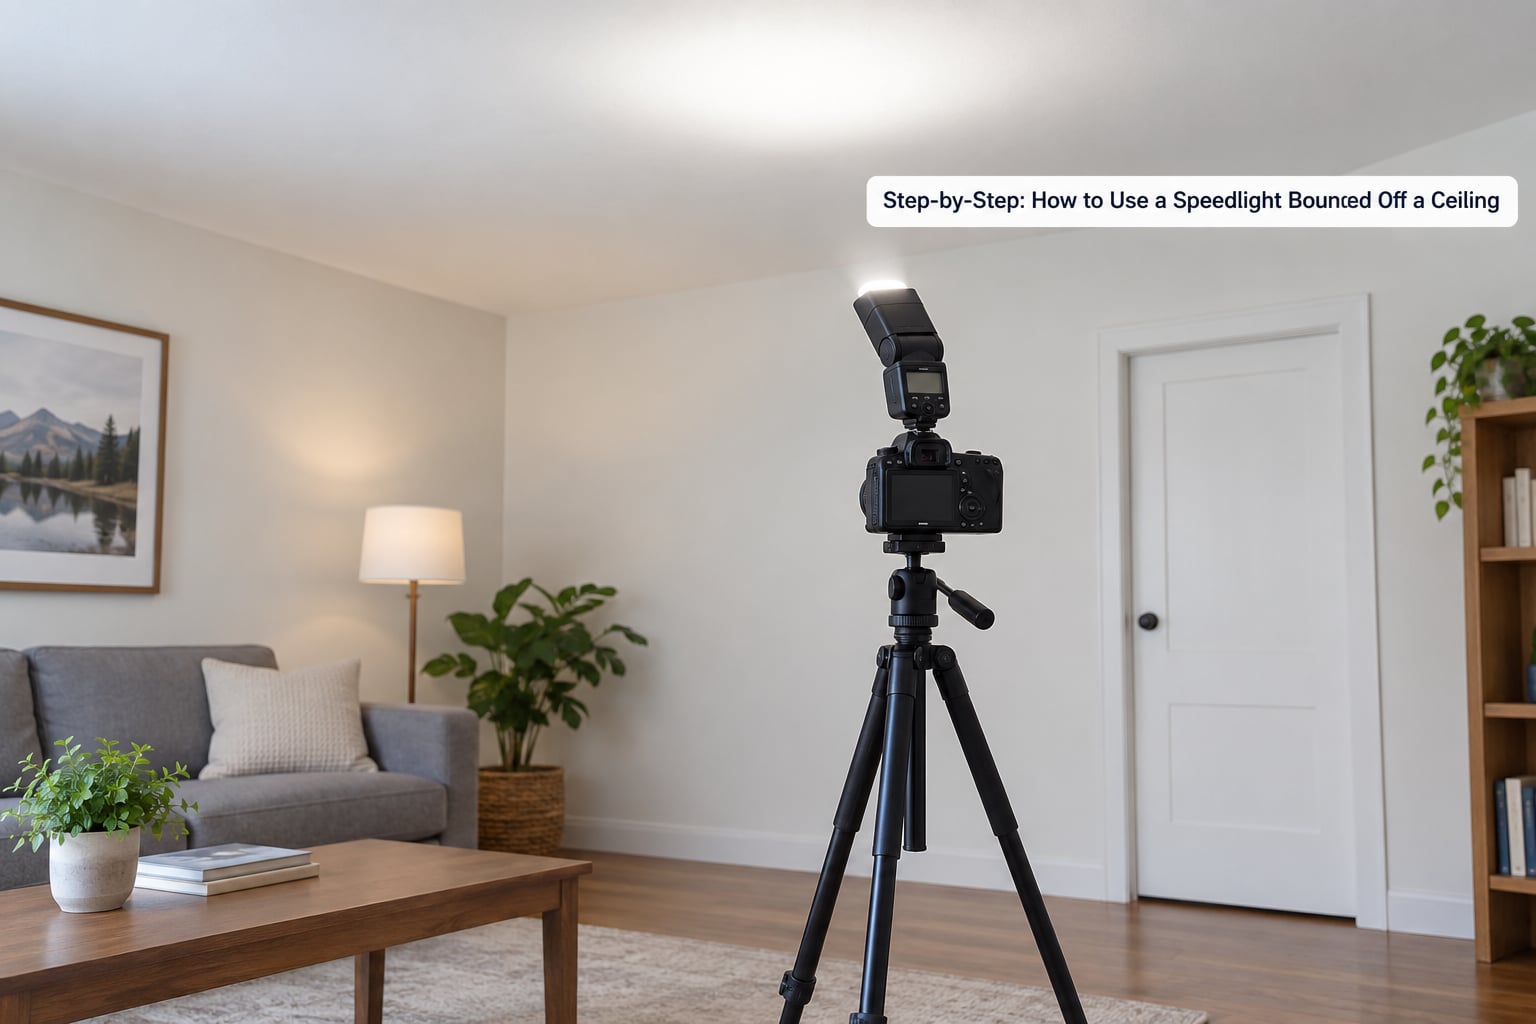
Work through these four steps in order. Each one tells you how to tell that it worked before you move on.
Step 1: Choose a suitable ceiling
Look up before you unpack anything. A flat, white or neutral ceiling between roughly 7 and 9 feet is the ideal bounce surface, and most living rooms, hotel banquet rooms and church halls fall in that range.
Height matters more than most people expect, because bounce light is still obeying the inverse square law. Every extra foot between the flash and your subject costs you roughly one stop of light. Hit a 14-foot ballroom ceiling and your speedlight has to push hard into its own recycle time, or you raise ISO until the grain takes over.
You can shoot a dark ceiling if it is your only option, but you will be climbing flash power for a weak, tinted return. Yellowed, water-stained, popcorn or heavily textured ceilings are worse still. The texture creates uneven hot spots, and the stain gives you a colour cast you cannot fully fix in editing. If you see any of that, aim at the cleanest section of ceiling above and slightly behind your subject rather than directly over them.
Step 2: Position the speedlight for soft light
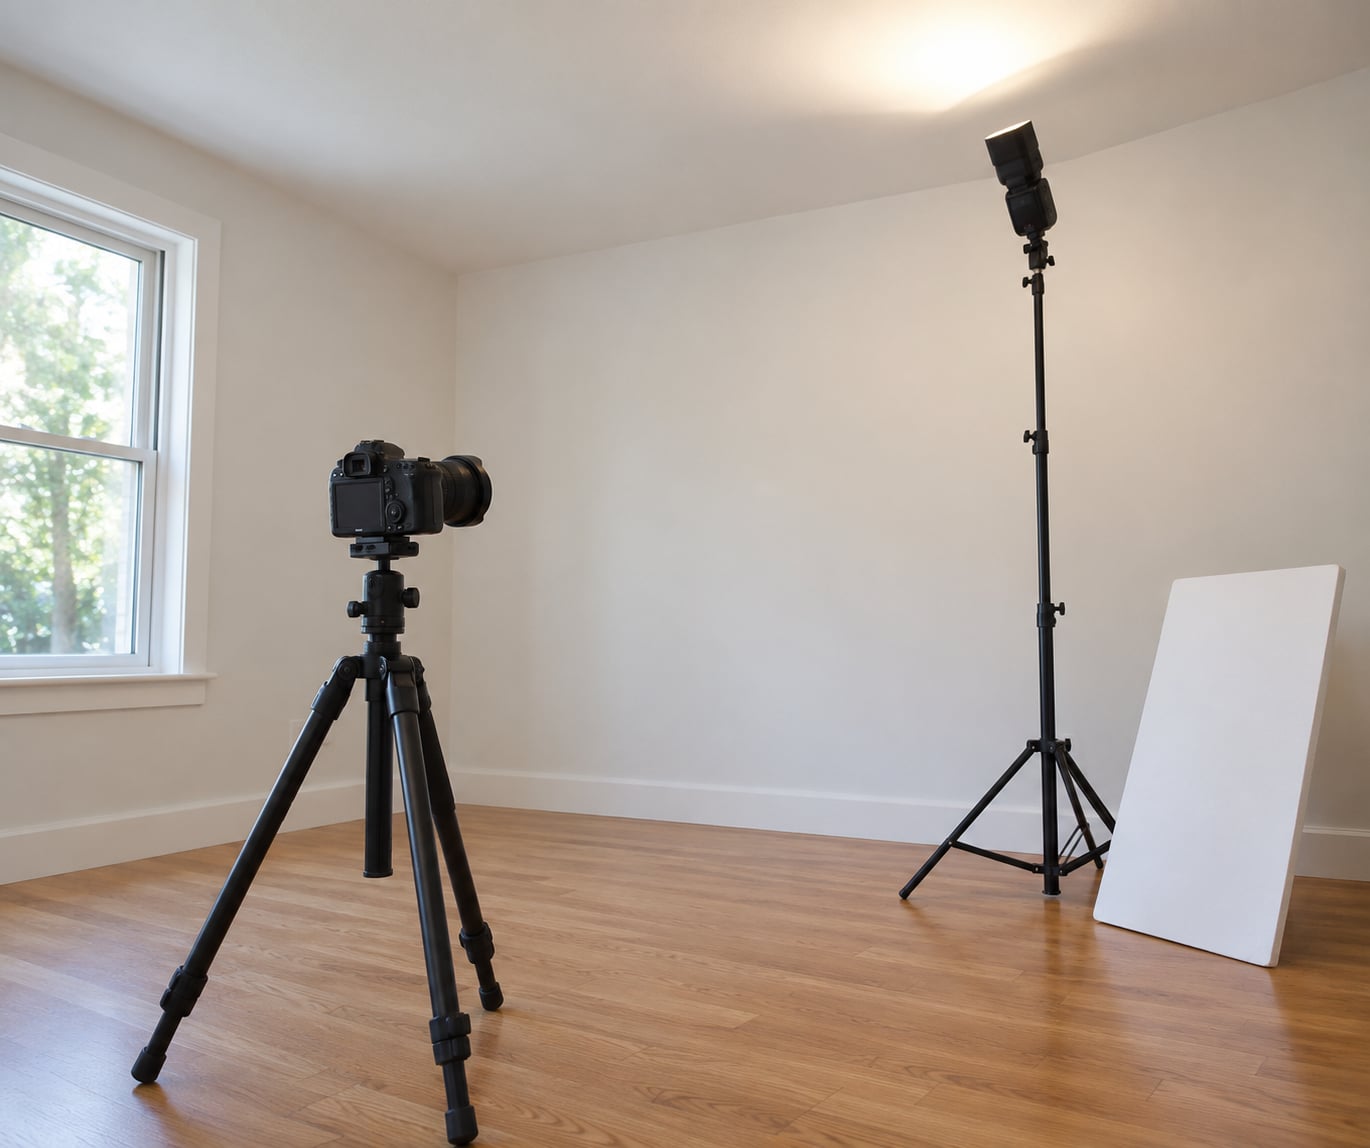
Set the flash to one side of the subject and below eye level, roughly 45 degrees up. Swivel the head toward the ceiling just above and slightly behind the subject’s head, so the light returns forward and down at the face.
Do not aim the flash at your subject. The ceiling is the light source, not the flash head, so once the head points down at the subject you are back to hard direct flash with all the shadows that come with it.
The distance between flash and ceiling is your softness control. Closer means a brighter, tighter, harder-looking source. Further back, and the same flash covers a wider patch of ceiling, which makes the returned light softer and more even. Test a few positions and watch for a visible bright patch on the ceiling itself, which usually means you are too close or angled too narrowly.
Step 3: Set camera controls and test the flash
Work in manual exposure. Put the camera at or below its sync speed, typically 1/200 second or 1/160, and set the aperture and ISO for the room. A starting point for a dim reception is around f/2.8, ISO 1600, 1/100 second, with the flash on TTL or manual power at a low setting.
Keep the shutter at or under sync speed when you want the ambient to record. Drop the shutter below sync, and the ambient exposure falls with it, which is why so many bounced shots come back with a black background and a bright face. If you need more ambient than sync allows, high-speed sync is the answer, and it costs you a stop or two of flash power.
Fire a test frame and look at three things. A hot spot on the ceiling means the flash is too close or too narrow. Uneven brightness across the group means the flash is covering too little ceiling, so angle it wider or move it back. Clipped white on the face means drop flash exposure compensation, not the aperture.
Step 4: Refine the light with a reflector and camera position
Place a white reflector or foam board under the shadow side of the face, close enough that the fill reads as a separate dimmer light rather than a second key. Flagging the flash with black foam is the other useful move: it kills any direct spill hitting the lens or the backdrop while you keep bouncing.
If the light looks flat, the fix is almost always position, not power. A straight-up bounce flattens everything because every shadow falls directly under the face, which is also where the little brow shadows everyone dreads show up. Swing the flash toward 45 degrees so the light comes from one side, raise it slightly above head height, and let the reflector hold the other side. The modelling comes back immediately.
Common Mistakes
Nearly every bad ceiling bounce comes down to one of a handful of errors. Each has a fast diagnostic.
Aiming the flash at the subject. The light looks hard, shadows sit behind the person, and the background goes dark. The fix is simple: rotate the head up until the flash is no longer visible in the frame or from the subject’s position. The ceiling should be the only thing lit.
Ceiling too high. If the returned light is faint no matter how much flash power you add, the ceiling is out of reach. Diagnostic: the face is well exposed but flat and lifeless, and recycle time is dragging between frames. Once a ceiling is more than about twice the subject-to-camera distance, move to a side wall or a bounce card instead of pushing power.
Ceiling too low. The result is a bright, small source that still throws hard shadows, because the flash is effectively close to the subject. Add distance by standing further back with a longer focal length, or bounce off a side wall where there is more space.
Coloured or textured ceiling. Skin goes sallow or green and the light breaks up into patches. Aim at a cleaner section, and correct the white balance on a custom setting from a reference rather than the auto white balance.
Flash power too high. Reflections bloom on skin and the face loses texture. Take it down a stop at a time and watch the midtones, not the highlights.
Confusing hard shadows with insufficient bounce distance. If shadows have crisp edges, the light is still behaving like a small source. Move the flash further from the ceiling and further from the subject rather than adding more power.
Uneven light across a group. With people spread across more than a few feet, the closest face to the bounce is the brightest. Stand further back, widen the spread the flash covers, and check the far edge of the group on a test frame before the real shot.
Frequently Asked Questions
Can I bounce a speedlight off any ceiling?
A white or neutral ceiling works best because it reflects the flash evenly and keeps the colour soft. Very low, textured, stained, or strongly coloured ceilings produce uneven light and a colour cast you will spend time correcting later. If a dark ceiling is all you have, you can still bounce it, but expect to push flash power for a weaker, tinted return.
Should I bounce the speedlight directly toward the subject?
No. Point the flash head at the ceiling, not at the person. Keep the flash below the subject’s eye line, roughly 45 degrees up and to one side, angled toward the section of ceiling just above and behind their head. The ceiling then becomes the light source, and it spills light from many directions at once, which is where the softness comes from.
How far should the speedlight be from the ceiling?
There is no single correct distance, but moving the flash further from the ceiling spreads it over a wider patch, so the returned light reads softer and more even. Close gives you a brighter, tighter, harder-looking source. If you can see a distinct hot spot on the ceiling in a test frame, you are too close or angled too narrowly. Back the flash off or widen the spread.
Do I need a softbox when bouncing off a ceiling?
A softbox is optional. The ceiling is already a large reflected source, so a speedlight can produce soft, flattering light without one. A diffuser dome over the flash head, on the other hand, is unnecessary and costs you output. Spend that effort on positioning the flash properly and on a white reflector for the shadow side, which changes the picture far more.
When should I use bounce flash indoors?
Use bounce flash when the room has a low, light-coloured ceiling and you have no softbox, and when the light needs to be soft: portraits, family formals, group shots, and reception candids. Skip it in venues with very high ceilings, on coloured or textured surfaces, or when you need fast recycling and hard, punchy light. A side wall or a bounce card solves both of those.
How do I balance ambient light with a bounced flash?
Decide which one is the key. If the flash is your main light, expose for it and let the ambient sit one and a half to two stops under, then check the background still reads. If you want the room to carry the shot, meter the ambient first, switch to manual, and add flash as fill with negative flash exposure compensation. Keep the shutter at or under sync speed unless you need high-speed sync.
Conclusion
Start by standing the flash on a stand, putting it 45 degrees up and to one side, and taking one test frame. That single shot tells you whether the ceiling is low and light enough to work with, which is the only question that really matters.
From there, the three variables that decide the result are the flash-to-ceiling distance, the angle it covers, and where your reflector sits. Adjust those before you buy anything else, because moving a flash head costs nothing and fixes more than most people expect.