If you are wondering how to use a scrim to soften sunlight, the answer is short: stand between the sun and your subject. The translucent fabric turns a tiny, brutally hard source into a broad, even one, so shadow edges go from razor sharp to gradual and your subject stops squinting. Once you know the two rules that matter, the whole setup takes about ten minutes: put your subject in open shade first, then hold the scrim just outside the direct line of the sun.
The rest is adjustment. This guide covers what to bring, where to stand, how far to hold the panel, and how to meter once the sun stops being your reference.
Table of Contents
- What You Need
- Step-by-Step: How to Use a Scrim to Soften Sunlight
- 1. Put the subject in open shade first
- 2. Decide whether you shoot through or shoot around
- 3. Match the panel to the subject
- 4. Ballast the frame so the wind cannot take it
- 5. Add fill and re-balance the exposure
- 6. Meter on the face, not on the sun
- How to Use a Scrim to Soften Sunlight Indoors
- Common Mistakes
- Frequently Asked Questions
- Should a scrim be placed between the sun and the subject?
- How far should the scrim be from the subject?
- Does a scrim make sunlight softer or only make it dimmer?
- What material works best for an outdoor photography scrim?
- How do I keep a scrim from blowing or sagging in the wind?
- When is a scrim less useful than moving the subject into shade?
- Conclusion
What You Need
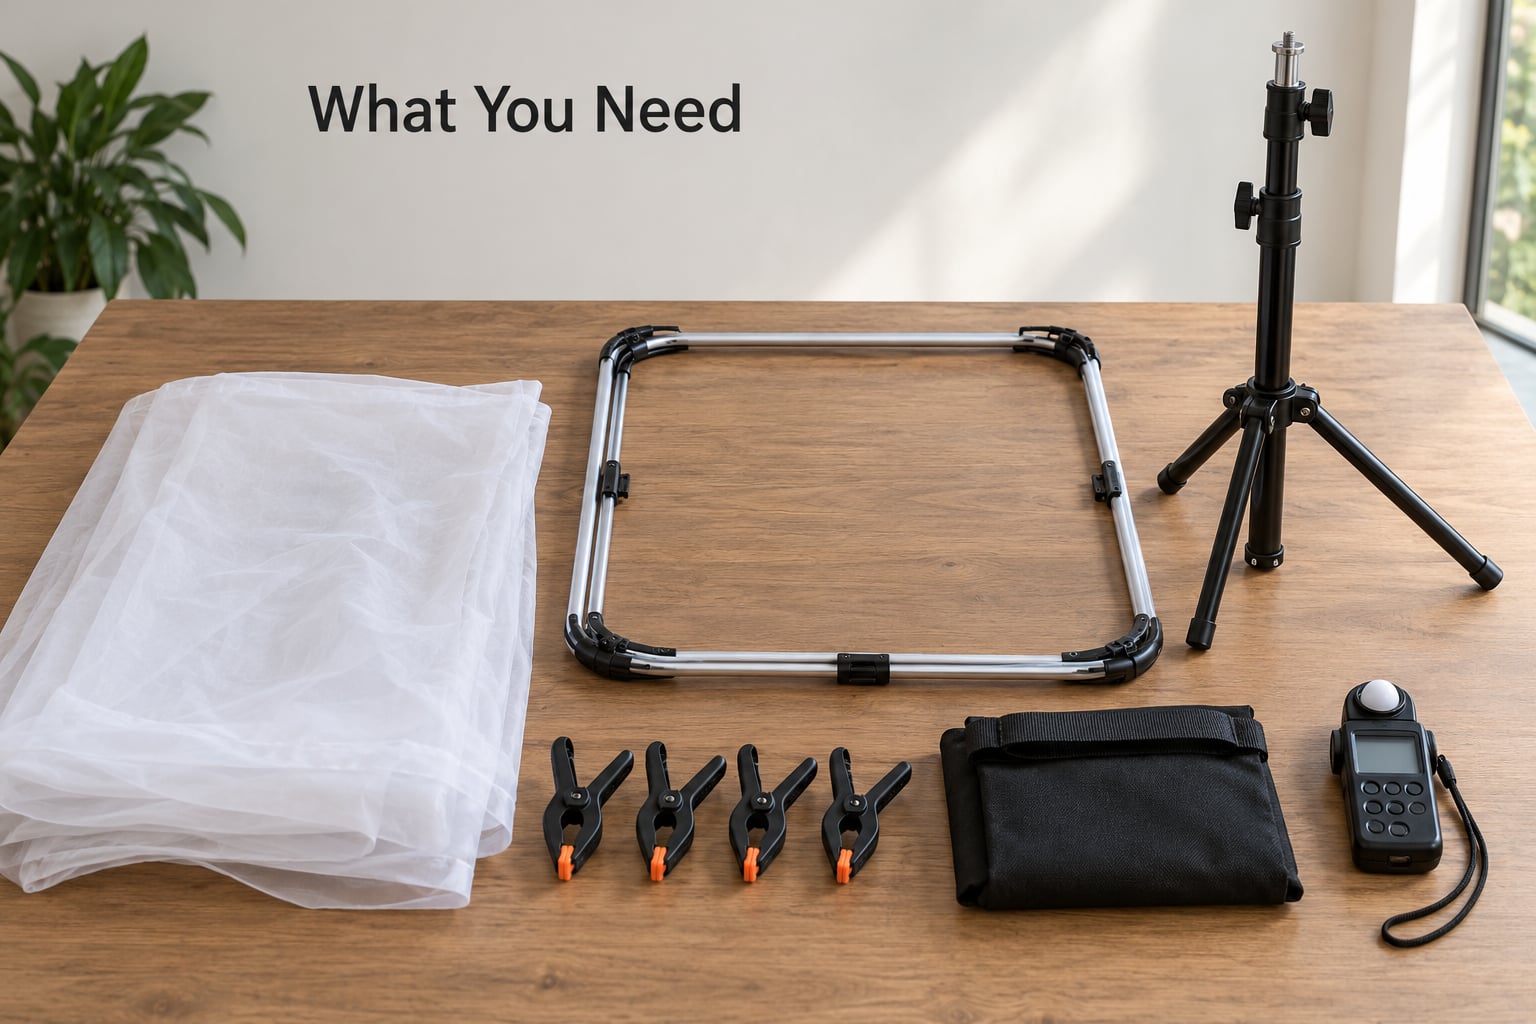
Start with the scrim itself: a large piece of translucent white fabric stretched over a collapsible frame, big enough to stand between the sun and your subject. The classic sizes are 3×6 ft for headshots and small couples, 6×6 ft for a person plus space to move, and 8×8 ft for groups and full bodies. Photographers working on location tend to carry the 3×6 ft more than anything else, because it covers the most situations while still fitting in a car.
Three other things earn their place. A reflector gives you cheap fill from underneath, a 5-in-1 reflector’s diffusion panel stands in as a scrim on days when you forgot the fabric, and a stand with clamps plus ballast keeps the panel where you put it.
Terminology trips people up, and the photography forums argue about it more than the physics deserves. Here is what each word usually means in practice:
| Tool | What it does | Best use |
|---|---|---|
| Scrim (fabric on frame) | Converts direct light into a large soft source | Sunlight and strobe heads at any distance |
| Net (black mesh) | Cuts light intensity without visibly changing its quality | Bringing a background or a hot stroller light down 2 stops |
| Silk (rigid frame diffusion) | Softens a source at a fixed, close distance | Studio strobes and video exteriors with a stand |
| Diffusion panel | Generic term for any fabric or grid in front of a source | Whatever you have on the day |
| 5-in-1 reflector | Fills by bounce; its white diffusion panel blocks and softens | Fill light, and a stand-in scrim for one person |
If your goal is softer sunlight, you want the scrim. A net removes light but leaves the shadow edge just as hard, because the mesh holes still behave as small separate sources.
Step-by-Step: How to Use a Scrim to Soften Sunlight
1. Put the subject in open shade first
Scrims cost money and wind, so make sure you need one. Walk your subject to the shade of a building, a wall or a tree and take a test frame there before you unpack anything. If the shadows under the brow and chin already look gradual, you may not need a scrim at all.
You will know the shade is good when the shadow edge from the nose is soft and the shadow under the chin is only slightly darker than the cheek.
2. Decide whether you shoot through or shoot around
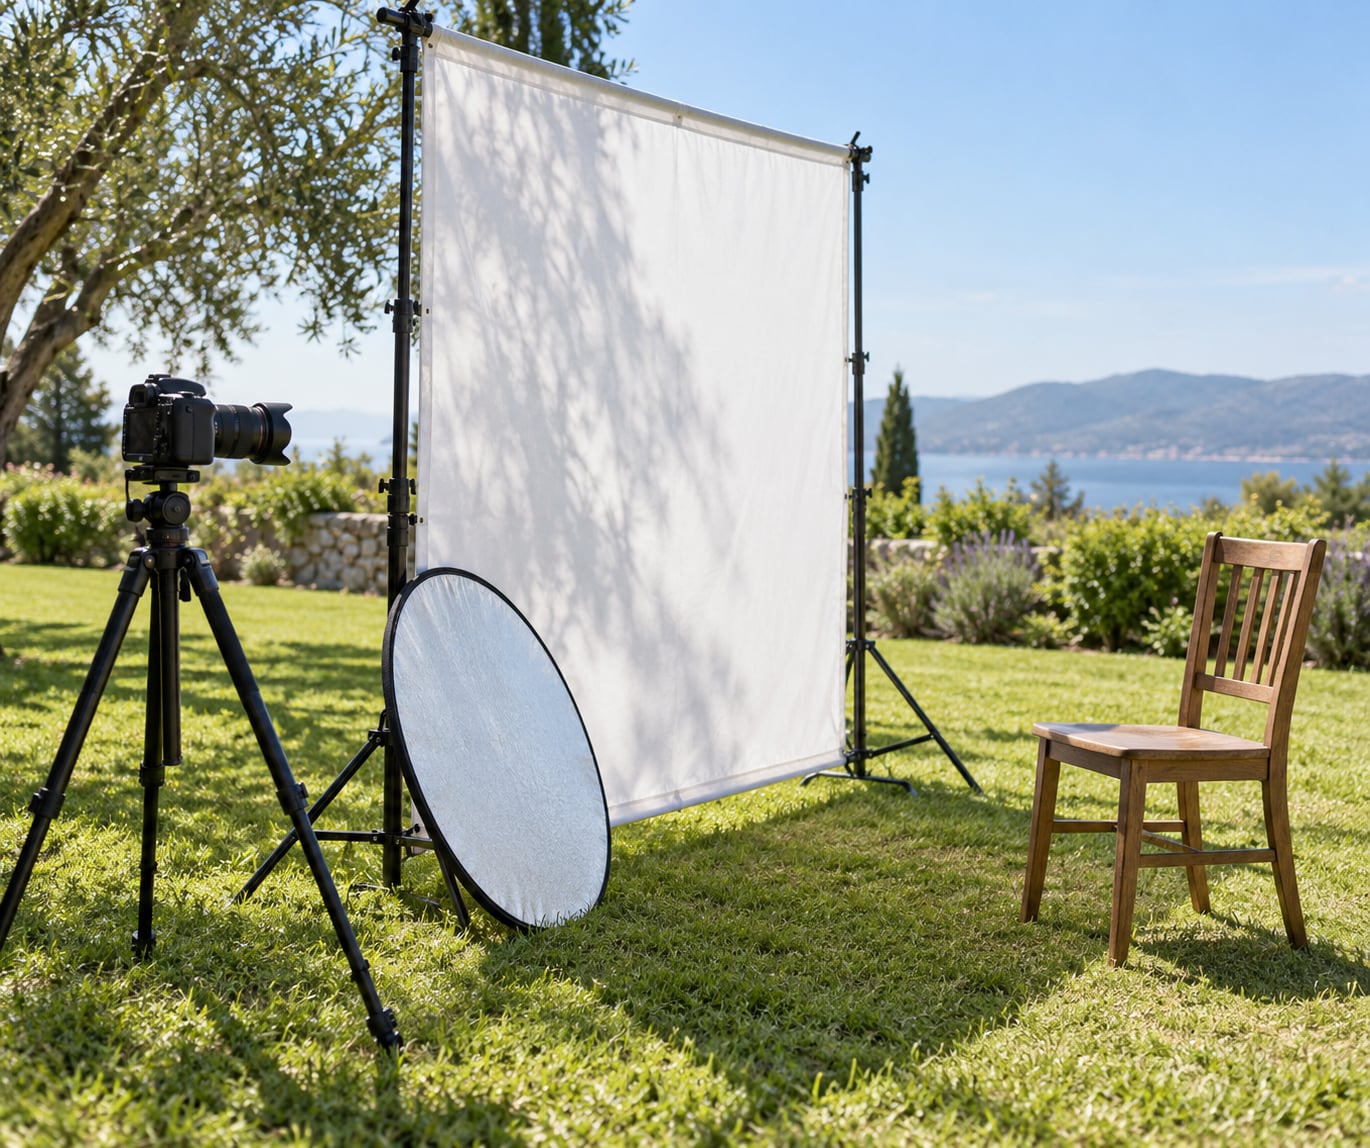
Shooting through means the panel sits between the sun and the subject, close to the sun, with the subject well back behind it. The light arrives diffused and soft from the front, and shadows fall gently behind the subject. This is the setup for midday portraits.
Shooting around means the subject stands beside the front edge of the panel so it blocks the sun from one side only. Light now comes from a defined direction, still softened but with clear shape. The tradeoff is size: a bigger panel buys more evenness, and it also gets heavier and more awkward to carry across uneven ground.
Either way, keep the sun on the camera’s side of the panel. Once the sun is behind the fabric, the subject is lit from the front and the panel is just in the way of your background exposure.
3. Match the panel to the subject
Size the scrim by what the camera sees, not by how tall the subject is. If the subject’s shoulders fall outside the panel’s shadow, part of the face gets direct sun and you get a hard line straight down the middle of the frame.
| Subject | Panel to reach for | Typical use |
|---|---|---|
| One person, head and shoulders | 3×6 ft | Headshots, casual outdoor portraits |
| One person, head to toe | 6×6 ft | On-location lifestyle work |
| Couple or small family of three | 6×6 ft | Engagement sessions, family photos |
| Group of four or more | 8×8 ft | Wedding party, group portraits |
Distance matters as much as size. Hold the panel 4 to 8 ft from the subject. Closer than that and you smother the light so the frame goes flat and lifeless; much further away and the panel shrinks into the distance until it stops reading as a big source.
4. Ballast the frame so the wind cannot take it
This is where most outdoor scrim shoots go wrong. A 6×6 fabric panel is effectively a sail, and one gust can take it flat on its face. Weight the bottom crossbar with sandbags or a heavy bag, clamp the fabric to the frame rather than letting it flap free, and pick a spot out of the wind path when you can.
If you are alone, a smaller rigid option such as a 3×6 frame or a silk on a stand will hold its shape better than a loose sheet of fabric. Ballast, then check it once more after a minute, because panels that start steady often go when the breeze picks up.
5. Add fill and re-balance the exposure
Once the sun is blocked, your subject loses the exposure reference the camera was using. Reflectors and pavement become your brightest surfaces, so put a white reflector or a 5-in-1 reflector under the subject’s chin and bounce a little light back up.
For more separation, hang the black side of the scrim or a black flag on the shadow side of the face. That removes bounce and deepens the contrast on that side, which reads as shape rather than flat grey.
6. Meter on the face, not on the sun
Set your camera to spot meter the face, or meter off the scrim itself if the face is in its shadow. Do not trust a reading taken toward the sun or the bright background, because that is how midday portraits end up with a grey face and a white sky.
Open the aperture as far as depth of field allows, keep ISO low in daylight, and set white balance from a frame taken in the panel’s shade. Sunlit readings are around 5500K, shaded ones closer to 7000K, and mixing the two gives skin that swings green.
How to Use a Scrim to Soften Sunlight Indoors
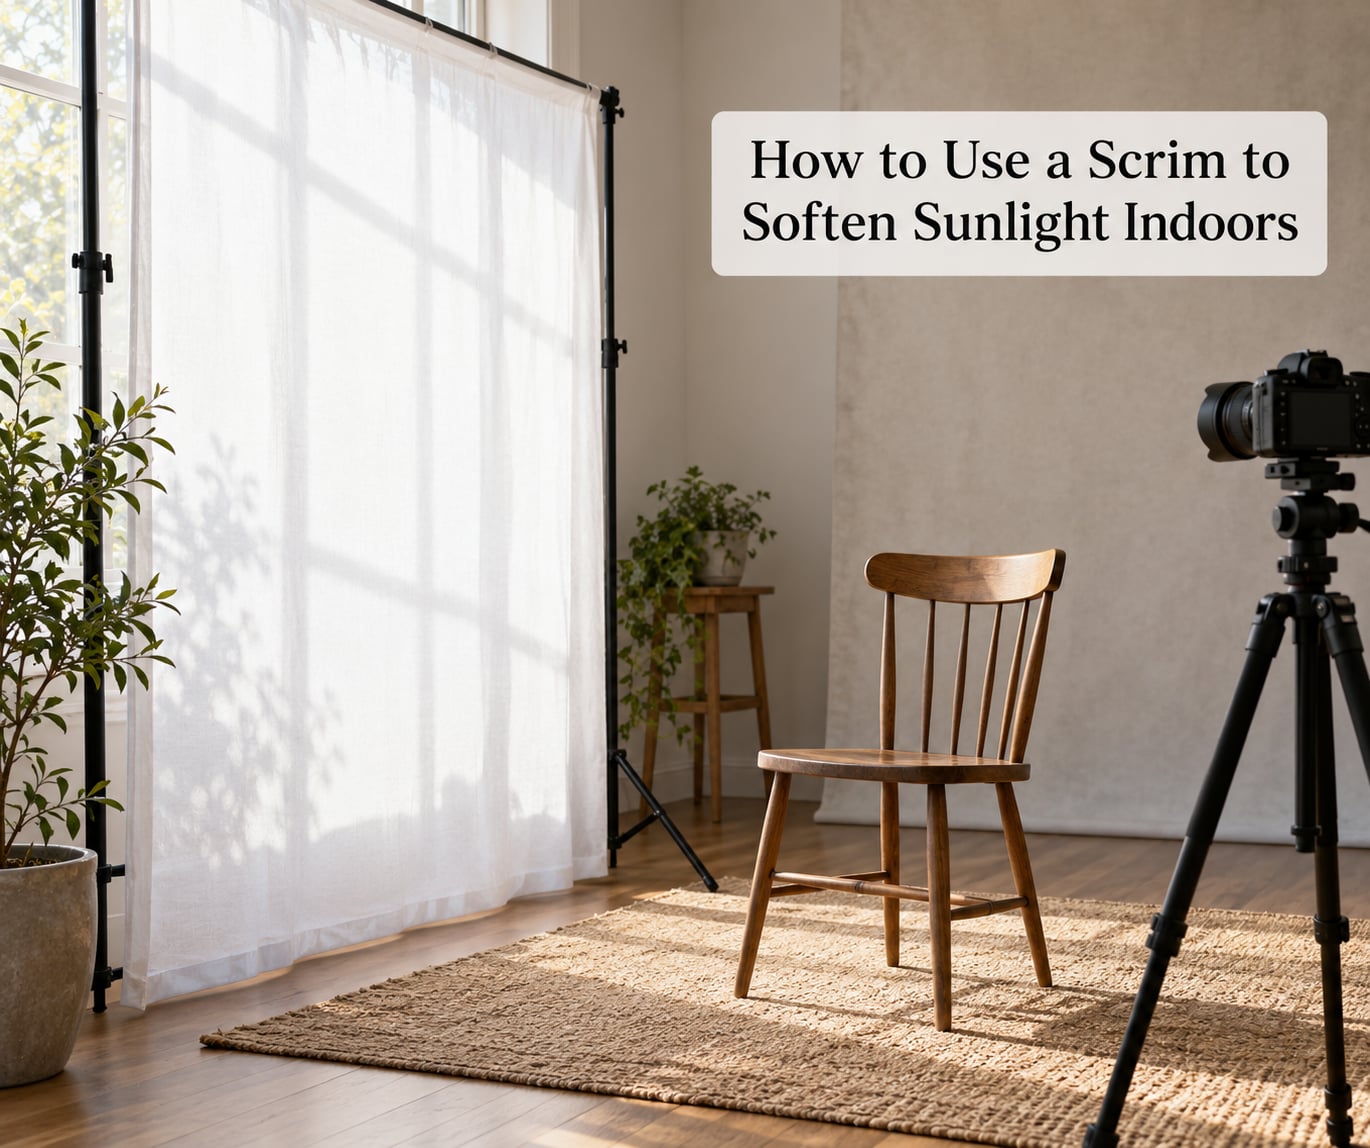
The window is just another sun, and the same rules apply. Hang the scrim on the inside of the window frame or on a stand a foot or two in front of the glass, so it sits in the light rather than touching the pane.
Keep it clear of the glass because fabric pressed against a warm window can scorch, and it leaves a visible outline in the reflection if you leave a gap. Place your subject 3 to 6 ft into the room, angled toward the panel. You will know it worked when the shadow from the window frame has vanished, the brightness across the panel is even from edge to edge, and the reflection in your subject’s eyes shows a soft rectangle rather than a blown white patch.
Common Mistakes
Standing too close to the panel. A scrim two feet from the subject acts like a wall, and the face goes grey and flat. Move back to 4 to 8 ft, or step the subject further into the open shade.
Putting the subject behind the scrim. If your subject stands between the panel and the sun, they are lit by nothing and the panel does no work at all. The sun has to be on the far side of the fabric from the subject.
Leaving the fabric loose. A slack skin flaps, twists and lets patches of direct sun through in stripes. Stretch it, clamp the edges and weight the base.
Expecting it to stop all the sunlight. A scrim only blocks light coming from the sun’s direction. Sky fill, bounce off pavement and a bright background are all still there, which is exactly why the next step matters.
Metering off the bright background. Block the sun and the background stops being a reliable exposure reference. Meter on the face or use a spot meter on the lit side.
Using a net and expecting soft light. Nets cut intensity only. If the shadow edges stay hard, you need fabric, not mesh.
Overcorrecting with strobe. If the scrimmed light reads dim against the background, add a diffused flash on the camera’s side and raise its power until the face matches. In my experience scrim plus one diffused strobe on the opposite side gives the most believable natural look in direct sun, though plenty of photographers get there with fill alone.
Frequently Asked Questions
Should a scrim be placed between the sun and the subject?
Yes, for most outdoor portraits. The sun has to sit on the far side of the fabric from your subject so the direct beam is filtered before it reaches them. If your subject stands behind the panel, they are lit only by sky and bounce, and the scrim does nothing useful. The exception is when you deliberately want shaped light from one side, in which case the subject stands beside the panel edge instead of behind it.
How far should the scrim be from the subject?
Four to eight feet works for almost every situation, and roughly 6 ft is the number most location photographers land on. Closer than 3 ft and the panel kills too much light, leaving a flat, grey face. Further than about 12 ft and the panel stops reading as a large source, so shadow edges creep back toward hard. Indoors by a window, work in the shorter range of 3 to 6 ft into the room.
Does a scrim make sunlight softer or only make it dimmer?
It does both, and the two effects come from the same object. A translucent fabric spreads the light across its whole surface, so the sun becomes a large source rather than a pin point, and the shadow edge widens into a gradual transition. Because the light is spread rather than blocked, you also lose a little intensity, which is why photographers re-meter or add fill afterwards. A net cuts intensity only and leaves shadow edges exactly as hard as before.
What material works best for an outdoor photography scrim?
Translucent white polyester or nylon, the same fabric used on softboxes, is the standard choice. It spreads light without adding much colour shift, survives being rolled up, and dries quickly if it gets damp. Avoid anything with a visible weave or a pattern, because the weave reads as a texture on your subject’s skin. On a budget, a white bed sheet stretched over a collapsible frame does the same job, though it is heavier and creases more.
How do I keep a scrim from blowing or sagging in the wind?
Ballast the bottom crossbar with sandbags or a heavy bag, clamp the fabric to the frame at several points instead of letting it hang loose, and choose a spot that is out of the wind path whenever the location allows. If you are shooting alone, a smaller rigid frame holds far better than a loose sheet of fabric. Check the setup again after a minute, since panels that start steady often shift once the breeze picks up.
When is a scrim less useful than moving the subject into shade?
A scrim is less useful on overcast days, where the sky itself is already a huge soft source and there is no hard sun to block. It is also unnecessary at golden hour, when the sun is low and naturally warm, and deep in open shade, where your subject is already in soft light. A scrim cannot block light from every direction, so if a wall or tree is throwing hard bounce light from the side, changing the subject’s position is usually faster than adding fabric.
Conclusion
The quickest version takes about five minutes. Put your subject in open shade, check whether the shadow under the brow is already soft, and only unpack the scrim if it is not.
When you do need one, hold it just outside the direct line of the sun, 4 to 8 ft from your subject, weigh the base down, and meter on the face before fine-tuning anything else. That is the whole trick, and the same two rules work on a window as well as they do in a field.