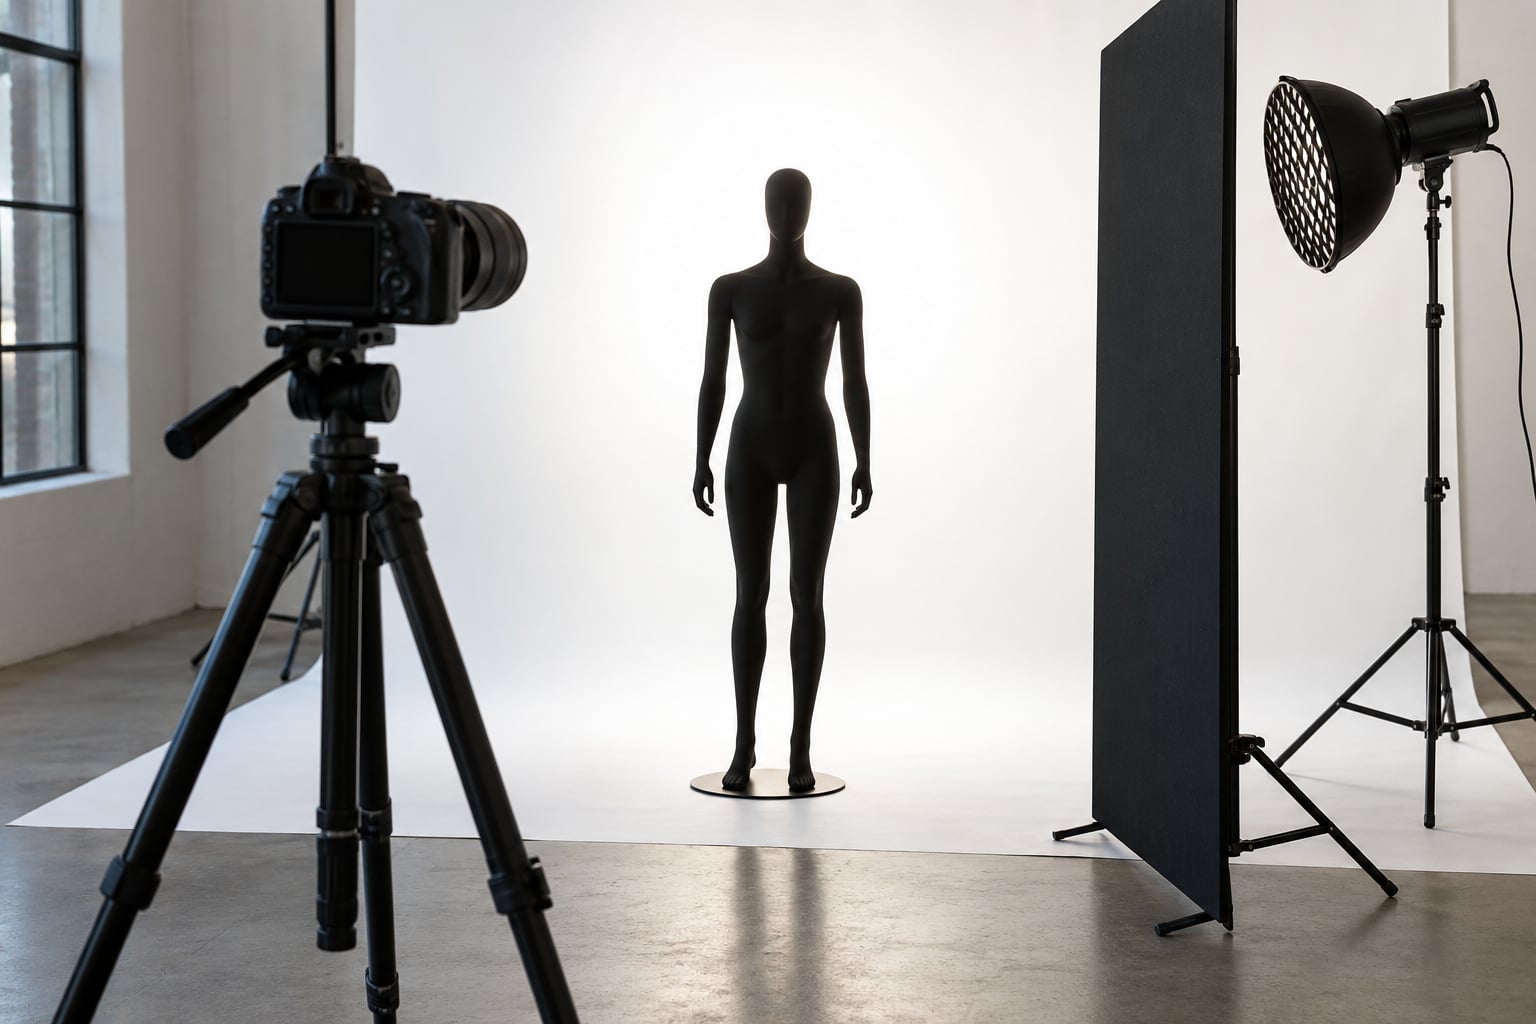
A silhouette portrait is simply a subject rendered as a dark shape by exposing for a brighter background, and when you use a strobe you aim that strobe at the backdrop behind the subject rather than at the subject. Point the flash past your subject at a white wall, meter the bright background, and the unlit person in front drops several stops into near-black. You get the drama of backlight without waiting for sunset, and you get it repeatable in a small room.
That inversion is the whole trick, and it is where most people get stuck. Every instinct from normal portrait work says light the face. Here you deliberately light nothing but the wall.
Last updated for October 2026. The settings below are a starting point for a studio strobe in watt-seconds; a speedlight uses its own power dial instead.
Table of Contents
- What You Need
- Step-by-Step: How to Shoot a Silhouette Portrait with a Strobe
- 1. Choose the Silhouette Look
- 2. Set Up the Background
- 3. Position the Strobe Behind or Beside the Subject
- 4. Add a Modifier and Control Spill
- 5. Meter for the Silhouette
- 6. Focus, Compose, and Test the Edge
- Common Mistakes
- Frequently Asked Questions
- Where should I place the strobe for a silhouette portrait?
- What aperture and shutter speed should I use for a strobe silhouette?
- Do you meter for the background or the subject in a silhouette?
- Can I make a silhouette with a speedlight instead of a studio strobe?
- Why is my silhouette not dark enough?
- Should I use a reflector or fill light in a silhouette setup?
- Conclusion
What You Need
A camera with manual mode and a sync port, plus any lens you already own. A 50mm or 85mm gives you room to stand back and keeps distortion honest at portrait distances.
For the light, a studio strobe on a light stand is the easiest repeatable option, and a single speedlight is a legitimate alternative rather than a compromise. It covers a small area, so put it close to the backdrop and expect a narrower pool of light. A bare reflector bounced into a corner works too, though you lose control of spill.
A white backdrop is the other essential item: seamless paper, a white wall, or a white foam board. Anything that returns light and holds detail works. A darker gray backdrop gives you a low-key silhouette instead of the high-key one described here.
You also want a trigger. A radio trigger on the hot shoe fires the strobe without a cable; a PC sync cable is the old-school equivalent and costs nothing. A grid or snoot, plus one or two black flags or a sheet of black foam board, handles spill. Gels for CTO or CTB color come later if you want a warm or cool outline.
Step-by-Step: How to Shoot a Silhouette Portrait with a Strobe
This is the working sequence. Set the strobe to fire, get the background bright, confirm the subject reads as a clean dark shape, and only then consider adding anything else. Photographers on lighting forums describe that exact order: dial the background in on its own, look at the silhouette, then decide whether anything else is needed at all.
1. Choose the Silhouette Look
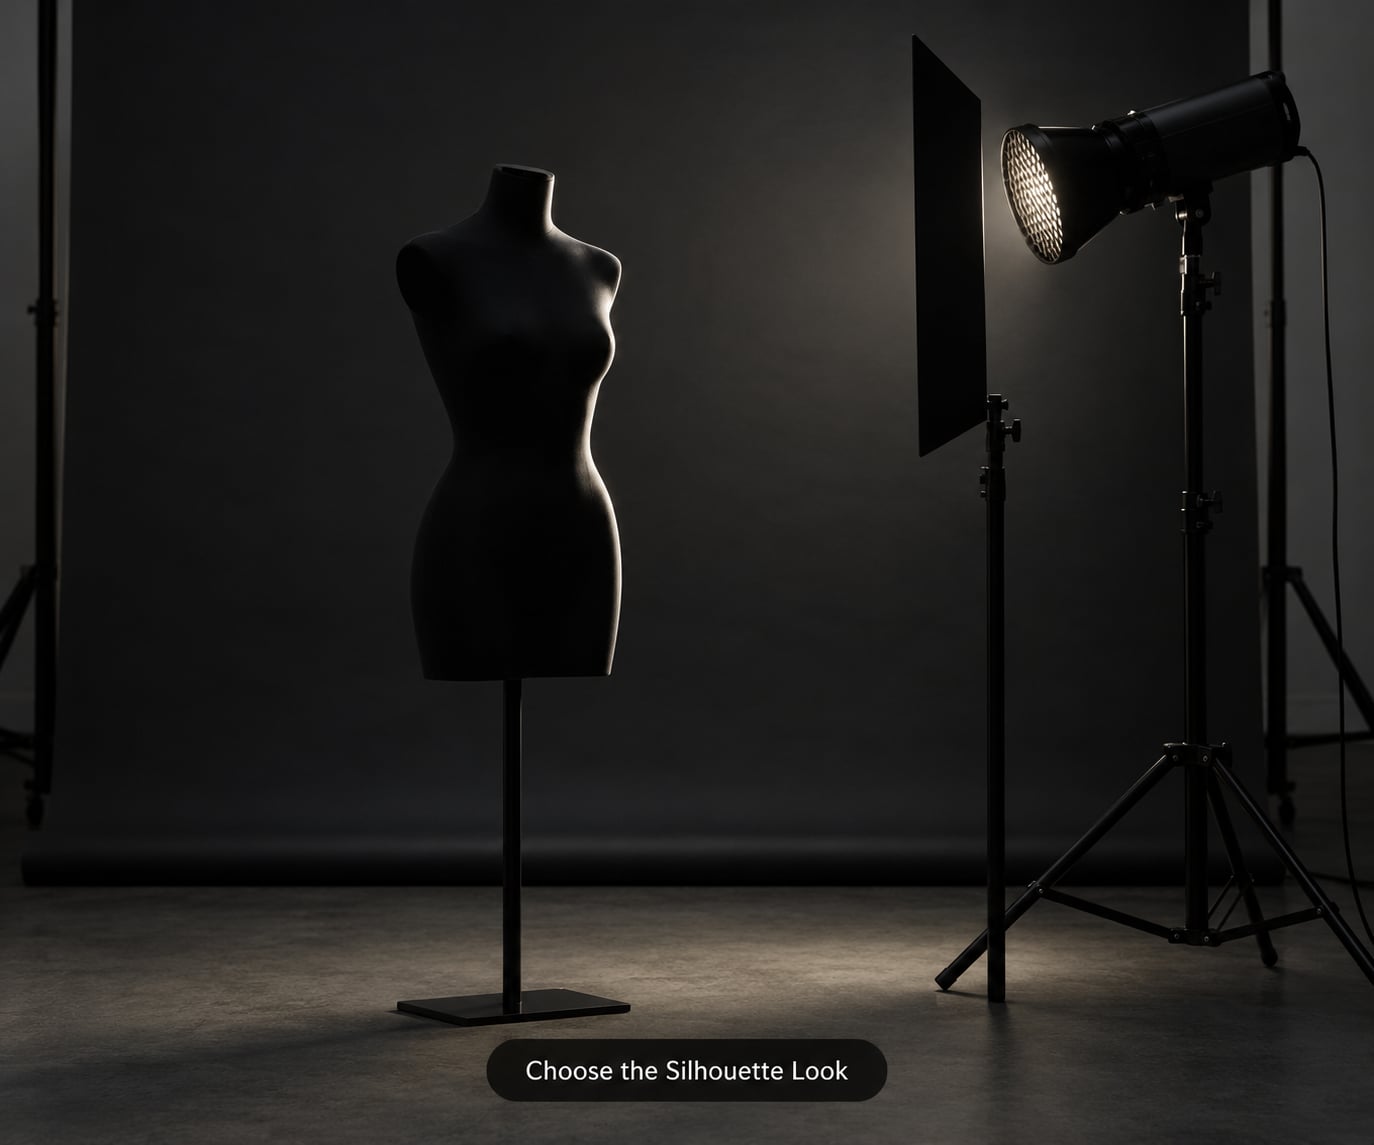
Decide whether you want a featureless black shape, a rim-lit outline, or a partially exposed portrait before you touch a light. A featureless silhouette comes from metering the brightest part of the backdrop and letting the subject fall into shadow, which is the cleanest read and the most forgiving setup.
A rim-lit silhouette adds a thin bright edge along the hair, shoulder, or nose. That edge appears when the strobe sits behind and slightly to one side of the subject, close enough that light wraps past the outline. It looks great when it is thin and annoying when it is thick.
A partially exposed silhouette underexposes by about two stops instead of four, keeping a hint of skin tone or fabric texture. Shoot RAW so you can decide later rather than committing now.
2. Set Up the Background
Put the white backdrop about 1.5 to 2 metres behind your subject. Farther back and the strobe has to work harder to fill it evenly, which pushes you toward a flat, glowing rectangle with a hard edge.
Kill the ambient light in the room before you start. Close the door, block the window, turn off overheads. Any stray light landing on the front of your subject raises the black level and turns the silhouette gray, which is the single most common complaint in silhouette threads.
Check the background with the subject out of frame. It should read as an even, bright field from edge to edge with a gentle falloff, brightest where the strobe points. If you can see the outline of the light pool, move the strobe farther back or narrow the beam.
3. Position the Strobe Behind or Beside the Subject
Aim the strobe at the backdrop from behind the subject, roughly 30 to 45 degrees off the camera axis and slightly above head height. Side placement gives you a rim on one side only, which reads as directional and dramatic; straight behind gives a symmetric halo.
The strobe should sit closer to the backdrop than the subject is. Light falls off with the square of distance, so a strobe placed halfway between the subject and the wall delivers roughly four times as much light to the wall as to the subject. That gap is what keeps the face dark.
Move the subject a couple of steps toward the camera from the wall if the outline looks too soft, and push them back toward the wall if you want a tighter, more graphic separation.
4. Add a Modifier and Control Spill
Fit a grid or a snoot when the beam is spilling past the edges of your backdrop and lighting the room. A grid narrows the beam to about the coverage you need, which lets you run lower strobe power and keeps the wall from blowing out.
Barn doors or two black flags solve the same problem in a cheaper rig. Position them so you can see the edge of the beam on the wall and nothing beyond it. If you are using a softbox, treat it as a large source and flag the front so it does not kick light back onto the subject’s front.
For negative fill, hang a black sheet on the camera side of the subject. It absorbs stray light and deepens the black, and it costs almost nothing. Watch the rim: if a bright fringe outlines the whole subject, move the strobe a little farther behind or flag the near side.
5. Meter for the Silhouette
Switch the camera to manual mode and metering to spot. Aim the spot circle at the brightest part of the lit backdrop and adjust until the meter reads zero. Spot metering reads only that small area, so the dark mass of the subject cannot drag the exposure down the way matrix or evaluative metering will.
A starting point: f/8, 1/200s, ISO 100, strobe at roughly half power on a 200 to 400 watt-second head. Strobe power is your primary control variable. Open the aperture or lift ISO if you need more depth of field or a brighter wall, but change one thing at a time.
Use the histogram rather than the rear screen. You want the wall just shy of clipping with a small highlight spike, and you want the subject’s tones crushed into the shadow end. A half-press meter reading on the background, then reframing, works if you are on semi-auto, but manual is faster once you know the numbers.
6. Focus, Compose, and Test the Edge
Focus manually on the subject’s near edge, then step back and check the outline against the bright wall. If the edge is soft, move the focus point forward a few centimeters. Silhouettes live or die on edge definition, so shoot RAW and stop down to f/8 or tighter for the whole session.
Leave negative space on the side the subject faces, and keep the outline free of clutter behind it. A hat brim, a raised arm, or a hand away from the body creates recognisable shape; arms hanging straight down usually produces an unreadable blob.
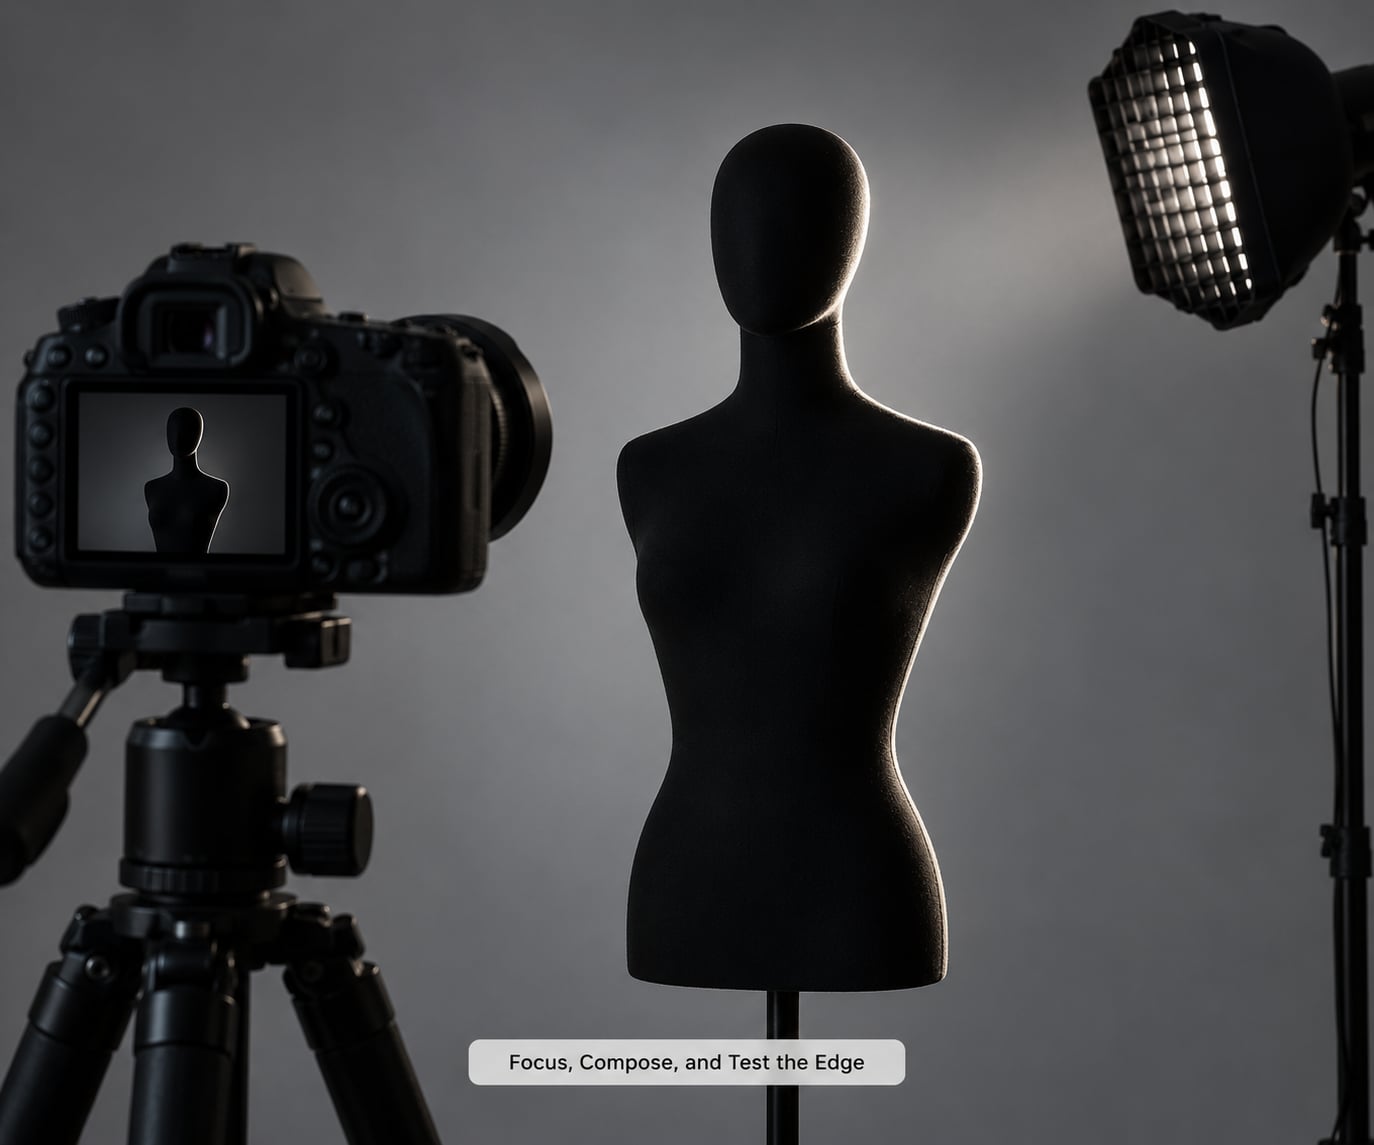
Take a test frame, zoom in on the edge at 100 percent, and look for a halo. Then move the strobe about 30 centimeters and fire again. That small repositioning changes the rim more than any amount of editing will.
If the subject is moving, set rear-curtain sync so the flash fires at the end of the exposure. You get a sharp silhouette with motion blur trailing behind it instead of a frozen figure with a smeared background.
Common Mistakes
The subject is gray, not black. Ambient room light is landing on the front of the subject, or the camera is averaging the frame. Blackout the room, switch the camera to spot metering, and meter the backdrop rather than the person.
A bright halo surrounds the outline. The strobe is too far to the side, so light wraps past the profile. Push it further behind the subject or flag the near side with black card.
The background is a flat rectangle with visible edges. The beam is too wide or the strobe is too close. Add a grid, step the strobe back from the wall, or move it off-axis until the falloff runs off the frame.
The wall is blown out and textured like paper is gone. You have more power than the dynamic range needs. Drop a third to a stop of strobe power before touching the camera. Undershooting the wall keeps it clean without losing the silhouette.
The edge is soft. Autofocus locked on the wall behind the subject. Switch to manual focus, focus on the nearest part of the subject, and verify at 100 percent.
You are shooting at noon outdoors and the strobe is losing. Direct sun is several stops brighter than any portable strobe, and no gel fixes that. Move into shade, shoot at the edge of a building, or wait for the sun to drop. A silhouette made against open midday sky with a small flash is a losing bet.
You underexposed hard and still got a lit face. Then the effect is not lighting, it is exposure. A partially exposed portrait is a different choice from a silhouette, and no amount of underexposing turns front light into a rim.
Frequently Asked Questions
Where should I place the strobe for a silhouette portrait?
Place the strobe behind the subject, aimed at the backdrop and positioned closer to the wall than your subject is. A 30 to 45 degree angle off the camera axis gives you a rim on one side, while straight behind produces a symmetric halo. Because light falls off with the square of distance, that head start on the wall is what keeps the front of your subject dark.
What aperture and shutter speed should I use for a strobe silhouette?
Start at f/8, 1/200s and ISO 100, with the strobe at roughly half power. That combination gives you a sharp edge and enough depth of field that the subject and the wall are both acceptable. Treat strobe power as your main dial: raise or lower it to place the backdrop just under clipping, then leave the camera settings alone. Shoot RAW so you can adjust later.
Do you meter for the background or the subject in a silhouette?
Meter for the background, always. The subject receives almost no light, so exposing for it produces a dim gray figure with no contrast. Set the camera to spot metering and place the meter circle on the brightest part of the lit backdrop until the needle sits at zero. Matrix and evaluative metering average the dark subject into the reading and flatten the effect.
Can I make a silhouette with a speedlight instead of a studio strobe?
Yes, and it is a completely legitimate way to work. Put the speedlight on a small stand close to the backdrop, aim it at the wall, and fire it with a radio trigger or optical slave. Its beam is narrow, so expect a smaller pool of light and keep the subject within about a meter of that pool. Most of the steps are identical.
Why is my silhouette not dark enough?
Two causes account for almost every gray silhouette: ambient light reaching the front of the subject, and matrix or evaluative metering pulling the exposure down toward the dark figure. Close the door, block the window, hang a black sheet on the camera side as negative fill, then switch to spot metering on the backdrop. A rear strobe position helps too, since it delivers far more light to the wall than to the subject.
Should I use a reflector or fill light in a silhouette setup?
No fill belongs in a clean silhouette, because anything that reaches the front of your subject raises the black level. A white reflector bounces light back into the shadow side and works against you here. What you want instead is negative fill: black card or a black sheet on the camera side to absorb stray light. Add a second strobe only when you deliberately want a rim-lit variation.
Conclusion
Start with three moves: put the strobe behind the subject aimed at the backdrop, place the subject 1.5 to 2 metres in front of that backdrop, and meter the brightest part of the wall in spot mode at f/8, 1/200s, ISO 100. Once the outline reads as a clean dark shape, refine it: add a grid or flags to kill spill, hang black card on the camera side for negative fill, and move the strobe a few centimeters at a time until the edge looks the way you want.
Work the background first and add nothing to the subject. That restraint is what separates a silhouette from a dark, badly lit portrait.