A corporate headshot session goes smoothly when you treat it as a repeatable production line rather than a series of one-off portraits. You set the light, background, and camera settings once, then run every subject through the same short sequence so the finished set looks like it came from a single afternoon. Most of the work happens before anyone walks in the door.
This guide covers the full workflow, from the intake questions you send the client to the delivered folder. Budget roughly four hours to shoot ten people in a small room, and expect 30 to 45 minutes per person including wardrobe changes and a look at the images on screen.
Table of Contents
- What You Need
- Step-by-Step
- 1. Confirm the Headshot Goals and Delivery Plan
- 2. Prepare the Background and Lighting
- 3. Check Exposure, Focus, and Color
- 4. Direct the Subject Comfortably
- 5. Capture Varied but Consistent Poses
- 6. Make Subtle Adjustments Without Losing the Expression
- 7. Review Images and Capture a Consistent Selection
- 8. Retouch, Export, and Deliver the Headshots
- Common Mistakes
- Frequently Asked Questions
- What is the most common lighting setup for professional headshots?
- Can I use natural light for headshots?
- How do I keep headshot lighting consistent between people?
- How should I pose someone for a corporate headshot?
- What colors not to wear for a headshot?
- How many images should I deliver per person?
- Start With the Intake Form, Not the Light
What You Need
A corporate headshot session needs far less gear than a full portrait setup, because the frames are tight and every subject sits in the same spot. Here is the minimum viable kit, plus what each piece is doing for you.
- A camera with a tilt screen. A tilt screen lets you frame low and high without crouching, which matters more than raw resolution when you are shooting twenty people in an hour.
- An 85mm or 105mm lens. Anything from 70mm up keeps facial proportions honest. A 50mm is workable, but you have to stand closer and the nose grows.
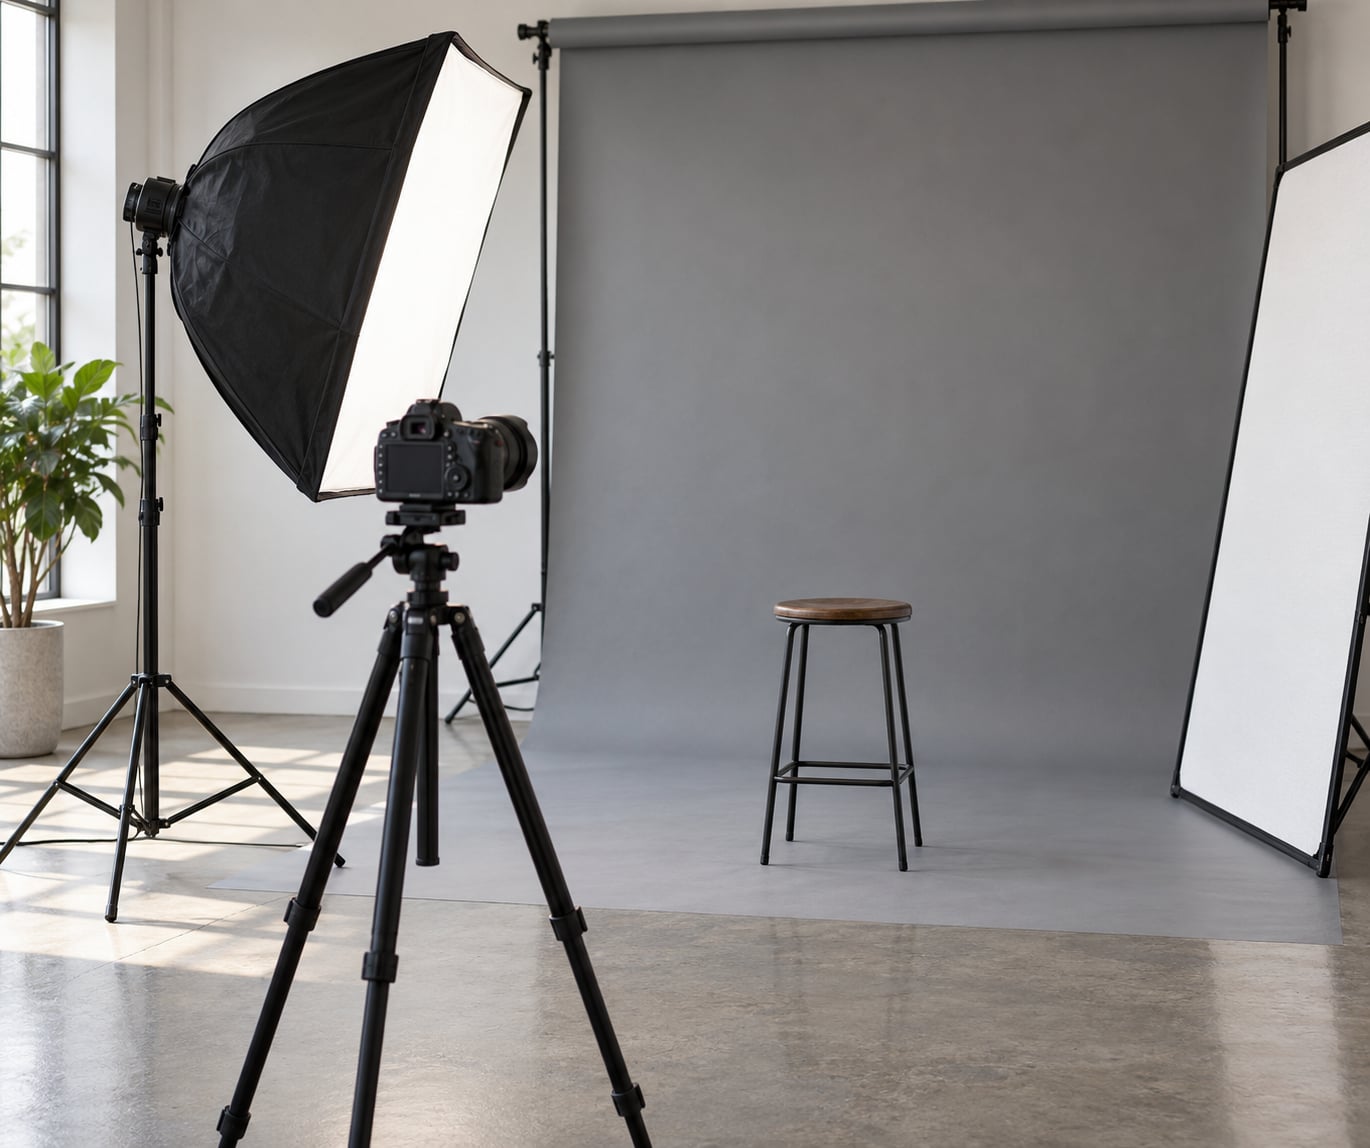
- One light with a large modifier. A strobe or continuous LED with a softbox or shoot-through umbrella gives you the soft, even wrap that corporate clients expect.
- A white reflector. It sits opposite the key to lift the shadow side. A piece of white foam board works in a pinch.
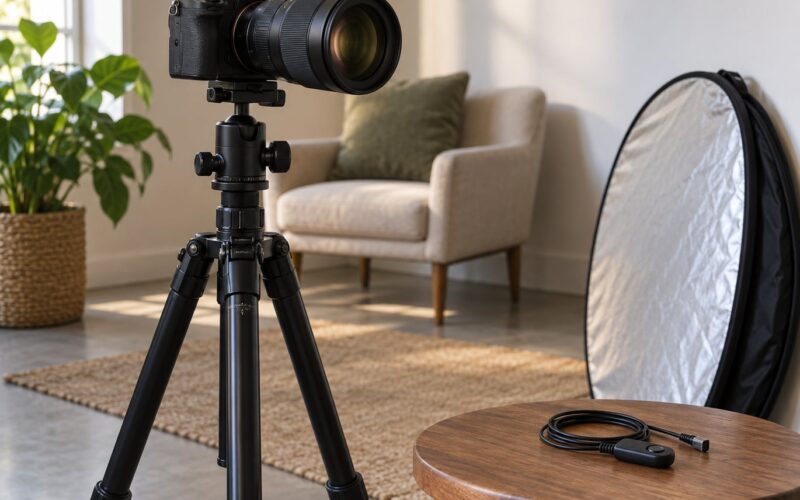
- A tripod. Once the framing is right, the tripod is what stops it drifting from person to person.
- A backdrop. A roll of grey, white, or light blue paper with a stand keeps the tone identical for everyone.
- A laptop and tethering cable. Reviewing on a big screen in front of the subject is the fastest way to stop the second-guessing.
- A clip-on lavalier mic or shotgun. Small talk fills the pauses while you sort the previous frame.
If you are working in an office, an off-camera flash is the easiest single-light option to carry through a building, though it has a real learning curve for beginners and takes practice to keep the falloff even across a room. If you are in a studio, add a low-power back light at the end of the day to separate dark hair from a dark backdrop.
Step-by-Step
1. Confirm the Headshot Goals and Delivery Plan
Before the shoot, ask the client where the images will live and what shape they need to be. LinkedIn wants a square crop with the head in the upper third, a website bio page usually wants 4:5, and press kits want a high-resolution file at 300 dpi. Getting those answers now prevents the most common complaint, which is a set of technically good images that nobody can use.
Also settle the numbers in writing: how many looks per person, whether you retouch, what the turnaround is, and how many finished files land in the delivery. If the company has a brand guideline, ask for it, because many corporate directories mandate a specific background colour and crop.
You know this step worked when the client can describe the finished file without guessing.
2. Prepare the Background and Lighting
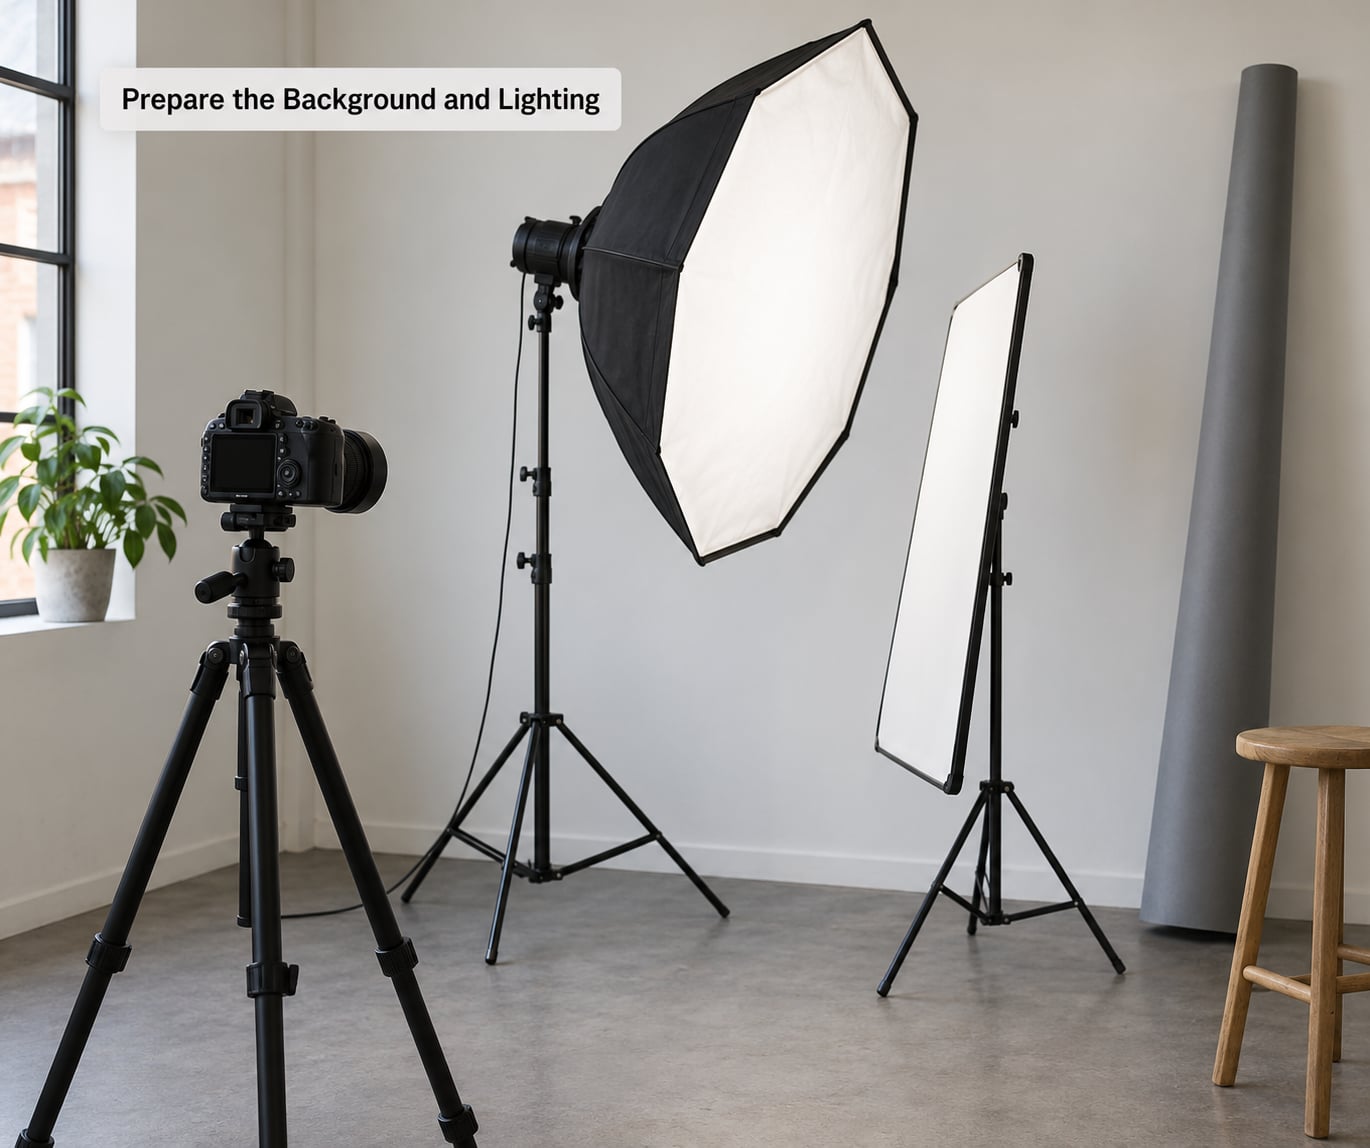
A corporate headshot session runs on one key light placed about 45 degrees to the side and slightly above eye level, softened by a large modifier. That angle keeps both eyes lit without flattening the face. Too high and the subject gets under-eye shadows that no amount of retouching fixes properly.
Here is the plain-language version. The key light is your main light and the only one that matters for exposure. The fill light lifts the shadow side, and a white reflector is the cheapest fill there is. The back light sits behind the subject and puts a rim on the hair so a dark head does not merge into a dark background.
Kill the overhead fluorescents before you start if you are in an office. They drop a green cast across skin that no white balance correction fully rescues, and they are the reason so many office headshot sets look flat and slightly sickly.
You know this step worked when a grey card or white sheet in the frame reads neutral and the shadow under the nose is soft, not hard-edged.
3. Check Exposure, Focus, and Color
Set everything manually before the first subject arrives, and never touch it again during the session. Manual settings are the single biggest reason a twenty-person set looks consistent, because auto modes make small decisions that vary with each person.
| Setting | Starting point for a corporate headshot |
|---|---|
| Focal length | 85mm, or 105mm for more working distance |
| Aperture | f/4 to f/5.6, enough depth of field for glasses and both ears |
| Shutter speed | 1/160 to 1/200s, at or under your flash sync speed |
| ISO | ISO 100 |
| White balance | Fixed, set against a grey card under your final light |
| Focus | Single-point autofocus on the near eye, or back-button focus with a taped mark |
Take a test frame with your stand-in before anyone arrives and check the histogram, not the back of the camera. Shoot a grey card first, then the face, then check that skin tones sit where you want them.
You know this step worked when you can put a new subject behind the mark and the histogram looks the same as the test frame.
4. Direct the Subject Comfortably
Most people have never been told what to do with their face during a headshot, so the job is mostly telling. Keep directions short and physical, give one instruction at a time, and shoot between them rather than waiting for the subject to perform.
Start with the basics: feet planted, shoulders dropped and turned slightly away from camera, chin forward and down a few millimetres. Then talk rather than pose. Ask them to think of a person they like and hold that thought, because a smile that arrives on cue looks like a sales photo, and a small real one does not.
Aim for a neutral expression first and a smile second. Many corporate programmes want the serious version as the primary frame, and it is much harder to dial down a forced smile than to lift a neutral one.
You know this step worked when the subject stops asking what they should do and starts reacting to you.
5. Capture Varied but Consistent Poses
Variety comes from small changes, not from moving the lights. Across a corporate headshot session, change one variable at a time: head angle, then shoulder line, then expression, then gaze. The lighting, framing, and background stay exactly where they are.
A workable shot list per person is around ten frames. Two neutral with eyes to camera, two with the head turned 20 to 30 degrees, two with a closed-mouth smile, two with a full smile, one three-quarter pose for a website, and one with the eyes off camera for anyone who hates direct eye contact. Then move to the next person.
You know this step worked when your crop on the next subject lines up with the crop on the first without a single adjustment to the tripod.
6. Make Subtle Adjustments Without Losing the Expression
Every adjustment should be small and made while you are already shooting. Long explanations between frames kill the energy, and the subject goes back to their default self-conscious face the moment you stop.
Turn the head a few degrees further, bring the chin forward a touch, drop the near shoulder half an inch. Short lighting, where the side of the face turned toward camera is the shadowed side, broadens the face and is the safer default. Broad lighting flips that and is worth using deliberately on a subject with a narrow face.
If glasses catch the light, tilt the frames slightly down or move them a hair up the nose until the reflection leaves the eyes, or angle the key a few degrees to move the reflection off the lenses. If someone has natural greying or very dark hair, resist the urge to even it out in retouch, because both read as authentic and both show up in a bad corporate set as exhaustion.
You know this step worked when the subject says the last frame looked better than the first.
7. Review Images and Capture a Consistent Selection
Review on the tethered screen, out loud, so the subject knows what is being chosen and why. Star the frames as you go rather than sorting later. For each person you want one neutral frame, one smiling frame, and one three-quarter frame, all with the same background tone and the same head size in frame.
Consistency is judged by comparing images side by side, so a slightly darker image of one person and a slightly warmer image of the next will read as a mistake even if both are technically well exposed. Correct at the selection stage rather than in the retouch queue.
You know this step worked when you can lay ten finals out in a row on a single screen and nothing looks out of place.
8. Retouch, Export, and Deliver the Headshots
Corporate retouching should be invisible. Remove temporary blemishes, stray hairs, a shine patch on the forehead, and the reflection in a pair of glasses. Do not reshape a face, erase every line, or clone away the difference between two siblings on the same team photo. Over-retouched corporate portraits now look dated, and employees recognise themselves, which is the whole point.
Export the crops the client actually asked for: square for LinkedIn, 4:5 for the bio page, 16:9 for a website banner, plus a high-resolution press file at 300 dpi. Name files predictably, for example lastname_firstname_2026, so the office manager does not have to rename two hundred images by hand. Deliver through a private gallery or a single download link with a stated expiry, and send a low-resolution batch the same day so nobody is waiting a week to see whether their photo is any good.
You know this step worked when the client opens the folder and needs to ask you nothing.
Common Mistakes
Flat, shadowless lighting. A reflector on both sides of the subject gives you a face with no shape. Fix it by dropping the fill on the shadow side to about one stop under the key and leaving the shadow visible.
Stiff posing. Squared shoulders and a chin tucked down read as a mugshot. Turn the body 20 to 30 degrees from camera, extend the neck forward slightly, and keep the weight on the back leg.
Drifting light and background. If you adjust the key for every person, nobody looks alike. Set it once, mark the stand position on the floor with tape, and re-mark it if it moves.
Distracting clothing. Bold stripes, large logos, fine busy prints, and pure white shirts pull attention away from the face. Say so in the intake form, and bring a lint roller and a safety pin to the session for the mistakes.
Over-retouching. Plastic skin is the fastest way to make a headshot look untrustworthy. Keep texture, keep lines, fix only what a good retoucher would fix on a friend.
Mismatched crops. Heads at different sizes in the same directory look like the photos were stolen from different companies. Fix by measuring head height in pixels in your first frame and matching it for every subject after that.
Two habits cover most of that list. Show the subject the image on screen early so they stop fighting it, and write your settings down on the back of the shot list. A run of twenty people will drift by a third of a stop by subject fifteen if you do not.
Frequently Asked Questions
What is the most common lighting setup for professional headshots?
The most common setup is a single key light at roughly 45 degrees to the side and slightly above eye level, softened with a large softbox or shoot-through umbrella, plus a white reflector opposite as fill. Practitioners describe this as the practical default because it is fast to set up and repeats well. Add a low-power back light only when dark hair needs separating from a dark background.
Can I use natural light for headshots?
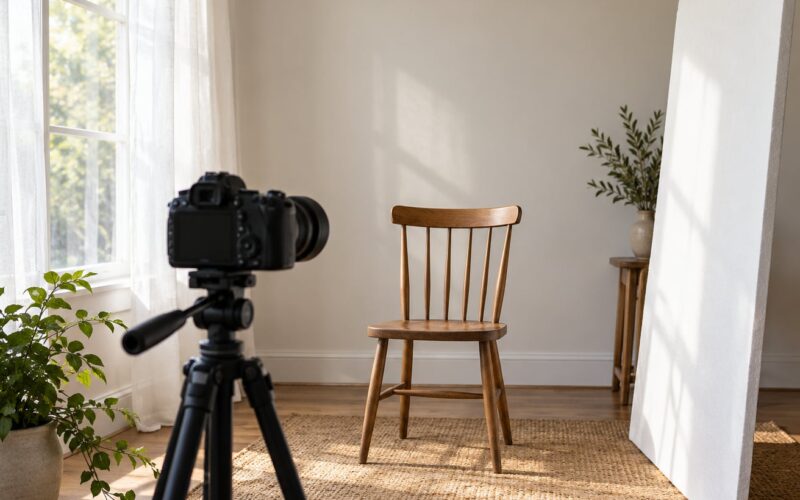
Yes, and a north-facing window with a sheer curtain over it works well for a small office shoot. Turn the subject about 45 degrees to the window so the light wraps rather than hits flat. Watch for two problems: hard sun patches that move during the session, and a background that goes from bright to dark as the day changes. Consistency matters more than prettiness here.
How do I keep headshot lighting consistent between people?
Set the lights, the backdrop, and all camera settings before the first subject arrives, and treat them as fixed for the rest of the session. Tape the floor so stands stay in position, keep white balance on manual, and check a grey card at the start and halfway through. If light has drifted, correct it before you shoot rather than fixing it later in software.
How should I pose someone for a corporate headshot?
Turn the body 20 to 30 degrees away from camera, drop the shoulders, and extend the neck forward a few millimetres so the chin sits slightly forward and down. Angle the head back toward the lens to keep the eyes engaged. Keep gestures small and give one instruction at a time, shooting between instructions so the expression stays natural instead of fixed.
What colors not to wear for a headshot?
Avoid pure white shirts, bright saturated reds and oranges, bold stripes, large logos, and fine busy patterns, because all of them pull attention away from the face. Mid to dark neutral tones photograph most reliably, and mid-blue works well in a business context. Send this list in the intake form rather than mentioning it at the door, so nobody has to change in a conference room.
How many images should I deliver per person?
Three is the working number: one neutral, one smiling, and one three-quarter frame, each delivered in the crops the client asked for. More than five starts to look indecisive, and executives rarely want to choose. Deliver a low-resolution preview of everyone the same day and the finished set on the agreed turnaround date.
Start With the Intake Form, Not the Light
Photographers worry most about gear, and the gear is rarely the problem. A corporate headshot session comes together when the client has told you where the images are going, the subject knows what to wear, and every setting is locked before the first person sits down.
Send the intake form a week ahead, set the light once, and run the same ten-frame shot list for everyone. Do that and the twentieth person looks as considered as the first.