To set up custom camera settings for portraits, you configure the camera exactly how you want it to shoot a headshot, then register that configuration into a slot like C1, C2 or C3. Turning the mode dial to that slot recalls every setting at once, so you stop rebuilding a setup from zero at every session. It takes about 20 minutes per profile, most of it spent testing in real light.
The reason I bother with custom modes is embarrassingly simple: I once showed up for a paid outdoor session, shot twelve frames in a row, and realized every one was a JPEG with the wrong white balance. Recovering those was not possible. Registering a profile that cannot produce a JPEG by accident removes that whole class of mistake.
Below is the order I use. Configure first, register second, test in three lighting conditions third, and only then build the next profile. If you want the short version, the baseline profiles further down are the whole setup on one screen.
Table of Contents
- What You Need
- Step-by-Step: How to Set Up Custom Camera Settings for Portraits
- Choose a Portrait Shooting Mode
- Set the Aperture for Your Look
- Set Shutter Speed and ISO
- Set Focus Mode and Focus Point
- Set White Balance, Exposure, and Image Quality
- How to Save Custom Camera Settings for Portraits on Any Brand
- Common Mistakes
- Common Portrait Camera Settings to Troubleshoot
- Frequently Asked Questions
- What is the best starting setup for portrait photography?
- Should I use manual mode or aperture priority for portraits?
- What aperture should I use for a portrait?
- How do I keep portrait photos sharp with a slow shutter speed?
- Should I use eye-detection autofocus for portraits?
- How do I save custom camera settings for portraits?
- Conclusion
What You Need
You need very little to get started, but a few things make the testing meaningful rather than theoretical.
- A camera body with custom mode slots. Most bodies have three (C1, C2, C3). Fujifilm bodies typically give you seven slots, which is why hybrid shooters often pick that brand for configuration depth.
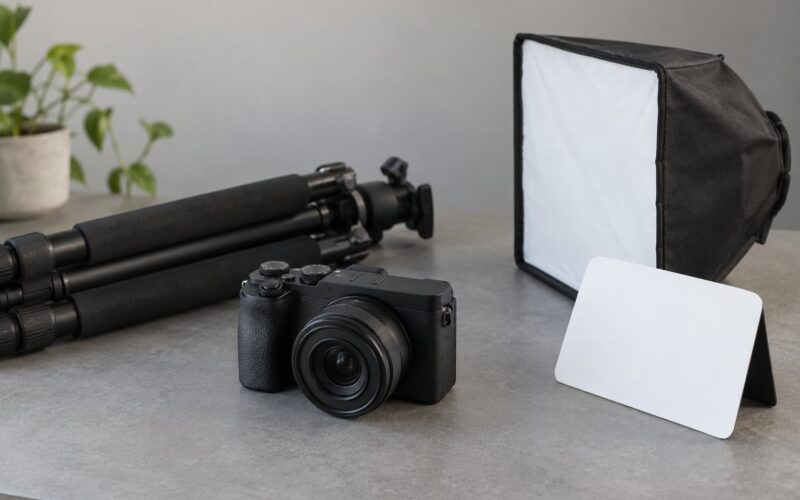
- A portrait lens. An 85mm f/1.8 or similar gives you a comfortable working distance and enough light for handheld shutter speeds. A wide zoom is fine for testing.
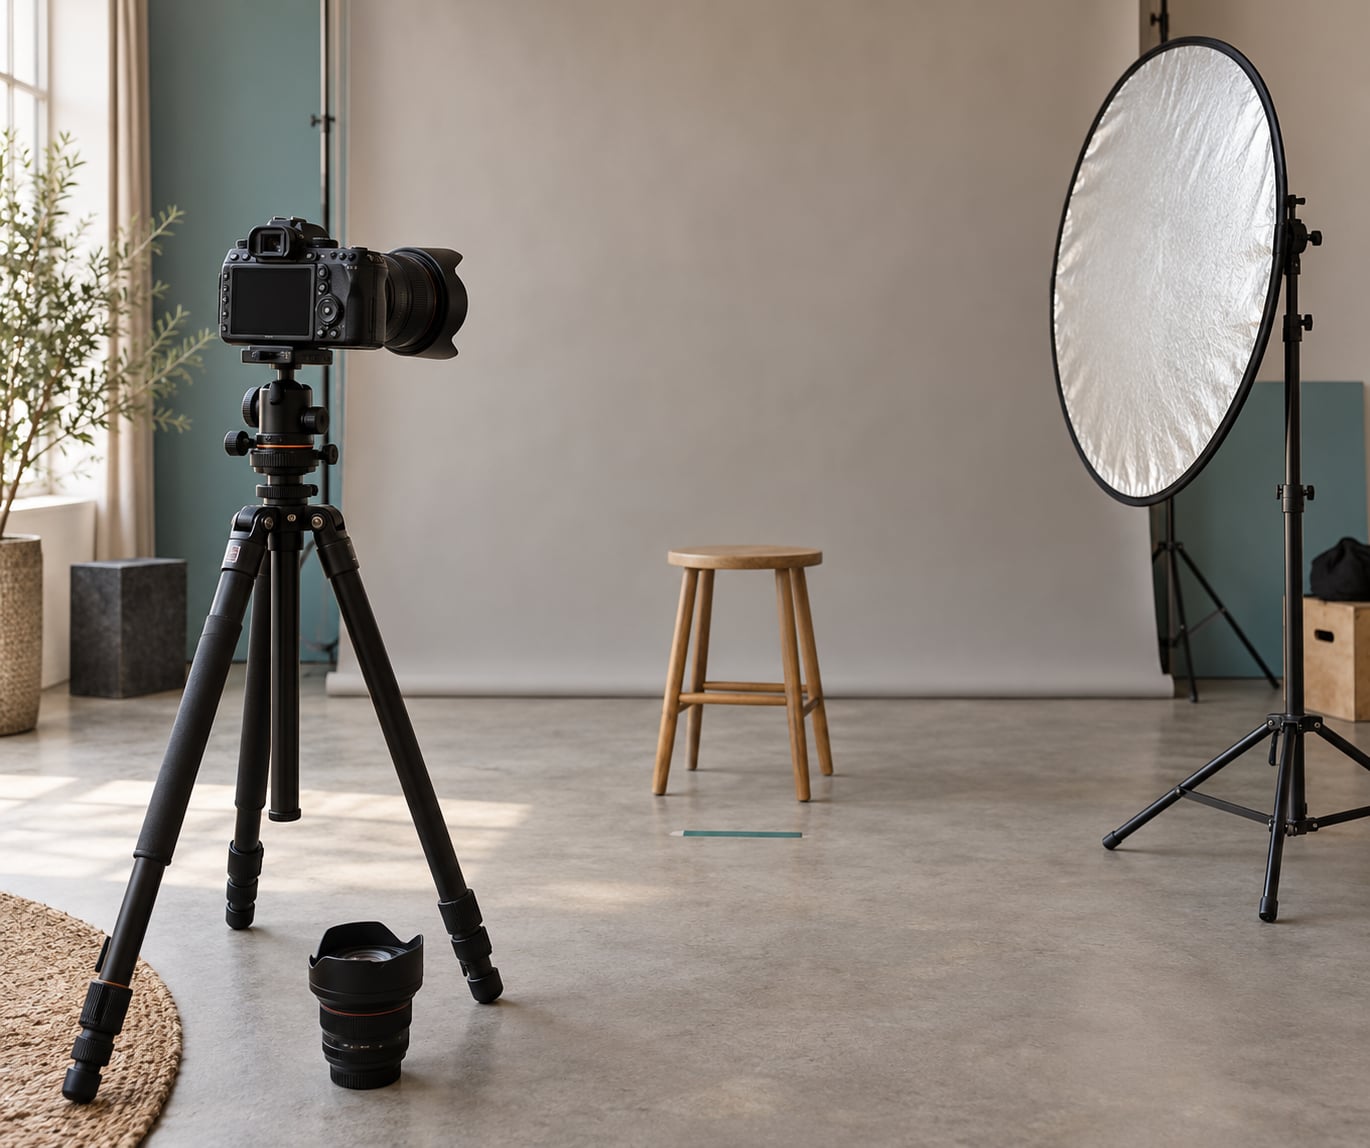
- A light source and a reflector. One strobe, one window, or one continuous light is enough. The reflector fills the shadow side so you can judge skin tone honestly.
- A grey card or white sheet of paper. You need a neutral reference for the white balance stage.
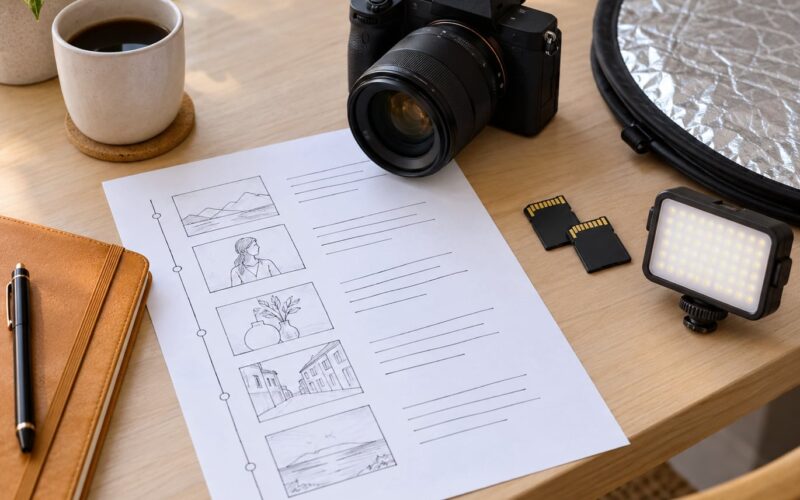
- A spare card and ten minutes in three places. Outdoors in sun, outdoors in shade, and indoors under your own light. That is where the profile gets proven.
Have a stand-in or mannequin nearby if nobody is around. It is much easier to judge focus behaviour and framing when you can shoot without a person waiting on you.
Step-by-Step: How to Set Up Custom Camera Settings for Portraits
Choose a Portrait Shooting Mode
Start in aperture priority (Av on Canon and Nikon bodies, A on Sony, Fv or a dedicated aperture slot on some Fujifilm models) for your baseline profile. It fixes the look you care about most, depth of field, while letting the camera handle the rest of the exposure. That combination is the single most useful thing to learn for portraits in changing light.
Use manual mode instead when the light is under your control, which in practice means a studio with strobes or continuous lights. Once the power is set, the exposure stops drifting, and every frame matches the test shot you approved. Photographers on camera forums consistently run their studio slot in manual for exactly this reason.
For moving subjects, shutter priority in your third slot gives you a guaranteed shutter speed with the aperture chosen for the depth of field you want. The mode you are in when you register is the mode the camera restores, so pick deliberately rather than leaving whatever happened to be selected.
Set the Aperture for Your Look
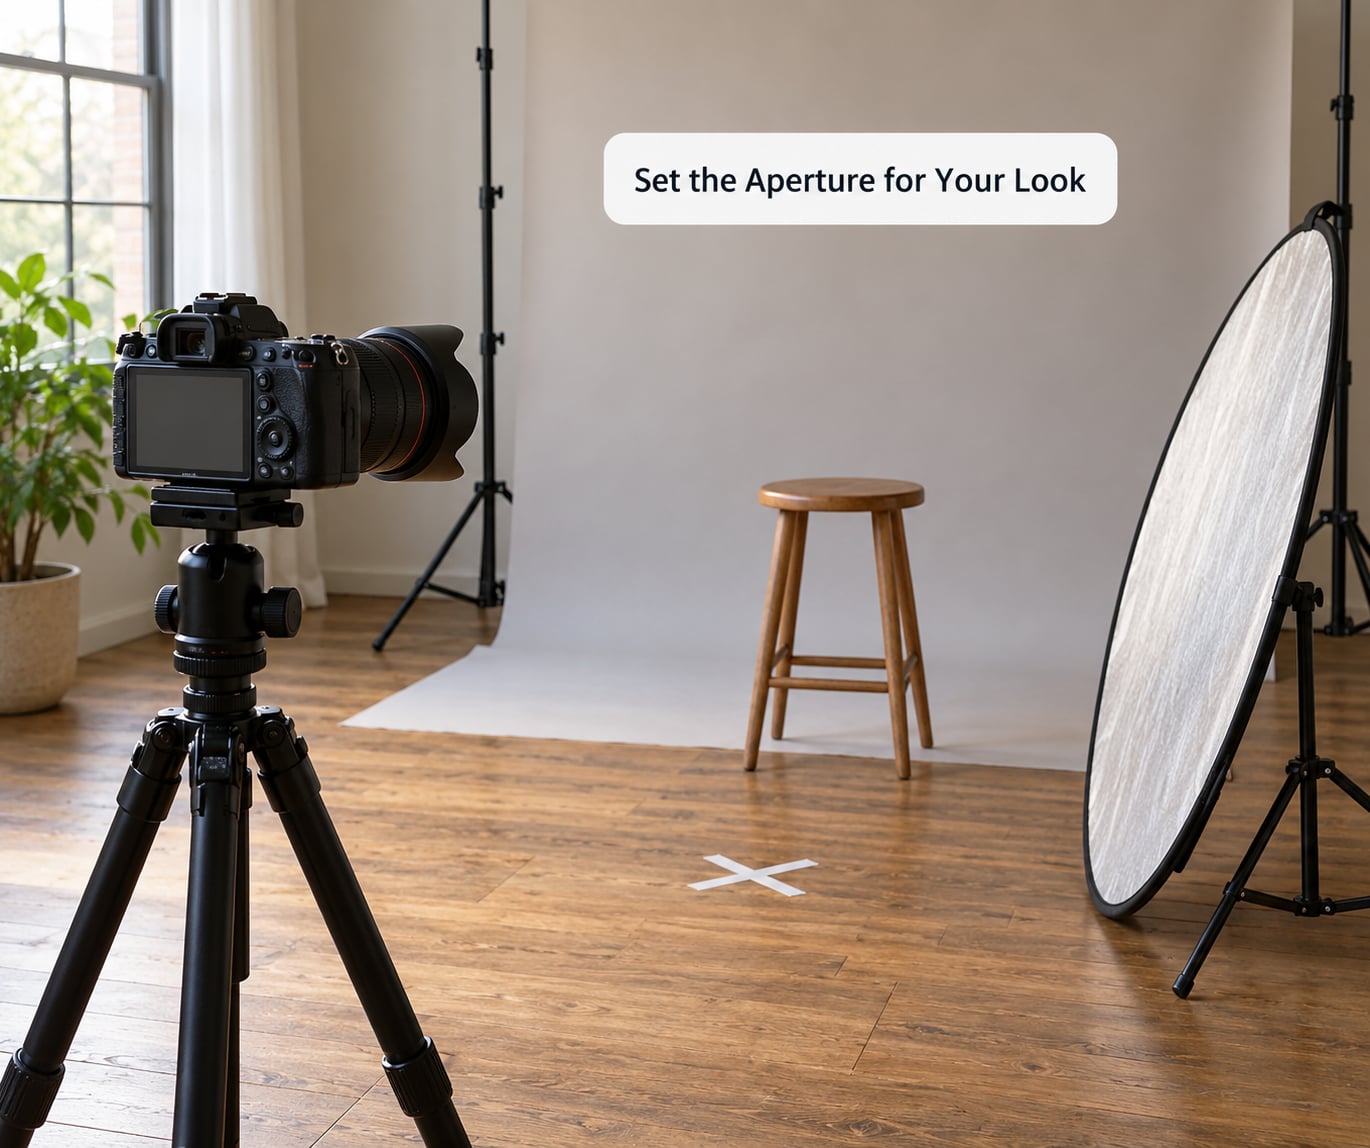
Aperture is the setting that decides how much of the background disappears. For a headshot where you want the background gone entirely, f/1.8 to f/2.8 on full frame is the usual target. At f/2.8 an 85mm lens needs roughly 2 meters of distance to keep both eyes sharp, so working distance matters more than the number itself.
Step back to f/4 or f/5.6 and more of the room stays readable, which usually looks better for environmental portraits and almost always looks better for groups. If you are on a crop sensor, treat f/2.8 like f/4 and f/4 like f/5.6, and remember that the depth of field you see at any given f-number shrinks as you get closer to the subject.
The practical test is a frame where you can see one eye sharp and the other slightly soft. That is not a mistake, it is the depth of field you chose, and it happens more often than you would expect.
Set Shutter Speed and ISO
Shutter speed controls movement, and the reciprocal rule is the shortest version of the whole subject: your shutter speed should be at least 1 divided by your effective focal length. An 85mm lens means 1/85 second or faster, and for a sitting subject 1/125 gives you breathing and small gestures.
For anything that moves on its own, use the reciprocal rule plus the movement. A walking subject sits comfortably around 1/250. Toddlers and pets usually want 1/500 or faster, and at that point you should be in continuous autofocus with a fast burst rate.
Raise ISO before you slow the shutter. A slightly grainy sharp frame beats a clean blurred one every time, and modern sensors handle ISO 1600 to 3200 on portraits with less complaint than most people expect. Many bodies also let you cap Auto ISO and set a minimum shutter speed, which turns the profile into a set-and-forget mode indoors near a window.
Set Focus Mode and Focus Point
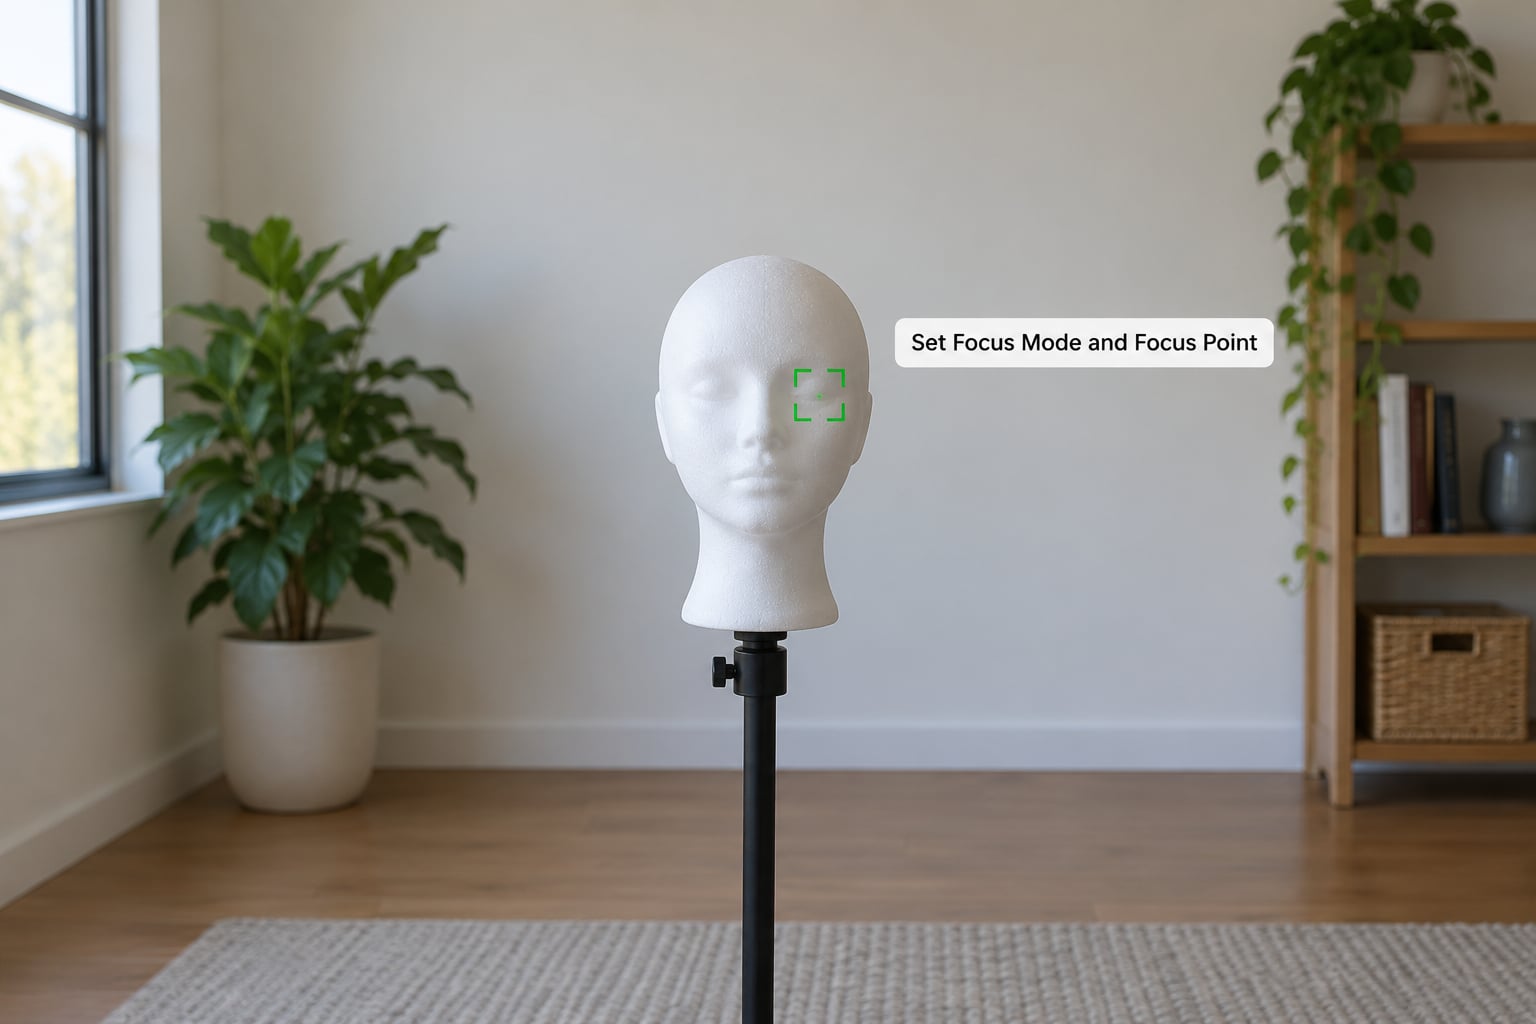
Use one-shot autofocus with eye detection for a single subject in good light. It grabs the near eye, locks, and stays put, which is what you want for a headshot where the pose is being held for a few seconds. Turn off any automatic subject detection first, because those modes often prioritise a face further away than the one you care about.
Switch to continuous autofocus with a wide or zone area when the subject moves or you are shooting a sequence of changing poses. Continuous AF with eye detection is the right pairing for kids and pets, and pairing it with a high burst rate is what lets you pick the one frame where the eyes are open.
If eye detection is unavailable or unreliable on your body, single point AF placed on the near eye still works. The tradeoff is speed: you move the point yourself instead of trusting the camera. Manual focus has a place too, when a background is busy and the autofocus hunts, but only if your lens has a full manual ring.
Set White Balance, Exposure, and Image Quality
White balance is where portraits turn orange under tungsten light or blue in open shade. Daylight around 5200 to 5500K is the safe baseline. Shade presets run cooler, and tungsten presets warmer, but setting a custom value from a grey card under your actual light gives you the most repeatable skin tones across a session.
Leave the camera on matrix or evaluative metering and set exposure compensation only when you want a deliberate offset, typically plus one third or minus one third of a stop. Portrait photographers often keep a small negative compensation on so bright skin does not clip, and checking the highlight warning on the rear screen confirms it.
For image quality, shoot RAW or RAW plus JPEG. The RAW file gives you room to correct a white balance mistake later, and the JPEG gives you a file you can show a client immediately if you are on a tight deadline. Pick a picture style or picture profile suited to skin, such as a low-contrast portrait style or a flat profile, and raise sharpness slightly rather than to maximum.
How to Save Custom Camera Settings for Portraits on Any Brand
Registration works the same way everywhere. Set the camera up exactly as you want it, then open the menu item that saves the current configuration to a custom slot and confirm. The camera stores the values, not a memory of what you did, so the menu path is the only brand-specific part.
- Canon: Menu, then Shooting mode register, and My Mode settings on the mode dial. You get C1, C2 and C3 on the dial, and you can register named slots from the quick control screen.
- Nikon: Custom settings menu, then Save to custom mode. That gives you U1 and U2 on the dial, and sometimes U3 on newer bodies.
- Sony: Menu, Camera settings, then Register custom shoot setting. Memory recall slots 1 to 3 are reached from the dial.
- Fujifilm: Save to menu, then assign the slot in the Fn or Q screen. Up to seven slots, and each one can be given a short name.
Now build the three profiles most portrait shooters actually need.
- C1, studio. Manual mode, f/4 to f/5.6, 1/125 to 1/160, ISO 100 to 200, one-shot autofocus with eye detection, daylight white balance, RAW plus JPEG, exposure simulation off with strobes.
- C2, outdoor natural light. Aperture priority, f/2.8 to f/4, auto shutter with a minimum of 1/250, auto ISO capped at 3200, one-shot autofocus with eye detection, the shade preset or a custom K value, RAW, exposure simulation on.
- C3, moving subject. Shutter priority, f/2.8, 1/500 or faster, auto ISO capped at 6400, continuous autofocus with eye detection and a high burst rate, auto white balance, RAW, exposure simulation on.
Test each profile before you trust it. Shoot the same neutral subject in bright sun, open shade, and under your indoor light. Check the histogram for clipped highlights, zoom to 100 percent on the near eye, and confirm the file is RAW. One session of testing catches nearly everything that will go wrong later.
On most bodies you can also write the registered settings to a memory card as a backup file. That is worth doing before a firmware update, since some updates reset custom modes, and it lets you load the setup onto a second body instead of rebuilding it.
Common Mistakes
Settings that do not stick. Custom modes capture the current exposure values and menu choices, but a few options live in global menus and stay where you left them. If a mode feels wrong after a firmware update, re-register it rather than hunting for the missing toggle.
Too much background blur. Close down two stops and step back rather than moving closer, and check which eye is actually in focus before blaming the lens.
Blurred frames in a supposedly frozen action mode. The base mode was probably registered as aperture priority, so the camera picked a slow shutter in low light. Switch to shutter priority in C3 and register it again.
Skin that looks muddy or orange. Set a custom white balance from a grey card rather than trusting auto, and drop exposure compensation by a third of a stop to keep bright skin off the clipping point.
Changing six settings at once. Then you cannot tell which one fixed the problem. Change one, shoot, compare, and move on.
Common Portrait Camera Settings to Troubleshoot
Most portrait problems are exposure or focus problems wearing a different name. Work through these in order and you usually find the cause in one session.
Motion blur on a still-looking subject. The shutter was too slow for a small movement. Raise ISO first, then the shutter speed, and do not touch the aperture until you are back at 1/125 or faster.
Shallow depth of field in a group shot. Stop down two stops, move the camera further from the group, and use single point or zone autofocus rather than relying on a single eye point that only one person can occupy.
Noise and rough skin texture. Do not stop down for that. Push ISO to 1600 or 3200 and keep the shutter speed where it needs to be, then handle any remaining grain in editing.
Backlight behind the subject. Turn on exposure simulation outdoors so the screen shows the real result, place a reflector just outside the frame on the shadow side, and lift exposure compensation to a full stop if the light meter is reading the bright background instead of the face.
Inconsistent skin tones across a set. Pin the white balance in each mode. Auto white balance drifts when you pan from a window to a warm wall, and three frames with three tints is exactly what a custom mode should prevent.
JPEGs you cannot edit. Check the file type before the first frame of every session rather than after it. One glance at the top bar takes a second and has saved more sessions than anything else on this list.
Frequently Asked Questions
What is the best starting setup for portrait photography?
Start in aperture priority at f/2.8 to f/4, one-shot autofocus with eye detection, RAW, and daylight white balance. Let the camera handle shutter speed and ISO for the first sessions so you can learn what the light is doing. Once your eye catches a pattern, register those exact values as your C1 profile and use it as the baseline everything else is built from.
Should I use manual mode or aperture priority for portraits?
Use manual when you control the light, because the exposure will not shift between frames. Use aperture priority outdoors and anywhere light keeps changing, since it keeps your depth of field fixed while the camera balances shutter and ISO. The honest answer is that the best profile for a studio is different from the best profile for a park, and most working shooters register both.
What aperture should I use for a portrait?
Use f/1.8 to f/2.8 for a headshot where you want the background to disappear, and f/4 to f/5.6 when you want the surroundings to read as part of the picture. Crop sensors get one stop less depth of field at the same number. Whatever you choose, check the near eye in every frame, because the frame is fine until it is not.
How do I keep portrait photos sharp with a slow shutter speed?
You cannot fully freeze movement at a slow shutter, so shorten the time the subject is moving or raise the ISO to buy the speed back. For still portraits, 1/125 second is plenty. For walking subjects, 1/250 works, and for children or pets, 1/500 or faster combined with continuous autofocus and a fast burst rate is the honest answer.
Should I use eye-detection autofocus for portraits?
Yes, for single-subject work it reliably finds the near eye and saves you from manually placing a focus point every frame. Turn off general subject detection, which sometimes locks onto a face behind the one you are framing. For groups, eye detection helps but you will still place focus yourself, since there is only one point available.
How do I save custom camera settings for portraits?
Configure the camera the way you want it, then use the registration menu item for your brand to store the current settings into a custom slot. Canon has Shooting mode register, Nikon has Save to custom mode, Sony has Register custom shoot setting, and Fujifilm uses Save to menu. Most bodies also let you write the settings to a memory card as a backup.
Conclusion
Build one baseline portrait profile first, test it in sun, shade and your own indoor light, and only then make the second and third. Most of the value of custom camera settings for portraits comes from having a tested C1 you can trust, not from having seven slots filled. Once that profile holds up, everything else is just copying it and changing two settings.