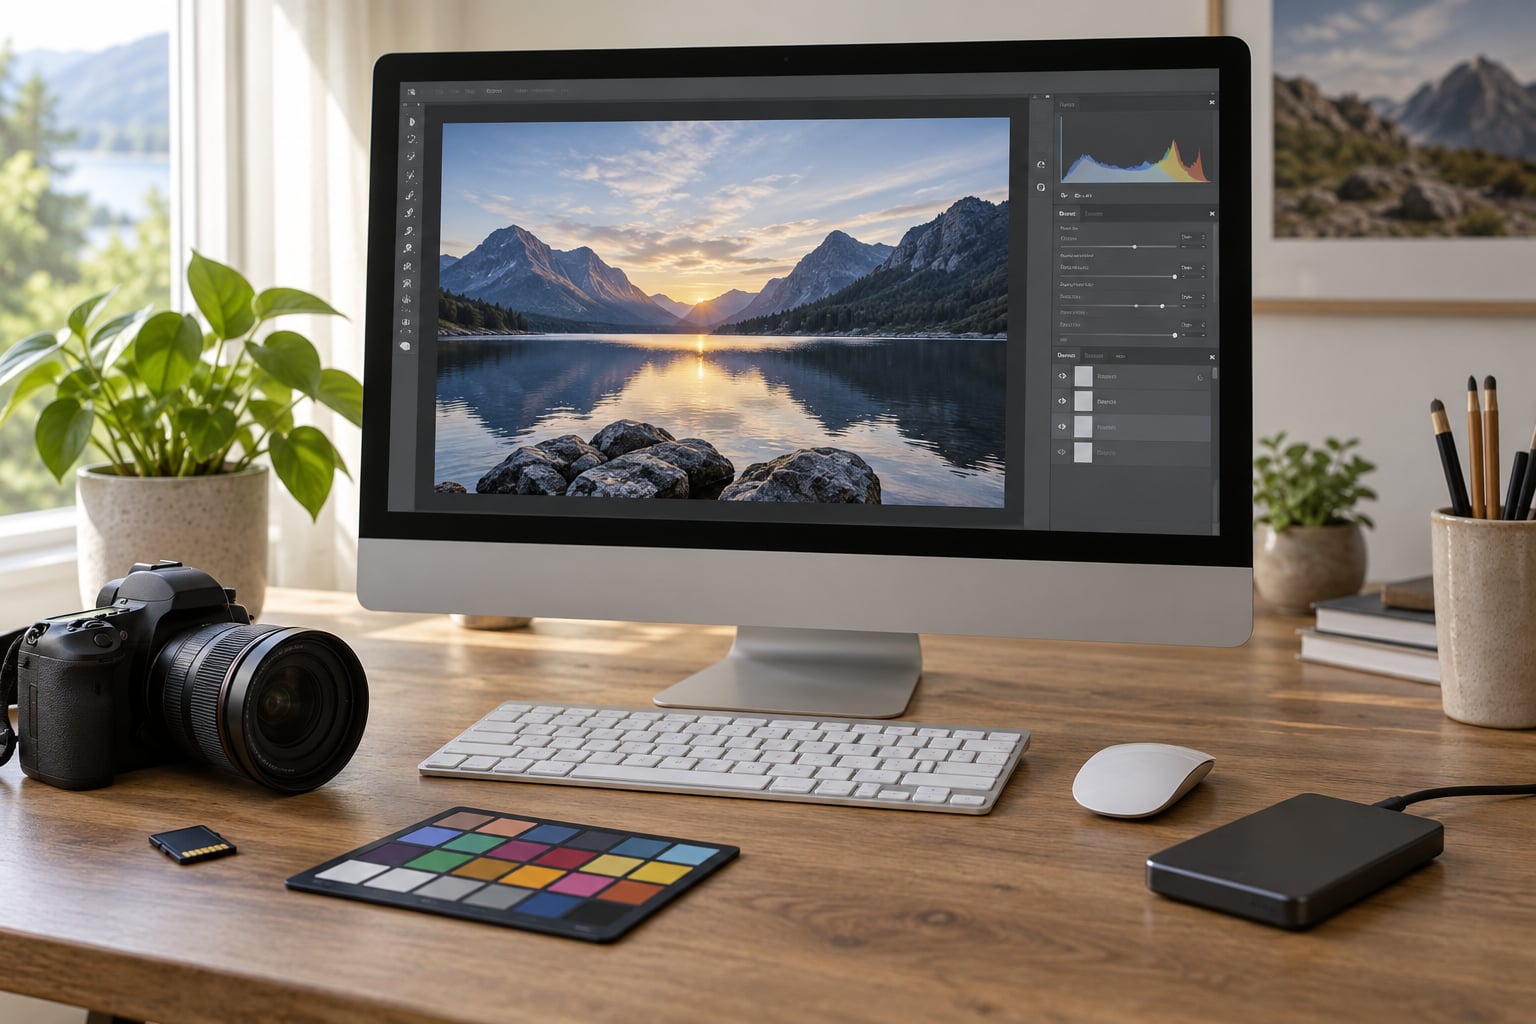
To edit in Affinity Photo for photographers, you work in two places: the Develop Persona for RAW tone and color, then the Photo Persona for layered pixel work before export. A full RAW-to-delivered-JPEG edit takes 20 to 40 minutes once you know where the controls live, and the order you do things in matters more than any single slider.
This guide walks that order top to bottom, with exact menu paths, the check to run after each stage, and the mistakes that quietly ruin an image. It is written for Affinity Photo 2 on Windows and macOS, and the same steps apply in the current version on iPad.
Table of Contents
- What You Need Before You Edit in Affinity Photo
- Affinity Photo 1 and Affinity Photo 2: what changed for photographers
- How to Edit in Affinity Photo: Step by Step
- 1. Import and Open Your Photograph
- 2. Set White Balance and Correct the Image
- 3. Adjust Exposure, Highlights, Shadows, and Contrast
- 4. Crop, Straighten, and Refine Composition
- 5. Enhance Color Without Oversaturating
- 6. Retouch Portraits or Remove Distractions
- 7. Use Layers and Masks for Selective Edits
- 8. Apply Sharpening, Noise Reduction, and Output Sharpening
- 9. Check the Image and Export the Final File
- Common Mistakes That Damage Images in Affinity Photo
- Frequently Asked Questions
- Can Affinity Photo edit RAW files from a camera?
- Is Affinity Photo free for photographers who edit RAW images?
- Can I open and edit Photoshop PSD files in Affinity Photo?
- What is the best beginner workflow in Affinity Photo?
- Should I use sharpening before or after noise reduction in Affinity Photo?
- How do I export a finished photo from Affinity Photo for print or social media?
- Conclusion
What You Need Before You Edit in Affinity Photo
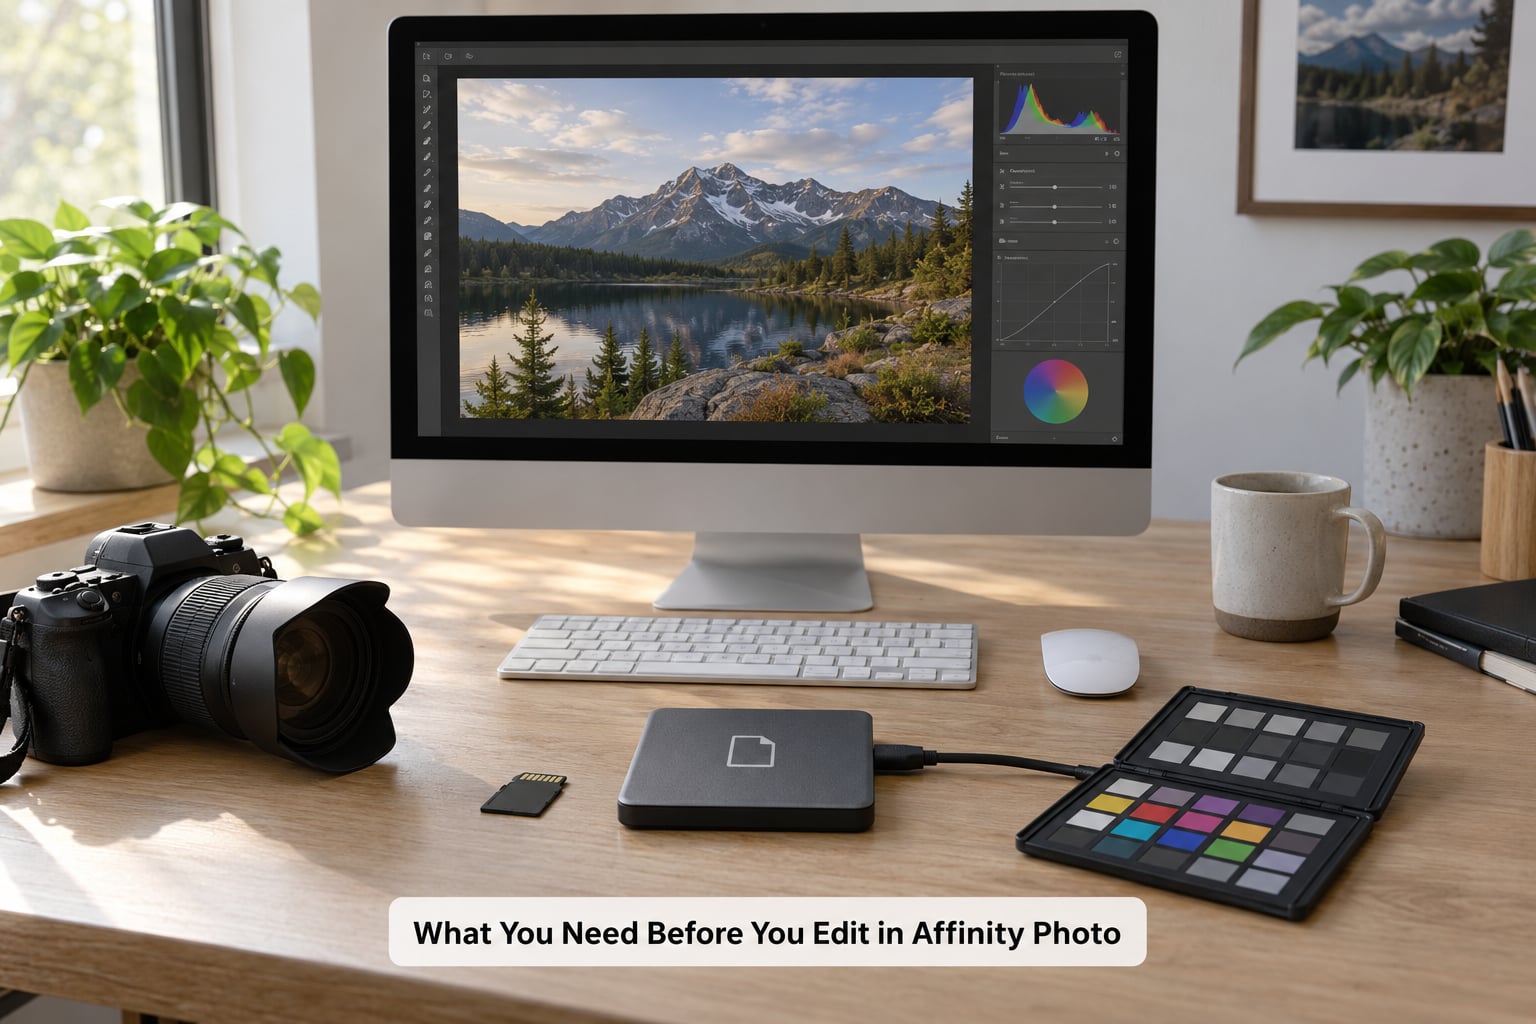
You need Affinity Photo installed, your original camera files, and enough free disk space to hold the exported copies alongside them. A calibrated monitor matters more than the computer. Editing a portrait on an uncalibrated screen means your skin tones will look right in the app and wrong everywhere else.
Keep a backup of your originals in a separate folder before you start. Affinity’s Save command writes a native document with a .afphoto extension that only Affinity opens, and it does not touch your RAW file, so the original is safe, but a separate backup costs nothing.
Affinity Photo 1 and Affinity Photo 2: what changed for photographers
If you learned on version 1, the layout moved. Panels default to docked positions and the Export Persona replaced the older export dialog. The Develop Persona tools you use for RAW are essentially unchanged, so old tutorials for white balance, exposure and lens correction still hold. Anything telling you to look for the old bottom export bar is out of date.
Also worth knowing: Affinity is sold as a one-time purchase per platform, not a subscription. You own the version you bought and keep it permanently. That answers the licensing question that confuses most newcomers, and you can stop the trial at any point without losing work already saved.
How to Edit in Affinity Photo: Step by Step
1. Import and Open Your Photograph
Use File > Open for a single image, or select several RAW files in Finder or File Explorer and open them together to get a batch in the Develop Persona. Affinity opens RAW files in the Develop Persona automatically, which surprises people who expect a canvas with layers.
To bring a developed file back for pixel work later, you will use File > Place, which drops the image in as a layer you can mask and transform. Knowing the difference between Open and Place is the single most useful thing in this guide.
Three commands cause most of the confusion, so it is worth separating them now:
Save writes a .afphoto document that keeps your layers and masks. Use it when you want to come back to the edit later.
Export writes a flattened, shareable JPEG, PNG or TIFF. Use it when you are delivering the file to a client or the web.
File > Place inserts an image as a layer in the current document. Use it when you have finished tone work and need to composite.
Your check: the Develop Persona should be showing the RAW with the histogram panel open, and your original file should still be in your camera folder.
2. Set White Balance and Correct the Image
Start in the Develop Persona with the White Balance panel. Drag the Temperature slider until neutral surfaces, like a white wall or grey concrete, look neutral. The eyedropper tool lets you click a known neutral area directly and it will set the temperature for you.
Check the tint slider next. A green or magenta cast that temperature alone cannot remove is usually corrected with tint, in small steps. If the histogram shows one channel clipping hard, you are pushing the temperature too far in one direction.
Your check: zoom to 100 percent on a neutral area and confirm the channels are sitting close together. If you are unsure how to read that, remember the histogram shows the three color channels stacked, and a healthy image has no single channel cut off at the left or right edge.
3. Adjust Exposure, Highlights, Shadows, and Contrast
Work in this order: Exposure, then Highlights and Shadows, then Whites and Blacks, then Contrast. Exposure sets the overall brightness, highlights and shadows recover detail in specific zones, and whites and blacks anchor the two ends of the tonal range.
Turn on clipping warnings before you start. In the histogram panel, the clipping indicators tell you the moment a pixel in the red, green or blue channel hits pure white or pure black. If a face highlight clips, push Highlights down before you reduce Exposure, because global darkening will dull the whole frame.
Keep the moves small and check after each one. Two thirds of a stop of exposure and a modest shadow lift will handle most files from a good camera. Large corrections mean you are fighting a bad exposure instead of fixing it.
4. Crop, Straighten, and Refine Composition
Switch to the Photo Persona and choose the Crop tool. Before you type any aspect ratio, click and drag the straightening line along an obvious horizon or building edge, and Affinity will correct the tilt for you. That one click fixes more crooked horizons than any amount of rotating by hand.
Then choose your aspect ratio on purpose: 2:3 for a portrait print, 3:2 for a standard frame, 16:9 for a video still. Cropping tighter than the final delivery size costs you pixels, so if a client wants a large print, keep the crop generous and resize later in the Export Persona.
Your check: zoom in on all four crop corners at 100 percent. If an edge cuts through a hand or half a face, step back and reframe. Watch the edges after you straighten, since rotation changes where the corners land.
5. Enhance Color Without Oversaturating
Vibrance is safer than saturation. Vibrance pushes the dull colors hardest and leaves skin tones mostly alone, while saturation lifts everything equally and turns skin orange fast. Most photographers need vibrance between 5 and 20, and saturation left at zero.
For finer control, use the Hue, Saturation, Luminance panel. It shows a vertical rainbow strip with the six main color families, and you can drag the markers to shift a single family. Select a target colour mask first, then the sliders affect only that range. Pulling yellows toward orange or greens toward yellow in a landscape is how foliage and sunsets stop looking washed out.
For tonal contrast, use the Curves panel and keep the curve a gentle S. Watch the histogram after you drag. A curve that pushes either end against the panel edge is clipping, and clipped color channels shift hue in ways people read as a cast.
6. Retouch Portraits or Remove Distractions
For a stray spot, the Healing Brush samples the surrounding skin and blends it in. Set the brush size slightly larger than the spot, hold Alt while clicking to set the source, then click the blemish. Hold the brush at low opacity and make two passes rather than one heavy pass, which keeps skin texture intact.
For heavier work like removing a distraction from a textured background, the Patch Tool fills a selection from a source area you click. For a proper portrait retouch, frequency separation puts texture on one layer and tone on another, so you smooth tone without erasing pores. Add a duplicate pixel layer, apply Gaussian Blur to the lower one at roughly 20 to 30 pixels radius, then blend the layers at a low opacity.
Less destructive is often better. If a cleanup can be done with a mask, a removal, or a slightly softer crop, do that instead, especially on a landscape or a candid shot where over-retouching reads as fake.
7. Use Layers and Masks for Selective Edits
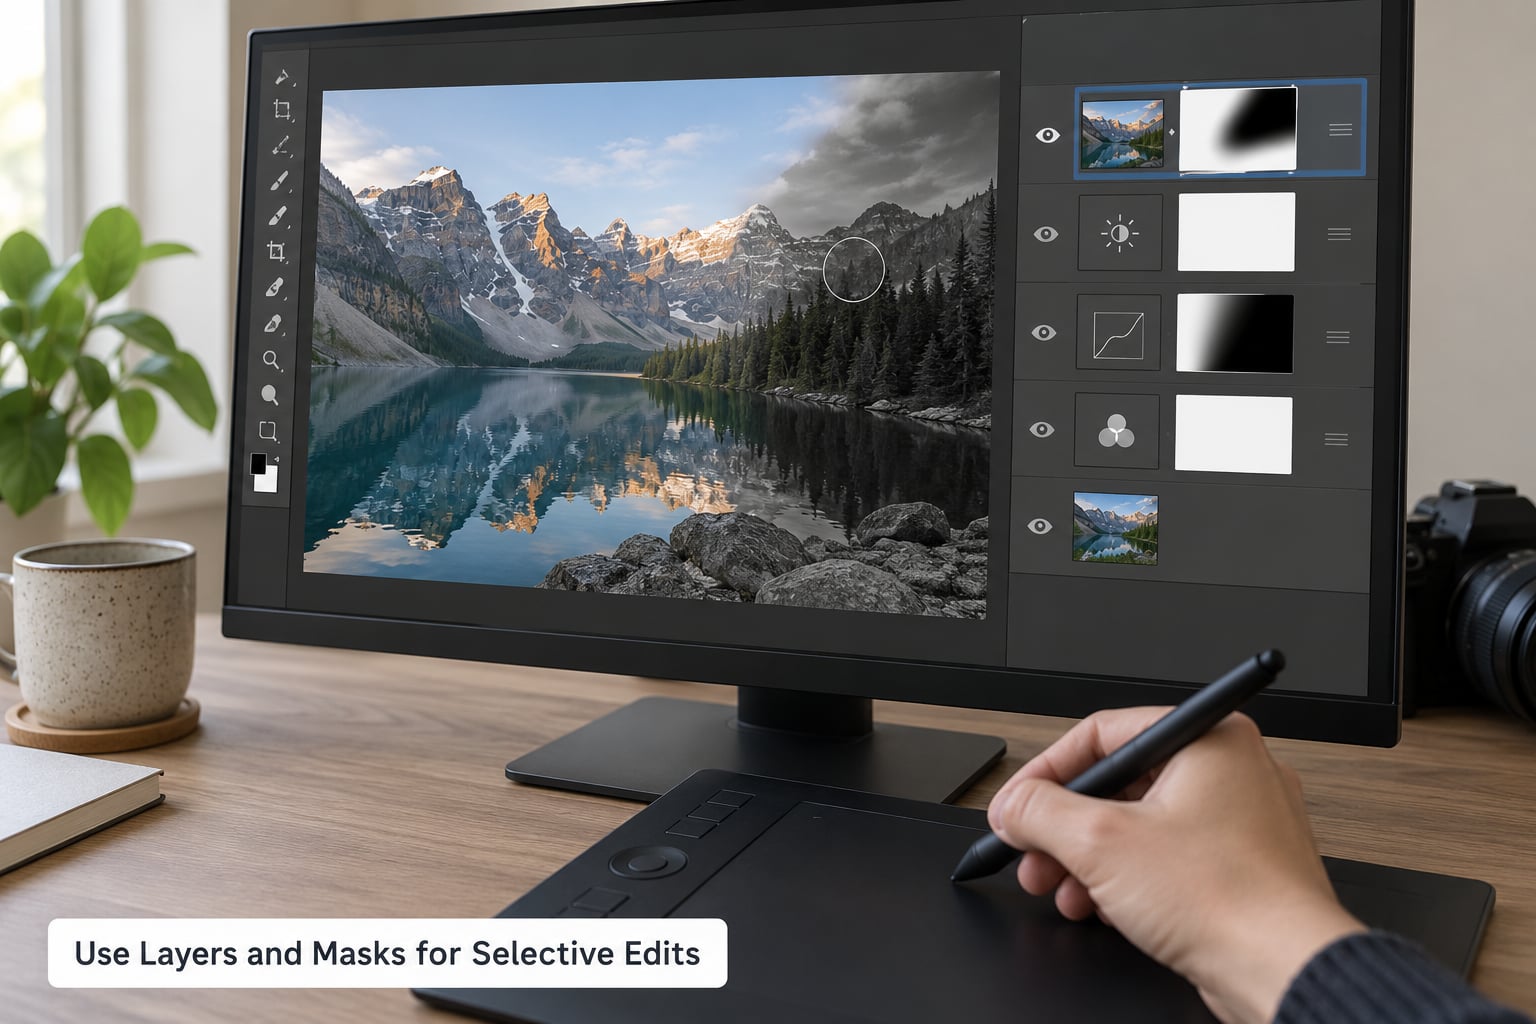
Back in the Photo Persona, keep the developed RAW as your base layer and build everything above it. Click the New Adjustment Layer icon at the bottom of the Layers panel and choose Curves, Vibrance or Levels. Adjustment layers affect only what is above them in the stack, so the cleanest habit is to keep one adjustment layer per change and name it.
To limit it to part of the image, select the mask thumbnail on the right of that layer rather than the layer thumbnail. Paint with a soft black or white brush: black hides the adjustment, white reveals it. Hold X to toggle between the two, and use a large brush with low opacity around the edges so there is no visible line.
For a cleanup you will reuse across many frames, save the mask as a Luminosity Mask. Layer > New Adjustment Layer > Luminosity Mask creates a grayscale map where bright pixels are light and dark pixels are dark, so brightening shadows only affects the bright parts. It is how you dodge and burn quickly, without hand-painting masks.
Your check: toggle the adjustment layer’s visibility off and on, and the difference should appear exactly where you painted. Then zoom to 100 percent on the mask edge. A halo means the mask is too tight or too hard, and a visible band means the brush opacity was too high in one pass.
8. Apply Sharpening, Noise Reduction, and Output Sharpening
Reduce noise before you add detail, never after. Sharpening amplifies the grain and speckle it finds, so an image that looks noisy at 100 percent will look worse once sharpened. In the Develop Persona, open the Noise Reduction panel, set the luminance slider based on what the shadows show, and leave chroma noise reduction at its default.
There are two sharpening steps and they do different jobs. Capture sharpening happens in the Develop Persona, softening the look of the camera’s in-camera processing so the file does not look over-sharpened. Output sharpening happens in the Export Persona, adding the final edge contrast for the output size.
For sharpening inside the document, use the Sharpen Live Filter and check the result at 100 percent zoom. Sharpening a small preview is misleading, so switch to Snap to Pixel first with View > Snap to Pixel, and inspect a high-contrast edge such as a window frame against sky.
9. Check the Image and Export the Final File
Before exporting, view the image two ways: zoomed to fit the screen for overall color and composition, then at 100 percent for edges, halos and retouching. Toggle between split view and the before version to see what your adjustments actually did. On Windows, View > Split View shows the original and the edit side by side.
Export Persona handles the delivery settings. Set the format first: JPEG for photos and web, PNG for images with transparency, TIFF for files a printer or another editor will pick up. Then set the resize percentage or exact pixel dimensions, and check the quality slider.
For social platforms, export at the exact dimensions each one expects rather than uploading full resolution and letting the app compress it again. For print, resize to the final print size at a resolution of 300 pixels per inch so the sharpening amount is judged at final size, not at 100 percent on your monitor.
Check the metadata panel before you export and strip the GPS location if the file is going public or to a client. Then name your file properly and export into a folder separate from your originals, so a failed export never overwrites your source.
Common Mistakes That Damage Images in Affinity Photo
Using Save instead of Export. A .afphoto file is a working document only Affinity opens. If you send it to a client, they cannot open it. Fix: always finish with Export, and keep Save for your own working files.
Forgetting the Develop Persona exists. Many beginners open a RAW expecting layers and find a slider panel, then conclude RAW editing is missing. It is not. Fix: edit tone in the Develop Persona, then use File > Place to bring the developed result back as a layer.
Applying destructive filters to a pixel layer. A pixel filter baked into the layer cannot be lowered once you decide you went too far. Fix: use Live Filters instead, which sit above the pixels and can be reordered or disabled, or use adjustment layers for tone and color.
Over-sharpening. Halos around eyelashes and jagged edges are the tell. Fix: lower the sharpening amount, check at 100 percent, and remember output sharpening is tuned to final print size, so a big print needs less than a small one.
Sharpening before noise reduction. You amplify the grain you are trying to remove. Fix: noise reduction first, then detail.
Clipping color channels. Pushing vibrance or a curve until a channel hits the histogram edge shifts hue and loses detail. Fix: enable clipping warnings and back off the slider the moment an indicator lights.
Hard-edged masks. A mask painted at full opacity leaves a visible line, especially along hair. Fix: soft brush, low opacity, several passes, and zoom to 100 percent to check the edge.
Exporting at full size for everything. A 45-megapixel JPEG uploaded to a social app gets recompressed and can develop artifacts. Fix: resize in the Export Persona to the platform’s dimensions.
Two habits cover most of this. Work from the Develop Persona outward rather than jumping between personas, and name every layer you add. When a file looks wrong three weeks later, a named layer tells you what you were trying to do and an unnamed one does not.
Frequently Asked Questions
Can Affinity Photo edit RAW files from a camera?
Yes. Affinity Photo includes a full RAW developer that opens camera RAW files in the Develop Persona, where you set white balance, exposure, highlights, shadows, whites, blacks and lens corrections. This is separate from the pixel editor, which works in the Photo Persona. Many photographers use the Develop Persona for tone, then use File Place to bring the developed file back as a layer for masking and retouching.
Is Affinity Photo free for photographers who edit RAW images?
Affinity Photo is sold as a one-time purchase per platform rather than a monthly subscription, so you pay once and keep the version you bought permanently, including future updates to that version. A free trial is offered if you want to try it first, and you can stop the trial at any time. It runs on Windows, macOS and iPad, and the purchase is tied to the platform you buy it for.
Can I open and edit Photoshop PSD files in Affinity Photo?
Yes, Affinity Photo opens and edits PSD files, including layers, masks, adjustment layers and text. It also saves back to PSD, which matters if you hand work off to another editor or a printer. Where files differ is in features Photoshop owns, such as advanced 3D and some smart object behaviors, so test a complex client file before relying on it for delivery.
What is the best beginner workflow in Affinity Photo?
Import the RAW, set white balance and tone in the Develop Persona, then switch to the Photo Persona and place the file as a layer. Build every adjustment as a separate adjustment layer with its own mask, retouch on pixel layers above them, sharpen last, and finish with Export rather than Save. That order keeps every step reversible and leaves your original file untouched.
Should I use sharpening before or after noise reduction in Affinity Photo?
Noise reduction comes first, sharpening second. Sharpening works by increasing local contrast between neighbouring pixels, so it finds grain and speckle and amplifies them along with real detail. Reduce noise in the Develop Persona with the luminance and chroma controls, then add sharpening, and inspect the result at 100 percent zoom rather than at fit-to-screen.
How do I export a finished photo from Affinity Photo for print or social media?
Open the Export Persona, choose JPEG for photographs and web images, PNG for transparency, and TIFF for files a printer will open. Set the output size in pixels: 300 pixels per inch at your final print dimensions, or the exact dimensions the platform expects for social. Judge sharpening at that final size, check metadata, strip location data if the image is public, and export to a separate folder.
Conclusion
The workflow that holds up is simple: develop tone in the Develop Persona, bring the file back as a layer, build adjustments as separate masked layers, reduce noise before you sharpen, and export rather than save. Every one of those steps is reversible, which is what lets you experiment on a client’s file without panic.
Start with three things today. Pick one RAW file, set the white balance against a neutral surface and make restrained exposure and shadow corrections, then place it as a layer in the Photo Persona and add a single Curves adjustment with a soft-edged mask. Do that five times on your own images and the whole program will start to feel familiar.