Learning how to build a photo editing computer comes down to sizing eight parts to your actual workload rather than to the newest hardware on the shelf. Get the memory, storage and processor matched to your catalog and your file sizes, and the graphics card can be modest. Most of this guide is planning; the assembly itself takes an afternoon with a manual and a screwdriver.
The order matters more than people expect. Work out what your software has to do before you pick a single part, because a 24-megapixel RAW workflow and a 45-megapixel one produce very different demands on RAM and storage, and a machine tuned for the first will feel sluggish on the second within a couple of years.
Table of Contents
- What You Need
- Step-by-Step: How to Build a Photo Editing Computer
- 1. Set Your Editing Software and Resolution Goals
- 2. Choose a CPU and Cooler
- 3. Select the Right Motherboard and RAM
- 4. Add a Photo-Editing GPU
- 5. Choose Storage for Active Projects and Archives
- 6. Select a Power Supply and Case
- 7. Assemble, Install, and Test the System
- Common Mistakes
- Frequently Asked Questions
- How much does it cost to build a photo editing computer?
- Is a laptop better than a desktop for photo editing?
- How much RAM does a photo editing computer need?
- Do I need a discrete GPU for Lightroom and Photoshop?
- How can I test a new photo editing computer before using client work?
- Conclusion
What You Need
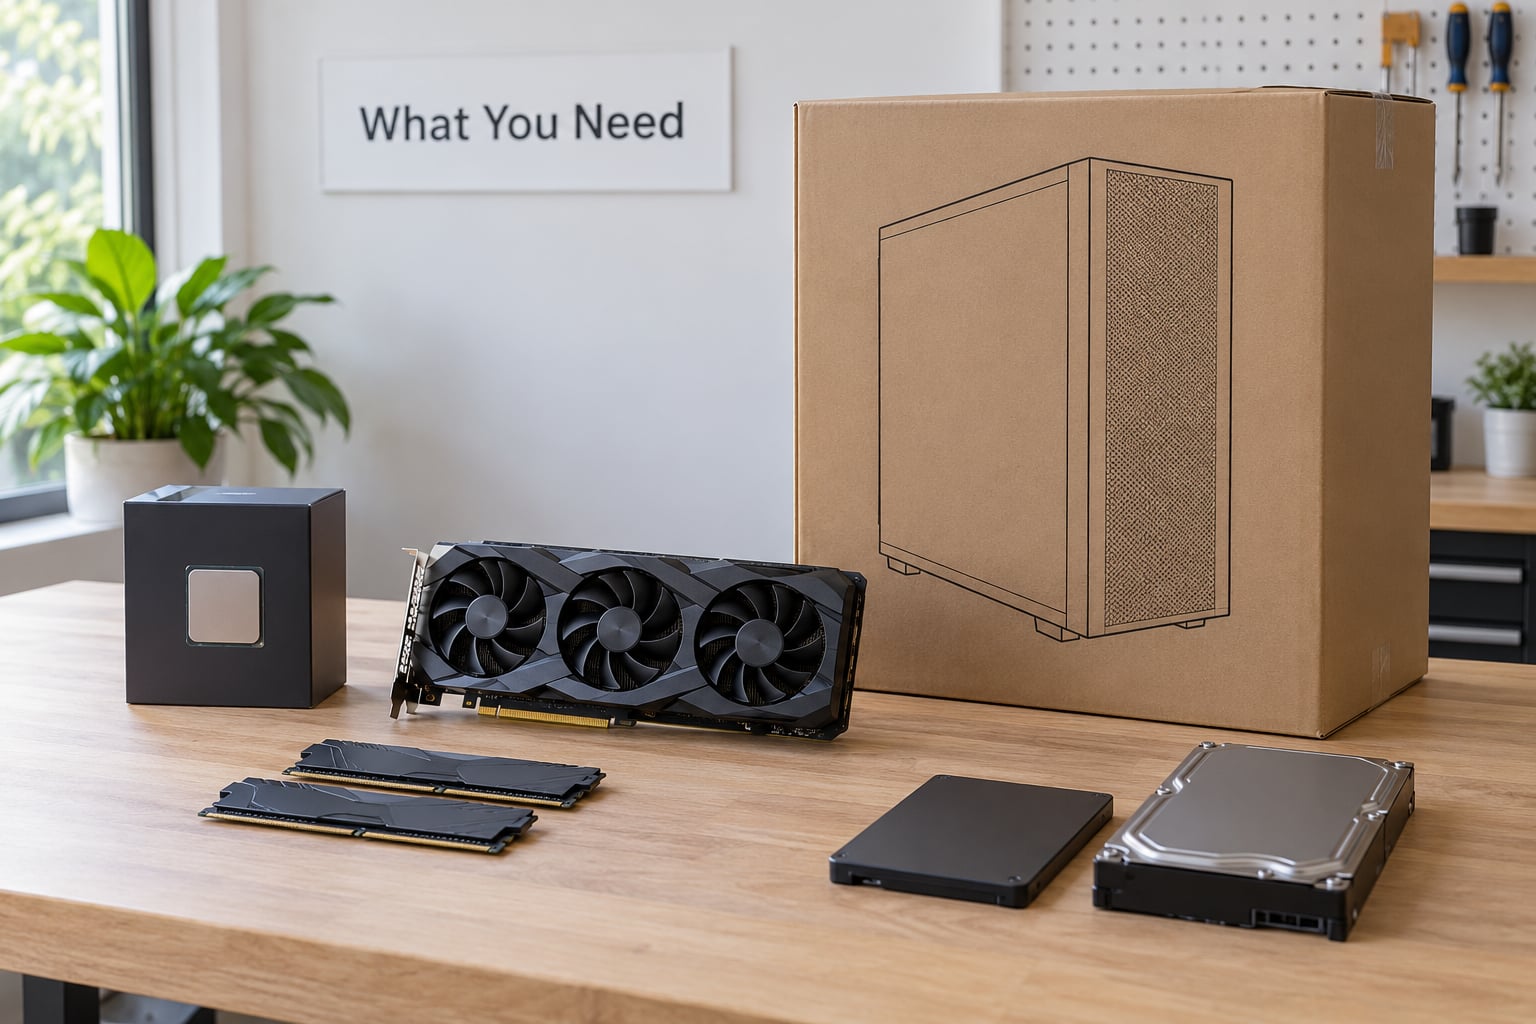
Before parts, define the job. A photographer who culls 200 shots a day from a 24MP camera and exports web-sized JPEGs is running a light workload. One stitching 100-megapixel panoramas, opening 16-bit TIFFs with deep layer stacks, or developing 45MP+ files through DXO Photolab and Topaz is not. Deciding which one you are is the single most useful five minutes in this entire process.
You also need three kinds of information. The system requirements page for the exact version of Lightroom Classic, Photoshop, Capture One or Photolab you intend to run. The physical dimensions and connector layout of the parts you are considering, so you can check case clearance and GPU length against the manufacturer spec sheets. And an honest note of your catalog size and average RAW file size, which you can read straight off your own drive properties.
The tools are simple: a #2 Phillips screwdriver, a flat blade or plastic pry tool, cable ties, a soft cloth, and a wrist strap if you want one. A magnetic parts tray or a clean mug per component keeps screws from migrating into the power supply, which is the single most common way a first build gets bricked.
Step-by-Step: How to Build a Photo Editing Computer
The first question on every photography forum is what specs to get, and the answer follows from the workload you documented rather than from a component list you found online. That is why this guide is about how to build a photo editing computer by stages instead of naming one perfect configuration.
Work through these in order. Each stage ends with a check that tells you whether you got it right, so you can catch a mismatch in the shopping cart rather than halfway through assembly.
1. Set Your Editing Software and Resolution Goals
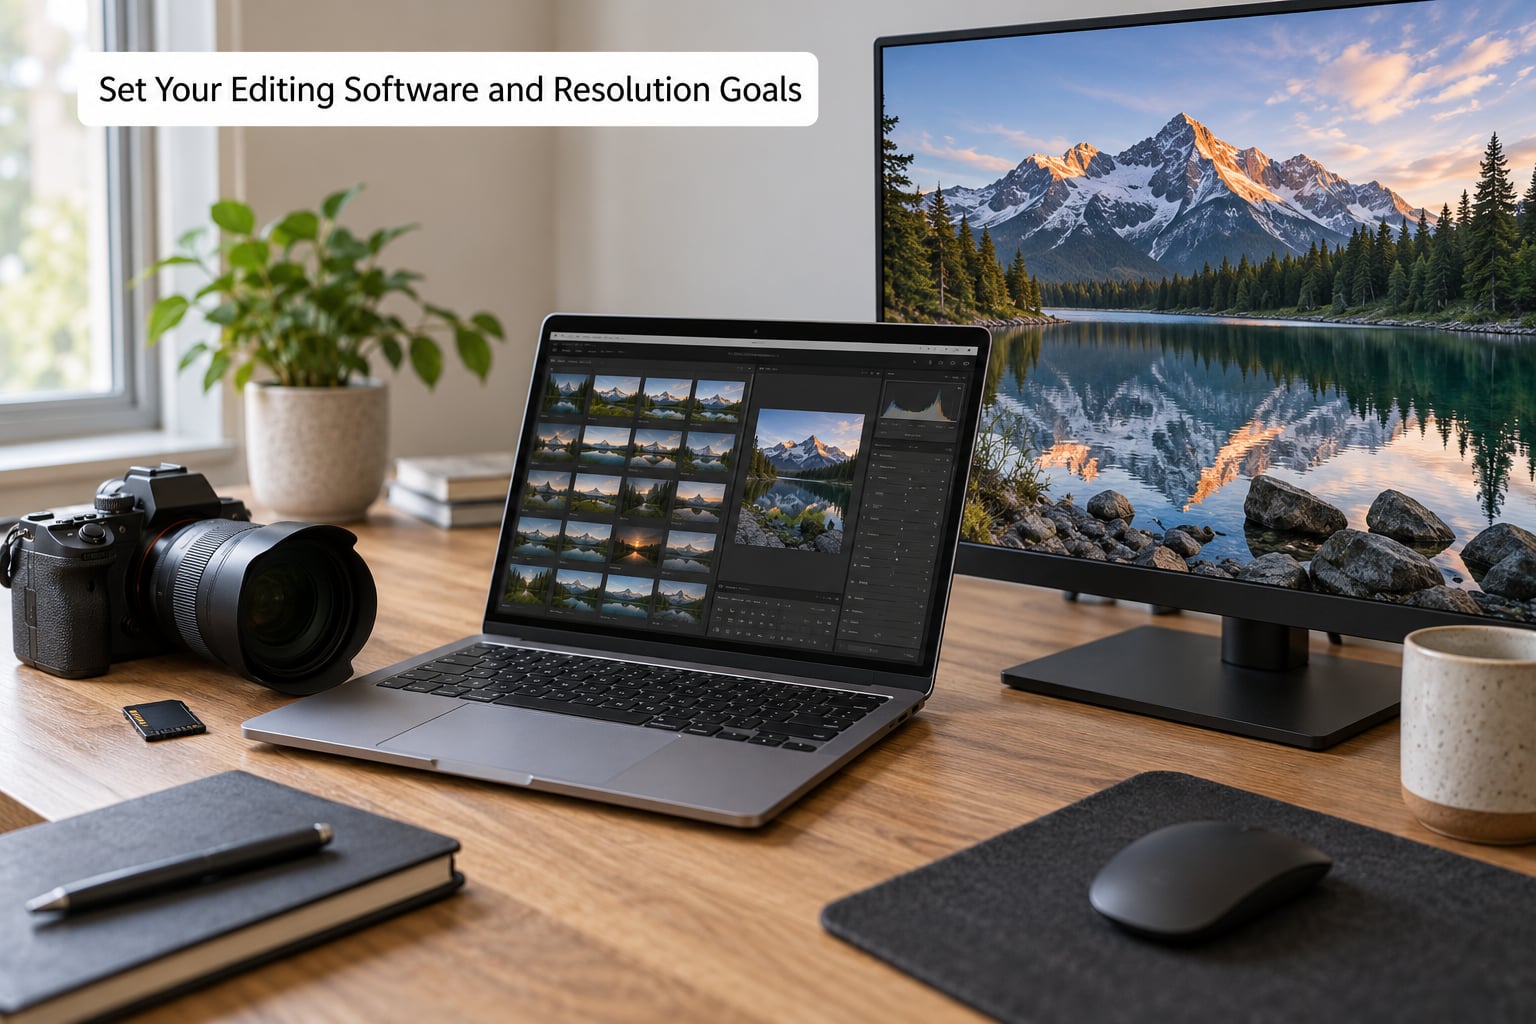
Start by naming the software and version, then check what it asks for. Adobe lists minimum and recommended system requirements for each current Creative Cloud app, and third-party tools like Capture One and Photolab publish similar lists. Read the recommended line rather than the minimum, and note whether your planned graphics card is on their compatibility list, since some tools behave differently on unsupported drivers.
Then measure your real work. A 24MP RAW file is roughly 50 to 75MB, while 45MP and 50MP files commonly land between 90MB and 130MB. A working catalog for a few years of paid work can hold hundreds of thousands of files, which is why the catalog database itself deserves its own fast drive rather than sitting on the boot drive.
Write down your output resolution too. If you print large formats, merge panoramas, or deliver 16-bit TIFFs to a printer, your scratch disk needs to be far larger than a culling-only workflow would need. The check for this stage is simple: you have a one-page list of software, versions, typical file size, catalog size and output resolution, and every later purchase decision traces back to that page.
2. Choose a CPU and Cooler
Lightroom and Photoshop lean on two different processor characteristics. Catalog browsing and brush response reward single-core speed and clock rate in GHz, while exporting, RAW decoding, batch processing and Photomerge stitching reward multiple cores. That is why a mid-range chip with strong boost clocks often outruns a pricier one with more cores for everyday editing, and why the extra cores pay off only once you export in batches or stitch large sets.
Three tiers cover almost everyone. A six-core mainstream part handles catalogs, retouching and modest exports comfortably. An eight-core part gives real headroom for batch work, 45MP+ RAW and some AI denoising. Ten cores or more is worth it only if you run heavy exports, large panoramas or video timelines alongside photo work.
Air cooling is genuinely enough for a photo build. A tower cooler in the 120 to 160mm range handles these chips with room to spare, and the exhaust air it pushes out of the case helps every other component too. The check is temperature, not brand: install it, run a sustained multicore workload for ten minutes, and confirm your chip sits well below its thermal limit and does not clock down. A processor that throttles under load will feel slow in exactly the tasks that matter.
3. Select the Right Motherboard and RAM
The motherboard exists to make everything else compatible, so pick it second and check three things against your CPU. The socket name must match exactly, since each generation uses a different one and the shapes look nearly identical. The chipset does not have to be the flagship model, but it needs support for the memory generation and any M.2 slots you plan to fill. And the form factor decides your case choice, with ATX and Micro-ATX both fitting most mid-towers while some smaller boards need a specific chassis.
Plenty of photographers get this stage wrong on the first pass and end up with a photo editing computer build that cannot boot. Ten minutes comparing the socket and memory generation markings on the boxes prevents it.
On memory, 32GB is the practical floor for a working photographer in 2026, not the 16GB that software minimums advertise. Sixteen gigabytes is workable for light culling and disappears the moment you open a few large TIFFs alongside Lightroom. Thirty-two handles a normal professional load with headroom. Sixty-four earns its place when you run deep layer stacks, stitch big panoramas, keep a tethered Capture One session open, or use AI denoising that loads many frames at once.
Speed matters less than capacity here. Populate two DIMM slots that sit in the correct dual-channel pair rather than filling all four, which slows things down and leaves no upgrade room. Enable the EXPO or XMP profile in the BIOS afterwards or the kit will run at its slow default timings. The check is a memory stress test: run it, confirm the full 32GB or 64GB is reported by the operating system, and confirm zero errors before you trust the machine with client work.
4. Add a Photo-Editing GPU
Photoshop is primarily CPU and RAM bound. It is not a game, and a top-tier card will not make a brush stroke land any faster. What the graphics card does handle is a specific and meaningful list: Camera Raw and Lightroom development, Photomerge stitching, the Blur Gallery, Liquify, neural filters, large canvas scrolling and display of high-bit-depth output.
So how much video memory? VRAM is dedicated memory on the card, and it is the number that decides how large an image or how deep a layer stack your card can hold. Light culling and moderate retouching work on integrated graphics. Multi-megapixel RAW, large merges and AI features want 8GB, and very deep work or video alongside stills justifies 12GB or more.
Most photographers editing stills are fine with a mid-range card, and many never leave integrated graphics at all. Buy discrete hardware if you stitch, denoise, use neural filters, run Premiere or DaVinci alongside Lightroom, or want headroom for a second monitor at full resolution. The check is twofold. In Photoshop, open the Edit menu and confirm the GPU entry names your card rather than an integrated solution, then open a real project and watch the memory panel. Then run a graphics stress test for a sustained pass with no artifacts.
5. Choose Storage for Active Projects and Archives
Storage is where photographers lose work, so plan it in tiers rather than as one drive. The boot and applications drive holds the operating system, Lightroom and Photoshop. A scratch drive holds the temporary working data Photoshop writes during large merges and layer operations. An active project drive holds the catalog and the current season’s RAW files. An archive drive holds everything cold.
NVMe drives in the M.2 slot are the current standard for the first three, and the generational differences matter less for photos than the price per terabyte, since photo work is not saturated by long sustained transfers. SATA SSDs remain completely valid for the library drive where capacity matters more than speed. Hard drives are still reasonable for pure archive.
In Photoshop, point Edit, then Preferences, then Scratch Disks at the drive you designated rather than leaving it on the boot drive. In Lightroom, put the catalog on the project drive so it never competes with the system for the same controller. The check is mundane and important: open Disk Management or your platform equivalent, confirm every drive appears with the capacity you ordered, and read the letters so you know which is which before you start moving files.
6. Select a Power Supply and Case
Add your CPU’s rated power, roughly 250 watts for a mainstream discrete graphics card, 100 watts for a mid-range one, and 30 watts for everything else including drives and fans. Add 30 percent headroom, round up to a standard size, and never buy an undersized unit to save money. The graphics card is the main wattage driver, so size the supply around your GPU rather than around your processor.
Efficiency ratings matter because a more efficient unit wastes less power as heat. 80 Plus Bronze is perfectly fine for a mid-range build, Gold is the sensible target, and anything above that mostly matters in a machine running near capacity continuously. Modular cabling means you only run the cables you need, which is what keeps a clean photo build quiet and tidy.
For the case, a mid-tower with a mesh front and at least three intake fans is the sweet spot and gives room for the drives you will add later. Verify the GPU maximum length, the CPU cooler height and the drive bay count against the case specification before you buy either part. The check is arithmetic: confirm your measured requirement sits under the published clearance, not at it.
7. Assemble, Install, and Test the System
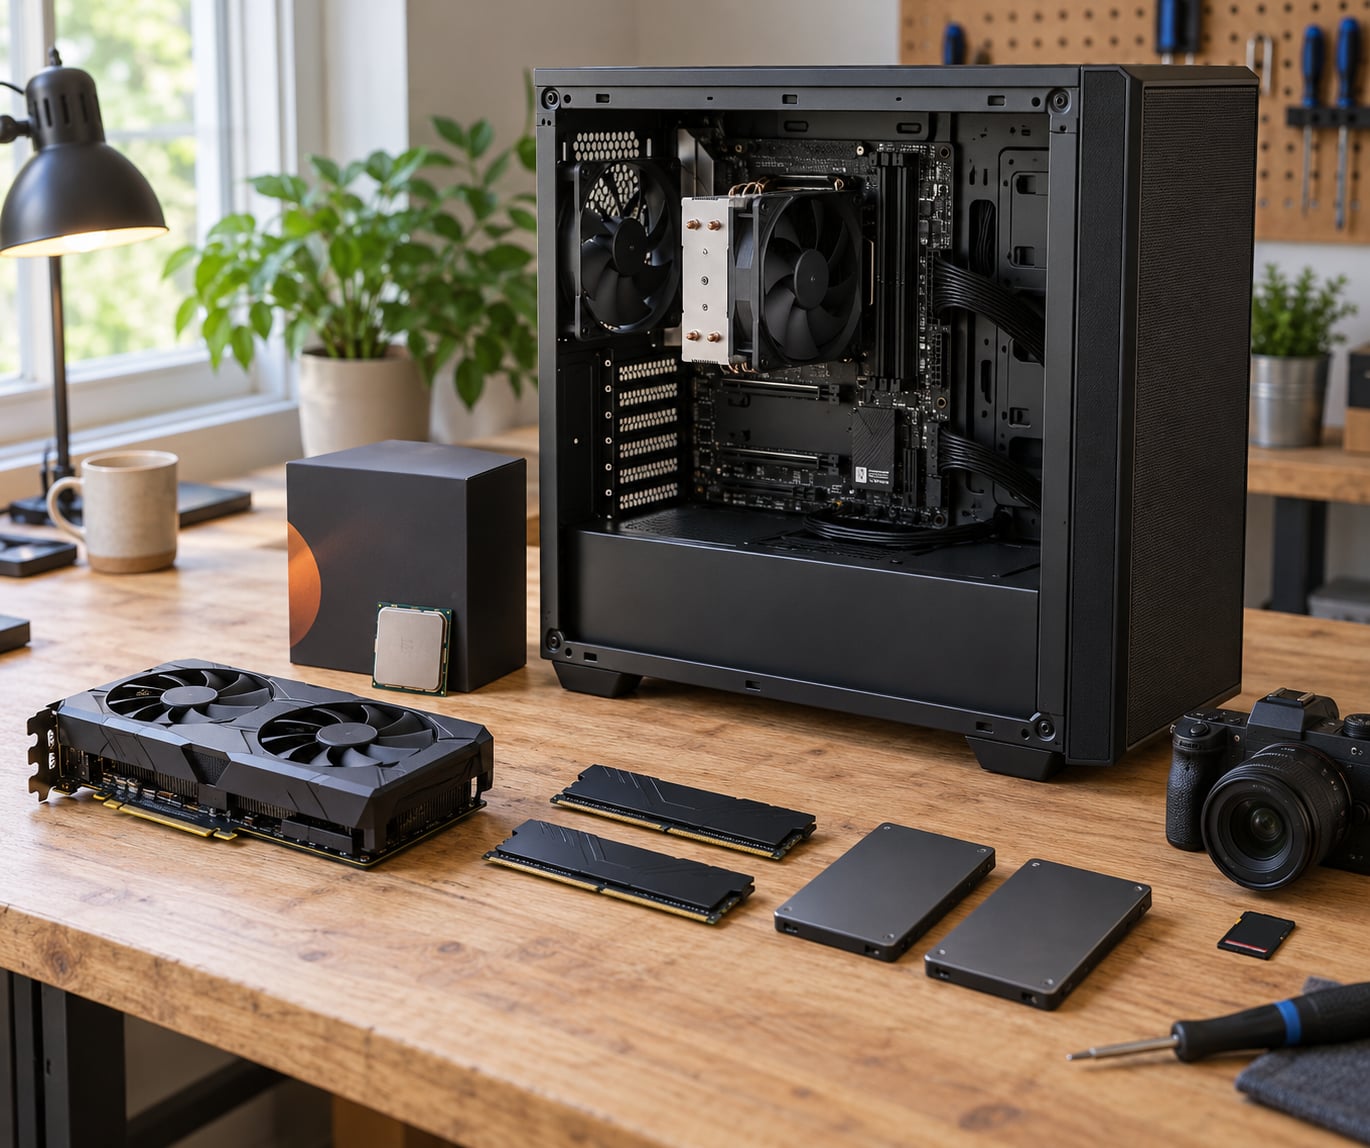
Work on a hard non-carpeted surface, unplug everything, and touch a bare metal grounding point before handling parts. If you have a wrist strap, wear it. Build in this order: power supply first with the modular cables attached at the back; then motherboard, processor and cooler; then memory; then M.2 storage; then the graphics card; then drives and front panel cables; then the power button and front panel connectors on the motherboard pins.
Two details catch nearly everyone. The processor has a small triangle on one corner that must line up with the triangle on the socket, and the socket’s retention arm needs closing firmly before the cooler goes on. And the 24-pin and 8-pin CPU power connectors have latches that only seat if you press them hard, which is why a machine can be fully assembled and still refuse to power on.
For the first boot, leave the case open, switch on the monitor, and enter the BIOS. Confirm the CPU, memory capacity, memory speed and every drive are detected. Enable the EXPO or XMP profile so memory runs at its rated speed. Set the boot order, save, and boot into your operating system installer from a USB stick you created on another machine.
Budget an afternoon for the physical part of how to build a photo editing computer, and a second session for software setup. Rushing the assembly is how bent pins and unseated connectors happen.
After installing the operating system and your editing software, run four tests in order and stop at any failure. A memory test, to confirm the full capacity is stable and error-free. A graphics stress test, to confirm the card holds a sustained load without artifacts. A drive check, to confirm each drive reports the right capacity and healthy status. And then the real one: open a representative project of your own, a large RAW file with a deep layer stack, and work in it for an hour. That last test is the only one that answers the question you actually care about.
Common Mistakes
Almost every expensive mistake in a photo editing PC build comes from ordering parts before writing down the workload. The fixes are short.
- Buying a flagship graphics card and starving the memory. Overspending on a GPU while running 16GB is the most common and most reversible error. Move the budget from the card to 32GB of memory.
- Top-bin processors. The jump from a mainstream chip to the most expensive one in the range is usually the smallest performance step available. Mid-range cores with strong boost clocks are the better value.
- Mismatched socket and chipset. Check the socket name against the CPU before the motherboard, and confirm the board supports your memory generation.
- Forgetting drive bays and M.2 slots. Count the slots on the board and the bays in the case against the four-tier storage plan you wrote in step one.
- Treating the scratch drive as a backup. Scratch data is temporary and worthless once you close the file. Backups are a separate copy on separate media, following the three copies, two media types, one off-site approach.
- Undersized power supplies. Compute the load, add headroom, and round up. A supply that trips under graphics load is worse than one that costs a little more.
- Buying discontinued or clearance parts. Older chips and cards still get recommended online because the articles are years old. Verify the part is current before you commit, and check motherboard support for your memory kit.
- Running memory at default speed. Without the EXPO or XMP profile, a fast kit performs like a slow one. Enable it in BIOS and test stability afterwards.
- Poor cooling and a noisy room. Air cooling and a ventilated case are usually enough for photo work. Choose a quieter cooler if you edit in a quiet space, since fan noise is distracting during long sessions.
Two habits will save the most money. First, buy memory capacity before memory speed, and buy storage before exotic components. Second, leave room to grow: free DIMM slots, a spare M.2 slot, and power supply headroom cost nothing now and prevent a full rebuild later.
Frequently Asked Questions
How much does it cost to build a photo editing computer?
A competent build for Lightroom Classic and Photoshop falls into a wide range because you can meet the same workload with very different parts. A mainstream six-core processor, 32GB of memory, a fast solid-state boot drive, a mid-range graphics card and a quality power supply cover the majority of professional photographers. Spend upward mainly when you add high-capacity storage, a large monitor, or video work alongside stills.
Is a laptop better than a desktop for photo editing?
For sustained editing, a desktop wins on sustained performance, upgradeability and thermals, and a good tower will outlast most laptops as a platform. A laptop makes more sense if you edit on location, travel with work, or need a single machine for everything. Many photographers keep both: a desktop for long sessions at a colour-accurate monitor, a laptop for tethered field work.
How much RAM does a photo editing computer need?
Thirty-two gigabytes is the practical floor for a working photographer today. Sixteen gigabytes handles light culling and basic retouching but strains quickly once large TIFFs or multiple applications are open. Move to sixty-four gigabytes for deep layer stacks, large panoramas, tethered sessions, or AI denoising that loads many frames at once.
Do I need a discrete GPU for Lightroom and Photoshop?
For catalog browsing, standard RAW development and modest retouching, integrated graphics are usually sufficient. A discrete card earns its place for Photomerge stitching, the Blur Gallery, neural filters, AI denoising, very large canvases, or any video editing alongside stills. If you buy one, prioritise video memory capacity over raw gaming performance.
How can I test a new photo editing computer before using client work?
Run four checks before you trust it. A memory test to confirm full capacity and zero errors. A sustained graphics stress test to rule out artifacts. A drive health check to confirm capacities and status. Then the honest one: open your own heaviest real project, a large RAW file with a deep layer stack, and work in it for an hour while watching memory and temperatures.
Conclusion
Start the process by writing down your software, file sizes, catalog size, output resolution and total budget on a single page. Every component you buy should trace back to a line on that page, and anything that does not is money you can keep. Spend first on memory, storage and a processor with strong clock speed, treat the graphics card as a tool for specific tasks rather than a status symbol, and test the finished machine against your own real files before a client’s deadline finds the gap.