Most slow Lightroom sessions come down to settings and storage decisions, not to slow hardware. Move the catalog and preview files off a synced folder, raise the Camera Raw cache on your fastest SSD, and turn the graphics processor on in Preferences, then measure the same task again to see what actually changed. The whole routine takes about an hour, and none of it touches your original files.
That last part matters. Every step below changes how Lightroom manages its own database, caches and preview renders. Your RAW, JPEG and TIFF originals stay exactly where they are, and edits stay in the catalog until you choose to write XMP sidecars.
I have run this order on several machines, from a five-year-old laptop to a desktop that was already fast, and the sequence holds up: identify the slow task first, then fix only that task. Chasing everything at once is how people end up with settings they cannot explain.
A note on versions. The Performance preferences panel, the Optimize Catalog command and the Camera Raw cache all live in Lightroom Classic on the desktop. If you are in the cloud app that ships with a Creative Photography subscription, most of the paths below do not exist there, and I flag the differences where they matter.
Table of Contents
- What You Need Before You Change Anything
- Step-by-Step: How to Speed Up Lightroom Performance in the Right Order
- 1. Confirm What Is Making Lightroom Slow
- 2. Free Up Storage and Protect the Catalog
- 3. Optimize the Catalog and Previews
- 4. Tune Memory and Graphics Settings for the Biggest Gains
- 5. Reduce Work in Develop and During Exports
- 6. Test and Keep the Settings That Help
- Common Mistakes That Make Things Worse
- Frequently Asked Questions
- How do I clear the cache in Lightroom Classic?
- How do I clear the preview cache in Lightroom?
- Why is Lightroom running slow on my Mac?
- Why is my Lightroom so slow all of a sudden?
- Why does Lightroom take so much RAM?
- Should I turn off the graphics processor to make Lightroom faster?
- Do these fixes work in the Lightroom cloud app as well as Lightroom Classic?
- Start With the Slowest Task
What You Need Before You Change Anything
Five things make this a safe afternoon rather than a gamble. The backup is the only non-negotiable one.
- A current catalog backup. In Lightroom Classic, use File > Back Up Catalog. Doing this before any cleanup means the worst outcome is an afternoon of rebuilding previews, not a lost shoot.
- Free space on a local SSD. Catalog, Previews.lrdata and the cache all grow. Leave headroom on the drive holding them, because a nearly full drive is its own cause of slowness.
- Your version numbers. Help > About Lightroom tells you the Classic version, and the graphics processor panel shows which GPU it can see. Note both before you start; driver problems often hide here.
- A stopwatch, or your phone timer. You need before-and-after numbers, otherwise you cannot tell a real fix from a good mood.
- One change at a time. Write down what you changed and when. Lightroom slowness often arrives gradually, and without notes you will revert a setting that was helping.
On a Mac, also check that your system software is reasonably current. On Windows, have the graphics driver installer ready from the GPU manufacturer rather than from Windows Update.
Step-by-Step: How to Speed Up Lightroom Performance in the Right Order
Work through these in sequence. Each step assumes the one before it, and skipping ahead usually means you fix the wrong thing and never find the cause.
1. Confirm What Is Making Lightroom Slow
“Lightroom is slow” is not a diagnosis. Slow imports, slow browsing, slow Develop changes and slow exports have almost nothing in common, and each one has a different cause. Before changing a single setting, time five tasks with the stopwatch and write the numbers down.
- Time an import of roughly 100 images from your fastest card.
- Time scrolling the Library grid across a full screen of thumbnails.
- Time moving photo to photo in the Develop module with the Histogram panel open.
- Time a single RAW open from a fresh import, from click to full image visible.
- Time an export of 20 JPEGs at your normal delivery size.
Then match your worst number to the row that describes it.
| Symptom | Most likely cause | First fix to try |
|---|---|---|
| Library grid and filmstrip stutter while scrolling | Previews being built on the fly, or the catalog on a slow or synced drive | Build Standard-sized previews, then move the catalog to local SSD storage |
| Slow going photo to photo in Develop | 1:1 previews rendering each time, or a small Camera Raw cache | Edit > Preferences > Performance, raise the cache and set preview quality |
| Lag that starts after using Select Sky or Select Subject | GPU not handling image processing, or masks recomputing against a full-size file | Enable GPU for Image Processing, restart, retest the same mask |
| Export feels slower than the machine should manage | Writing directly to the photo drive, or sharpening and noise reduction at full resolution | Export to local SSD first, then move the finished files |
| Everything sluggish, catalog takes ages to open | Bloated catalog or a preferences file gone wrong | File > Optimize Catalog, then reset preferences only if that fails |
| Slowness that appeared suddenly with no change in your workflow | An update, a new plug-in, or a cloud folder now syncing the catalog | Check the catalog’s folder path first, then disable plug-ins to test |
Write the timings down next to the task, not just the total. The individual task is what you retest later.
2. Free Up Storage and Protect the Catalog
Move the catalog off any cloud-synced folder first, because it is the most common silent cause and the easiest to miss. If your catalog lives in a OneDrive, Google Drive, Dropbox or iCloud folder, every read can trigger a sync check, and the symptom looks like general sluggishness rather than a sync problem. Put it on a local SSD, not the desktop.
On Windows, add an exclusion for the catalog folder and your photo folder in Windows Security, otherwise Defender scans database reads constantly. On Mac, exclude the same folders from Spotlight indexing in System Settings, Spotlight, Privacy.
Then check free space on the drive holding the catalog. When a drive gets close to full, the operating system throttles writes and catalog operations crawl. Freeing 50 GB or so on that drive is often enough to make a difference you can feel.
3. Optimize the Catalog and Previews
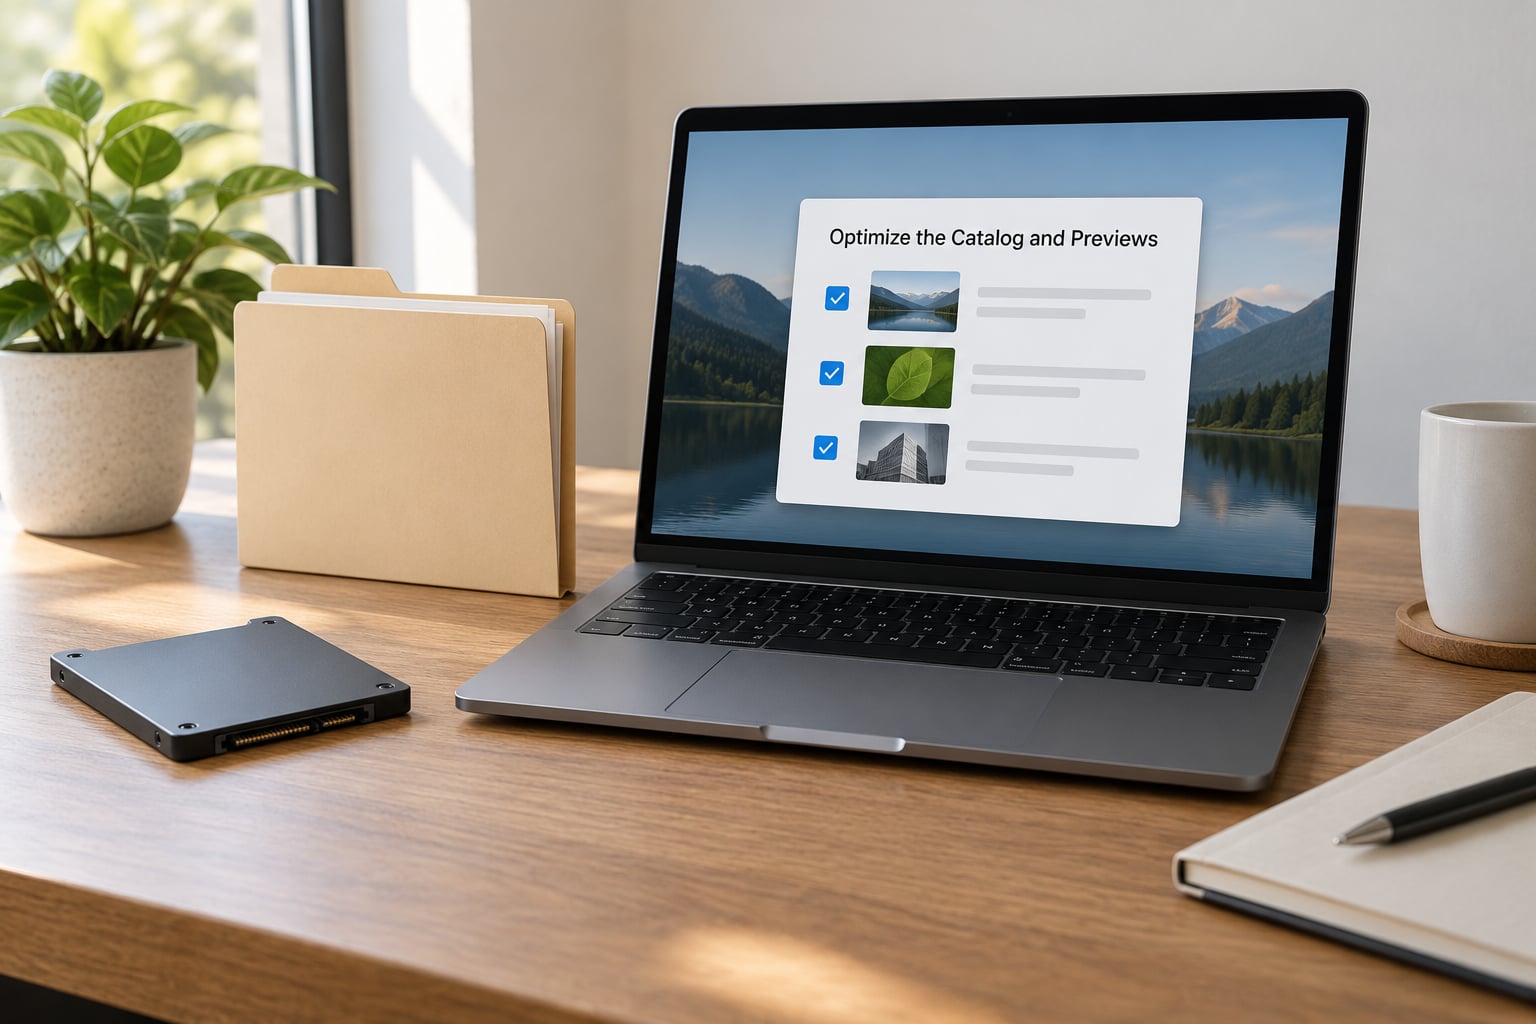
Previews are the images Lightroom shows you so it does not have to open the full RAW file every time. There are three kinds and they live in different places, which is where most confusion starts.
- Embedded renders are extracted from the JPEG preview already inside the RAW file. Small, fast, good enough for culling a full shoot.
- Standard-sized renders are screen-resolution, built by Lightroom and stored in the Previews.lrdata file inside the catalog folder.
- 1:1 renders are full-resolution pixel reads from the RAW file. Lightroom builds them on demand and normally discards them afterwards.
For most working photographers, Embedded and Standard is the right answer. Build Standard previews for the shoot you are about to cull, from the Library module: select the images, right-click, Build Previews, then choose Embedded and Sidecar to finish the job quickly. Switch to Standard-sized when the screen resolution demands it.
Smart Previews compress a smaller copy of the RAW for browsing on slower hardware or slower connections. They are a deliberate tradeoff: much faster browsing, less headroom for heavy edits, and a long build time up front.
File > Optimize Catalog rewrites the database so it stops carrying dead space from deleted images and moved folders. Run it at the end of a working day, when you can let it finish. It touches your database index only, never your photos.
When you do need to clear the cache, two different actions do different jobs. Edit > Preferences > Performance > Purge Cache discards the non-essential cache. Deleting the Previews.lrdata file inside the catalog folder wipes stored Standard previews, and they rebuild the next time you browse. Expect that rebuild to take time on a big catalog.
4. Tune Memory and Graphics Settings for the Biggest Gains
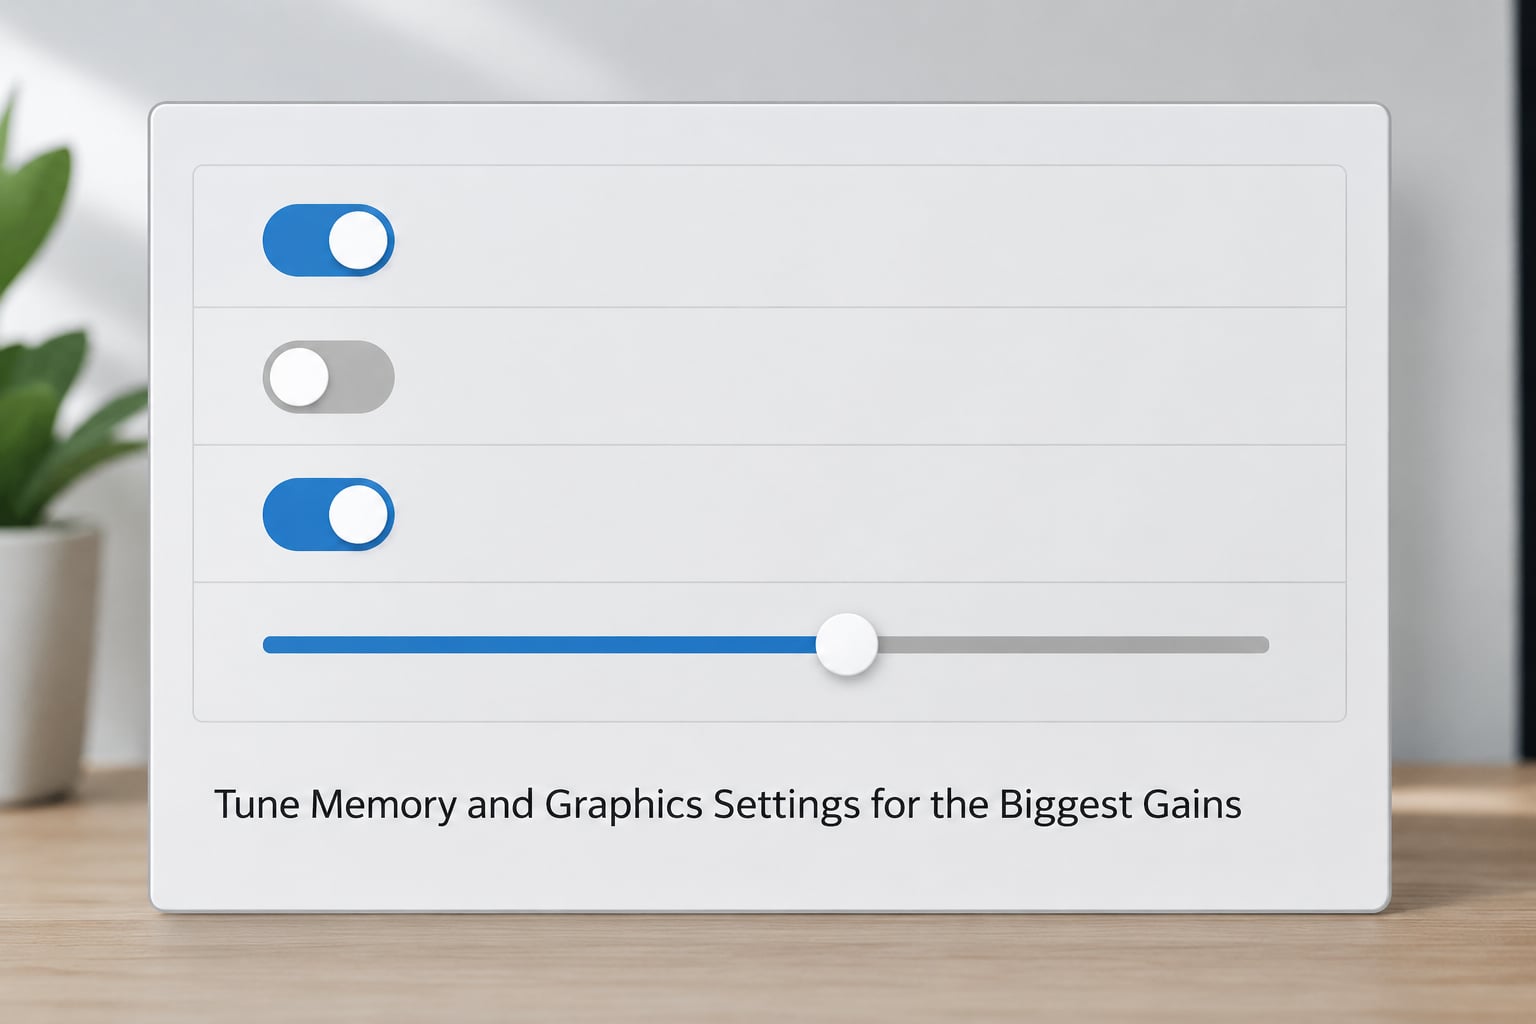
Everything in this step is under Edit > Preferences > Performance in Lightroom Classic. If your version does not have a Performance tab, you are in a version too old for these fixes.
Set Use Graphics Processor to Custom and you get three checkboxes. Online advice contradicts itself on which to tick, so match them to your symptom rather than to a stranger’s machine.
- Use GPU for Display handles the redraw of the interface, the filmstrip and the loupe. Tick this one first, always.
- Use GPU for Image Processing handles the actual rendering of your edits, including masks and AI selection tools. Tick this if Develop module lag is your symptom, which for most people in 2026 it is.
- Use GPU for Export handles the export pass. Tick it when exports are your slow task.
The top-ranking answer on Reddit for this question ticks only the display box and reports an instant improvement on a Ryzen 7 5800X with 32 GB of RAM and an RTX 2070, with a 150 GB cache on the same SSD. The strongest advice in the Lightroom Queen community goes the other way and ticks all three. Both are right, because they were fixing different symptoms: redraw lag against Develop and mask lag. Tick Display first, retest, then add the others one at a time.
If the graphics processor checkbox is greyed out or reports an error, update the driver from the GPU manufacturer’s own site, cleanly, before touching anything else in this panel.
Now the cache. The Camera Raw cache default is modest, and Adobe’s own guidance is 20 GB or more. A working starting point scales with installed RAM:
| Installed RAM | Camera Raw cache to try | Where to store it |
|---|---|---|
| 16 GB | 20 GB to 30 GB | Fastest local SSD, same drive as the catalog if you have one |
| 32 GB | 40 GB to 60 GB | Same SSD as the catalog and the application |
| 64 GB or more | 80 GB to 150 GB | Dedicated SSD if you have one, otherwise the catalog SSD |
Do not point the cache at the drive holding your photo originals if that drive is external or slow. Preview Quality is the other setting here. Medium is a sensible floor for pixel-peeping work; Minimal is fine if you mostly cull.
Memory allocation settings only do something on 64-bit systems with large amounts of RAM. If your machine has 32 GB or less, leave these alone rather than trying to fine-tune them.
5. Reduce Work in Develop and During Exports
Some of the biggest gains come from stopping work Lightroom does in the background while you are trying to edit. In the Catalog panel, open Catalog Settings > Metadata and turn off Automatically Detect Faces and the analysis-on-import option. In File > Preferences > Metadata > File Handling, turn off Automatically Write Changes Into XMP so edits stay in the catalog until you choose to write them. Several people in the Lightroom Queen community thread on sluggish Lightroom 15 credit these switches with removing the stalls that hit mid-session.
Masking and AI tools deserve their own note, because they are the most reported complaint right now. Select Sky and Select Subject recompute a mask against the file every time you change something upstream. Work on the image at a fit to screen rather than 1:1 while you are building the mask, then switch up for the final adjustment.
Denoise is similar. The preview of the result is expensive to calculate, so give it room: keep the Camera Raw cache large, and avoid changing the noise reduction amount while the preview is still rendering.
For exports, write to your fastest local SSD rather than straight to an external drive or a network folder, then move the finished files. If you are exporting large batches for delivery, exporting to a working catalog on fast storage and shipping from there is the arrangement most working photographers settle into.
6. Test and Keep the Settings That Help
Retest the same five tasks you timed in step 1, in the same order, with the catalog closed and reopened first so nothing is still cached from the previous run. A cold start is the honest comparison.
Write down two things per change: what it did to the number, and whether you can tell the difference by feel. Some fixes buy half a second, which is not worth keeping if they cost you image quality. A change that makes browsing 1.5 seconds faster per image across 4,000 frames is roughly an hour and a half back, and that is worth writing down.
Keep a short list of what you changed and kept. When Lightroom updates or a new plug-in arrives and things slow down again, that list is the fastest route back to the settings that worked.
If the numbers barely move after all of this, you are in the territory where the community reports no further known fixes. A fresh catalog import and a preferences reset are the last two levers, and both cost time, so take the baseline numbers first and make sure you are backed up.
Common Mistakes That Make Things Worse
A few habits show up repeatedly and cost people hours while changing nothing.
Deleting originals to free space. Lightroom is never the place to reclaim disk. Cache files and previews are disposable; your photos are not.
Setting Preview Quality to the highest option and expecting speed. Bigger previews take longer to render. Match the setting to the work instead of assuming larger means better.
Editing from an external drive or a synced folder. Thunderbolt external SSDs are fine when they are genuinely fast, but budget SATA drives and network locations are not, and a cloud-synced catalog folder is the single worst place to keep a database.
Changing five settings, then giving up. You learn nothing and cannot revert selectively. One change, one retest.
Assuming more CPU cores will fix it. Lightroom is largely single-threaded per image, and a heavily loaded machine with plenty of cores can still crawl. Clock speed and single-thread performance matter more than core count here.
Treating RAM as the fix. More memory helps when you are genuinely short, but a machine with 32 GB that is slow is usually slow for a configuration reason, not a memory reason.
Turning the graphics processor off. Disabling GPU acceleration is a workaround for a broken driver, not a speedup. Fix the driver instead.
Deleting Previews.lrdata without warning yourself. It is safe, but every stored preview rebuilds, so budget the time.
Frequently Asked Questions
How do I clear the cache in Lightroom Classic?
Open Edit, then Preferences, then the Performance tab, and click Purge Cache. That discards non-essential cache data and frees space without touching your photos. If browsing is still sluggish, close Lightroom and delete the Previews.lrdata file inside your catalog folder, then reopen. Stored previews rebuild on demand, so budget time for a large catalog. Optimize Catalog is a separate action that rewrites the database index.
How do I clear the preview cache in Lightroom?
The preview cache is the Previews.lrdata file inside your catalog folder, not a menu setting. Quit Lightroom completely, open the folder that contains your .lrcat file, delete Previews.lrdata, and relaunch. Lightroom rebuilds previews as you browse, so the first pass through a big shoot will be slower. Your original images and all your edits are unaffected, since edits live in the catalog database and optional XMP sidecars.
Why is Lightroom running slow on my Mac?
The usual causes are a catalog sitting in iCloud Drive, Spotlight indexing the catalog and photo folders, and a Camera Raw cache that is too small or on the wrong drive. Exclude those folders from Spotlight in System Settings, keep the catalog on local SSD storage, and raise the cache under Edit, Preferences, Performance. On Apple silicon, also check macOS is reasonably current, since system updates often carry the graphics driver fixes Lightroom needs.
Why is my Lightroom so slow all of a sudden?
Sudden slowness usually means something outside your workflow changed. Check three things in order: whether a Lightroom update installed, whether you added a plug-in, and whether the catalog folder moved into a synced location. Run File, Optimize Catalog and confirm the graphics processor is still enabled in Preferences. If none of that explains it, import the shoot into a fresh catalog and compare, which isolates a database problem from a settings problem.
Why does Lightroom take so much RAM?
Lightroom Classic is a parametric editor: it stores the recipe for your edits and rebuilds the image from the original each time the preview refreshes. That working set is memory-hungry, especially with large RAW files, big catalogs and several applications open. Smart Previews reduce what Lightroom has to hold by using compressed copies. Persistent memory pressure usually means the catalog or photo folder is on a slow drive rather than that you need a bigger machine.
Should I turn off the graphics processor to make Lightroom faster?
Almost never. Disabling it is a workaround for a broken graphics driver, and it makes Lightroom slower rather than faster. Enable Use Graphics Processor, choose Custom, and tick Use GPU for Display first. Add Image Processing if Develop module lag is your problem and Export if exports are slow, then restart and retest. If the checkbox is greyed out or shows an error, install a clean driver from the GPU manufacturer rather than switching the setting off.
Do these fixes work in the Lightroom cloud app as well as Lightroom Classic?
Most of them do not. The Performance preferences panel, Optimize Catalog and the Camera Raw cache belong to Lightroom Classic on the desktop. The cloud app stores and syncs your library itself, so cache sizing and catalog maintenance are not yours to change. What still applies is keeping originals on local SSD storage, updating the app and operating system, and watching which background sync processes are running while you edit.
Start With the Slowest Task
If you only do three things, do these. Back up your catalog with File > Back Up Catalog so every later step is reversible. Record your baseline timings for the five tasks in step 1, because an unmeasured fix is a fix you cannot keep or discard. Then check where your catalog actually lives, and if it is on a synced folder, an external drive or a nearly full disk, move it to fast local SSD storage with its preview files.
After that, open Edit > Preferences > Performance, enable the graphics processor starting with Use GPU for Display, and raise the Camera Raw cache to match your installed RAM. Retest the same task you timed at the start and write down what changed. That is how to speed up Lightroom performance on your machine specifically, rather than by copying settings that were tuned for somebody else’s hardware.