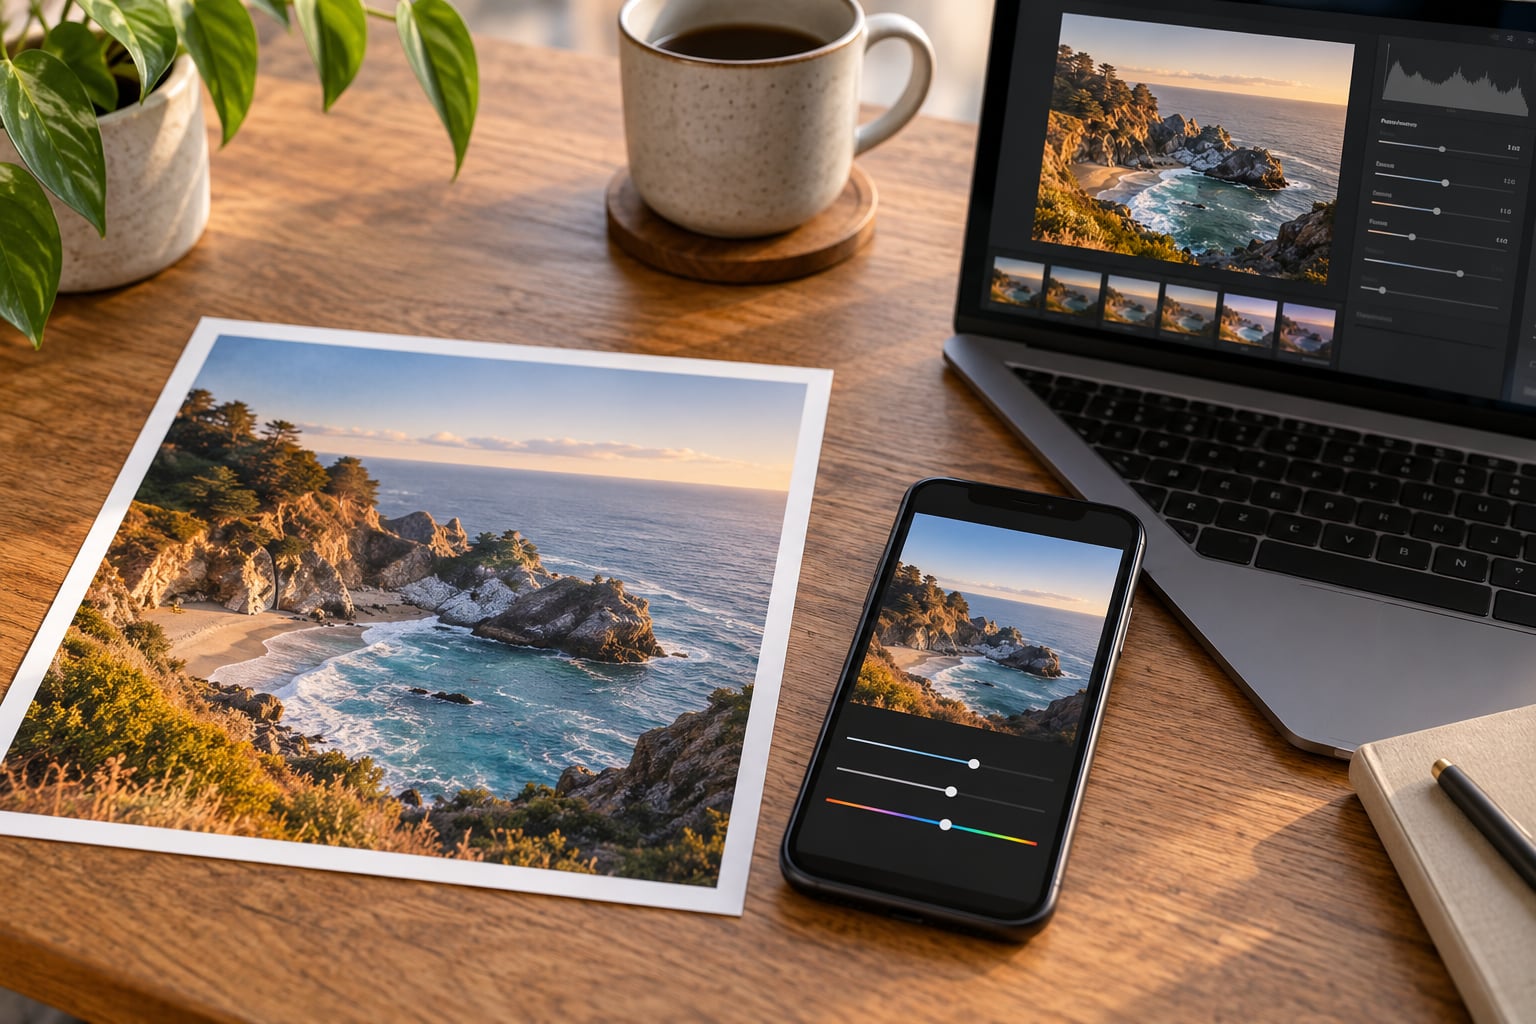
To edit photos on a phone like a pro, work in a fixed order and change one thing at a time: crop and straighten, set exposure, correct white balance, add contrast and texture, clean up distractions, then sharpen lightly and export at full resolution. Five minutes with a free app such as Snapseed or Lightroom Mobile gets you most of the way there.
The reason phone photos look amateur is rarely the camera. It is the order of edits, and the fact that most people drag every slider until the picture looks better than it really is. A disciplined edit fixes exposure first, colour second, detail last, and stops before the result looks processed.
Table of Contents
- What You Need
- How to Edit Photos on a Phone Like a Pro: Step-by-Step
- 1. Duplicate the Original and Check the Image
- 2. Correct Exposure, Highlights, and Shadows
- 3. Adjust White Balance and Color
- 4. Improve Contrast, Texture, and Sharpness
- 5. Crop, Straighten, and Refine the Composition
- 6. Compare, Refine, and Export the Finished Photo
- Common Mistakes
- Frequently Asked Questions
- Can I really edit photos professionally on a phone?
- What is the best free app to edit photos on my phone?
- What are the five basic edits every photo needs?
- How do I stop my phone photos from looking over-edited?
- Should I edit photos on my phone or transfer them to a computer?
- Do phone photos lose quality when I edit and export them?
What You Need
You need three things, and all three are free or already on your phone.
A photo app that keeps your original. Every good editor works non-destructively, meaning your untouched file stays intact and every change is reversible. On iPhone, the built-in Photos app edits live on the image and keeps an undo history. Google Photos on Android behaves similarly and adds object removal on supported models. If your gallery app edits destructively, download a real editor before you start.
One third-party editing app. Snapseed is completely free, has selective brushes, curves and healing, and is a good first choice. Lightroom Mobile has a free tier with the same slider set as the desktop version, which makes it the easier path if you ever move your work to a computer. VSCO and Photoshop Express work fine too, but they lean toward presets, so beginners often push a look rather than build one.
Room to work and a way to check detail. A bigger screen helps, though it is not required. What matters more is learning to zoom to 100% and check edges before you finish.
Menus differ slightly between apps, but the slider names stay the same. Exposure, contrast, highlights, shadows, whites, blacks, temperature, tint, and vibrance mean the same thing whether you tap them in Snapseed, Lightroom Mobile, or the stock Photos editor.
How to Edit Photos on a Phone Like a Pro: Step-by-Step
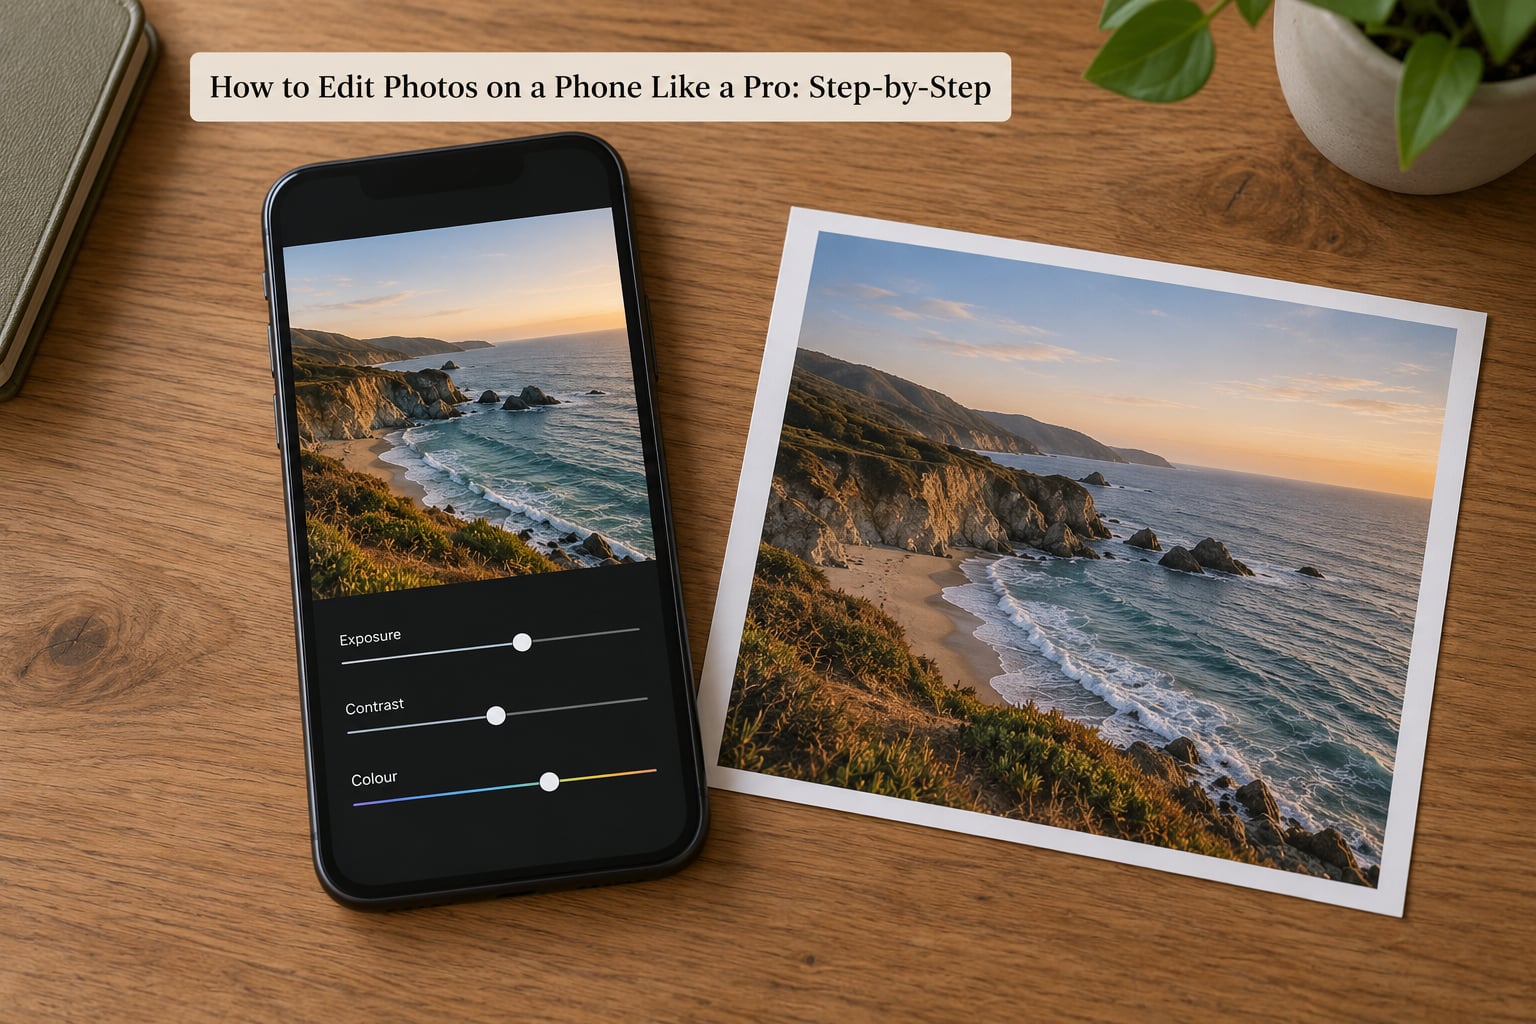
1. Duplicate the Original and Check the Image
Before touching a slider, make a copy. In Lightroom Mobile tap the three-dot menu and duplicate; in Snapseed use Stacks and Save a New Copy. The reason is simple: once you start pushing values, you lose track of what the photo actually looked like.
Then look at the photo at full size and decide what is wrong. Is it too dark, too flat, too warm, badly framed, or cluttered? Amateur edits fail because they change everything slightly instead of fixing the one or two things that bother the eye. Pick your problems, then move on.
2. Correct Exposure, Highlights, and Shadows
Set the overall brightness with exposure, usually somewhere between -0.3 and +0.7. Work from a mid-grey subject, not the brightest or darkest pixel in the frame.
Next drop highlights until the brightest areas stop looking flat and chalky, and raise shadows until detail returns to the dark half of the frame. Pulling both sliders too far is what gives photos that grey, hazy look. If the histogram shows a spike jammed against the right edge, you are clipping.
Finish with whites and blacks, setting the brightest point to paper white and the darkest to near black. Two or three points of movement is usually plenty.
3. Adjust White Balance and Color
Tap the eyedropper on something that should be neutral, such as a patch of grey or a white wall, and let the app set temperature and tint for you. Getting this right does more for realism than any other adjustment in the file.
If the app has no eyedropper, adjust temperature until skin looks natural and whites stop looking yellow or blue, then correct the remaining green or magenta cast with tint. A few degrees of tint goes a long way.
For saturation, use vibrance rather than saturation wherever it is available. Vibrance lifts dull colours while protecting already-saturated areas from turning neon. Add 10 to 25 and stop; more than 30 usually reads as artificial.
4. Improve Contrast, Texture, and Sharpness
Add contrast in small amounts, around 10 to 25, and back off the moment shadows start crushing. If your app offers both contrast and clarity or texture, use contrast for the overall shape and texture for midtone detail. They do different jobs and doubling up on both is a fast route to crunchy shadows.
Sharpening belongs at the end, and 20 to 40 is usually plenty on a phone image. Watch the edges of hair, railings, and window frames, where halos show up first. If you see bright outlines forming around dark objects, pull the sharpness back.
Noise reduction goes on before sharpening, at a low value like 20 to 25, and only if the shadows are actually grainy. Heavy noise reduction smears texture into a plastic look.
5. Crop, Straighten, and Refine the Composition
Cropping is the make-or-break edit in most photos, and it is the one beginners save for last, which is backwards. Crop first, because every later adjustment applies only to the frame you keep.
Choose your aspect ratio for the destination: 4:5 for a phone feed, 1:1 for a square post, 16:9 for video and wide displays, 3:2 for a print. Then set the boundaries. Leave a little room around the main subject rather than trimming right up against it.
Use the straighten or perspective tool for buildings shot at an angle, and rotate the horizon until it is truly level, not just nearly level. Straightening shifts the crop, so re-check your boundaries afterwards.
6. Compare, Refine, and Export the Finished Photo
Toggle between the original and the edit to see the difference at a glance, then flip back and forth a second time. Many photographers catch more problems on the second look than the first.
Zoom to 100% and check three places: the brightest area, the darkest area, and the edges of the main subject. If all three look clean, you are finished. Resist adding anything else.
On export, choose the largest size the app offers, keep the format as JPEG or HEIC at maximum quality, and disable any watermarks. For printing, export at the resolution the print shop asks for rather than the largest available, since huge files slow down ordering. If you shot RAW or DNG, your editor may offer a 16-bit TIFF export, which is worth using for larger prints.
Common Mistakes
Editing before cropping. You spend effort perfecting parts of the frame you later throw away. Crop first, then adjust.
Chasing brightness with exposure alone. A blown sky and a black subject are fixed with highlights and shadows, not with the exposure slider. Use exposure to set the scene, then recover detail locally.
Pushing saturation instead of vibrance. Saturated skies turn poster-orange. Vibrance fixes dull colours without wrecking the ones that were already fine.
Sharpening too early. Every later crop and cleanup pass resamples the image and softens it. Sharpen last, and gently.
Using a filter and then editing on top of it. Presets in VSCO and Lightroom Mobile set many values at once, and you rarely know which ones to back off. Build the look yourself, then save it as a preset so you can reuse it.
Applying a different look to every photo in a set. A feed shot in one session should share one set of values. Edit the first photo, save those settings, then paste them onto the rest so the series reads as one shoot.
One final check before you post: view the photo at actual size on a second device if you can. Details that look acceptable at arm’s length on your own screen often fall apart on someone else’s.
Frequently Asked Questions
Can I really edit photos professionally on a phone?
Yes. The major editors available on phones, including Lightroom Mobile and Snapseed, use the same controls as desktop software: exposure, curves, HSL colour adjustment, masks, and selective edits. A phone lacks large-screen precision and fast local storage, but the processing power to produce a finished, publication-ready image is there. Most professional-looking phone edits I see come down to restraint rather than software.
What is the best free app to edit photos on my phone?
Snapseed is the strongest free option because it includes selective brushes, healing, curves, and stacks, and it never overwrites your original file. Lightroom Mobile’s free tier covers the full basic slider set and tone curve, and matches desktop edits if you later move up. For quick work without installing anything, the built-in Photos app on iPhone and Google Photos on Android are perfectly capable.
What are the five basic edits every photo needs?
Crop and straighten, exposure, highlights and shadows, white balance, and contrast. Those five cover the large majority of what makes a phone photo look flat, dark, badly coloured, or unbalanced. Texture, saturation, sharpening, and cleanup are finishing moves applied afterwards in small amounts. If you only have two minutes for an edit, work through those five in that order.
How do I stop my phone photos from looking over-edited?
Use smaller numbers than you think you need. Exposure changes of a few tenths, contrast around 15, and vibrance under 25 give most of the improvement without artefacts. Watch for three warning signs: grey and hazy shadows from over-correcting both sliders, crunchy halos around edges from over-sharpening, and skin or skies that look poster-like from high saturation. Back off the offending slider rather than fixing it with another.
Should I edit photos on my phone or transfer them to a computer?
Edit on the phone when the photo will be posted on the phone, or when you need to publish quickly, since that avoids file transfers and quality loss entirely. Move to a desktop for heavy retouching, large print orders, or series that need consistent grading across many files. Lightroom Mobile syncs through the cloud, so you can start on the phone and finish on the computer with your edits intact.
Do phone photos lose quality when I edit and export them?
Not if you edit non-destructively and export at full resolution. Your original file stays untouched, and the exported copy is generated fresh from it. Quality only drops when you export at a reduced resolution and then enlarge it, or when you repeatedly save over the same file. For printing, check the size the printer requests before you export, and keep the original file in your camera roll as a backup.
Start by picking one app and learning where five sliders live, then edit five photos in the same order: crop, exposure, white balance, contrast, sharpen. Repetition is what makes editing fast, and speed is the whole reason this matters on a phone.