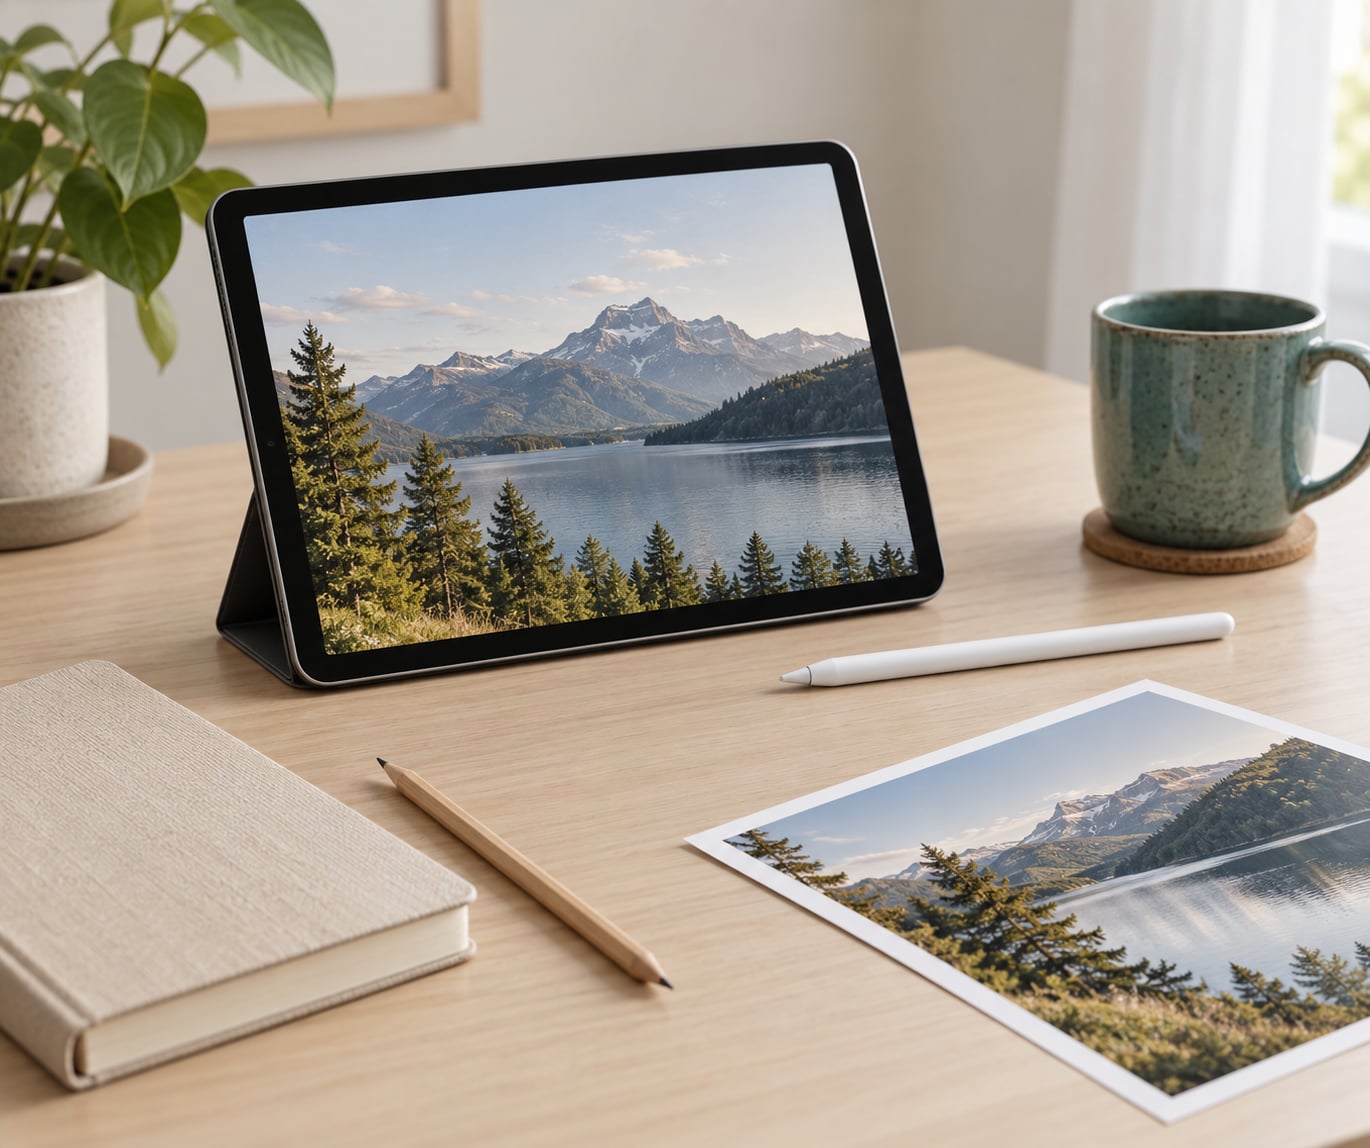
How to edit photos on an iPad is simpler than most people expect: open the photo in the built-in Apple Photos app, tap the Edit button in the top-right corner, and the Adjustments, Filters, Crop and Markup tools appear along the bottom of the screen. Every iPad ships with that editor, so a crop, a brightness fix and a filter cost nothing and take about two minutes.
There is a catch worth knowing before you start. Everything the Photos app does is non-destructive, which means it records your edits as instructions rather than rewriting the original file. That is why an edit can vanish from a shared copy and still be sitting there in your library. Once you understand how the duplication and revert tools fit together, you can edit anything without worrying.
- Open the Photos app and tap the photo you want to change.
- Tap the Edit button in the top-right corner of the screen.
- Choose Adjustments for light and colour, Crop & Rotate for framing.
- Drag the sliders until the photo looks right, checking the histogram.
- Tap Done, then Save to Photos or Save a Copy.
Table of Contents
- What You Need
- Step-by-Step: How to Edit Photos on an iPad
- Open the photo and make a copy first
- Crop and straighten before you adjust anything
- Fix white balance and exposure
- Add contrast, shadow detail and colour
- Use Selective Edits for one stubborn area
- Cut out an object or remove the background
- Compare, save a copy or revert
- Export and share the finished file
- Editing photos on an iPad with Snapseed, Lightroom and Affinity Photo
- How to edit photos on an iPad for free
- Common Mistakes and How to Fix Them
- Editing the only copy of a photo
- Cropping before straightening
- Pushing every slider
- Relying on saturation to make a photo pop
- Painting a selective mask too small
- Exporting over and over
- Opening a RAW file and assuming it is full quality
- Running out of space mid-edit
- Frequently Asked Questions
- Where is the edit button on iPad Photos?
- Does the iPad have a built-in photo editor?
- What is the best app to edit photos on an iPad?
- Do I need an Apple Pencil to edit photos?
- How do I edit RAW photos on an iPad?
- Should I save edits as JPG or HEIF?
- Conclusion
What You Need
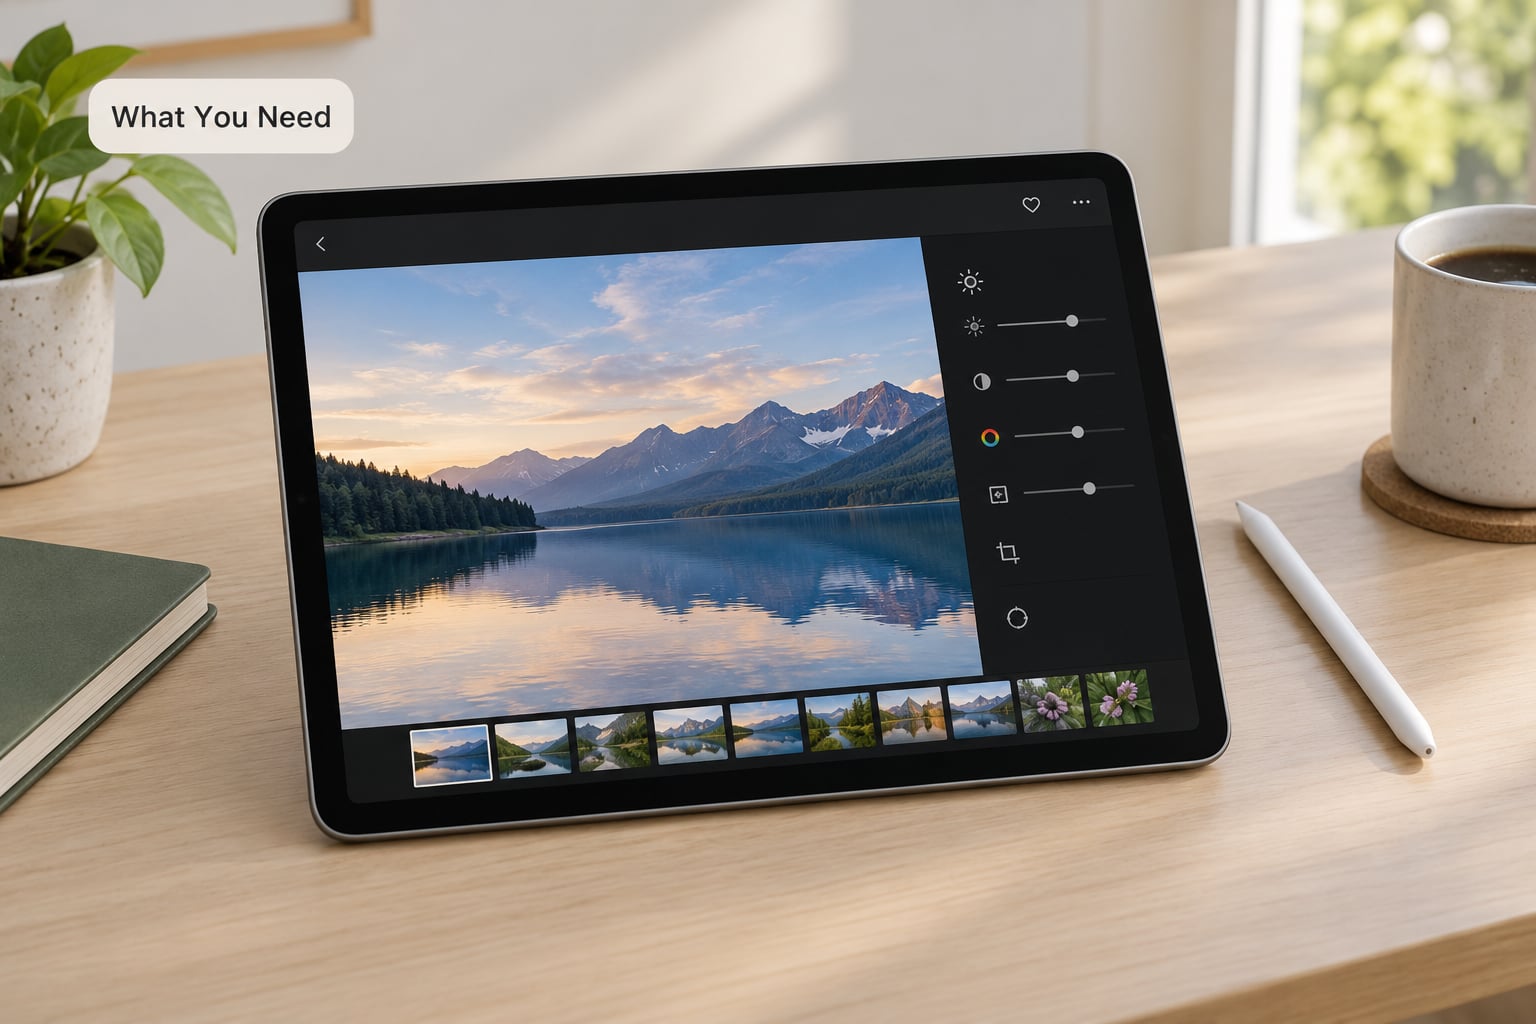
Hardware is the easy part. Any iPad that runs a current version of iPadOS can edit photos, and an iPad Air or iPad Mini handles the work perfectly well for crop, colour and light adjustments. You get more screen to work with on a Pro, but the editing tools themselves are identical across models.
You do need free storage. Photos keeps the original plus every version you save, so a shoot of 200 RAW files will fill a lot of room. Check Settings, then General, then iPhone Storage or iPad Storage before you import anything large.
As for software, you have four sensible options:
- Apple Photos is built in and free. It handles crop, rotate, straighten, exposure, contrast, colour, filters, Selective Edits, Markup and background removal. For a beginner, this is genuinely enough.
- Snapseed is free from Google and has no subscription. Its sliders, Selective U tool and healing brush are more capable than the Photos editor without being complicated.
- Adobe Lightroom is the standard for RAW work, presets and colour grading on the move. It runs as a free trial with limited functionality, and full access needs an Adobe subscription, which is the part most photographers on forums complain about.
- Affinity Photo is a one-time purchase with layers, masks and full RAW development. No recurring fee, which is why plenty of iPad-only shooters have moved to it.
An Apple Pencil is optional but changes the feel of the work. Palm rejection means you can rest your hand on the screen while you draw, and precision crops with the tip are far easier than dragging a corner with a fingertip.
Step-by-Step: How to Edit Photos on an iPad
Open the photo and make a copy first
Tap the photo in your library so it fills the screen, then press and hold the thumbnail in the bottom strip and choose Duplicate. Do this before you touch a slider. On newer iPadOS versions you will find Duplicate under the Share button as well.
How do you know the duplicate worked? A copy appears at the end of the filmstrip in the same timeframe, with the same filename and one extra word in the name. Edit the duplicate, leave the untouched original where it is, and your safety net is in place.
Crop and straighten before you adjust anything
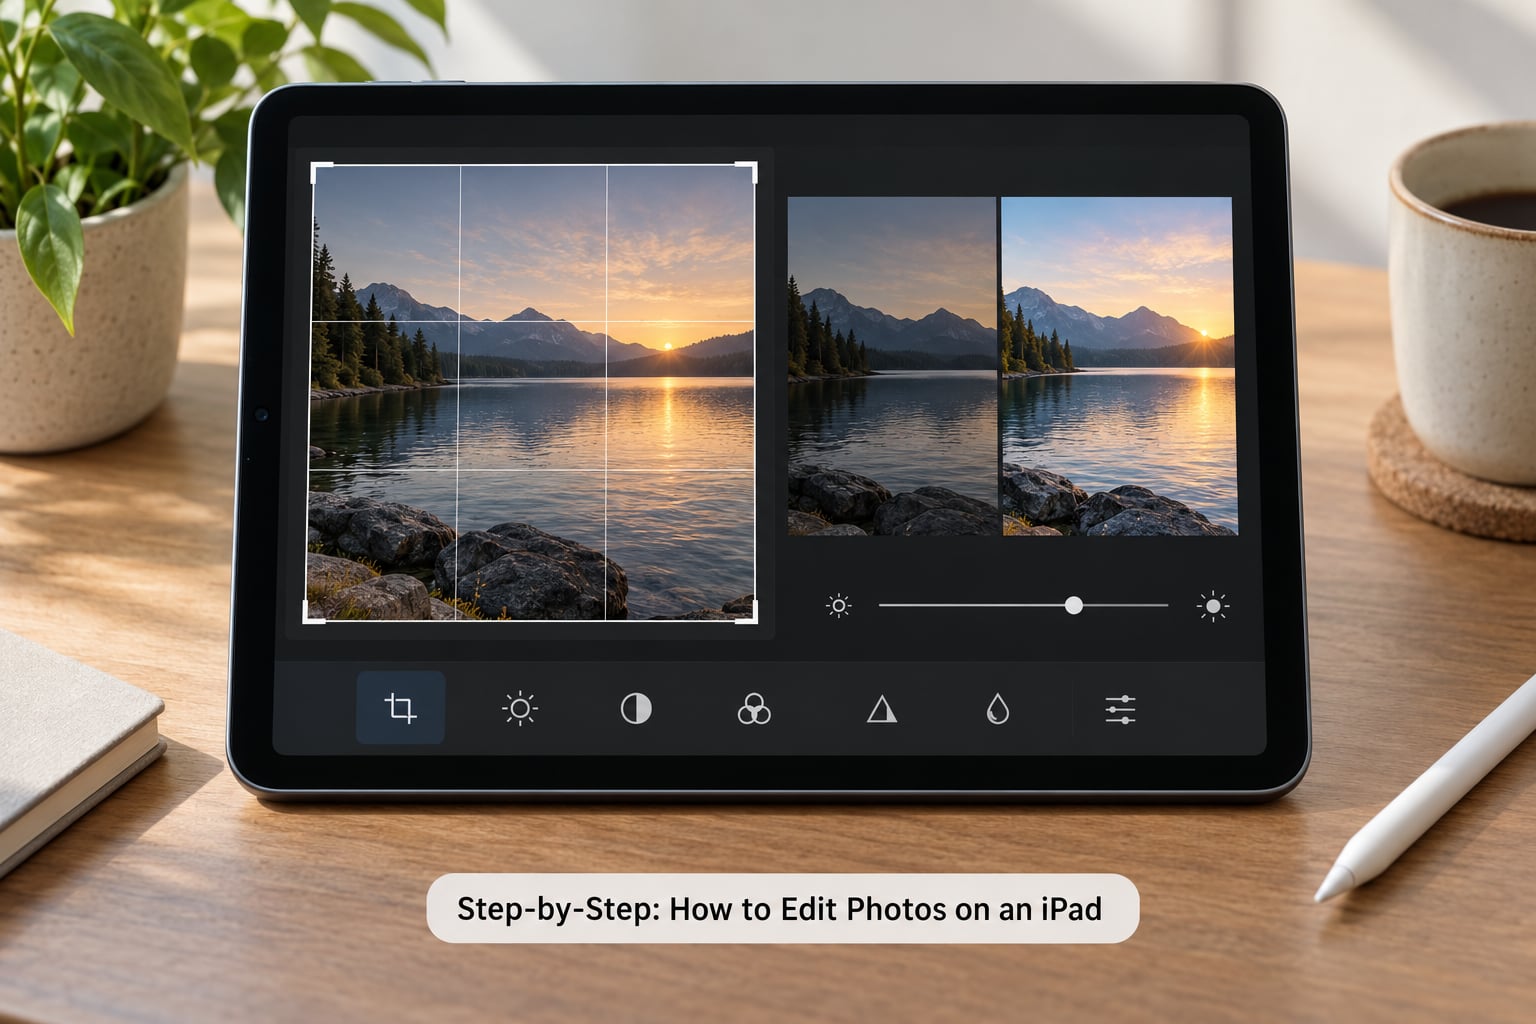
Framing first, always. In the Edit view, tap Crop & Rotate along the bottom toolbar, then drag the corners in, drag the crop grid to reposition it, and use the straighten control to correct a leaning horizon. Turning the device sideways gives you the orientation control for a portrait versus landscape shot.
You can tell it worked when the photo sits square in the frame and your subject’s eyes or the building lines are horizontal. Straighten after cropping and you end up trimming the frame twice.
Fix white balance and exposure
Tap Adjustments. The panel gives you Exposure, Highlights, Shadows, Contrast, Saturation, Vibrance, Warmth, Sharpness, Noise Reduction and more, depending on your version of iPadOS. Pull Exposure up a small amount, then use Highlights to recover bright skies and Shadows to open the dark areas.
If the photo looks yellow or blue, drag Warmth in one direction until skin tones look natural. Tap the Auto-Enhance wand at the bottom of the Adjustments panel for a one-tap starting point, then undo it and do it by hand. That single feature is how you learn what each slider really does.
A quick check: press and hold the photo thumbnail in the bottom strip and you are looking at the untouched original. Release and you are back on your edit. Most editors push a little too far before that comparison.
Add contrast, shadow detail and colour
Raise Contrast a touch rather than a lot, then switch to Vibrance, which pushes only the colours that are already muted and leaves skin tones alone. Saturation is the blunt version and is how a sunset turns into a cartoon.
If the adjustment landed right, the histogram underneath should have no pile-up hard against either end of the scale. Clipping at both ends means detail has been lost and no slider will bring it back.
Use Selective Edits for one stubborn area
Selective Edits lets you paint a mask on a face, a sky or a wall and then change exposure, contrast, saturation and warmth for that region only. Tap Selective Edits in the bottom toolbar, choose Add, paint or drag over the area with a fingertip or an Apple Pencil, then move the sliders.
Brush it with the mask tool if you want a softer edge, and erase with the eraser tool if you go past the line you wanted. When a selective edit fails to show up, the mask is usually too small rather than the slider being broken.
Cut out an object or remove the background
To cut out part of a photo, press and hold the subject in the Photos library and the subject lifts out with the background removed. Tap the cut-out, then drag it into another photo or into a message. The long-press trick works best when the subject is well separated from what is behind it.
For a cleaner approach, open the photo, tap Edit, then Markup. Markup gives you a Draw tool with Pencil, Pen and Marker, plus Text, a shape tool, a magnifier and stickers. Anything you draw here stays with the image when you save a copy.
Compare, save a copy or revert
Tap Done when you are finished. You then get three choices that beginners mix up constantly. Save to Photos adds the edited version as a new item and leaves the original alone. Save a Copy does the same thing under a different name. Revert to Original throws the edits away entirely, and it is the only one of the three that is destructive.
If your edits seem to have disappeared later, look in Recently Deleted and in the hidden album at the bottom of the Views screen before you assume they are gone.
Export and share the finished file
To get the file off the iPad, tap Share, then the options icon, then Save to Files to store a JPEG in iCloud Drive or on the device, or AirDrop it straight to a Mac. You can also set a maximum resolution in the export options, which matters if you are sending a large image to someone over email.
Editing photos on an iPad with Snapseed, Lightroom and Affinity Photo
The same job looks a little different elsewhere. In Snapseed, the tools sit in a row along the bottom: Tune Image opens the global sliders, Details handles structure and sharpening, and Selective U control gives you the masked adjustment that Selective Edits does in Photos. Look and Stylize covers the filter side.
Lightroom opens straight into the Develop module with a histogram, sliders on the right and masking under the Edit menu at the bottom. The key advantage over Photos is RAW: Lightroom reads the sensor data, while the Photos app mostly shows the JPEG preview embedded inside the RAW file, which is far smaller.
Affinity Photo works like a desktop editor condensed for touch: Layers panels, masks, brushes and blend modes all behave the way they do on a computer. If you need to composite or retake a sky, this is the tool on iPad that can do it without a subscription.
How to edit photos on an iPad for free
Use Photos and Snapseed together and you lose nothing important. Photos handles the organisation, Live Photos, iCloud sync and Markup, Snapseed handles the finer colour and healing work, and neither asks you to subscribe to anything. The Photos editor on its own covers most of what beginners are ever going to need.
Common Mistakes and How to Fix Them
Editing the only copy of a photo
Duplicating takes one tap and saves the shoot. Duplicate first, edit second, and you can always revert.
Cropping before straightening
Straighten with the whole frame visible, then crop. Straightening after a tight crop pushes the horizon back out of view.
Pushing every slider
Exposure and Contrast get most of the attention when they should get a fraction. Make one change, press and hold to compare with the original, and only move on if you still want it.
Relying on saturation to make a photo pop
Vibrance is the safer control. Saturation hits every colour equally, including skin, which is how photos end up looking sunburned rather than vivid.
Painting a selective mask too small
Brush past the edge you want and erase the excess. A mask that only covers the exact pixel you are adjusting shows nothing at all.
Exporting over and over
Every export you re-save from a compressed JPEG loses a little quality. Make your changes once, export once, and keep the layered or RAW version if you plan to come back to it.
Opening a RAW file and assuming it is full quality
In the Photos app and several lightweight apps you are looking at the embedded JPEG preview, not the RAW data. For exposure, shadows and colour from RAW, use Lightroom or Affinity Photo.
Running out of space mid-edit
Originals, duplicates and exports add up fast on a shoot. Cull as you import, delete the rejects, and check empty space before you plug in a card reader.
Before you share anything, do a final pass on a smaller screen. Viewing a photo on the iPad at full brightness hides problems that show up on a phone or a laptop, especially clipped highlights, colour casts on skin, and a horizon that is still a degree or two off.
Frequently Asked Questions
Where is the edit button on iPad Photos?
It sits in the top-right corner of the screen once you have tapped a photo open in the Photos app. Tap it and the editing toolbar appears along the bottom of the screen, with Adjustments, Filters, Crop and Rotate, Selective Edits and Markup. If you cannot see it, make sure the photo is open full screen rather than in a grid view.
Does the iPad have a built-in photo editor?
Yes, and it is capable. The Photos app that comes with iPadOS includes crop, rotate, straighten, exposure, highlights, shadows, contrast, saturation, warmth, sharpness, filters, Selective Edits for masked adjustments, Markup for drawing and text, and background removal. There is nothing to buy or download for a basic crop, straighten and brighten.
What is the best app to edit photos on an iPad?
Use the built-in Photos editor for quick corrections and Snapseed if you want more control for free. Choose Lightroom when you shoot RAW regularly or want synced presets, and Affinity Photo for layers, masks and serious retouching without a subscription. Many iPad-only photographers run Photos for organisation, Lightroom for RAW and Affinity for the heavy work.
Do I need an Apple Pencil to edit photos?
No. Every tool in this guide works fine with a fingertip. A Pencil makes precision crops, mask painting and Markup drawing noticeably easier, and palm rejection lets you rest your hand on the screen while you draw. If you already own one, use it for masking and retouching and keep your finger for the sliders.
How do I edit RAW photos on an iPad?
Import the RAW files through Files or a card reader and open them in Lightroom or Affinity Photo, which read the sensor data properly. The Photos app can display RAW files, but it mostly renders the smaller JPEG preview stored inside them, so shadows, white balance and colour have less room to recover. Lightroom syncs those edits back to your desktop library.
Should I save edits as JPG or HEIF?
Save as HEIF when you are staying inside the Apple ecosystem, since it holds more colour information than a JPG at a similar file size. Export as JPG for anything you send to someone else or upload to a website, because not every platform reads HEIF. Whatever you pick, keep the duplicate you edited so the original stays recoverable.
Conclusion
The whole workflow fits in five actions: open the photo, duplicate it, crop and straighten, make one careful set of adjustments, then compare with the original before you save. Everything the Photos app does is non-destructive, so the only real mistake is editing your only copy.
If you want one place to start today, import a single photo from your camera roll, save a duplicate, apply Auto-Enhance, then undo it and set Exposure by hand until you can see why each slider moves the image. That exercise takes five minutes and teaches more than an hour of watching tutorials.