To use image stabilization correctly, treat it as the last few stops you add after good technique, not as a replacement for it. Pick the mode that matches how the camera is being held, match the shutter speed to the situation, press the shutter gently, and switch stabilization off whenever the camera is bolted to something solid.
That is the whole idea, and it takes about five minutes to set up properly. Most blurry photos blamed on stabilization are actually caused by a mode left on the wrong setting or a shutter speed that was too slow even with stabilization running.
The sequence below is the one I work through before a shoot. Try it once with your own camera and the difference shows up the same night.
Table of Contents
- What You Need
- How to Use Image Stabilization Correctly: Step by Step
- 1. Choose the Right Mode: How to Use Image Stabilization Correctly in Each Situation
- 2. Set the Shutter Speed and Aperture
- 3. Hold the Camera Correctly
- 4. Use the Appropriate Focus and Drive Settings
- 5. Press the Shutter Without Wobbling
- 6. Use Stabilization While Panning or Moving
- 7. Check the Result and Adjust
- Common Mistakes
- Frequently Asked Questions
- Should image stabilization be turned on when using a tripod?
- What shutter speed should I use with image stabilization?
- Is optical or electronic image stabilization better?
- Does image stabilization help with subject movement?
- Can a stabilized lens improve handheld portraits?
- How do I reduce blur when shooting video with stabilization?
- Conclusion
What You Need
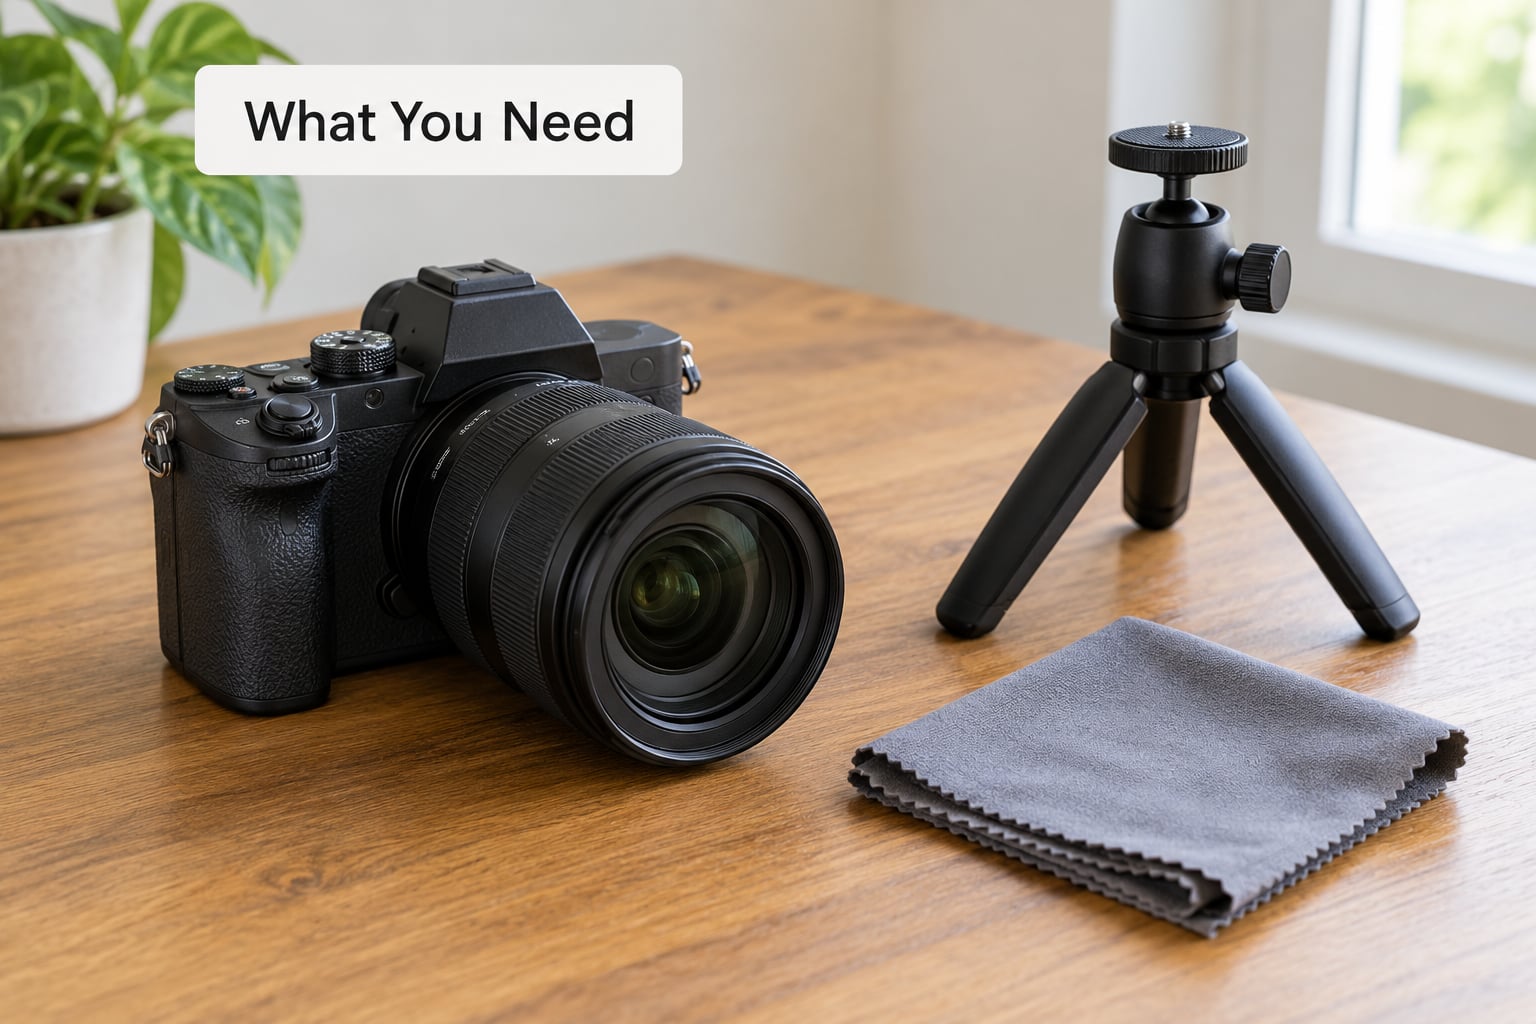
You need very little. A camera with any built-in stabilization and a reasonably steady hand cover most of it. Everything else is optional, and knowing what each piece does helps you decide whether you even need it.
- A stabilized camera or lens. Most mirrorless bodies now have in-body stabilization, which means almost any lens benefits. Older DSLRs rely on lens IS, so the feature only exists if the specific lens has it.
- A lens that matches what you shoot. A wide lens needs less correction than a 200mm telephoto. Stabilization is rated in stops, and a 5-stop system is not the same as a 7-stop one.
- A tripod for the situations where stabilization should be off.
- A remote release or 2-second timer so touching the camera does not undo everything the stabilization just corrected.
There are four types you will run into in menus, and they behave differently:
- Lens IS (Canon IS, Nikon VR, Sony SteadyShot, Tamron VC, Sigma OS, Pentax SR) shifts a floating lens group inside the barrel.
- In-body stabilization (IBIS) shifts the sensor on a small platform. Because it lives in the body, it works with almost any lens.
- Electronic image stabilization (EIS) is software. It crops into the frame and warps the recorded image to correct movement, which is how most phones and cameras do video.
- Hybrid or dual IS lets the lens and the sensor work together, correcting shake that one mechanism cannot.
How to Use Image Stabilization Correctly: Step by Step
Seven steps, in order. Each one has a result you can check before you move on, which matters more than it sounds like, because most of the wrong results here look identical until you know which step broke.
1. Choose the Right Mode: How to Use Image Stabilization Correctly in Each Situation
Start in the mode that matches how the camera is moving. Standard or Mode 1 corrects pitch and yaw and suits a still subject. Panning or Mode 2 assumes you are swinging with a moving subject and intentionally leaves blur in the background. Sport or Dynamic tracks movement while you follow it. Tripod mode stops the system hunting against a fixed camera. Active mode is the heavier correction used for video and fast walking.
The menu labels differ by brand, but the logic does not. Use this table as your starting point, then adjust from the frames you get back.
| Situation | Stabilization | Mode to select | Why |
|---|---|---|---|
| Handheld, still subject | On | Standard / Mode 1 | Corrects pitch and yaw while you stand still |
| Panning with a car or runner | On | Panning / Mode 2 | Stops the system fighting your deliberate movement |
| Tracking a moving subject | On | Sport / Dynamic | Handles continuous directional movement |
| On a tripod, static subject | Off or Tripod mode | Tripod / Off | The system has nothing to correct and can hunt |
| Long exposure on a tripod | Off | Off | Correction fights the mirror and any wind |
| Video on a gimbal | Off in the camera | Off, or Active for handheld | Two systems correcting the same movement fight each other |
| Burst of a moving subject | On | Sport / Dynamic | Keeps the frame aligned across the burst |
| Fast shutter in good light | Optional | Any | You have enough speed on your own |
How you can tell it worked: the preview stays steady when you pan the camera across a scene, and finished frames show no soft edges that were not there in the viewfinder.
2. Set the Shutter Speed and Aperture
Stabilization buys you shutter speed, so set the shutter speed first and think of it as your new baseline. The reciprocal rule says a handheld 50mm lens wants roughly 1/50 second. With 5 stops of stabilization, 1/50 becomes 1/1600, which means the practical handheld floor moves to something like 1/15 or 1/30 at that focal length.
Work out the arithmetic with your own numbers: 1/125 at three stops becomes 1/15. That is roughly a second and a half slower, or four times more exposure time.
What this means in practice: use stabilization to reach the reciprocal rule, not to sit three stops below it. Below the floor, you get a soft frame no matter how good the correction is, because the system stops being able to track the movement and starts averaging it out.
How you can tell it worked: shoot the same scene at your computed floor and one stop under it. If the slower frame is still sharp, your floor is conservative and you can push it.
3. Hold the Camera Correctly
Elbows in, arms braced against your torso, camera held level, both hands on the grip. Pull your elbows in rather than holding your arms out, because outstretched arms turn every small movement into a larger one at the sensor.
Stabilization corrects the movement of the camera, not a dropped arm. A loose, floating hold gives the system something to chase that it can never fully catch up with, and the result is a frame that looks oddly soft in the corners.
How you can tell it worked: look at the rear screen at 100% and check the corners first. Corner softness with a sloppy grip usually goes away when you brace properly.
4. Use the Appropriate Focus and Drive Settings
Stabilization corrects camera shake. It does nothing at all for a subject that moved while the shutter was open. If you are shooting people or wildlife, continuous autofocus and a short burst give you a sharp frame to pick from.
The two kinds of blur are easy to separate once you know what to look for. Camera shake smears in one direction across the whole frame, including the background. Subject movement blurs only the subject and leaves the background clean, because the background is not moving.
How you can tell it worked: enlarge a finished frame to 100%. If the background is clean and the subject is soft, the problem is shutter speed or autofocus, not stabilization.
5. Press the Shutter Without Wobbling
Press halfway to focus, breathe out, then press the rest of the way with the pad of your finger rather than jabbing with the end. A sharp jab rotates the camera, and the system spends part of its correction budget chasing the knock instead of the shake.
On a tripod, use a remote release or the 2-second self-timer. On a mirrorless body, use the electronic shutter where the light allows it, since it removes the mirror slap that upsets both tripod-mounted shots and long telephoto work.
How you can tell it worked: compare a hand-pressed frame with a timer or remote frame of the same scene. On a tripod the difference is often obvious at 100%.
6. Use Stabilization While Panning or Moving
Standard mode will fight a panning shot, because the system sees your deliberate horizontal swing and tries to cancel it, which smears both the background and sometimes the subject. Switch to panning mode, start moving before the shutter fires, and keep the pace smooth.
A reasonable starting point for a panning shot of a walking subject is around 1/125 second, then adjust. Fast subjects need more speed; slow ones let you drop down for a smoother match.
How you can tell it worked: the subject is sharp while the background shows horizontal streaks. If the background is sharp too, you were not panning, and if the subject is soft you were probably too slow.
7. Check the Result and Adjust
Zoom in on the finished frame before you leave the location. Look at the corner nearest your supporting hand, where shake shows up first. Blur across the whole frame means you need another stop of speed or a firmer hold. Softness in one corner only usually means the frame was taken before the correction settled, so shoot the next one a fraction later.
Change one variable at a time. Move the shutter speed first, then the mode, then the ISO, and keep a note of what fixed what.
How you can tell it worked: your shots look the same at 100% as they did in the live view. That is the finish line.
Common Mistakes
These are the errors that come up over and over, and every one of them has a quick fix.
Leaving stabilization on with the camera on a tripod. The system is looking for movement, finds none, and hunts for some. Turn it off, or switch to tripod mode if your camera has one. Bodies with in-body stabilization are more forgiving than older lens-based systems, so some shooters mount a modern body and leave it switched on without trouble, while long zooms on a tripod still show wobble and hunting at high focal lengths.
Leaving stabilization in standard mode while panning. The correction fights your movement. Switch to panning mode before you start swinging.
Applying electronic stabilization to an already stable image. In video, EIS crops and warps what the lens already stabilized, so you pay for it with a tighter field of view and softer corners. Pick one system per axis.
Holding the camera too loosely. A floating grip gives the gyroscope motion it cannot correct. Elbows in, weight balanced, both hands on the camera.
Expecting stabilization to freeze the subject. It cannot. Any movement inside the frame needs its own shutter speed, and the difference between sharp background and blurry subject tells you which problem you have.
Relying on stabilization instead of a fast shutter speed. Slow shots are always slower than the system can rescue. Match the shutter speed to the subject first and let stabilization handle the camera shake.
Running in-camera stabilization while shooting on a gimbal. Video shooters consistently advise turning the camera’s stabilization off on a gimbal, because two correctors chasing the same movement produce a drifting frame.
A few habits that help beyond the menu: keep the strap short so it cannot swing into the frame, turn stabilization off when you are on a moving platform like a boat or a car with the engine running, and update your firmware, since manufacturers have improved tripod detection and mode behaviour over the years.
Frequently Asked Questions
Should image stabilization be turned on when using a tripod?
Usually no. Lens-based stabilization is built for hand movement, so on a fixed tripod it can hunt and add blur. Many modern mirrorless bodies with in-body stabilization include tripod detection and work fine switched on, which is why the old rule is less absolute than it used to be. If your frames are sharp with it on, leave it on. If they are not, switch it off and retest.
What shutter speed should I use with image stabilization?
Use the reciprocal rule for your focal length as the target, then treat stabilization as the margin that lets you fall a few stops below it without penalty. On a 50mm lens that means aiming for 1/50 second, with roughly 1/30 as the practical floor. Go below the floor and the system averages out the movement instead of correcting it, and the frame softens.
Is optical or electronic image stabilization better?
Optical and in-body stabilization are better because they correct the image before it is recorded, with no crop and no loss of detail. Electronic stabilization corrects after capture by cropping and warping the frame, which costs you field of view and can soften the corners. Electronic systems are still valuable in video and on phones, where hardware options are limited.
Does image stabilization help with subject movement?
No. Stabilization compensates for movement of the camera, not movement inside the frame. A walking person, a bird or a car needs a shutter speed fast enough to freeze it. Blur on the subject with a clean background tells you the shake was handled and the subject speed was not.
Can a stabilized lens improve handheld portraits?
Yes, noticeably. Portraits are usually shot at wide apertures where the shutter speed drops, which is exactly where shake shows. A stabilized lens, or a body with in-body stabilization, lets you hold 1/60 or 1/30 at f/1.8 instead of dropping to 1/15. Keep the stabilization on and brace your elbows, since a soft grip undoes the correction.
How do I reduce blur when shooting video with stabilization?
Turn off in-camera stabilization when you are on a gimbal so only one system corrects the movement. Shoot handheld video in active mode and walk rather than run, with the camera held level. Keep light high enough that you do not need to drop the shutter speed, and remember that electronic stabilization crops the frame, so leave room around your subject.
Conclusion
Start with three things tonight: set the mode to match how the camera is being held, brace your elbows against your body, and set a shutter speed at or just below the reciprocal rule for your focal length. Shoot a test frame, check it at 100%, and change one setting at a time until it matches what you saw in the viewfinder.
Once that habit is in place, learning how to use image stabilization correctly becomes easy. The feature works exactly as designed when it is matched to the movement, and it works against you the moment it is not.