A lens hood is a plastic or metal shade that clips onto the front of your lens to block stray light hitting the front element, and knowing how to use a lens hood well takes about a minute once you know your mount type. You line up the index mark, twist until it locks, then keep it on outdoors and take it off for on-camera flash, filters that sit proud of the barrel, and strong wind.
That is the whole trick, and most of the confusion on forums comes down to three things: not knowing which hood fits, twisting the wrong direction, and shooting with the hood reversed without noticing. Get those right and the rest is just habit.
The good news is that the mechanism is simple, even when the instructions in a manual read like a legal disclaimer. Below is the process I walk new camera owners through, plus the situations where a hood actually hurts your photos.
Table of Contents
- What You Need Before You Use a Lens Hood
- Step-by-Step: How to Use a Lens Hood in Six Steps
- Step 1: Check That the Lens Hood Fits Your Lens
- Step 2: Attach the Hood to the Correct Lens
- Step 3: Position the Hood for the Light Source
- Step 4: Check the Viewfinder, LCD, and Test Photos
- Step 5: Use the Hood During Changes in Lighting
- Step 6: Remove and Store the Hood Safely
- Common Mistakes and How to Fix Them
- Frequently Asked Questions
- Does a lens hood actually make a difference?
- When should I shoot with a lens hood?
- Do I need a lens hood on a cloudy day?
- Should you use a lens hood inside?
- When should you not use a lens hood?
- Should I use a lens hood for sports photography?
- Start Here
What You Need Before You Use a Lens Hood
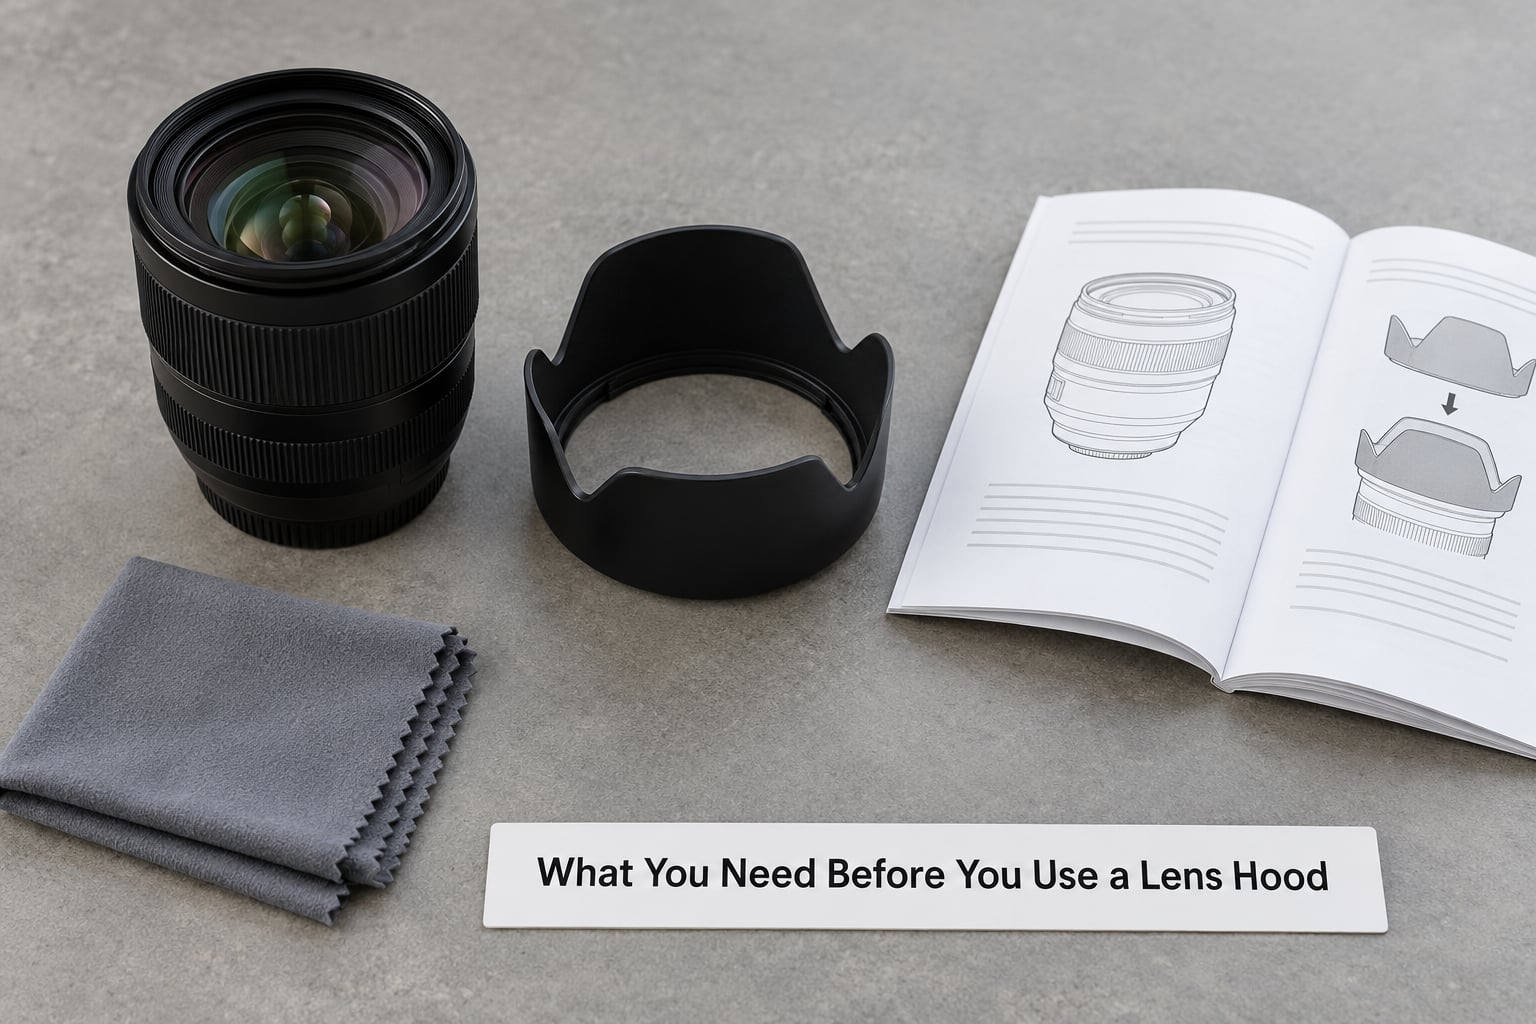
You need four things: the camera with the lens you want to shoot with, the correct hood for that lens, a microfibre cloth, and the lens manual or the manufacturer hood chart.
The hood must match your specific lens, not just the filter thread size. This is the mistake almost everyone makes once. A 58mm thread is a thread size, not a fit, and two lenses with identical 58mm threads can need completely different hood shapes because their front barrels and angles differ.
Original-brand hoods are the safe choice. Third-party hoods often fit well and cost less, but the bayonet lugs can be slightly loose, which lets the hood creep during a long lens change. I have seen a petal hood rotate a few degrees mid-shoot and show up as darkened corners in the edit, which is confusing when you assume your exposure is wrong.
Before you buy or borrow anything, check the mount style. Modern interchangeable lenses from Canon, Nikon, Sony, Fujifilm and Sigma mostly use a bayonet: small lugs on the barrel that the hood’s slots catch as you twist. Compact lenses and older screw-thread lenses often use a thread that winds on. Some fixed-lens compacts slide straight on and click. Knowing which one you own tells you immediately whether to twist or screw.
Step-by-Step: How to Use a Lens Hood in Six Steps
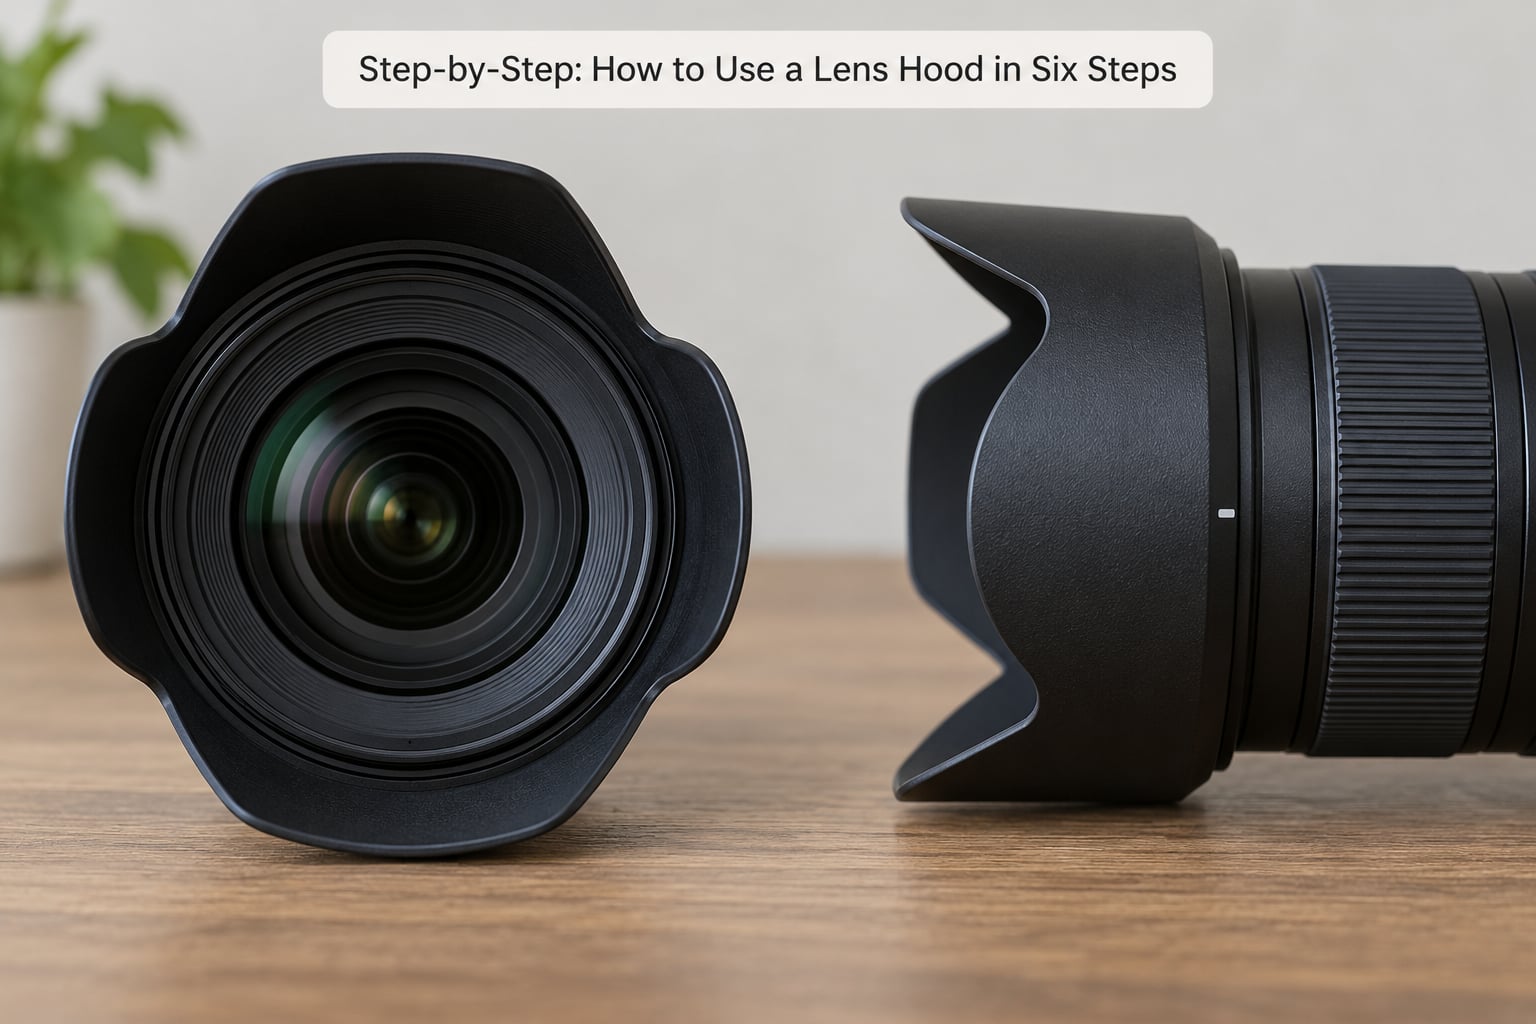
Step 1: Check That the Lens Hood Fits Your Lens
Turn the camera so you can read the lens barrel, where the model name is printed near the front. Write that exact name down rather than going from memory, because two lenses in the same kit often take different hoods.
Cross-reference it against the hood chart in the lens manual, which lists the correct hood code, not just a generic name. On Fujifilm, for instance, the 50-140mm takes one specific hood and the 16-55mm takes a different shape.
If you are buying a replacement, match the hood code first and the filter thread second. A universal hood advertised purely by thread diameter is a gamble. Look for one that names your lens series explicitly.
Step 2: Attach the Hood to the Correct Lens
Switch the camera off before fitting anything. On a mirrorless body the sensor is exposed the moment the lens comes off, so there is no reason to handle a lens while it is powered up.
Find the index mark, usually a small white dot or a ridge on the front of the lens barrel, and line it up with the matching mark on the rim of the hood. The marks must start in the same position. This is the single most common failure, and it is why hoods sometimes feel stiff or refuse to seat.
Now twist. On a bayonet hood, keep turning in the direction of the arrow until you feel it click and the hood sits square to the barrel. Most Canon and Nikon bayonets lock with a short counter-clockwise quarter turn from the dot, though some lenses lock in the opposite direction, so trust the feel rather than memory. Never force a hood past the click, and never force a hood that has reached its stop without seating, because you are working against a lug that is not lined up.
Some lenses need a press-in-and-twist. Fujifilm’s 50-140mm hood has to be pushed inward toward the lens while you twist it on, and pushed in again while you twist it off. Owners describe discovering this by accident, but it is just a tighter spring on the lugs. If a hood will not go on, press it in gently and keep twisting.
Step 3: Position the Hood for the Light Source
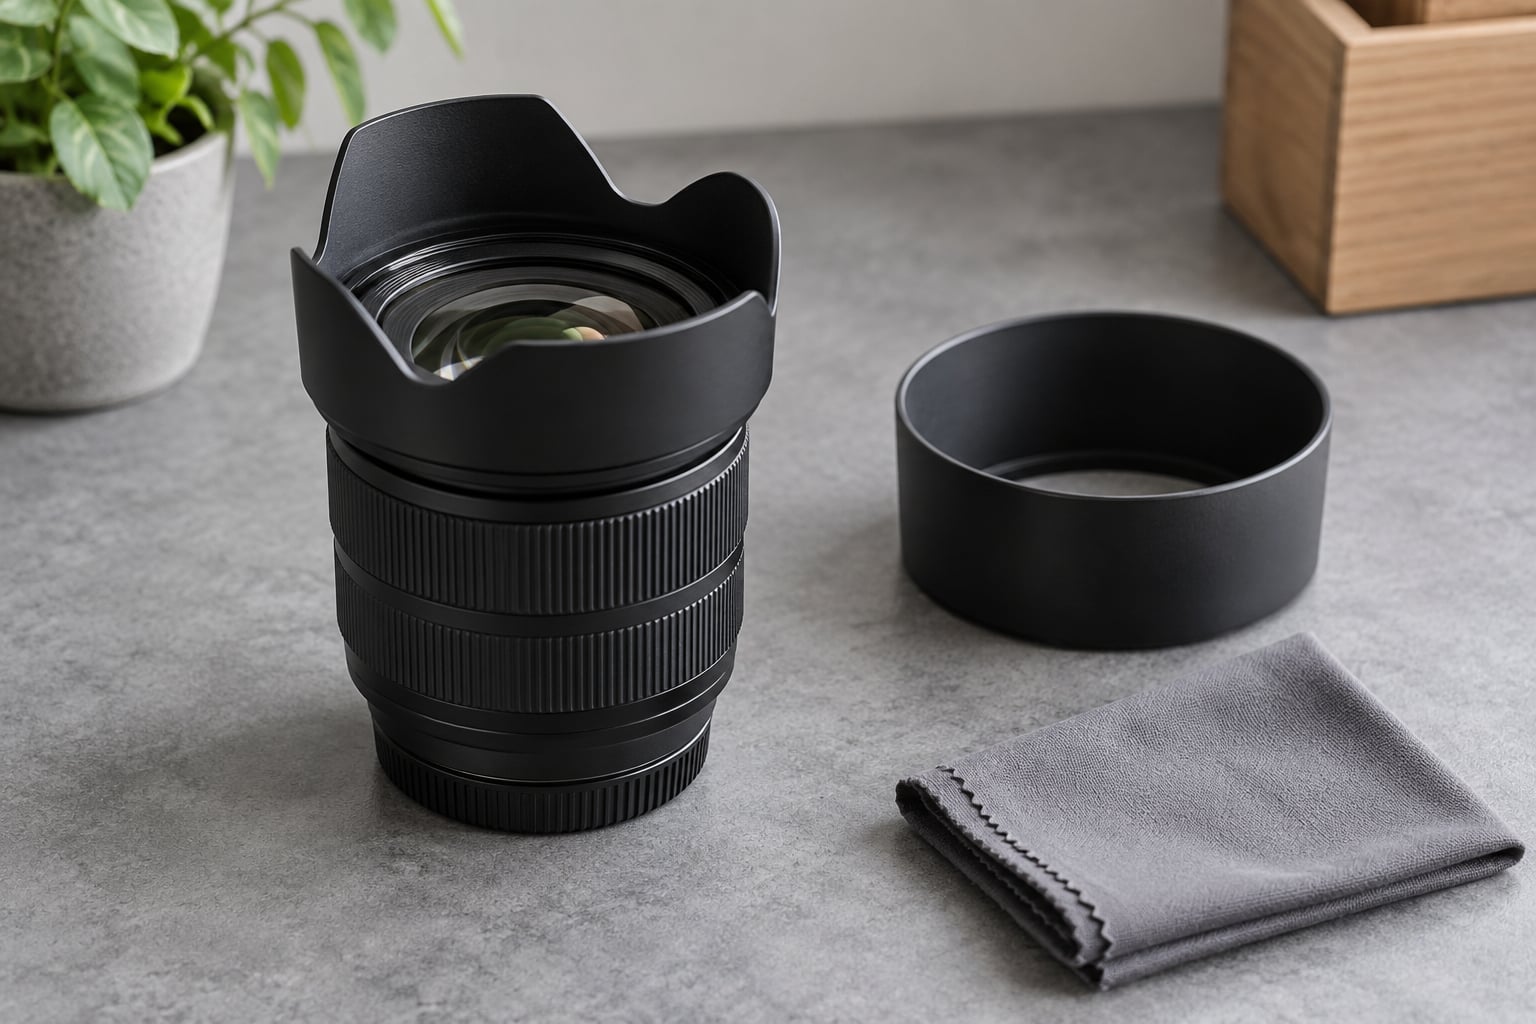
Once it is locked, you can still rotate a bayonet hood around the axis of the barrel to change its position. That matters for petal and tulip hoods, which have scalloped edges shaped to match the corners of the frame.
Turn the hood so the cut-outs line up with the corners of your frame. If they sit over the corners instead, the corners go dark, which is vignetting caused by the hood rather than by the lens. Check at your widest aperture and your widest zoom setting, since that is where intruding is most likely.
Round and cylindrical hoods do not need this adjustment. They are used on longer focal lengths where a uniform tube around the front element blocks stray light without intruding on the frame.
Step 4: Check the Viewfinder, LCD, and Test Photos
Look through the viewfinder and through the rear screen at your widest setting. The corners should be even. Then put your hand in front of the lens at arm’s length, without touching the glass, and watch the corners of the screen. Anything the hood blocks will be obvious.
Next, shoot one frame with the sun or a bright window just outside the frame and one without the hood. Compare the shadow detail and colour saturation, not just the flare spots. A hood usually delivers the bigger gain in contrast in the shadows, which is the haze most people do not notice until they see both frames side by side.
That 30-second test is worth repeating on any new lens. It tells you immediately whether your hood helps, does nothing, or is getting in the way.
Step 5: Use the Hood During Changes in Lighting
How to use a lens hood through a change in light is mostly a question of when to leave it on. Keep it on whenever light is coming from outside the frame: outdoors, near a window, beside a doorway, shooting backlit portraits. It also stays on for rain, snow and dusty conditions, where it keeps water and grit off the front glass.
Take it off for the pop-up flash and any on-camera flash, because the hood cuts off the light and puts a dark band along the bottom of the frame. Take it off for deliberate flare shots, obviously, and for strong wind on a long telephoto, where the hood acts as a sail on a lightweight tripod head.
Fit filters before the hood, never after. A circular polarizer and most ND filters need rotating by hand after mounting, and a deep hood can block your fingers. Fujifilm’s X100VI has a built-in ND filter dial under the lens ring, and owners report that a deep hood makes that dial awkward to reach.
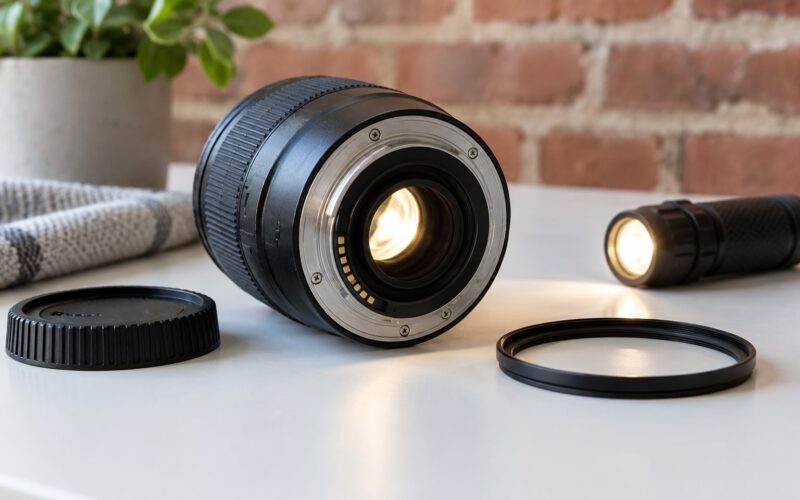
Some third-party filter kits with thick rings physically stop the hood from seating at all. If your hood will not lock, remove a filter and try again before assuming the hood is broken.
Step 6: Remove and Store the Hood Safely
Bayonet hoods come off by pressing in any release tab and twisting the reverse way until the marks come apart. A screw-in hood unscrews completely, and there is nothing to reverse. On screw-thread models, turn it in the direction marked on the lens, usually counter-clockwise when viewed from the front.
Put the lens cap back on before the hood comes off a lens you are not using, so dust does not land on the glass while you handle the hood.
Most bayonet hoods reverse and fit back onto the lens the other way round, sitting closer to the mount to save bag space. Many travel photographers simply leave them reversed like that permanently. That is fine for storage, and a common accident, so check the position before every shoot. A reversed hood adds no flare protection and often vignettes visibly.
Store hoods in a padded pouch or wrap them in a cloth. Bayonet lugs are thin plastic and bend if they get crushed in a crowded bag.
Common Mistakes and How to Fix Them
If a problem shows up on your next shoot, it is nearly always one of these. One limit is worth repeating up front: a hood only blocks light arriving from outside the frame, so flare and haze caused by sources inside your frame, and reflections between internal elements, still happen with the hood fitted.
The hood will not lock. Filter ring too thick, marks misaligned, or a press-in-and-twist hood treated as a normal bayonet. Fit the hood bare first to identify which one it is.
The hood keeps rotating. The bayonet lugs on the lens have worn, or it is a third-party hood with a loose fit. Stop shooting with it, because a creeping hood changes your frame between shots. Replace the hood or tape the lug with a thin strip of lens-safe adhesive while you order a new one.
Dark corners in the frame. Rotate the petal hood so the cut-outs match the frame corners, check the widest setting, and confirm you are not shooting with the hood reversed. Shooting with a reversed hood is the most common version of this error, and it protects nothing optically.
You cannot reach the polarizer. Some hoods have a cut-out or a hinged access panel for exactly this. If yours does not, fit and rotate the filter before mounting the hood, or work with the hood off when the light is flat enough that it costs you nothing.
The hood is cross-threaded and now feels loose. Forcing a hood that will not turn usually means the index marks were never aligned. Back it off, realign the marks, and try again. Plastic threads strip easily, and a cross-threaded fit stays loose forever.
You lost the original hood. Order by the hood code printed in your lens manual, or by the lens model in a manufacturer hood chart. Do not rely on thread diameter alone.
A dark band along the bottom of your flash shots. The hood is blocking the flash. Remove it, or switch to a hot shoe flash, which clears the frame edge entirely.
Over-tightening a plastic screw-in hood splits the thread. Hand tight plus a quarter turn is plenty, and the same goes for hand-tightening any hood rather than trusting the click alone.
Frequently Asked Questions
Does a lens hood actually make a difference?
Yes, and the gain is usually contrast rather than visible flare. Stray light entering from outside the frame bounces between internal elements and lands on the sensor as a hazy wash that flattens shadows and drains colour. A correctly fitted hood blocks that light before it reaches the glass. Shoot the same frame with and without the hood into a bright off-camera source and compare the shadow detail, not just the flare spots.
When should I shoot with a lens hood?
Keep it on outdoors, near windows and doorways, in backlit situations, and in rain, snow or dust. Take it off for the pop-up flash and any on-camera flash, for strong wind on a long telephoto, and when a filter ring stops the hood seating. It is also worth removing deliberately when you want flare as a creative effect rather than an accident.
Do I need a lens hood on a cloudy day?
It does very little on flat overcast light, because there is no bright source to block. It is still worth carrying because cloud breaks, and because it shields the front element from rain and grit. The more useful argument for a hood on a dull day is that it protects the glass and costs nothing to leave on, not that it improves the light.
Should you use a lens hood inside?
It depends on the light. Indoors, a hood helps when you are shooting toward a window or a bright lamp outside the frame, because it blocks stray light that would otherwise wash out the interior exposure. In a studio with controlled lighting it does nothing, and with a pop-up or on-camera flash it actively causes a dark band along the bottom of the frame.
When should you not use a lens hood?
Skip it for pop-up and on-camera flash, for telephoto work in strong wind where the hood acts as a sail, and any time a thick filter ring stops it seating. Take it off when you want flare on purpose. Avoid it on very wide lenses at their widest setting if the hood intrudes on the frame, and check that a petal hood is rotated so its cut-outs clear the corners.
Should I use a lens hood for sports photography?
For outdoor action in sunlight, yes, because sidelight and backlight are the conditions that produce the worst flare on a fast lens. Most sports shooting uses a wide aperture, which makes stray light worse, so the hood earns its place. The exception is strong wind, where a long hood on a telephoto can rock a lightweight tripod, and any shooting that uses the pop-up flash.
Start Here
Write down your lens model, find its hood code, and fit the hood bare with no filters attached so you can feel the correct amount of resistance. Then shoot one test frame into a light just outside the frame and compare. Once that thirty-second check is a habit, the rest of the decisions, on or off, clockwise or not, flash or no flash, take about two seconds each.