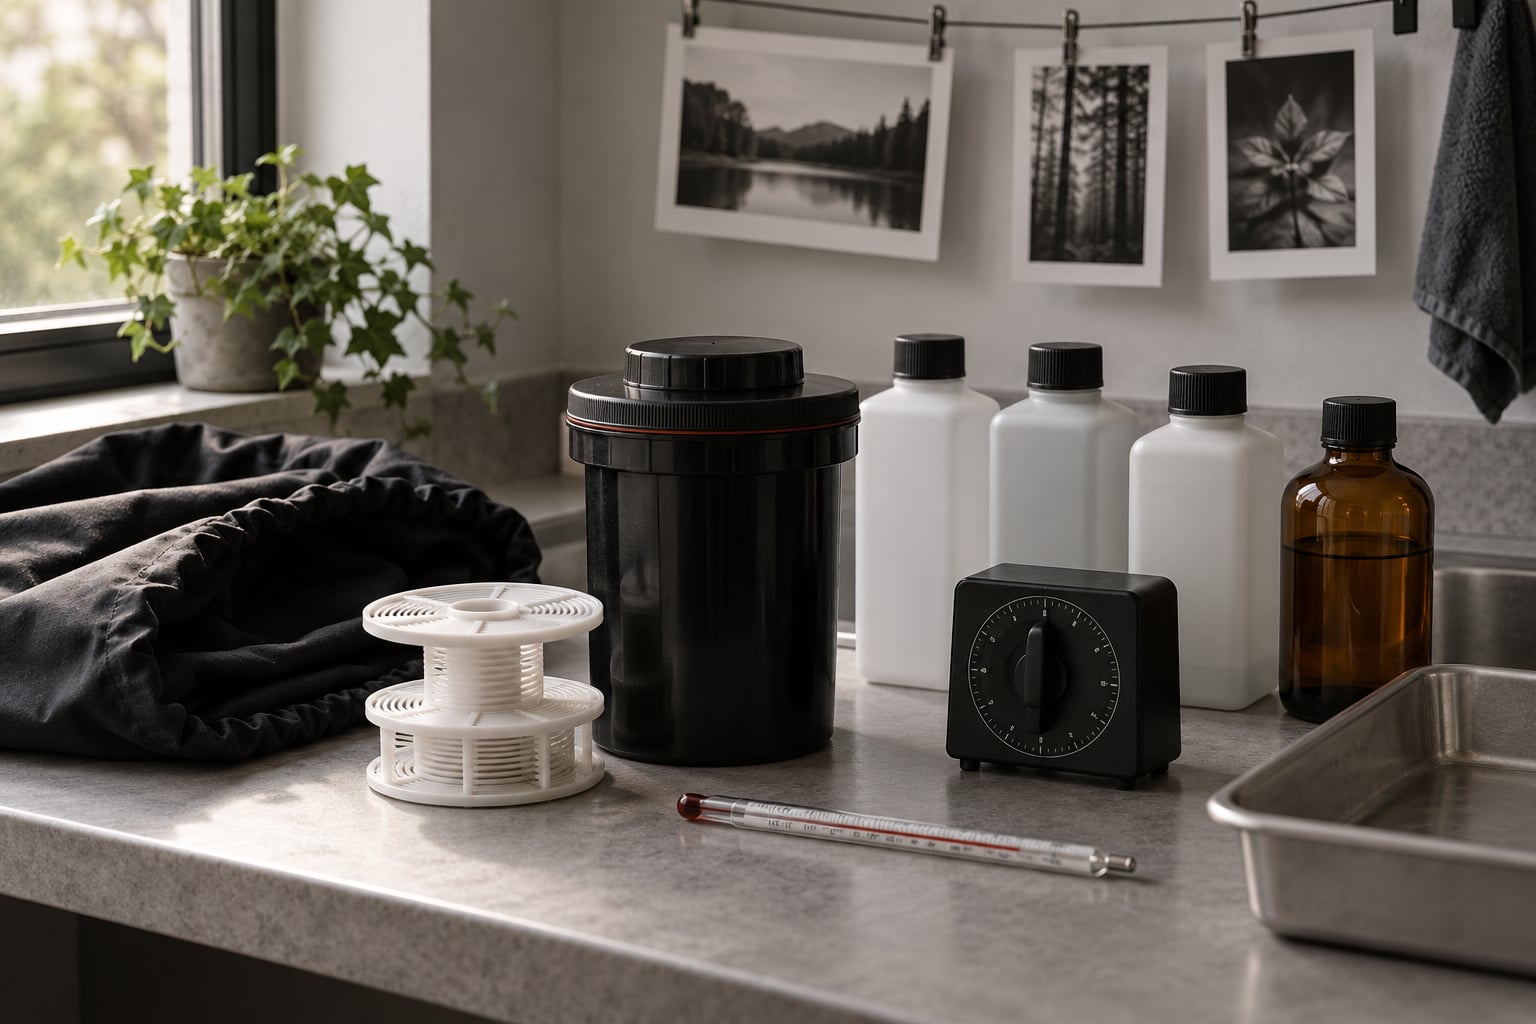
You can develop black and white film at home without a darkroom. The whole process happens inside a light-tight tank using four liquid stages in order: developer, stop bath, fixer and a final wash. Load the film in complete darkness, keep every solution at 20C (68F), and follow the timings printed on your film. The first session takes about 40 minutes of attention, and the cost per roll works out to pennies once you own a tank.
The reason home developing appeals to most people is control. A lab gives you one option, and you never know which one. At home you can push a slow film, use the developer you actually like, and scan the result the same evening instead of waiting a week.
It is also more forgiving than beginners expect. Nothing in the process is dangerous if you wear gloves, keep the room ventilated and follow the dilution printed on the label. The messy parts are film handling, not chemistry. This guide walks through the whole workflow, explains what each chemical stage actually does, and lists the mistakes that ruin first rolls.
Table of Contents
- What You Need
- The essentials you cannot skip
- Chemicals: developer, stop bath and fixer
- Helpful extras worth adding later
- Ventilation, gloves and safe handling
- What the chemistry is actually doing
- Step-by-Step: How to Develop Black and White Film at Home
- 1. Prepare Your Workspace, Film, and Chemistry to Develop Black and White Film at Home
- 2. Mix and Temperature-Control the Solutions at 20C (68F)
- 3. Load the Film into a Light-Tight Developing Tank
- 4. Develop the Film with Consistent Agitation
- 5. Stop Development and Fix the Image
- 6. Wash, Wet, and Inspect the Negatives
- Common Mistakes and How to Fix Them
- 1. Fogged or grey negatives with no detail
- 2. Light streaks along the length of the film
- 3. Negatives that are far too light or too dark
- 4. Reticulation, the cracked reptile-skin pattern
- 5. Static marks, black branching lines or a fogged frame edge
- 6. Water spots and drying marks
- 7. Torn film or a bent reel
- 8. Negatives that are technically fine but flat and dull
- 9. Poor results and no obvious cause
- Frequently Asked Questions
- Can I develop black and white film at home without a darkroom?
- What is the easiest black and white developer kit for beginners?
- How long does it take to develop black and white film at home?
- Can I develop 35mm film in a developing tank at home?
- Why are my black and white negatives too dark or too light?
- Is developing film at home safe for beginners?
- Conclusion
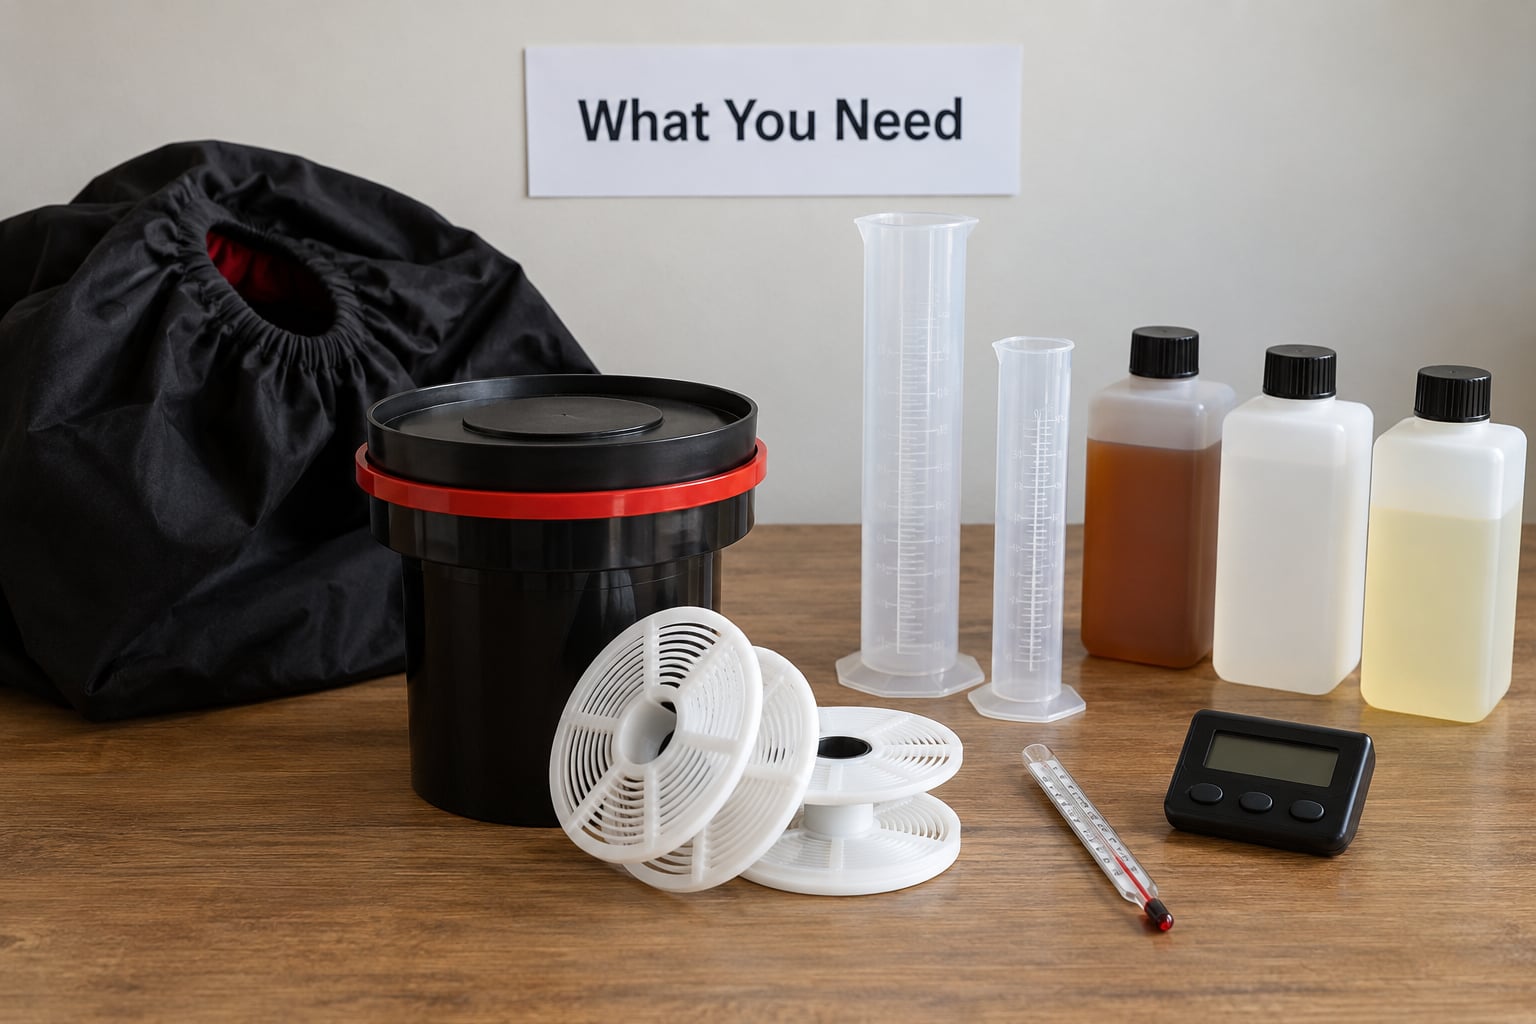
What You Need
The essentials you cannot skip
- Developing tank with reel and funnel A plastic tank that holds one 35mm roll or one 120 roll is enough to start. Any light-tight tank works as long as the lid seals, and the reel must be completely dry before loading.
- Changing bag or a genuinely dark room A changing bag is the cheapest option and the most forgiving, because your hands go in and nothing else changes. A bathroom works too if the window is taped over, the door stays shut and you give your eyes two minutes to adjust.
- Thermometer A digital thermometer that reads in both Celsius and Fahrenheit. A cheap cooking thermometer is fine, but the reading must be visible while your hands are wet.
- Timer with a bell Any kitchen timer. You cannot watch the clock while agitating, so a sound signal matters more than a display.
- Graduated cylinders or measuring jugs One 100ml cylinder for concentrates and one 500ml or 1L jug for water. Guessing volumes is the fastest way to get consistently wrong density.
- Measuring spoons For powdered developers, or for anyone using a spoon-based mix such as Caffenol.
Chemicals: developer, stop bath and fixer
Three solutions, mixed separately. Never combine them, never reuse one solution as another, and never pour spent developer back into a concentrate bottle.
- Developer Reduces the exposed silver halide crystals in the emulsion to black metallic silver. Concentrated developers such as HC-110 mix with water and keep for years unopened, which suits people who shoot slowly. Powder developers such as D-76 make a larger batch of concentrate that stays usable for months.
- Stop bath Halts development the moment developer meets film. Without it, developer keeps working during the fix and the negatives come out dark and dense. Water alone is not equivalent, though plenty of experienced photographers use a plain rinse and live with the difference.
- Fixer Dissolves the unexposed silver halide so it can wash out of the emulsion. Fresh fixer stays clear and slightly green; once it turns milky it is exhausted and will cause fog.
- Wetting agent or rinse aid A drop of surfactant in the final rinse so water sheets off instead of forming beads that dry into spots on the negative.
One detail that gets missed: dishwashing liquid is not a wetting agent. Its grease-removal additives are exactly what you do not want on an emulsion, and the same goes for hand soap, shampoo and most tape adhesives.
Helpful extras worth adding later
A film clip or a clothes peg per roll, a squeegee or soft lint-free cloth for the final wipe, a measuring funnel for the tank, an apron or a set of nitrile gloves, and archival sleeves with write-on labels for storage. You do not need a dedicated mixing tank, though forum regulars consistently rate one as the single best upgrade after the basic kit, since a day of temperature control is much easier when you can pre-warm the solutions.
Ventilation, gloves and safe handling
Work in a room you can ventilate, open a window or run a fan, and wear gloves if your skin reacts to the developers. Keep bottles closed when you are not using them, label every container including your diluted working solutions, and store them somewhere a child or a pet cannot reach.
What the chemistry is actually doing
Light that hit the emulsion created a latent image, an invisible pattern of changed silver halide crystals. Developer is the reducing agent that turns that pattern into visible black silver. Stop bath ends the reaction before it runs away. Fixer clears away everything the developer did not touch. The final wash removes residual chemicals, and that is why a skipped wash shows up years later as stained, sticky negatives.
Step-by-Step: How to Develop Black and White Film at Home
1. Prepare Your Workspace, Film, and Chemistry to Develop Black and White Film at Home
Clear a counter near a sink, lay out everything you need, and check the film box before anything else. Confirm the emulsion type, the developer it is rated for and the nominal speed. Standard-speed film developed at its rated time gives you the contrast the manufacturer designed for.
Check the chemistry too. Fresh developer that has been mixed from concentrate last month is still usable if it was stored tightly and kept near 20C. Concentrate that has crystallised or grown a skin needs replacing rather than filtering.
Know your film format before you start. A 35mm roll and a 120 roll take the same time but do not share the same reel, so the tank and the reel have to match the film.
2. Mix and Temperature-Control the Solutions at 20C (68F)
Measure water first, then add concentrate. Adding developer to water rather than water to developer prevents splashing concentrated chemical across your bench. For a single 35mm roll, most people mix enough working solution to fill the tank completely, commonly 300ml or 500ml, with a little extra for the reel and funnel rinse.
Common starting dilutions, all mixed to a final volume rather than a concentrate-to-water ratio:
| Developer | Dilution | Character |
|---|---|---|
| HC-110 | B, 1+31 | Forgiving, long shelf life, slightly soft contrast |
| D-76 | Straight, 1+0 | Neutral, fine grain, forgiving errors |
| Ilfotec DD-X | 1+4 or 1+9 | Fast, convenient, crisp with the dilute ratio |
| Rodinal | 1+25 | Sharp, high contrast, strong grain, very long life |
Bring every solution to 20C before mixing and keep it there. In an unheated house, the usual method is to prepare the water the night before or to warm the containers in a sink of lukewarm water. Never add hot water to concentrate, and never heat chemistry on a stove.
How do you tell the temperature is right? The thermometer is the only honest answer. A solution that feels fine by hand can easily be two degrees off, and two degrees moves development time by roughly ten percent.
3. Load the Film into a Light-Tight Developing Tank
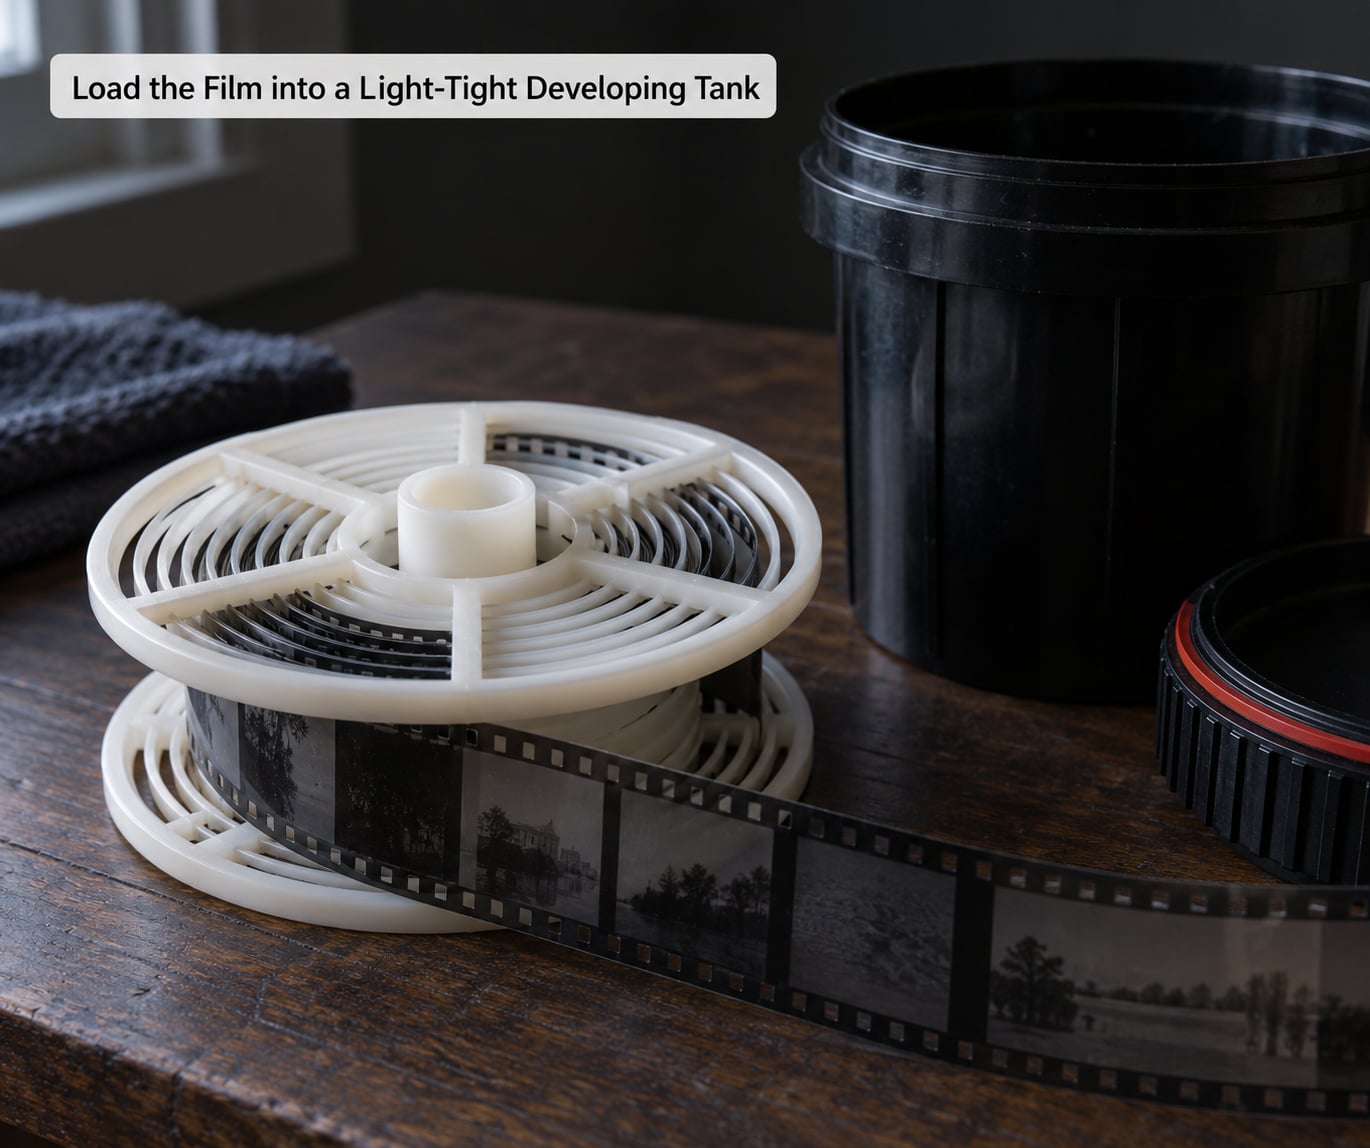
This is the step beginners dread, and it is the step that gets easier fastest. Before you do it with real film, buy a roll you do not care about, open the canister in daylight and load it onto the reel. Do it five times. You are learning the motion, not the chemistry.
When you are ready with real film, work inside a changing bag or a fully darkened room. Bring the tank, reel, funnel and the canister inside with you before you close the bag. Put your arms in first, then the canister, and remove the tape or the leader seal without pulling the film back through the camera’s light trap.
Feed the film onto the spiral. Push the tongue of the reel into the perforations on one side of the film, then rotate the reel while feeding the film along the channel until it is fully seated and the tail comes off the reel. Never force it. If the film buckles, back it out and start again, because a crease in the emulsion stays visible in every scan and print.
For 120 film the sequence differs: you unroll the backing paper from the core, clip the tongue to the reel’s clip, and rotate until the whole roll is wound on. It takes longer and it is easier to tear.
Drop the loaded reel into the tank, seat it on the spindle, and check it sits down fully so the agitator can move. Fit the funnel and lid, lock the lid, and only then bring the tank back into the light. Pull the film end out past the reel so nothing hangs outside the reel.
4. Develop the Film with Consistent Agitation
Pour in the pre-measured developer quickly but without splashing, start the timer as the last drop lands, then agitate on the schedule your developer specifies. Four or five gentle inversions in the first ten seconds keeps developer moving past the film surface. Then continuous inversion for the first thirty seconds, followed by five inversions every thirty seconds, is the schedule most single-tank kits recommend.
Inversion means a smooth turn of the wrist, about 180 degrees, then back. Do not shake the tank. Shaking lifts the reel off the spindle and jams it against the wall, which causes uneven development.
Here are published starting times at 20C. Treat them as a baseline and follow the data sheet for your film and developer combination if one is printed:
| Film | HC-110 B | D-76 | Rodinal 1+25 |
|---|---|---|---|
| HP5 Plus | 5 min | 6.5 min | 7.5 min |
| Tri-X 400 | 6.5 min | 6.5 min | 7 min |
| Fomapan 100 | 6 min | 7 min | 9 min |
| Delta 100 | 6 min | 7.5 min | 8 min |
| Delta 3200 | 12.5 min | 11 min | 11 min |
Push processing works in exactly the same routine with a longer time. One photographer on r/AnalogCommunity shot HP5 rated at 800 and developed it for 23 minutes in HC-110 and got a usable, contrasty result, which is the kind of experiment a lab would simply refuse.
An optional pre-soak of about five minutes in plain 20C water, before the developer goes in, evens out tonal differences between the middle and the edges of the roll and can keep grain more consistent. The pre-soak timer is separate from the development timer.
5. Stop Development and Fix the Image
At the end of the development time, pour the developer straight down the sink or into a labelled waste container, then pour the stop bath in and agitate as the developer instructions specify. Thirty seconds of gentle agitation is usually enough. The reaction slows, then stops, and that is your cue that the stop bath is doing its job.
Pour the stop bath out, then fill the tank with fixer. Fixer is usually used neat rather than diluted. Agitate on a fixed schedule for the entire fixing time, typically three to five minutes, because film that is still settling when you drain it can produce a scratched or hazy negative. Many people fix six rolls or so in a single litre before replacing it.
How can you tell the film is genuinely fixed rather than merely washed? Open the cap briefly after the final rinse and check the film in daylight. Any milky white patches on the clear base mean undeveloped silver halide is still there. If you see none, the image is permanent and safe to handle in full light.
6. Wash, Wet, and Inspect the Negatives
Run water through the tank for fifteen to twenty minutes, not three. Three minutes is the single most common shortcut and it leaves residual fixer in the emulsion that keeps working for months. Using a slow flow rather than a hard jet avoids stressing the fresh gelatin.
For your final rinse, add the wetting agent to clean water at the dilution on the bottle and fill the tank once. Half a minute of agitation is plenty.
Now drain, open the tank, and take the film out by the clip. Draw a clean squeegee or cloth once along each side to push off the bulk water without touching the emulsion surface with your fingers. Clip the film and hang it in a bathroom or shower, away from dust. Drying takes one to three hours. Wipe any remaining beads off the bottom edge rather than the image area.
Inspect the negatives in decent light before storing them. Hold them up: the scene should look bright with dark shadows because the negative is a reversal of the print. Then read the strip against a light. Uniform grey across the whole frame means fog. Bright clean frames with a dark band means a light leak during loading. Cracked, reptile-skin patterns mean reticulation from water temperature swings.
Store dry negatives in archival sleeves in a cool, dry place away from strong light. Label each sleeve with the film type, developer, dilution and date, because that information is what makes a scan reproducible a year later.
Before you commit real film to the routine, it is worth being honest about whether home development is for you. It suits anyone who shoots regularly, wants to try unusual developers, or is simply tired of waiting a week for scans. It does not suit someone who shoots two rolls a year and wants to spend that Sunday somewhere other than at a kitchen sink, because the setup and the cleaning up take longer than the developing does.
Cost is the argument most people make, and it holds. A 500ml bottle of concentrate used at 1+31 or 1+4 covers many rolls, and developer made from powder gives you a litre of concentrate that stays usable for months. One-shot developers, where each capsule is mixed fresh for a single roll, cost more per roll but remove every measuring and storage decision, which is exactly what a nervous beginner wants. Fixer is the other line item, and a litre typically handles six rolls. You will still need a scanner or a camera to digitise the result, since a wet negative is not a print.
Common Mistakes and How to Fix Them
Almost every bad first roll comes down to one of the following. The good news is that most of them are visible on the negative once you know what you are looking at.
1. Fogged or grey negatives with no detail
Likely cause: light reached the film, either during loading or because the tank lid was not seated, or the chemistry was old or contaminated. Expired stop bath and exhausted fixer both fog film badly.
Fix: load inside a changing bag with your arms in from the start, check the tank seal over a bright window before loading, and keep solutions in dated, labelled bottles. Fresh stop bath and fixer are cheap compared with another wasted roll.
2. Light streaks along the length of the film
Likely cause: the reel was loaded with the emulsion side against the reel in a way that let light through, or a light leak along the tank’s sealing ring.
Fix: reseat the reel fully before closing the lid, and if the streak repeats every roll, test the tank empty over a light source. A strip of black tape around the base of the funnel often solves a stubborn leak.
3. Negatives that are far too light or too dark
Likely cause: underexposure, wrong dilution, temperature drift, or development time that does not match the film and developer pairing. Too light usually means underdevelopment; too dark and flat usually means overdevelopment or fog.
Fix: write your dilutions and times down and repeat them next roll rather than guessing again. If your room temperature swings, use a water bath or move the work to a more stable room. At standard speed, the published time at 20C is the only correct answer.
4. Reticulation, the cracked reptile-skin pattern
Likely cause: the film went from one water temperature to another, usually hot tap water straight onto film that was already wet.
Fix: use water at roughly the same 20C as your solutions throughout the wash stage. If your tap runs hot, fill the sink with cold water first and let the pipes run until the temperature settles.
5. Static marks, black branching lines or a fogged frame edge
Likely cause: film pulled quickly across a dry surface, or opened quickly in dry air.
Fix: handle film gently, unwind it slowly, and add a little humidity to the room on very dry days. Wetting agent in the final rinse helps with drying but does not undo static already burned in.
6. Water spots and drying marks
Likely cause: no wetting agent, or mineral content in the wash water.
Fix: add a wetting agent to the final rinse. If spots persist, boil your tap water first, cool it and use that mixture, which also improves your wash. Some photographers add a drop of plain, unscented photographic wetting concentrate rather than anything designed for dishes.
7. Torn film or a bent reel
Likely cause: damp reels, a film that was forced onto the spiral, or forcing a 120 roll into a 35mm reel.
Fix: dry the reel and tank thoroughly after every session. Never force film onto the spiral; back it out and start again.
8. Negatives that are technically fine but flat and dull
Likely cause: underdevelopment, expired developer, or a developer choice that suits your style less than you hoped.
Fix: mix fresh developer, and on your next roll try the next developer in the table above rather than changing several variables at once. Contrast comes largely from the developer, not from the film.
9. Poor results and no obvious cause
Likely cause: usually a shooting error, not a processing error. Metering problems, a camera back that admitted light, or a forgotten film rewind all produce thin or fogged frames.
Fix: shoot a roll of your known-good film alongside the film in question. If the known-good roll also comes out thin, the problem is your process; if it comes out fine, it was the film or the camera.
Frequently Asked Questions
Can I develop black and white film at home without a darkroom?
Yes. Every stage after loading happens inside a light-tight developing tank, so daylight never reaches the emulsion. You need darkness only for the few minutes it takes to get the film from the light-proof canister onto the reel. A changing bag is the cheapest option and a bathroom with taped windows works too, as long as you let your eyes adjust before you start.
What is the easiest black and white developer kit for beginners?
HC-110 is the most commonly recommended starting point because it concentrates, keeps for years unopened, tolerates small temperature errors and costs very little per roll. If you want no measuring at all, one-shot developers such as single-use capsules remove every dilution decision. Either way, follow the film data sheet for times at 20C rather than a forum recipe.
How long does it take to develop black and white film at home?
Expect about 40 minutes of active attention for a single 35mm roll, plus one to three hours of drying time. The chemistry stages themselves are short: a few minutes to develop, under a minute of stop bath, three to five minutes of fixing and fifteen to twenty minutes of washing. Setup and cleaning take longer than the processing.
Can I develop 35mm film in a developing tank at home?
Yes, and 35mm is the easiest format to start with. The film goes onto a spiral reel inside the tank, the reel drops onto the spindle and the lid locks before you bring it into the light. Use a tank and reel rated for 35mm, since 120 film uses a different reel and a longer, slower loading sequence.
Why are my black and white negatives too dark or too light?
Too light usually points to underexposure or underdevelopment; too dark and flat points to overdevelopment, an old developer or a fogged film. Check the film speed you metered at against the speed the developer was rated for, and confirm your solution really sat at 20C. Repeat the same dilution and time next roll before changing anything.
Is developing film at home safe for beginners?
It is safe with ordinary care. Wear gloves if your skin reacts, ventilate the room, label and cap every bottle, and keep chemistry away from children and pets. Do not mix concentrates, never add hot water to concentrate, and follow the disposal instructions on the label rather than pouring large volumes down the sink.
Conclusion
Start by buying a tank, a reel, a changing bag and one developer, and rehearse the loading sequence with a roll you do not care about. Once that motion feels automatic, mixing the chemistry and keeping it at 20C takes less attention than picking the film to shoot. Learning how to develop black and white film at home is mostly about repetition: the first roll is awkward, the fifth is routine, and by the tenth you will have a negative you scanned the same night.