A shot workflow for a one hour session is a timed running order you decide before the client arrives: which images you capture, in what order, under which lighting, outfit and background, and how long each block gets. If you know how to build a shot workflow for a one hour session, you stop reacting mid-shoot and start finishing on time with every promised frame in hand.
The reason so many fixed-length sessions end badly is rarely talent or gear. It is setup time. A single background swap or a moving light quietly costs five to eight minutes, and the shots that were supposed to be the strongest end up rushed at the end of the hour.
One honest note before we start: plenty of working photographers argue an outdoor lifestyle session needs closer to 90 minutes to let a subject settle. That is fair. A one-hour booking still works if you limit locations, limit outfit changes and decide in advance what must exist before anything optional does. This guide is about making that hour produce a complete set of images.
Table of Contents
- What You Need
- Step-by-Step: Build Your Shot Workflow
- Set the Call Sheet and Session Goals
- Build a 60-Minute Shot Schedule
- Test the Lighting Before the Subject Arrives
- Capture the Must-Have Images First
- Use Posing Prompts to Create Natural Variation
- Review, Adjust, and Back Up the Results
- Common Mistakes
- Frequently Asked Questions
- How do I run a 30-minute mini session with the same workflow?
- What should I shoot first in a one hour session?
- How many photos should I deliver from a one hour session?
- What do I cut first when I am running late?
- How many outfit changes fit into a one hour session?
- Conclusion
What You Need
A workflow runs on preparation, so gather these five things before you drive out. Each one removes a decision that would otherwise happen on the clock.
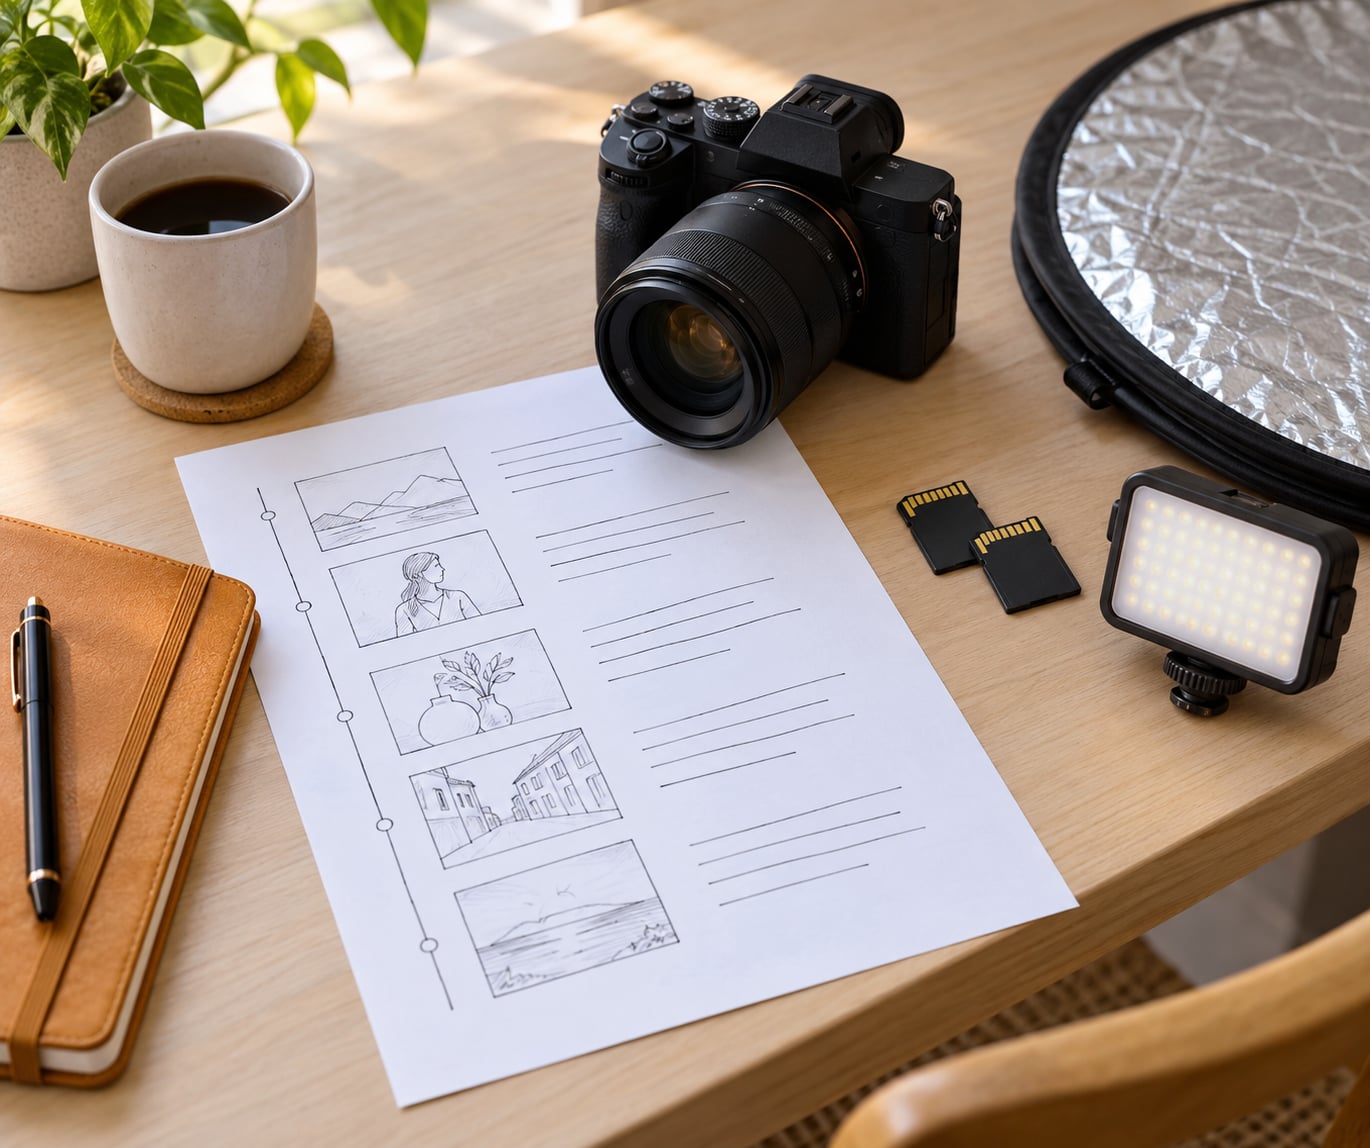
- A one-page call sheet with the location, arrival time, session goal, wardrobe, shot priorities, known lighting limits and your five must-have images.
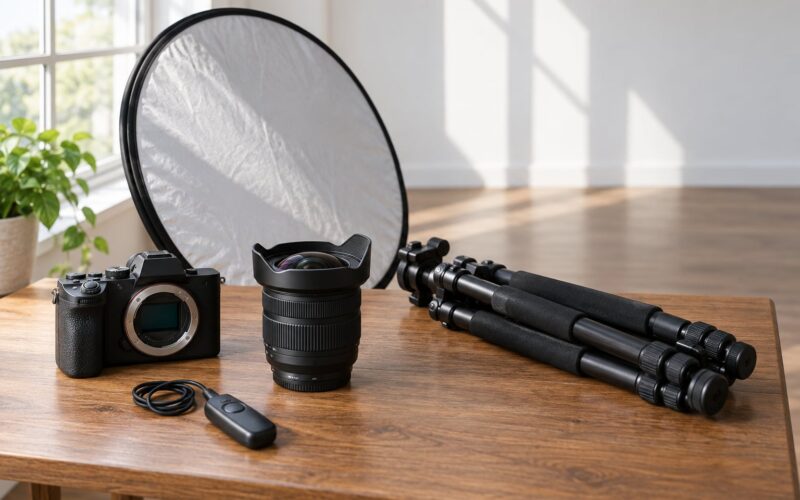
- Two memory cards and a backup body, formatted before you leave, plus spare batteries or a charged power bank for anything that draws power.
- A lighting kit you can reset fast with one key light, one fill or reflector, and a clamp or backdrop that changes without a ladder.
- A communication plan — whether the subject arrives made-up and ready, whether you are shooting with an assistant or hair and makeup artist, and who calls the breaks.
- A backup path: a laptop or dual card writer, and a card reader that fits in the bag, so the second copy happens before you leave the location.
Keep the call sheet printed or on your phone, not in a notes app buried under 40 other notes. If you need to check the running order, you should be able to find it in two seconds while your subject is getting comfortable.
Step-by-Step: Build Your Shot Workflow
Seven blocks, built in this order, turn one hour into a plan you can defend. Work through them once per session type and reuse the template for every booking after that.
Set the Call Sheet and Session Goals
Start by writing down one sentence describing what the finished set has to contain: a family set might be every person solo and all six together, a portrait set might be headshots for a team profile page.
Then list the constraints that will eat your clock. One location. Two outfits maximum. A single background and one handheld prop. Write the first five images you want to make, in order, before you think about anything creative — those five are your insurance policy if the light fails or the session runs late.
Build a 60-Minute Shot Schedule
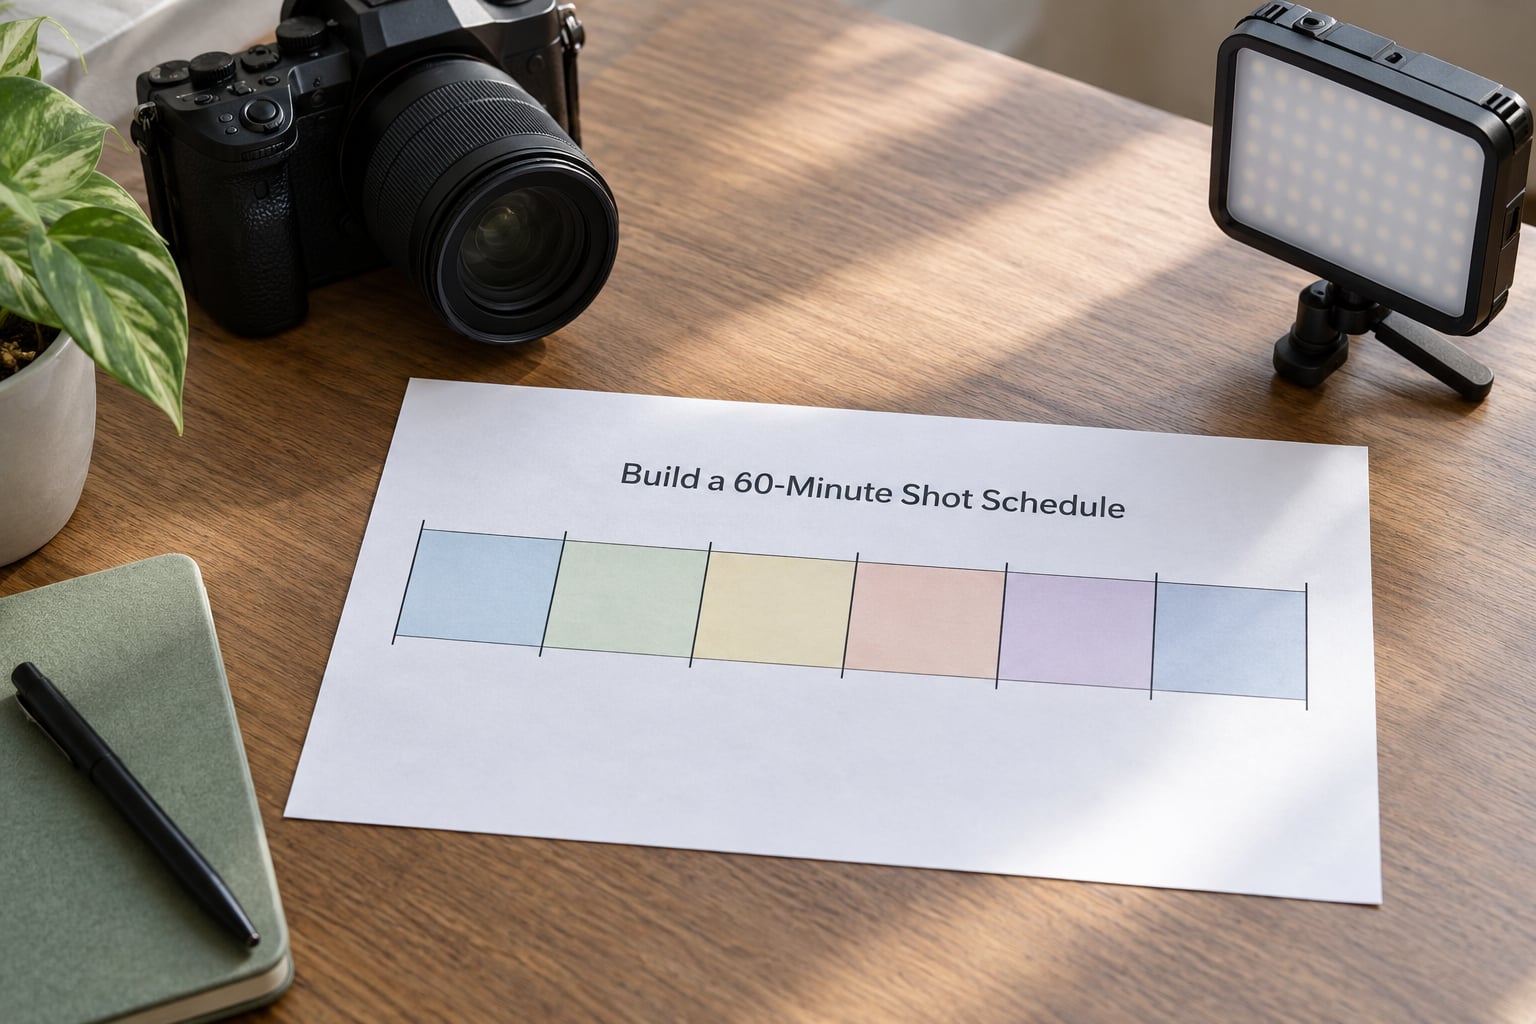
Split the hour into fixed segments and give every segment a job. Reserve the last five minutes for review and backup rather than squeezing them in at the end, because that is the block most sessions lose.
| Time | Block | What Happens | Deliverable |
|---|---|---|---|
| 0-10 min | Arrival and warm-up | Quick walk-and-talk, first frames while the subject settles, no heavy direction | 2-3 relaxed warm-up frames to confirm exposure and rapport |
| 10-20 min | Must-have five | The images from your call sheet, in the order you listed them | The core deliverable set, complete |
| 20-35 min | Hero looks | Best light, best outfits, tight and medium framings | The strongest individual images of the session |
| 35-45 min | Details and variation | Hands, props, textures, close crops, alternate angles | Texture and editorial variety |
| 45-52 min | Groupings and lifestyle frames | Everyone together, movement, interaction, walking shots | Combination frames and candid energy |
| 52-57 min | Backup variations | Re-shoot any weak must-have with a different angle or setting | Insurance frames |
| 57-60 min | Review and first backup | Check the key frames, copy to card and drive, confirm before leaving | Safe copy of the whole session |
Two rules make the schedule hold. Never plan more than two setups, because each change costs real minutes. And keep the blocks loose — if the light is better than expected at minute 30, let it stretch and take the extra images then.
Test the Lighting Before the Subject Arrives
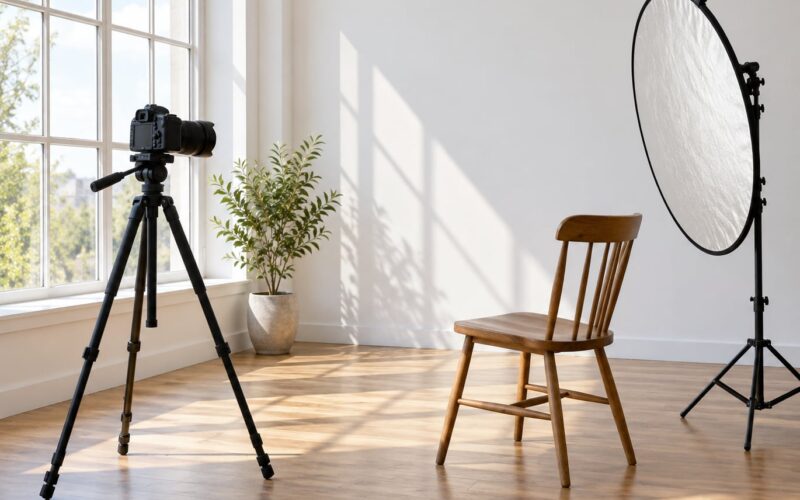
Get there 10 to 15 minutes early and treat that time as part of the session, not as padding. Set the key light, place the subject mark on the ground, and take a test frame at your intended settings.
Check three things: the histogram for clipped highlights or crushed shadows, the white balance so skin tones do not shift mid-session, and the background for anything distracting behind your subject’s head. Shoot one frame and put it on the camera screen at full size.
Then decide your single backup lighting adjustment in advance — one light flag to cut reflection, one reflector swap, one stop of underexposure — so that if conditions shift you make a change you already decided rather than improvise under pressure.
Capture the Must-Have Images First
Most sessions fail at the end, not the start. The must-have five go in the 10-to-20-minute block, and once they exist you can breathe and experiment without anxiety.
A shot list only helps if you can read it in one glance. Write each entry as a verb plus a frame size — “wide, everyone, looking at each other” beats “family shots” — and keep the whole list to one page. For framing variety, a commonly used shot-size ratio is roughly 20 percent wides, 60 percent mediums and 20 percent close, which keeps you from drifting into one crop for twenty minutes.
Batch by setup rather than by idea. Finish every frame that uses the current light and background before changing anything, so a single reposition buys you ten images instead of one.
Use Posing Prompts to Create Natural Variation
Repetition is what kills variety in a short session, not a lack of ideas. Build prompts from four moves: movement, interaction, angle and emotion.
- Movement — “walk toward me slowly,” “turn and look back over your shoulder,” “sit down and stand up.”
- Interaction — “talk to each other for ten seconds, I am going to shoot it,” “pass the mug between you.”
- Angle — “chin down, look up at me,” “shoulder to the wall,” “step closer, same pose.”
- Emotion — “what made you laugh hardest this year?” and then just wait.
Change one variable at a time. Same pose, different angle gives you a genuinely different frame, and it keeps the subject from having to relearn anything while you are already behind schedule.
Review, Adjust, and Back Up the Results
Use the last five minutes properly. Look at the must-have frames on the camera screen and check four things per image: focus on the eyes, exposure on the skin, expression, and whether something distracting sits at the edge of the frame.
If one image is weak, make exactly one corrective change — move the light, drop a third of a stop, or switch to a wider lens — and shoot it again. Two adjustments at once and you have lost your place.
Then copy the cards before you pack down. Verify the file count matches the frame count, and confirm the second copy exists on a drive or laptop. Shooting ends when the backup is safe, not when the last frame is taken.
Common Mistakes
Almost every blown one-hour session comes down to one of six avoidable errors.
Over-planning the variety. Six locations and four outfits need three hours. Cut to one location and two looks before the session, not during it. The variety that matters most to a client is framing and expression, which cost nothing extra.
Delaying the must-have frames. Shoot them second, and you risk ending with beautiful variations and no images you actually promised. Put the insurance frames in early.
Changing camera settings constantly. Every switch to aperture, ISO or white balance costs frames you did not take. Lock exposure and white balance for each lighting setup, and change them only when the setup changes.
Failing to communicate the clock. Tell your subject at the start that you have an hour and a specific plan for it. Surprises at minute 55 read as rushing, and people relax when they know where things are going.
Leaving the backup until the car. Cards get corrupted, readers fail and laptops run out of battery in a parking lot. Copy while the subject is getting their things, then hand off the second card.
Ignoring the time budget. Set a silent timer at the start of each block. Most people discover they are ten minutes behind at the halfway mark and nowhere near as far behind as they feared.
Efficiency tip: batch everything that touches your hands. Clear the lens, reset the tripod height and swap backgrounds once per block, not once per idea.
Frequently Asked Questions
How do I run a 30-minute mini session with the same workflow?
Halve every block and shoot only one setup. In 30 minutes you can realistically cover a warm-up, three must-haves and one variation block, so your shot list shrinks to five entries instead of fifteen. Choose one outfit, one background and one location, and tell the subject the plan before you start so nobody is surprised when you wrap.
What should I shoot first in a one hour session?
Shoot your five must-have images second, right after a short warm-up block. Early frames have softer light cooperation and a more settled subject, but they are not usually the strongest. Get the insurance images banked by the 20-minute mark, then spend the rest of the hour on the creative frames you would actually enjoy.
How many photos should I deliver from a one hour session?
Plan for roughly 40 to 60 finished images from a one-hour session, which usually comes from 400 to 800 captured frames. Decide the delivered count in advance and build your shot list backwards from it. If you promise a set number, each must-have frame should account for two or three selects from the same setup.
What do I cut first when I am running late?
Cut in this order: lifestyle and walking frames, then detail and prop shots, then alternate angles of a look you already nailed, then any second outfit. Never cut a must-have frame, the warm-up, or the final backup block. Moving a light or changing a background costs more time than it saves, so decide what to drop rather than rushing a reset.
How many outfit changes fit into a one hour session?
Two is comfortable, three is only realistic if someone else handles the changes while you shoot. Each change needs five to eight minutes for hair, makeup and getting settled, and you lose continuity in the room every time. Pick the looks before the session, order them in your running order, and photograph the first look in the best light of the hour.
Conclusion
The workflow is simple in order: call sheet, timed blocks, lighting tested before anyone arrives, must-haves second, prompts for variation, then review and backup before you pack down.
Start with three things this week: write a timed call sheet for one upcoming booking, choose your five must-have images and nothing else, and prepare one backup lighting adjustment in advance. Run it once and the running order will do the work for every session after it.