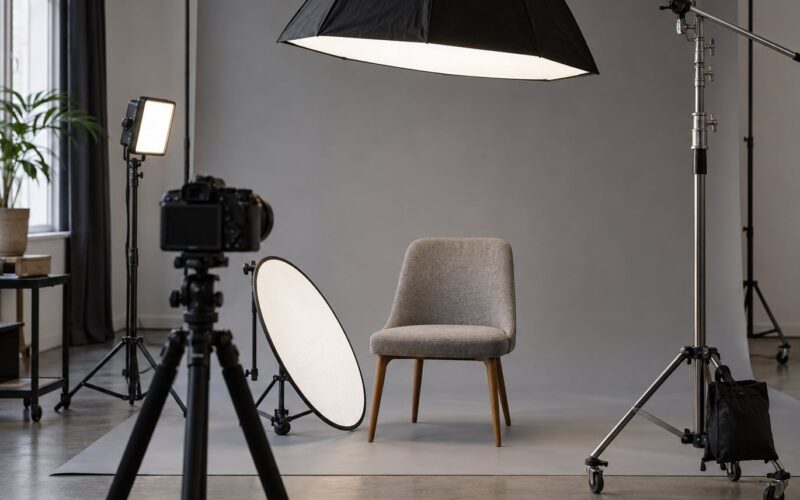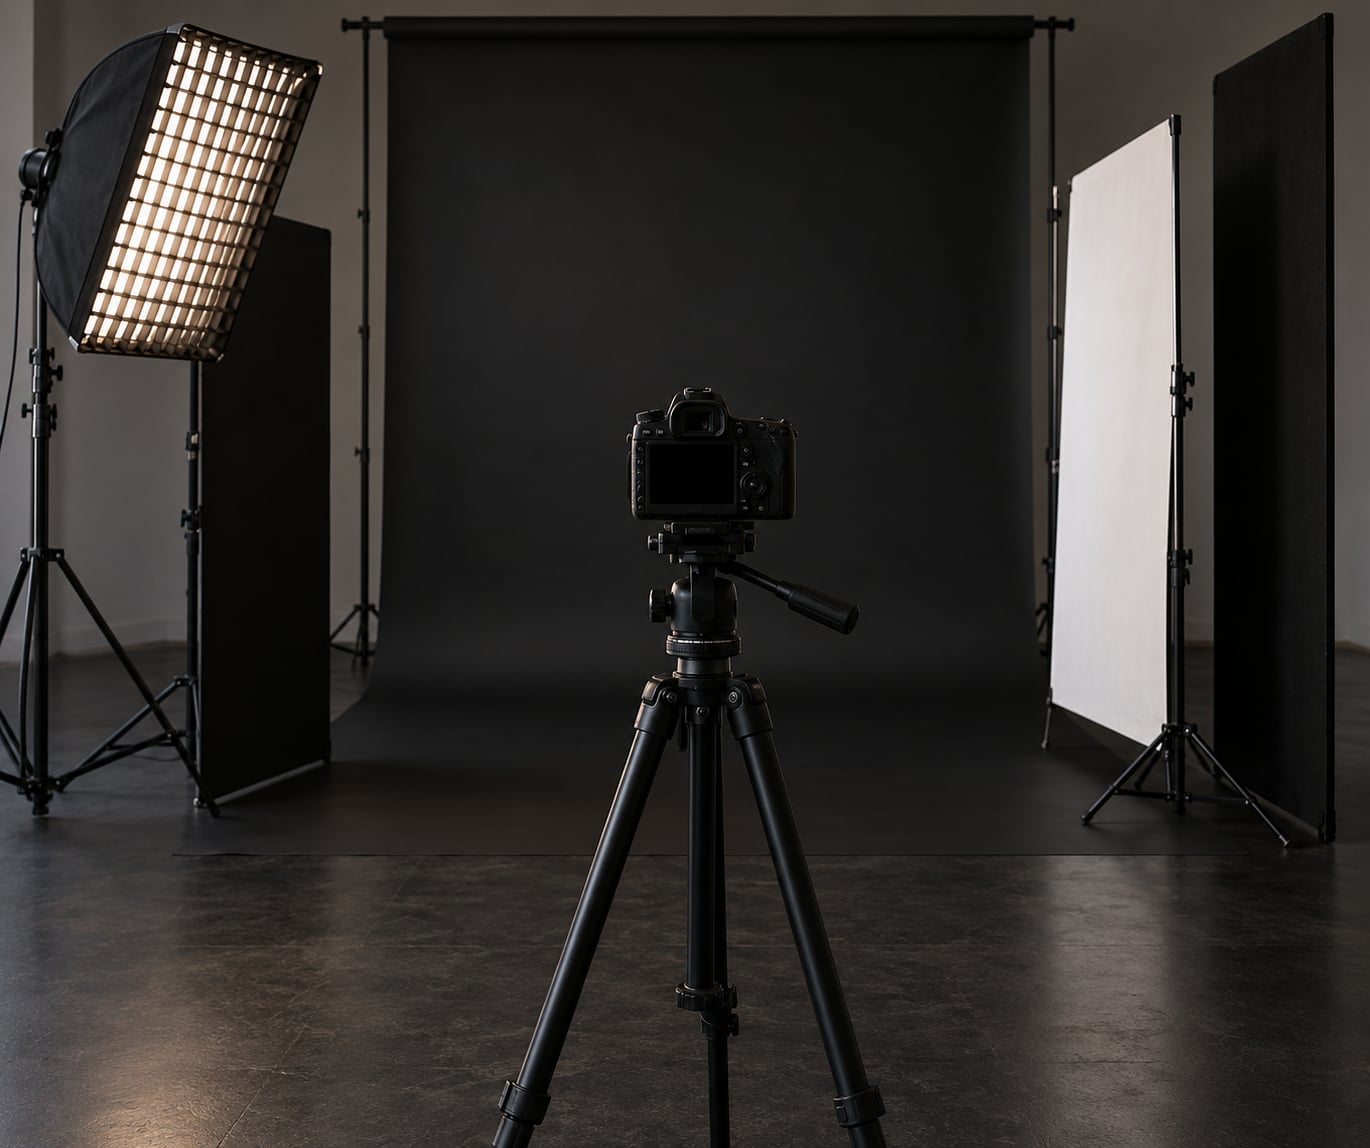
To shoot on a black background, light your subject while deliberately keeping light off the backdrop. Flag the key light away from the background, set your camera to manual with ISO 100, meter for the shadows, and check the histogram before you shoot. The whole setup takes about fifteen minutes once you know the sequence.
A black background is not about darkness, it is about control. The backdrop renders black because almost nothing reaches it, not because you underexposed until everything went dim. Once you understand that one idea, the rest is arrangement.
I shoot on black constantly for products, glassware, food and the occasional moody portrait, and the mistakes repeat the same way every time. Here is the order that works.
Updated October 2026
Table of Contents
- What You Need
- How to Shoot on a Black Background: Step-by-Step
- Choose a Black Background
- Control the Light on Your Subject
- Set Camera Settings to Shoot on a Black Background Cleanly
- Keep Light Off the Background
- Common Mistakes
- Frequently Asked Questions
- Do I need a black backdrop to shoot on a black background?
- Can I create a black background with flash?
- Why does my black background look gray in the photo?
- How far should the subject be from the background?
- What is the best camera setting for a black background?
- Can I make a black background in photo editing?
- Conclusion
What You Need
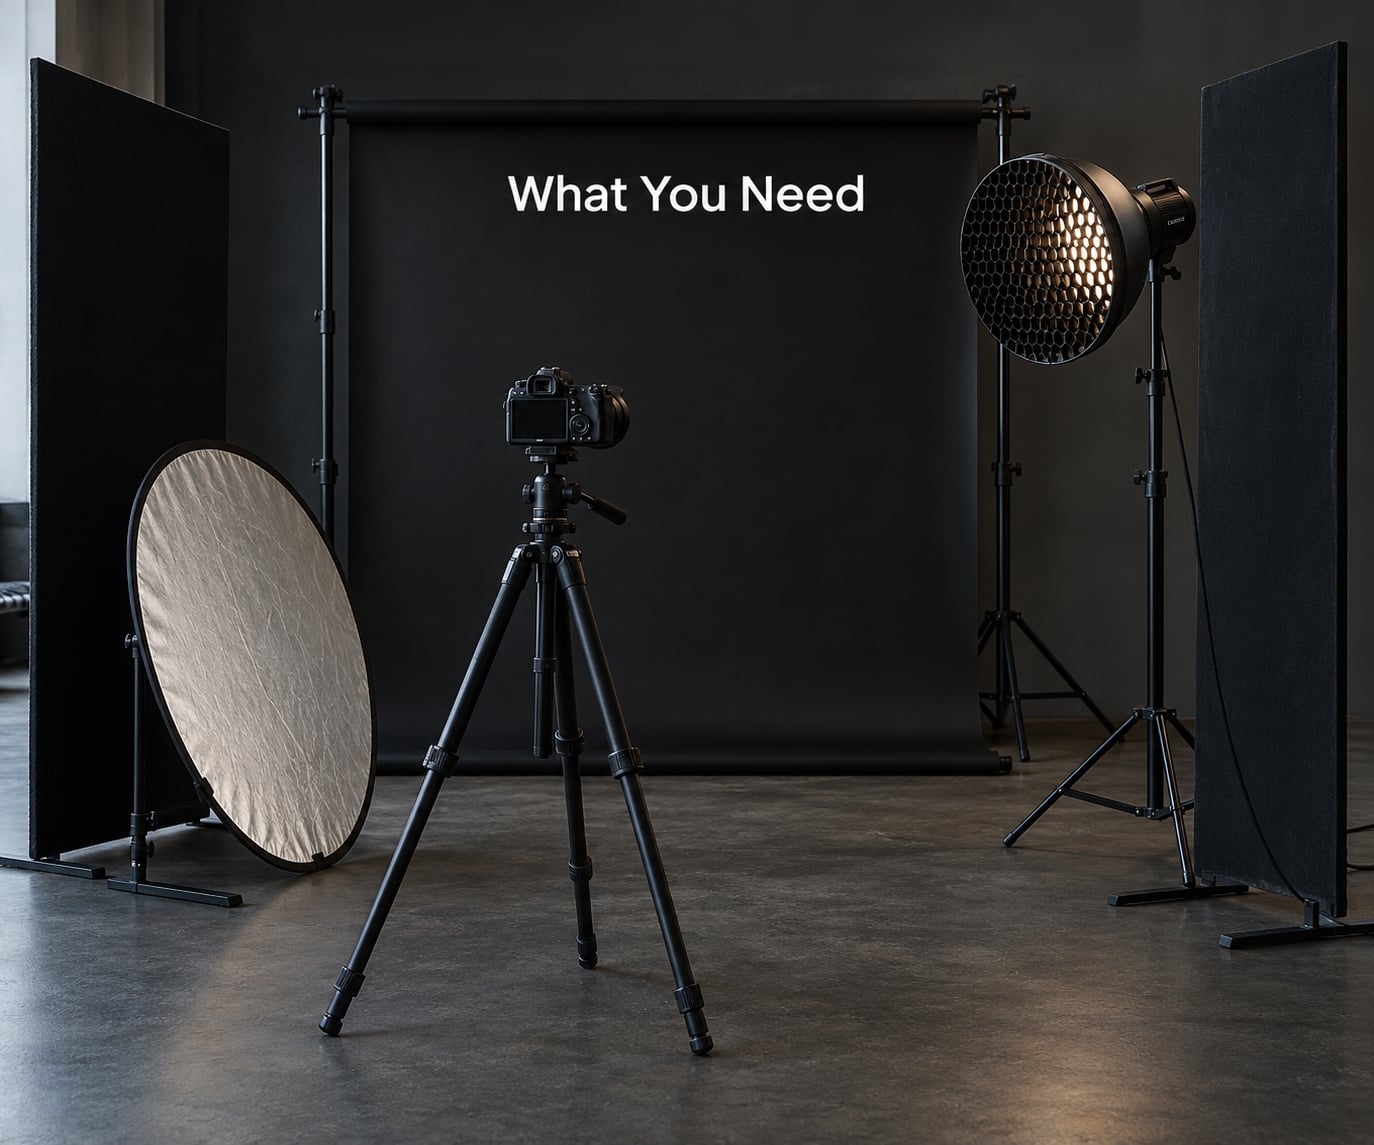
The list is shorter than most people expect. You can do this with a single light, a piece of black card and a table.
- A camera. Any camera with manual mode. A phone will work with the same principle, but exposure control is fiddlier on screen.
- A lens. Something around 50mm to 100mm full frame equivalent keeps you far enough back to move the backdrop away from the subject.
- One light. A speedlight, a continuous LED panel or a strobe. Continuous light is easier to judge by eye, flash gives you far more power in a small room.
- A modifier. A softbox, umbrella or honeycomb grid narrows the beam so it hits the subject and stops.
- Black flags. Two pieces of black foam board or card on stands. These are the single most useful tool in the whole setup.
- A reflector or white card. For a touch of fill. Black card doubles as negative fill to keep shadows dark.
- A backdrop. Black velvet, a black paper roll, matte-painted board or foam board, plus tape or clamps.
Background material matters more than gear. Velvet absorbs the most light and is the deepest black, but the nap shows creases, dust and fingerprints. Black paper roll is smooth and cheap, though it tears and scuffs. Matte-painted board is rigid and reflective-free, which makes it useful for small products. Glossy satin fabric is the one to avoid, because it throws light straight back at your lens.
Pick your gear around the subject. Portraits need a soft key and a rim light. Products need a grid or snoot and a light tent for reflective surfaces. Macro work needs a small subject pushed well forward of the backdrop.
How to Shoot on a Black Background: Step-by-Step
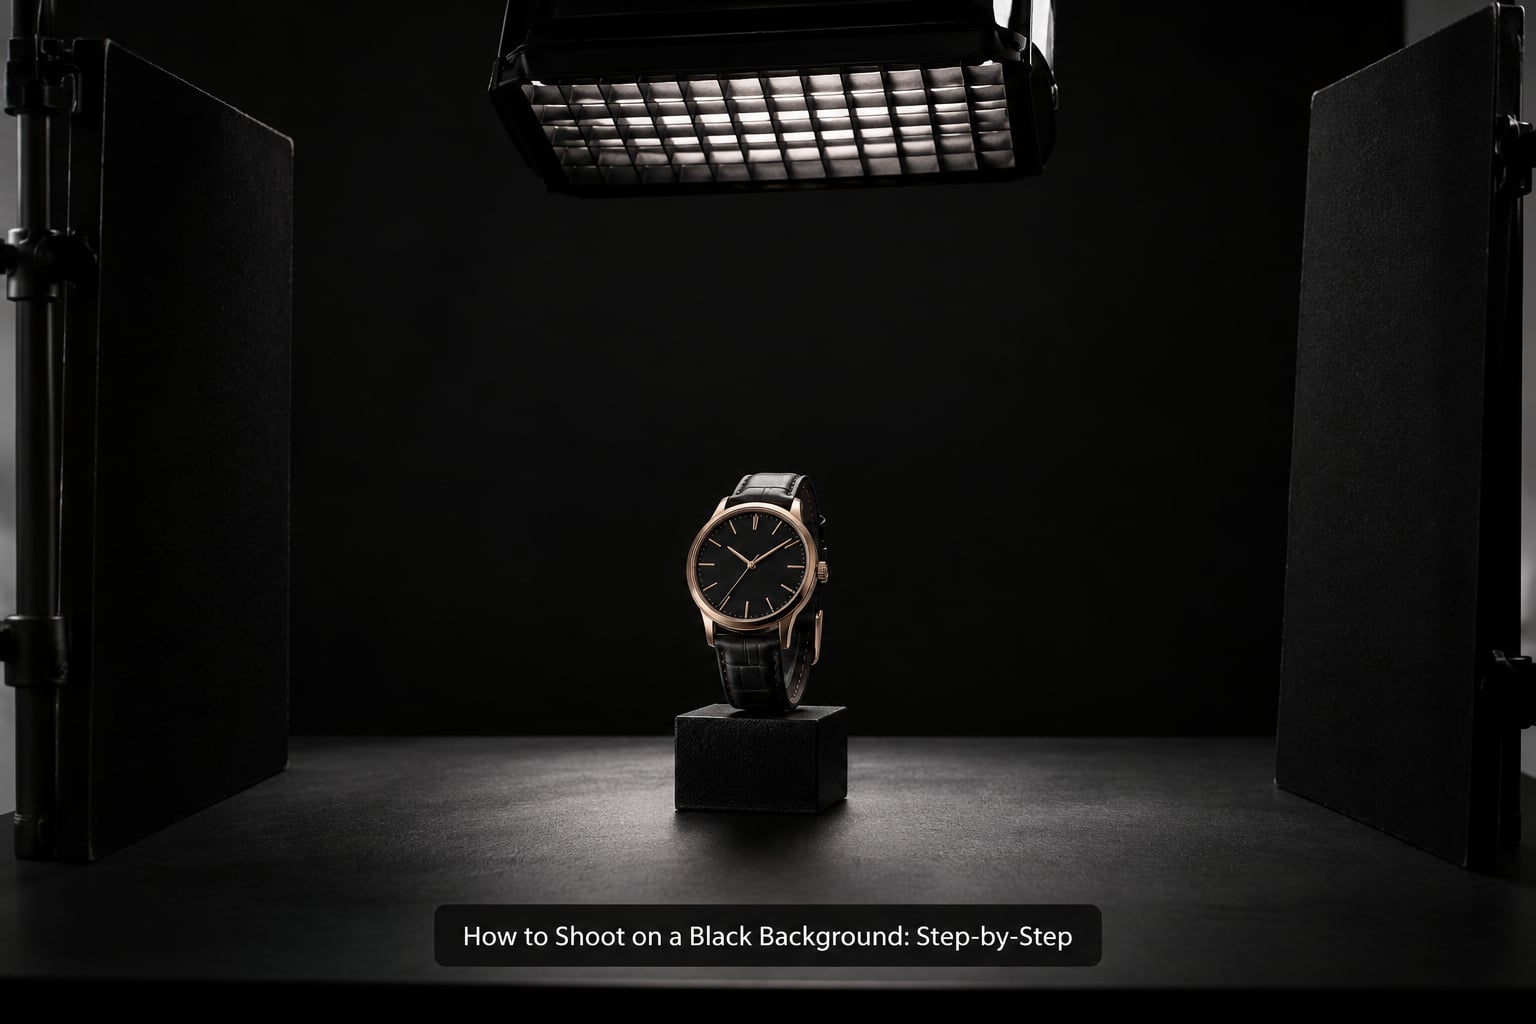
Choose a Black Background
There are three things people call a black background, and only one of them is reliable.
A true black background is a dark material that receives almost no light. That is the version that stays black at every aperture, in every room, on every camera. A dark gray background is a gray backdrop that reads black on screen. It will go gray again the moment you open the shadows in post or shoot brighter. Underexposed black is where you simply underexpose the whole frame until the backdrop sinks below the noise floor, which kills detail in your subject too.
For products, jewelry, cosmetics and food, aim for true black. The edges of the object need somewhere to sit, and a genuinely dead backdrop makes a controlled edge light look crisp. For portraits, a hint of light on the backdrop is often better. A completely black background behind a head flattens the image and removes any sense of space, so leave a little falloff or a soft gradient and let the corners drop away.
Control the Light on Your Subject
Position the key light at roughly 45 degrees to the subject and feather it. Feathering means you aim the light past the subject so only part of the beam lands on them, which wraps a softer edge across the face or surface than pointing straight at it.
Add fill carefully. A reflector opposite the key lifts the shadows by about a stop, which is usually enough. More than that and the frame flattens. If the background is drifting gray, add negative fill instead: a black card on the shadow side so the camera sees less bounced light.
Keep the background at least a stop darker than the subject. That single relationship is what makes the subject read as separate and bright. If you want a dark subject on a dark background, you cannot rely on brightness alone. Put a rim light behind and above the subject, narrow with a snoot or grid so it draws a bright line along the hair, shoulder or edge, then flag the spill off the backdrop so only the subject gets it.
Set Camera Settings to Shoot on a Black Background Cleanly
Switch to manual and stop the camera making decisions for you. Auto exposure meters for a mostly black frame, sees the subject as an anomaly and over-exposes it.
- ISO 100. Lowest native sensitivity keeps the shadows clean and gives the background more room to sit at zero.
- Aperture. f/8 to f/11 for products, where you want everything sharp. f/2.8 to f/4 for portraits and low-key work. Go wider and you lose the background anyway.
- Shutter. With flash, set your camera’s flash sync speed, commonly 1/200 second or 1/250. With continuous light, expose for the shadows and adjust the light power rather than the shutter.
- White balance. Lock it. Auto white balance shifts warm or cool between frames and you will be grading two different images.
- Metering. Spot meter the backdrop, take the reading, then add exposure compensation until the histogram shows the left edge sitting hard against zero.
- Format. RAW, always. You are fixing shadow noise in post, and a compressed JPEG has already thrown it away.
The single-flash trick is the fastest version of all this. Set the camera as though no flash were firing, with the shutter at sync speed and an aperture and ISO that render an entirely dark frame, then bring in the flash to carry the subject. The background is already black before the flash ever fires.
Keep Light Off the Background
Light falls off with distance, and that is the physics that fixes most problems. Moving the backdrop a metre or two behind the subject drops the amount of light reaching it dramatically, so it renders black without any post work.
Then stop the direct spill. Flags and gobos block light you have not aimed on purpose, which matters because the back of your key light, the ceiling bounce and the white wall behind you all reach the backdrop. A grid or snoot narrows the beam so nothing outside your subject is lit.
Ambient room light is the hardest one to remove. Block the windows, switch off overheads and close the door, or shoot at night in a room you can control. Test it the way experienced shooters do: with every light off, take a frame and look at it. If the background is not already black with nothing switched on, the light in that room is going to find the backdrop no matter where you put the flag.
Common Mistakes
Lighting the background on purpose. Sometimes this is right, for a gradient or a rim-lit dark object, but it is rarely what beginners intend. If you meant pure black, fix the flags rather than the exposure.
Too much fill. A reflector filling every shadow leaves you with a flat, evenly lit subject on a dark background. Pull the fill down until the shadow side still holds detail, then stop.
A glossy dark backdrop. Satin fabric and semi-gloss paint return light toward the lens and read gray. Swap to velvet, matte paint or matte board.
Subject too close to the background. Thirty centimetres is the minimum for small subjects, and a metre or more is better for portraits. Close proximity means the light falls on the backdrop before it falls off, and texture, seams and creases show as pale patches.
Exposing for the subject and hoping. Bright subject, bright background. Meter the backdrop instead, let the subject be carried by the light source, and check the histogram.
Overediting. Dragging blacks to minus 90 and shadows to minus 100 flattens detail in dark subjects and prints as a heavy grey block. Edit to tidy a slightly gray background, not to rescue a badly lit one.
Two quick extras. If autofocus hunts constantly, the camera has no contrast to lock onto, so switch to manual focus or a single AF point on an edge the rim light has defined. On a phone, lock exposure and focus with a long press on the screen, drop exposure compensation until the backdrop disappears, and use the black card to block any window light; native phone exposure tends to lift the background back to gray.
Frequently Asked Questions
Do I need a black backdrop to shoot on a black background?
No. Any dark surface works, including a dark wall, a black paper roll or black card taped to a door. What matters is that the material absorbs light instead of bouncing it back at your lens. Velvet and matte-painted board absorb best. Glossy paper and satin fabric throw light straight back and turn grey, which is the usual reason a cheap setup fails.
Can I create a black background with flash?
Yes, and one off-camera flash is the fastest way to do it. Put the flash behind and above the subject, aim it at the subject only, and meter the camera so ambient light alone renders the backdrop at zero. Set manual mode, shutter at your camera sync speed and ISO 100, then check the live-view histogram with the flash switched off before you fire.
Why does my black background look gray in the photo?
Usually it is spill. Your key light, a ceiling bounce or a white wall behind you is reaching the backdrop, or the backdrop sits too close for the light to fall off before it gets there. Add flags, move the backdrop a metre or two further back, drop to ISO 100 and spot meter the background. If the RGB histogram is not pressed hard against the left edge, the black is not black.
How far should the subject be from the background?
At least 30 centimetres for small subjects, and a metre or more for portraits and larger setups. Light intensity falls off with distance, so a distant backdrop receives far less light and stays black. That gap also hides creases, seams, velvet nap and dust that would otherwise show up as pale patches once the shadows are opened in editing.
What is the best camera setting for a black background?
Manual mode, ISO 100, and an aperture matched to your depth of field: f/8 to f/11 for products, f/2.8 to f/4 for portraits. With flash, set the shutter to your camera’s flash sync speed. Meter for the backdrop and lock the reading, or spot meter the background directly. Shoot RAW, because you will be cleaning up shadow noise in post and compressed files have already lost it.
Can I make a black background in photo editing?
You can deepen a grey background, but you cannot invent one that was never there. Pulling the black point down and dropping the shadows on a curve removes stray light from the backdrop, and it also crushes detail in a dark subject at the same time. Light the background correctly on set, then use editing only to tidy up a slightly grey result rather than to rescue a badly lit frame.
Conclusion
Four things get you most of the way. Make the backdrop darker than the subject by keeping light off it entirely, flag every source that can reach it, and expose for the shadows rather than letting the camera meter the frame. Then look at the histogram before you shoot anything else. If the left edge is not sitting at zero with your lights off, nothing in editing will save that shot.