Large groups fall apart because they are lined up side by side, so the fix is simple: build the group in staggered rows, keep it no more than three people deep, and make sure every taller head sits in the gap between two shorter ones. That is the whole idea behind how to pose large groups for family photos well. Ten people is a ten-minute job once you have somewhere to stand and a helper to move the back row.
It takes about 45 to 60 minutes for 10 to 15 people, and most of that time goes on the smaller family units rather than the full group. Get the whole-group frame first, while everyone is still cooperating, then break it apart.
Table of Contents
- What You Need
- Step-by-Step: How to Pose Large Groups for Family Photos
- 1. Choose the Location and Background First
- 2. Build the Group in Rows
- 3. Create Groups of Five to Seven
- 4. Place Taller and Older People in the Back
- 5. Give Everyone a Small Pose
- 6. Direct the Whole Group With Short Cues
- 7. Check the Frame From the Camera
- 8. Take Several Variations
- Common Mistakes
- Frequently Asked Questions
- How many rows should a large group photo have?
- What f-stop should I use for a large group photo?
- How do you make sure every face is visible in a group photo?
- How do you get a whole family to look at the camera?
- How long should a large family photo session take?
- Conclusion
What You Need
You need less equipment than people expect, but a few things make the difference between a 10-minute setup and a 40-minute one.
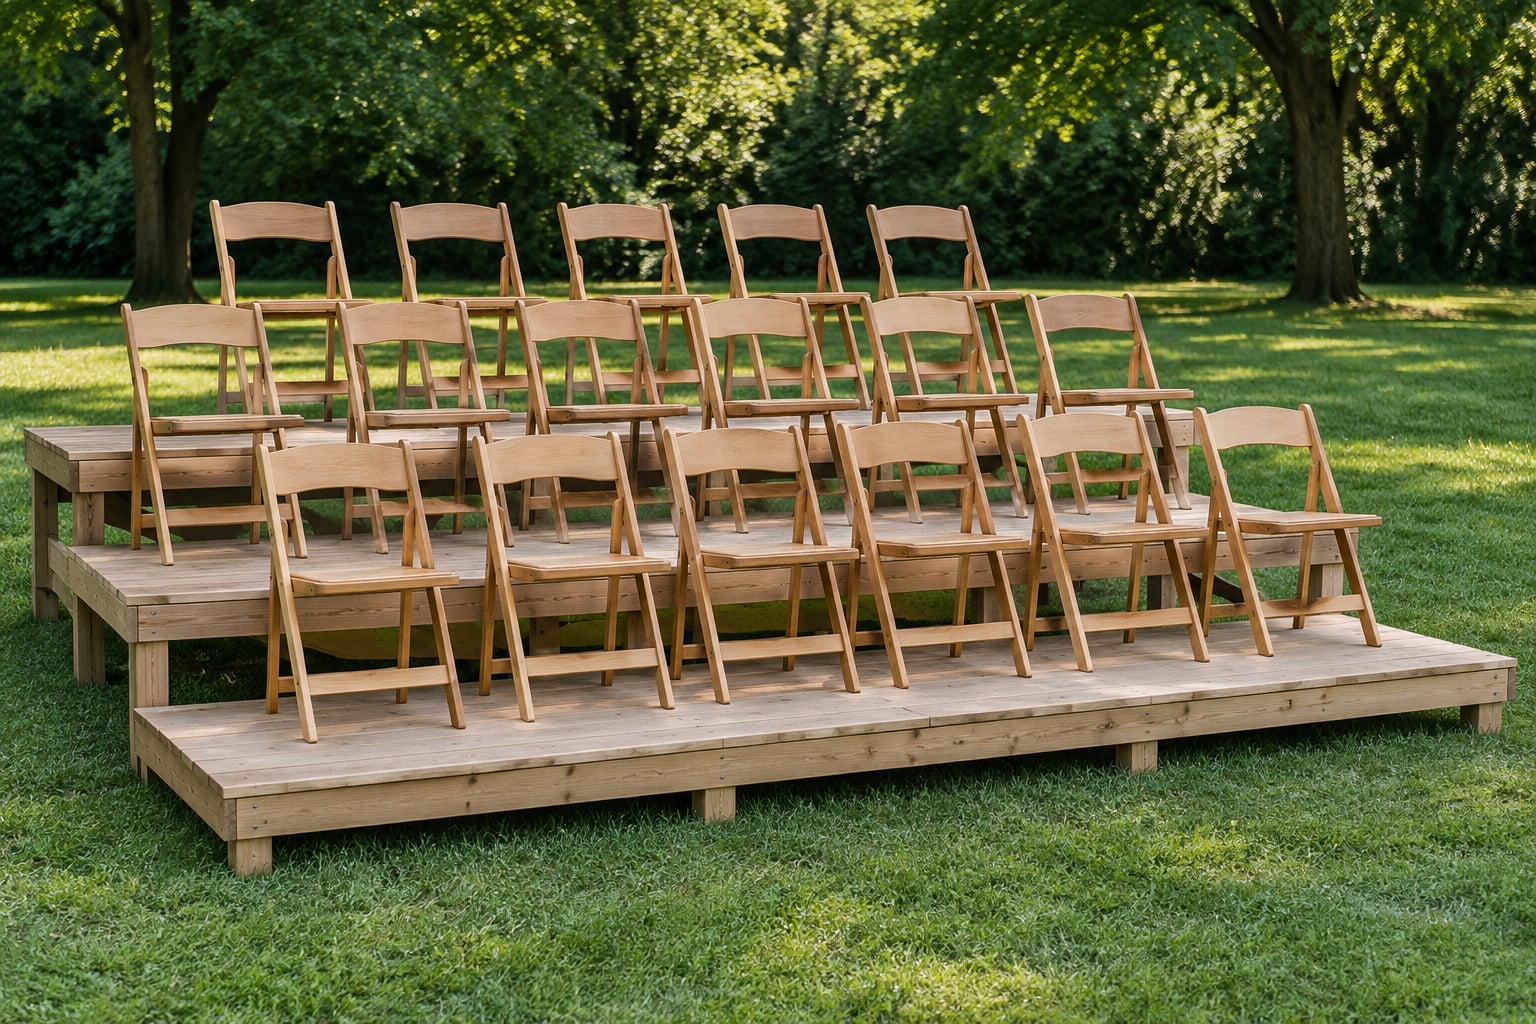
- A spot with a rise. Steps, a sloping lawn, a low kerb, a bench or a bank. Even 30 centimetres of height change staggers heads for free. Without one, folding chairs or wooden risers do the same job.
- Open space in front of the group. Room for three rows to form plus two or three metres of shooting distance, so a 50mm lens fits everyone in without stretching wide and distorting the people at the edges.
- A simple background. Grass, hedge, a plain wall, a stretch of open lawn. At f/8 you get almost no background blur, so a busy background shows up far more in a group frame than it would in a single portrait.
- Open shade or even light. The shade of a building, a tree line or a canopy. Bright sun puts people squinting and, worse, throws harsh shadows under the eyes of anyone in the back row.
- One helper. Not a second photographer, just someone willing to hold a spot and move a chair. Above 15 people, you physically cannot adjust the back row alone.
- A shot list. Write the combinations down before the session starts: whole group, each family unit, the grandkids with grandparents, small cousins together. Families lose patience fast once they think you have forgotten something.
- A plan for the youngest and the least mobile. Decide who holds the toddler and who sits down. Answering those two questions early prevents a reshuffle mid-session.
Step-by-Step: How to Pose Large Groups for Family Photos
1. Choose the Location and Background First
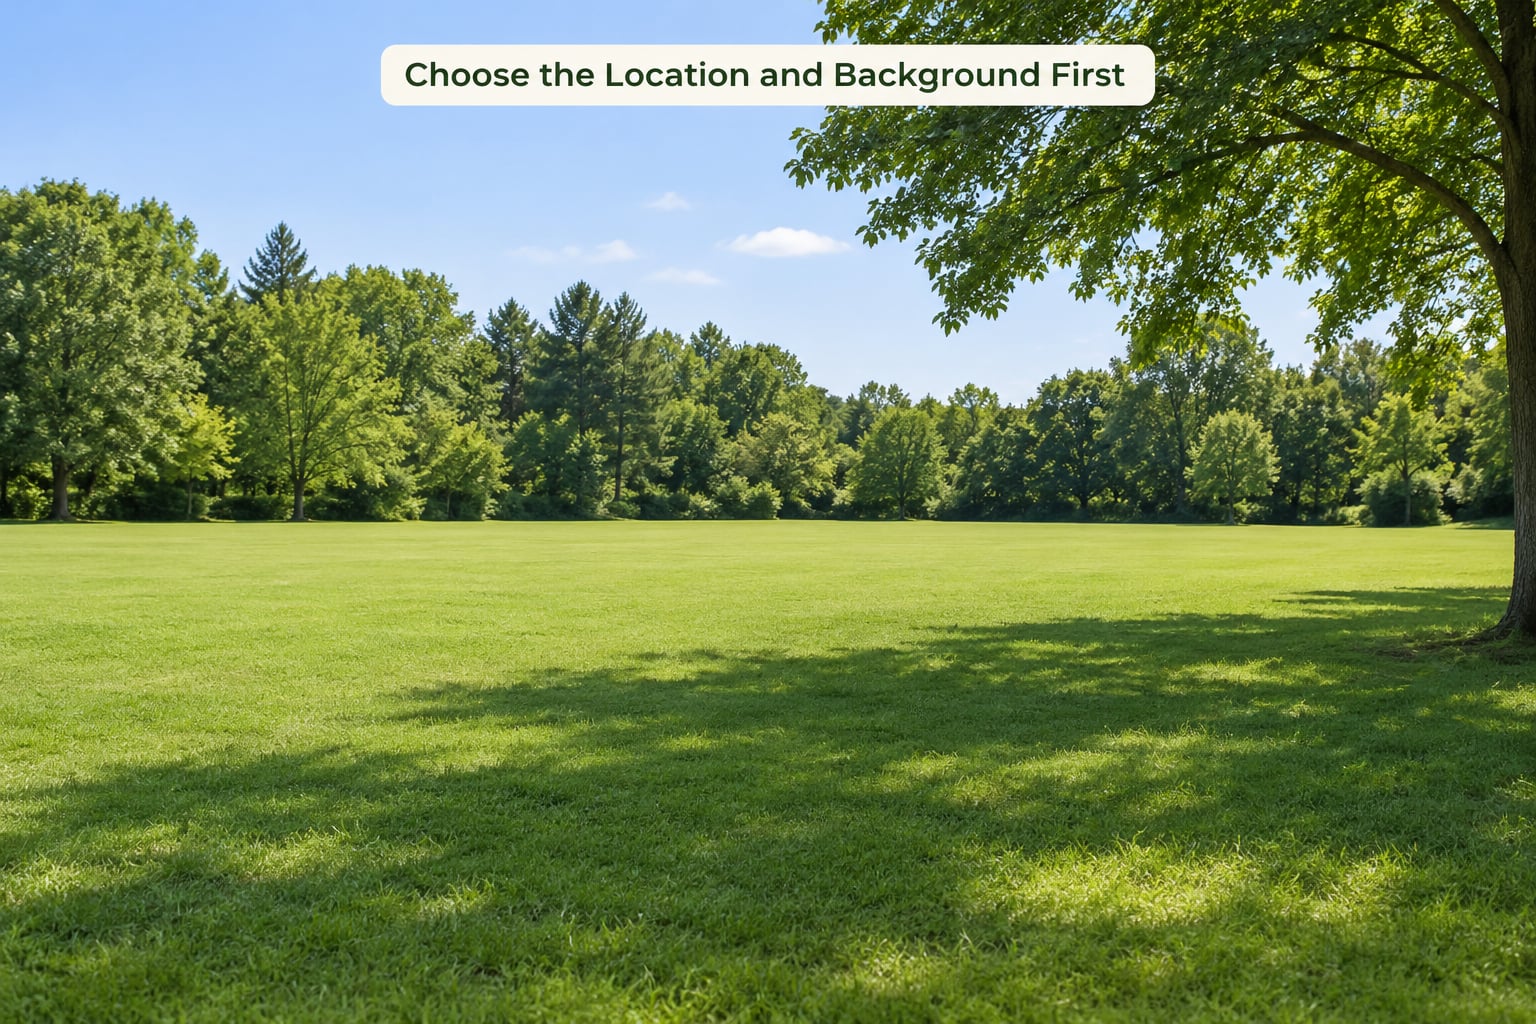
Pick the spot before you gather anybody, and stand where you plan to shoot before you ask a single person to move. You want a rise for the back row, open space for the rows to form, and a background with nothing in it to compete with 20 faces.
Shoot in open shade, or with the sun behind you. Direct sun at any angle is harder than people expect, because the shadows under brows and chins are what make a group look squinty and uneven.
Leave a few metres of clear ground in front of the group. If you have to crowd the back row against a hedge to fit the frame, the people in that row are already half hidden.
2. Build the Group in Rows
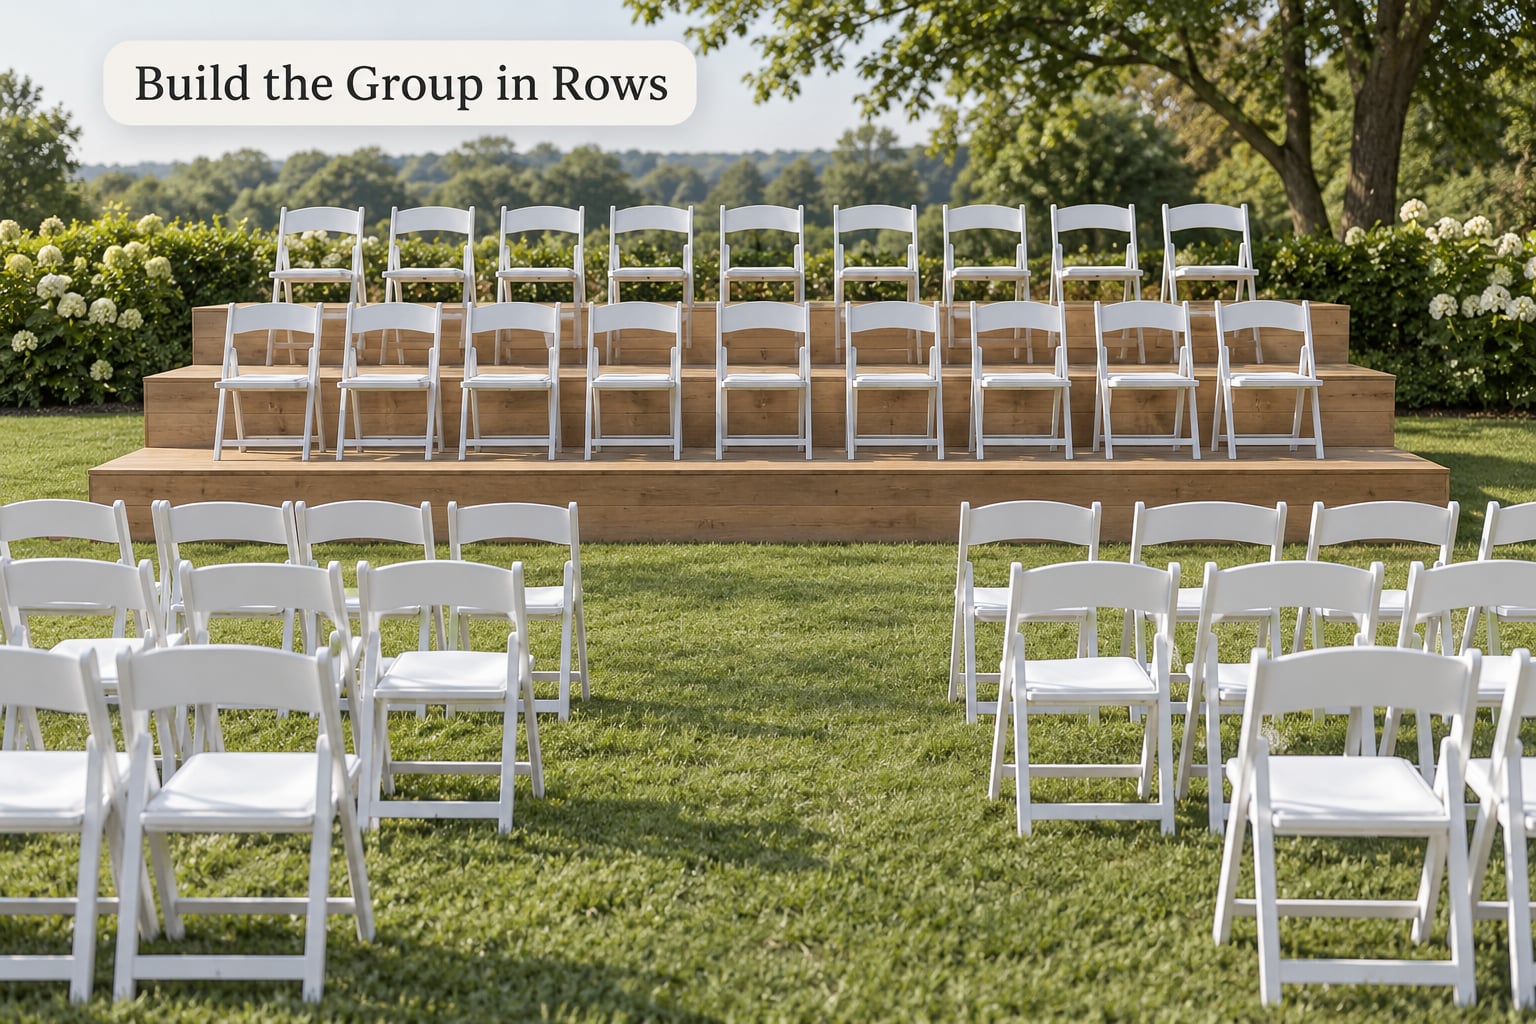
Three rows is the practical maximum. Four rows means the front of the group sits too far from the back for a single aperture to hold them all sharp, and the frame turns into a wall of people.
Start with the tallest people in the back row on the highest ground, then fill forward. Stagger the rows sideways rather than lining them up, so the gap between two heads in the back row sits above a shoulder rather than above a face.
| Group size | Rows | People per row | Main risk |
|---|---|---|---|
| 5 to 8 | 2 | 3 to 4 | Nobody stands at all; a flat line of heads |
| 9 to 15 | 3 | 3 to 5 | Back row heads hiding behind middle row shoulders |
| 16 to 25 | 3 | 5 to 8 | Wider frames, so watch the edges for wide-angle stretch |
| 26 and up | 3 plus sub-groups | 8 or more | Losing people off the sides; shoot in sections |
A 13-person group, the size that comes up most often, is three rows of five, four and four. That is comfortable to build and it photographs well.
3. Create Groups of Five to Seven
Chunks of five to seven people are the natural building block, because that is the largest unit most of them can hold a pose and a smile in. Build the full group from those units: back row assembled first, then the middle, then the front on the ground or on chairs.
Once the full group is done, shoot the sub-groups straight away while people are still standing where you put them. Asking a 20-person group to reassemble three times is how a 45-minute session turns into an hour and a half.
Above about 25 people, stop trying to do it in one frame. Shoot the whole group in a wide frame for the record, then work in sections of six to eight and combine the results later if the family wants one very large print.
4. Place Taller and Older People in the Back
Height is what decides the back row, not age. Tall people belong at the back or on the highest ground; shorter people go at the front or lower down. Age often follows height by coincidence, which is why the traditional rule of putting the grandparents in the back usually works.
It is not the only way. Anyone who tires easily, uses a walking aid, or finds steps difficult belongs where they can step in and out easily, and that can be the front row on a flat lawn. The test is whether the arrangement can be built and dismantled in under two minutes.
Give a standing person with limited mobility a chair at the front and let the row behind them be the ones who lean. Nobody in the picture is being singled out, and the heights still work.
5. Give Everyone a Small Pose
Big groups go stiff because everyone ends up in the same position. Give each section a different shape and the group reads as relaxed without anyone being asked to perform.
- Back row standing, hands relaxed at the sides, shoulders angled about 45 degrees toward the camera rather than square to it.
- Middle row leaning in, one hand resting on a shoulder in front of them, which also closes gaps in the arrangement.
- Front row seated or kneeling, hands in laps or on knees, angled inward toward the middle.
- One person in the middle holding the youngest child at hip height. This is the standard fix when a toddler will not face the camera, because the family is looking at the child and the child is looking at the camera.
- A hand on a shoulder or a linked hand across the front row, used sparingly so it does not look staged.
Keep hands visible or deliberately tucked. Hands hanging oddly at the sides, or in pockets mid-sentence, are the first thing that dates a family photo.
6. Direct the Whole Group With Short Cues
Long instructions get ignored by a group this size. Say one thing, in under five words, and point if you need to. These are the cues that actually work out loud:
- “Everyone a half step closer.”
- “Sideways, towards me.”
- “Hands down, shoulders back.”
- “Look here, at my hand.” Raise your hand next to your own face so they have an anchor instead of hunting for a small distant lens.
- “Chins forward, not down.” This one fixes slumping shoulders instantly.
- “Look at the baby, and you smile.”
- “Eyes shut, open on three.” Then count out loud and shoot a burst. The group will flinch on three, which is the point.
You do not need to be stern. Plenty of photographers worry they have to be pushy to get a big group done, and it is the other way round: people cooperate with someone who sounds calm and specific, and freeze up around someone who sounds angry.
Say the same cue the same way each time. “Left, closer” means nothing the third time you say it, but a consistent phrase gets a consistent result.
7. Check the Frame From the Camera
Walk the line of faces from left to right before you shoot anything, and again with your eye at the viewfinder. Behind the camera you will see problems that look fine from the front.
- Scan for a head directly behind a head. Any head that is more than half covered needs to move, even if it only looks slightly blocked from where the group is standing.
- Check the tall-heads-between-shorter rule. A tall head needs a gap either side, not two shoulders.
- Watch the edges of the frame. Anyone close to the edge on a wide lens will look stretched; a small step inward fixes it.
- Check headroom above the back row and make sure feet or knees of the front row are not cut awkwardly.
- Look behind the group for passers-by, parked cars, bins and bright patches. Half the time an unwanted object is visible above a shoulder.
- Zoom in on the screen afterwards to confirm the back row is actually sharp, not just the person nearest the lens.
On a phone, zoom in to check the faces. On a camera, use burst mode for the whole sequence; with 15 people, the odds that one person blinks in any single frame are close to certain, so you are looking for one usable frame out of many rather than one perfect frame.
8. Take Several Variations
Hold the arrangement steady and change one thing at a time. Shoot the formal wide frame first, then move in for a waist-up version of the same arrangement, then change the pose, then let them break into conversation and take candids.
Action frames rescue a group that looked stiff in the formal ones: have the whole group walk towards you slowly, or walk in towards the group. Shooting the action at a slower shutter speed keeps it natural rather than frozen mid-sprint.
Leave room around the group for cropping. A wide landscape frame can be printed as a portrait, but a frame shot tight to the edges cannot be re-cropped later, and the family will want both shapes.
Common Mistakes
Everyone in one straight line. Fix: two rows minimum for five people, three rows for nine or more, staggered sideways rather than square.
Heads stacked behind heads. Fix: look for the tallest head in each section and move it into a gap rather than aligning rows.
Short people in the back. Fix: height decides the row, so put the shortest people at the front or on the lowest ground where the camera can see them properly.
Too many rows. Fix: no more than three deep. Four rows means you will be at f/11 and still fighting for sharpness.
Wide-angle stretch at the edges. Fix: step back and use a 50mm or longer lens, or at least leave space between the outer people and the frame edge.
Waiting for everyone to smile at once. Fix: do not wait for it. It is a document photo, as photographers describe it, not a synchronised expression. Aim for one frame where most people are looking, then take more and pick the best.
Doing the small children last. Fix: shoot the whole group in the first ten minutes while patience is highest, then do the youngest children early in the session, while you still have energy to spend on them.
Letting the sun win. Fix: move into open shade, or wait until the sun is lower and softer.
Reassembling the group for every photo. Fix: work through a written shot list, take each combination from the same spot, and make your own note of what you have already shot.
A large group stays cooperative for surprisingly long if it is not standing in the sun doing nothing. Keep talking, name the next combination out loud so there is always a reason to hold on, and let people shuffle between shots rather than standing frozen. Most of the hard part of a 20-person pose is the ten minutes before the photograph, and it goes much better if the photographer is working rather than waiting.
Frequently Asked Questions
How many rows should a large group photo have?
Two rows works up to about eight people, and three rows covers almost everything up to 25 people. Keep the group no more than three people deep, because a fourth row forces you into a small aperture and the back of the group goes soft. Stagger the rows sideways so a gap in the back row sits above a shoulder rather than above a face.
What f-stop should I use for a large group photo?
Start at f/8. For a group only two rows deep, f/5.6 to f/7.1 keeps everyone sharp and still softens the background a little. For three rows, use f/7.1 to f/9, and push to f/9 or f/11 if the rows are spread over more than about three metres. Pair it with a shutter speed of 1/250 second or faster so nobody moves during the exposure.
How do you make sure every face is visible in a group photo?
Build the group in staggered rows on a rise, place the tallest heads between two shorter heads, and never let anyone stand directly behind a taller person. Then scan every face left to right from behind the camera, since problems that are obvious in the viewfinder often look fine from where the group is standing. Zoom in on the screen afterwards to confirm the back row is sharp.
How do you get a whole family to look at the camera?
Give them an anchor rather than a direction, such as your hand held beside your face, and use continuous shooting so you capture a run of frames. Try an eyes-shut, open-on-three burst and repeat it three or four times, then shoot at least ten frames and review them zoomed in. Expect to need twenty or more frames before a 15-person group gives you one clean set of eyes.
How long should a large family photo session take?
Allow 45 to 60 minutes for 10 to 15 people, including the smaller combinations and candids. Shoot the full group frame within the first ten minutes while everyone is still fresh, then break into family units of five to seven. Above 25 people, no single frame will do the job well, so plan for sub-groups and treat the whole-group shot as a wide record shot.
Conclusion
Start with the ground: find a rise, then build the group in three staggered rows, tallest at the back and nobody more than three people deep. Walk the line of faces from behind the camera before you fire anything, fix the heads that sit behind other heads, and then shoot your variations from the same arrangement.
Take the whole-group frame first while everyone is still willing, and break the group into chunks of five to seven afterwards. It is the shortest route to a set of photos a family actually wants printed.