Learning how to photograph a concert comes down to three numbers: a shutter speed of 1/250s or faster, an aperture of f/2.8 or wider, and an ISO somewhere between 1600 and 6400, all set in manual mode and recorded as RAW. Everything else — which lens you carry, where you stand in the photo pit, what you do the moment a singer walks into a lighting blackout — is the craft that sits on top of those three settings.
The honest part first: concert photography is not easy, and it is not even especially fun most of the time. You wait forty-five minutes in the dark for three songs, you shoot into lighting that changes every four seconds, and about a third of what comes out of your camera is unusable. Veterans on r/concertphotography talk about the exhaustion constantly, but they also keep going back, because a single sharp frame of a guitarist mid-jump is worth more than a month of studio portraits.
This guide covers the whole workflow in order: what to bring, how to research the show before you travel, which settings to dial in before the band walks on, how to keep focus on a moving subject, and how to work the room without getting removed. It is written for 2026 cameras with any lens you own, and there is a phone section too, because the phone you carry is a genuinely capable concert camera when you stop using digital zoom.
Table of Contents
- What You Need
- Step-by-Step: How to Photograph a Concert
- Before You Go: Research the Venue and Rules
- Choose the Right Camera and Lens Setup
- Set Your Starting Exposure
- Focus and Track the Performance
- Capture Variety Without Missing the Moment
- Protect Your Equipment and Respect the Venue
- Review and Back Up Your Images
- Common Mistakes
- Frequently Asked Questions
- What camera settings work best for concert photography?
- Do I need a fast lens to photograph a concert?
- Should I use flash during a concert?
- How do I keep shots sharp when performers move quickly?
- Can I photograph a concert without a photo pass?
- How do I get sharp low-light photos without raising ISO too high?
- Conclusion
What You Need
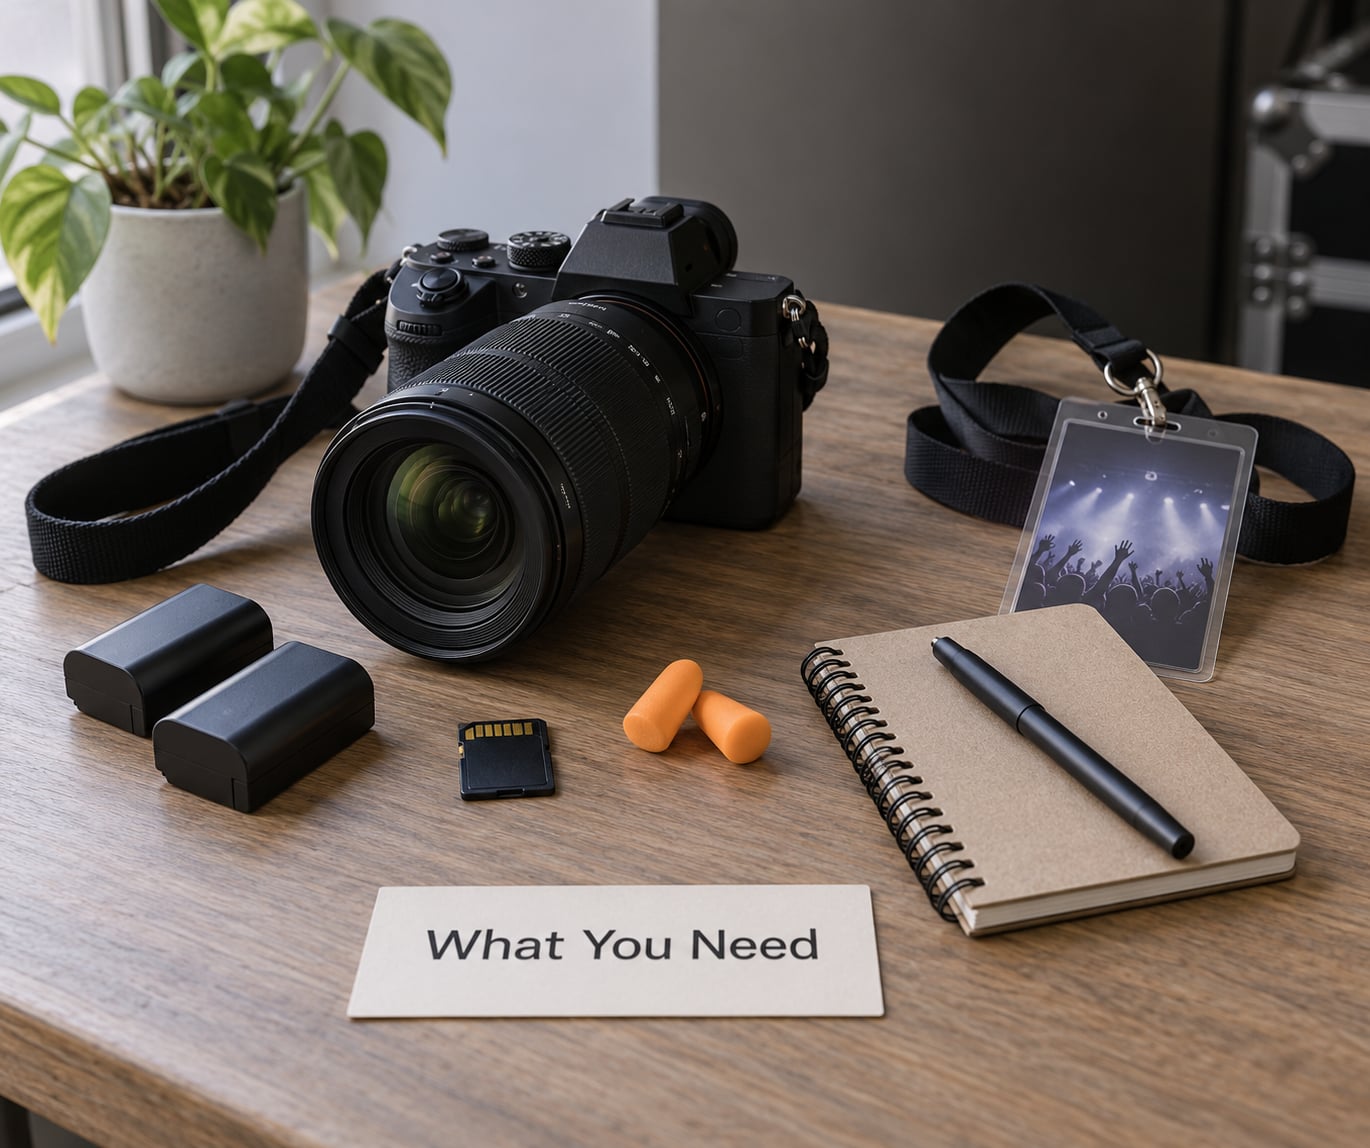
Start with the body you already own. Any interchangeable-lens camera from the last decade will do this job, and the difference between a budget body and an expensive one matters far less than the lens in front of it. What you want from the body is a usable high frame rate for burst shooting, autofocus that can track a person moving in dim light, and a sensor that holds up when you push ISO past 3200.
The lens is the real investment. You need one fast prime or zoom — f/1.4 or f/1.8 if you can afford it, f/2.8 is the practical floor — because a lens that gathers light beats a body upgrade every single time in a dark room. Two lenses cover almost everything: a 24mm to 35mm wide for the full stage and the crowd, and a 70-200mm for the drummer, the bassist and close portraits from the back of the pit.
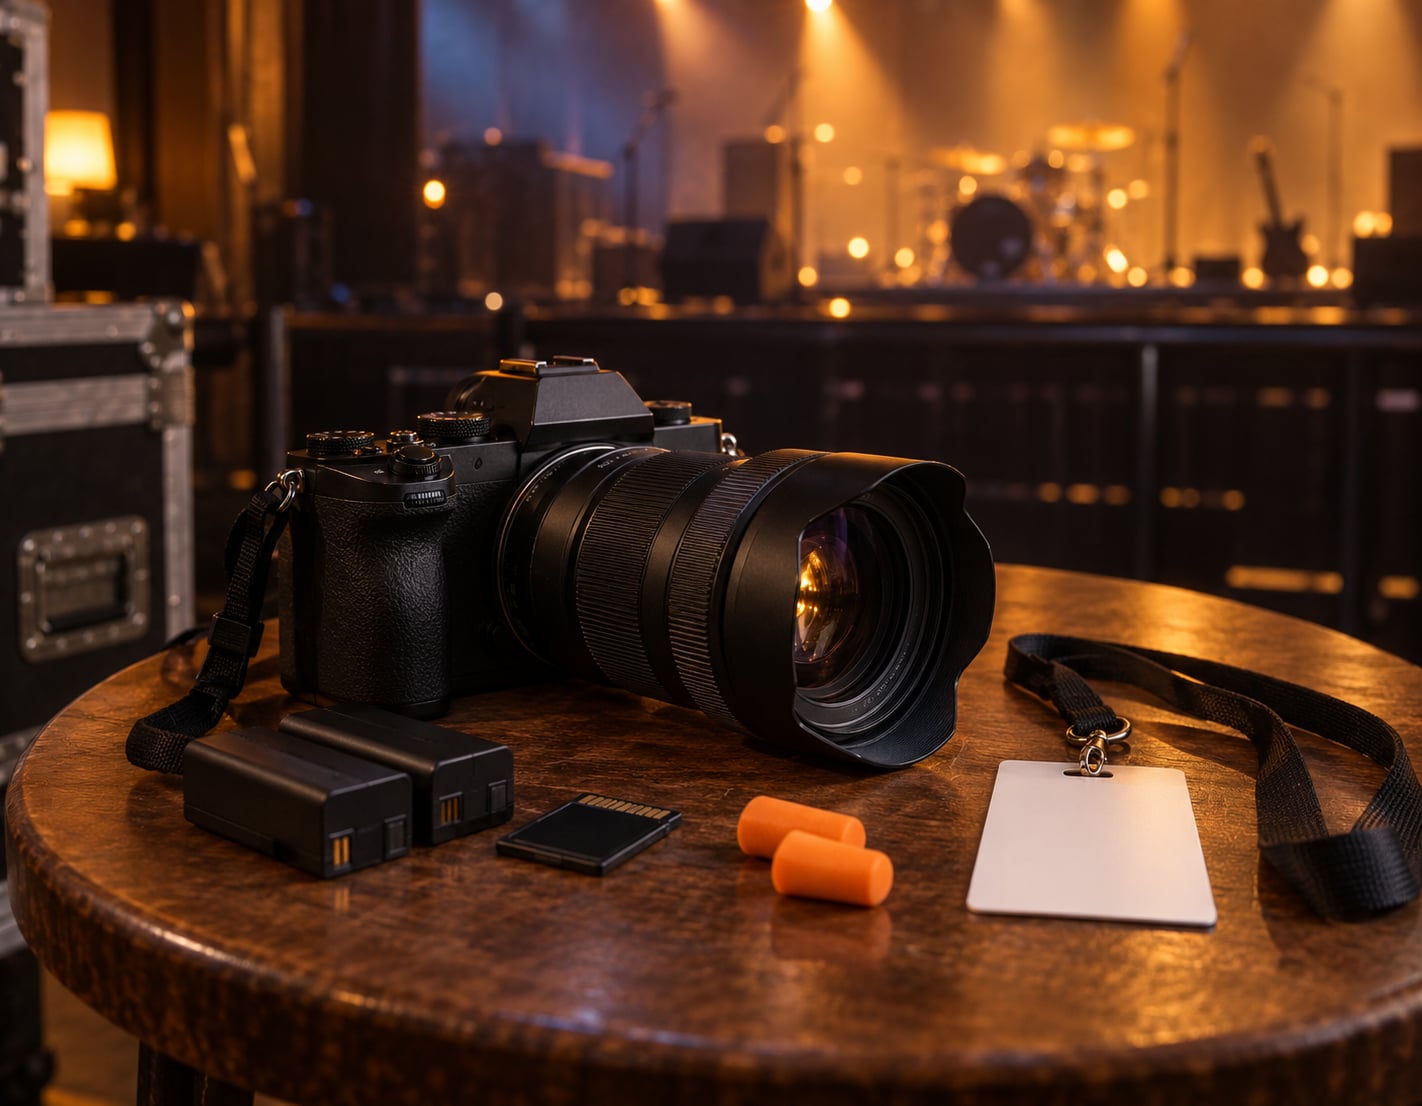
Pack the boring accessories next. Two spare batteries minimum, because a dead battery at the barrier ends your night, and a body with a small grip holds a big lens badly for three hours. Bring at least one memory card formatted in the venue, a USB-C reader so you can back up before you leave, and a rain sleeve or ziplock bag for the festival case. Long lenses and bodies get sweaty in a crowd, and a single drop of condensation on the front element is a ruined evening.
Then the two items people leave at home. Foam or filtered earplugs — a floor-level show easily reaches 100 decibels, and tinnitus is permanent, so this is not optional for anyone who plans to do this more than once. And comfortable clothes with closed shoes. You will be standing in a cramped pit for an hour, often in the cold, sometimes in the rain, and a photographer who has to sit down mid-song misses the shot.
Last, bring a small notebook or your phone’s notes app. Write down the setlist you expect, the three-song rule you were given, and the name of the music editor you spoke to. When a pass arrives at the door, the person handing you credentials does not want a paragraph of explanation at 7pm.
Step-by-Step: How to Photograph a Concert
Before You Go: Research the Venue and Rules
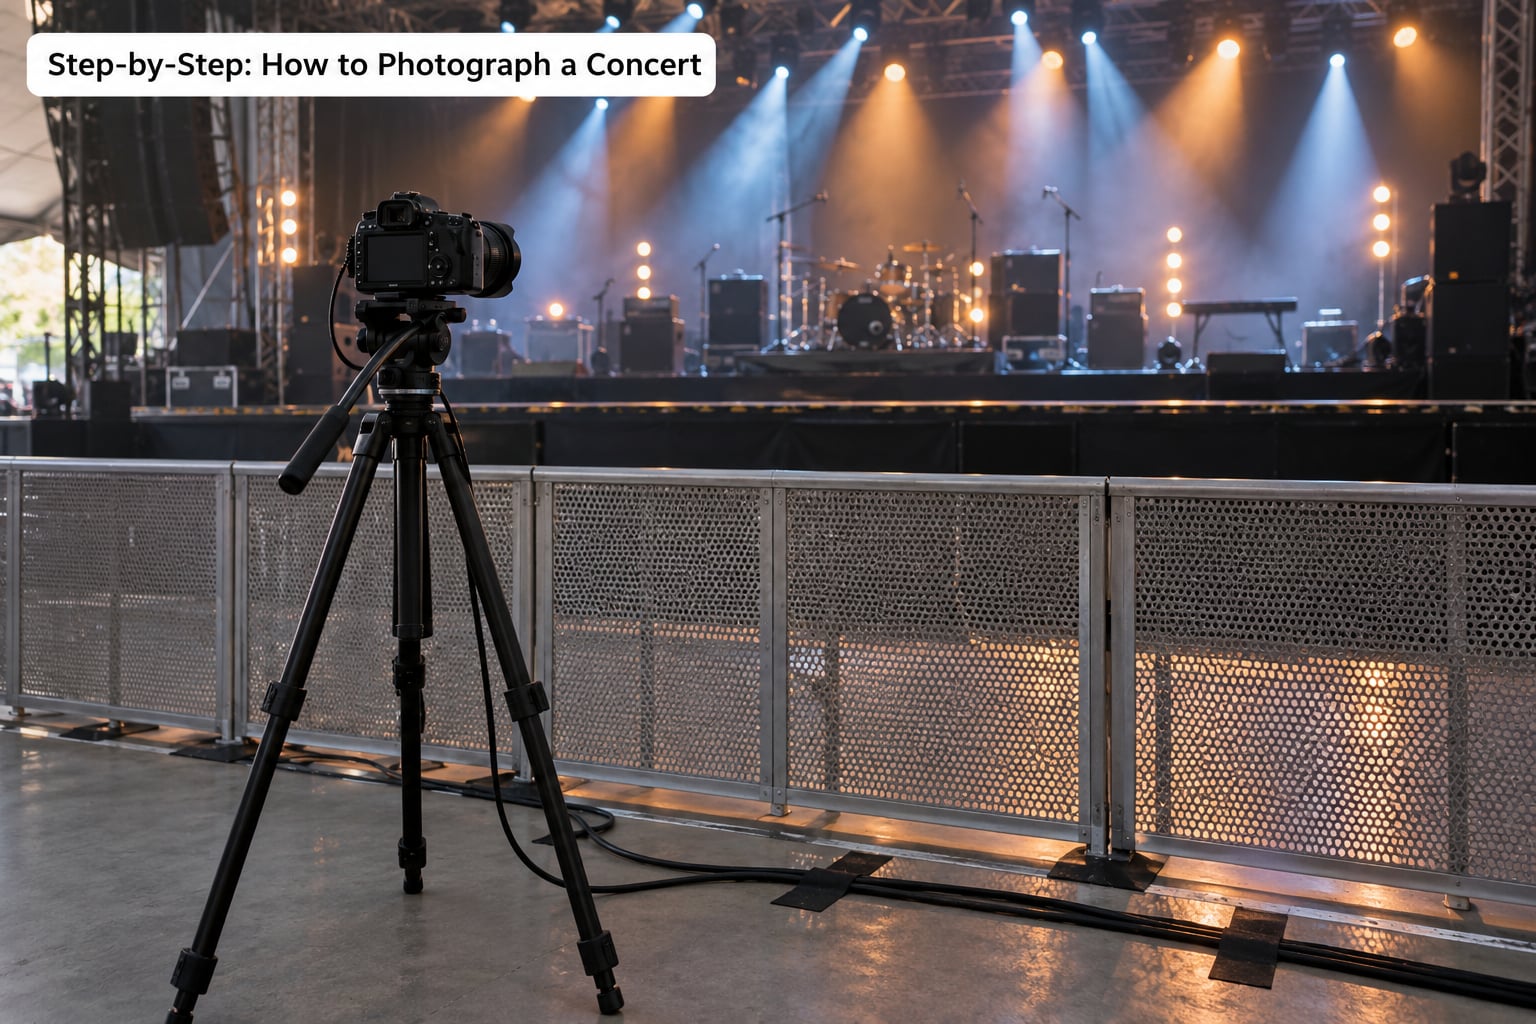
Every restriction you break costs you access, so find out the rules before you buy the ticket. Read the venue or promoter’s photo policy first: most large shows limit shooting to the first three songs from the photo pit, some ban cameras entirely in the pit and push you to the rear of the floor, and nearly all of them prohibit flash. Arenas and theaters also usually require a credential issued by the artist’s publicist.
Then study the room itself. Look at previous shows from the same band on YouTube or Instagram and note how many stage lights fire per song, how dark the backline is, and whether the singer uses a handheld mic or stands behind a stand. Bands that use a stand will hide the vocalist behind it at the wrong angle; bands with two guitarists will trade places constantly.
Watch fan-uploaded videos of the set and learn the running order. It sounds trivial, but knowing that a ballad ends in a slow guitar outro tells you to switch from burst to single frame, and knowing the band closes with a confetti cannon tells you where to stand. Search for the band’s setlist the night before in case they changed the running order after you planned.
Small clubs are the opposite problem and honestly the better teacher. Most local venues will let you bring a camera if you ask the door staff and you stay off the stage. Light is grim, the drummer is invisible, and you will learn to cope with genuinely bad conditions instead of a polished arena rig.
Choose the Right Camera and Lens Setup
Is f/2.8 good for concert photography? Yes — f/2.8 is a workable concert aperture, and a good 70-200mm f/2.8 will handle most arena work without ever touching f/1.4. But if you own only one lens and you are buying, go faster. The jump from f/2.8 to f/1.4 is one full stop of light, which is the difference between ISO 3200 and ISO 800, and that difference decides whether you can keep ISO under 6400 and stay out of heavy noise reduction.
A 50mm f/1.4 is the classic first concert lens and it remains the right answer for clubs, where you are close enough that 50mm frames a single performer from the chest up. A 24mm f/1.4 covers the whole stage plus lighting rigs in a small room and gives you audience in the foreground. A 70-200mm f/2.8 is the arena and festival workhorse for the drummer, the bassist and tight face shots across a deep stage. A 14mm ultra wide is a special tool, not a general one: it grabs the whole stage and the crowd in one frame, but it distorts faces badly if you use it close.
Shooting with two bodies helps more than any single upgrade. One body with the wide lens for the band and the whole stage, one with the telephoto for individuals, and you can hand off between them mid-song instead of missing frames while a lens changes.
If your camera is a phone, the rules are simpler but the traps are specific. Turn off every form of digital zoom, because a 2x or 10x crop of a dark stage produces pure mush. Use the stock camera app for RAW if your phone supports it, or a third-party manual app that gives you shutter, ISO and white balance control. Tap the singer to lock exposure, then pull the exposure slider down a few notches so the stage lights stop clipping. Modern phones have a multi-frame night mode that stacks several seconds of shots, which produces usable low-light frames that no single exposure could, and the flash is never used regardless.
Set Your Starting Exposure
Switch to manual exposure and leave the camera there. Autoexposure hunts constantly under stage lighting, so the moment a dark wash comes down the camera opens up and blows out the followspot the second it snaps back up. Manual mode costs you nothing except attention, and attention is the only free resource in a photo pit.
Start the shutter at 1/250s. Anything slower and hand movement plus performer movement combine into motion blur. If the vocalist jumps, drums hard, or you are on a telephoto, push to 1/500s or 1/800s; forum shooters using long lenses report needing 1/1250s to 1/2500s for truly sharp results, though you will pay for that with ISO. Open the aperture as wide as your lens goes, f/1.4 to f/2.8. Then raise ISO until the histogram shows a proper exposure, usually landing between 1600 and 6400.
Set the white balance to the incandescent or tungsten preset at roughly 3200K. This is the single most repeated tip in the forums and no competitor guide mentions it: a tungsten white balance makes amber and warm stage light render correctly in the file, so you are not fighting a green or blue cast with hue sliders later. Shoot RAW anyway, so you have latitude either way.
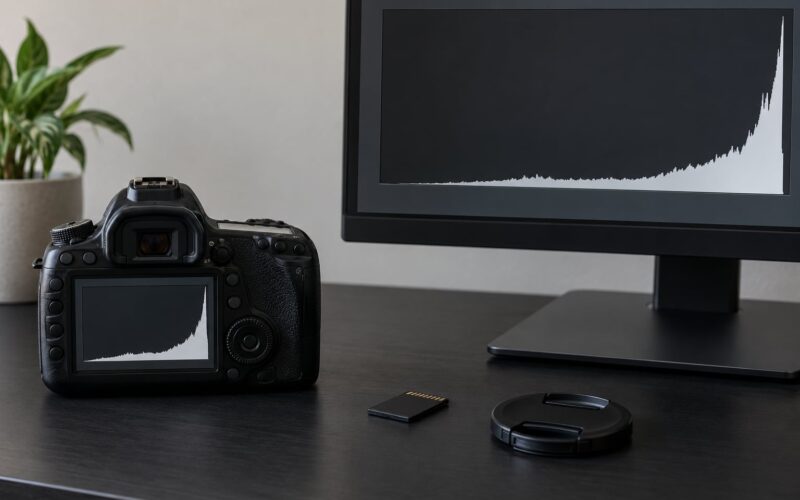
Use spot or center-weighted metering aimed at the singer’s face or the brightest lit performer, and check the histogram rather than the LCD screen, which lies in the dark. Turn on highlight warnings. Exposure compensation is still useful in manual mode — it shows you at which ISO the frame clips.
Here is a cheat sheet by venue type. Treat these as starting points, then adjust with the histogram.
| Venue type | Shutter speed | Aperture | ISO | Focus mode | White balance |
|---|---|---|---|---|---|
| Club (under 300 capacity) | 1/250s | f/1.4 to f/1.8 | 3200 to 6400 | Continuous AF, single wide zone | Tungsten 3200K |
| Theater (500 to 2000) | 1/320s | f/1.8 to f/2.0 | 1600 to 3200 | Continuous AF, expanded point | Tungsten 3200K |
| Arena photo pit | 1/500s | f/2.8 with a telephoto | 1600 to 3200 | Continuous AF, eye detect if available | Tungsten 3200K |
| Outdoor festival stage | 1/500s | f/2.8 | 400 to 1600 | Continuous AF, zone | Daylight in sun, tungsten at dusk |
| Phone only | 1/120s or slower, accept blur | Fixed, widest available | Auto with night mode | Tap-to-lock AF on performer | Auto, lock it once it settles |
What mode is best for concert photography? Manual mode is the correct answer for anyone shooting from the pit. Aperture priority, with auto ISO, is a reasonable compromise for a beginner in a bright festival slot or for someone shooting handheld in the crowd, because it protects against the stage going darker than expected during the set.
Focus and Track the Performance
Use continuous autofocus — AF-C on Sony and Nikon, AI Servo on Canon — with a flexible or expanded focus point rather than a single point. A single point requires you to keep the exact spot on the singer at all times, which is impossible when someone walks toward you. A zone lets the camera track.
Set back-button focus if your camera has it. Separating focus from the shutter means you hold AF-ON with your thumb and raise the camera already focused, which saves the fraction of a second that decides whether a shot is sharp. Keep the drive mode on high-speed continuous at 5 to 10 frames per second, but do not hold the shutter down for an entire song. A wall of 200 frames of a blurry singer costs you card space and costs you the moment you actually needed.
Watch for the two classic failures. The first is the microphone stand parked directly in front of a singer’s face — shoot around it by stepping left or right, or frame the whole body instead of the head. The second is shooting the drummer’s full kit with a wide lens when the drummer is 15 meters away in near darkness; switch to the telephoto, or accept that the drum kit is a silhouette shot and use that deliberately.
If autofocus hunts during a strobe sequence, stop using it. Switch to manual focus, pre-focus on a spot on the stage you know someone will occupy, and shoot through the sequence. Manual focus is a legitimate tool here, not a failure.
Capture Variety Without Missing the Moment
The three song rule is the access limit most beginners hit first: at many large shows you are limited to shooting the first three songs of the set, then you leave the pit. You get roughly six to nine minutes of camera time in a 90-minute set. Plan those minutes rather than reacting to them.
Spend song one wide. Get the full stage, the lighting rig, the crowd in the foreground — establishing frames that say where you were. Song two goes medium, following individual players. Song three is where you take your hero shots, because by then you have learned where the singer actually stands and which songs have the big lighting change. Then you put the camera down and watch the show, which is what everyone else in the building is doing.
Within each song, vary your subject. The lead singer is the obvious choice. Then the guitarist mid-strum, the drummer’s hands on the snare, the bassist who is usually standing in complete darkness, a keyboard player’s fingers, the front row singing along, a phone light in the crowd, the hands in the air during the chorus. Detail shots of hands, instrument hardware and cable runs are the frames that make an edit feel like a concert rather than three random close-ups.
What do you do in the first sixty seconds the band hits the stage, when you are nervous and the lights are changing? Breathe, do not fire the shutter yet, and get one wide frame to confirm your exposure is close. Then start shooting the singer. Beginners lose their whole allowance to a burst of panic frames taken while the meter was still adjusting.
Protect Your Equipment and Respect the Venue
Do not use flash, under any circumstances. It is banned almost everywhere for a reason — it blinds the performer, it ruins the moment for the audience, and it will end your night at the barricade. The same goes for screen brightness: turn your LCD brightness down to its lowest level and stop reviewing frames mid-song, because a bright screen in a dark pit draws attention to you.
Move like a photographer, not a fan. Walk rather than weave, keep both feet on the floor, and never step on a cable run. Talk to the security at the pit entrance before the show, not after you have been told to leave. Ask where you may stand, whether you may sit on a riser, and whether there is a designated shooting spot. Security will usually give you a specific spot if you ask, and photographers who ask get treated better than photographers who assume.
Watch the stage for what everyone forgets: wedges, mic stands, monitor cables and the lip of the stage itself. Feet get caught, and a 70-200mm swinging on a strap while you fall is expensive. Keep the strap short, keep the lens capped between bands, and change lenses only when you are stopped and looking down at the ground.
Respect the performers too. Photographing audience members at close range, or shooting people’s faces from behind barriers without context, is a good way to be asked to leave. Aim at the stage, not at the crowd’s personal space, and if someone asks you not to shoot them, point the camera down.
Review and Back Up Your Images
Do the cull on the walk out, not three days later when memory has blurred into “I think that one was good.” Look for sharpness first — if the eye is not tack sharp on a 100% view, a lower ISO will not save it. Then drop duplicates. Three near-identical frames of a singer holding a note is one frame, so keep the sharpest.
Check your files off the card before you leave the venue. A corrupted card found at home is a lost show; a card read over a café counter is a slightly annoying twenty minutes. Then copy everything to a laptop, a second drive and a cloud folder. Three copies in two places is not paranoia at a show, it is the only thing standing between you and losing the pictures that took three songs to get.
For editing, start in Lightroom or Capture One with a repeatable recipe. Set white balance first, since RAW files let you push the amber stage light back to a natural tone. Pull the highlights down to recover the clipped followspot, then lift shadows gently to reveal the dark stage. Apply luminance noise reduction at roughly 20 to 30 with detail masking on, so it touches the noisy shadows and not the singer’s face. A little texture and clarity after that. Moderate everything: heavy clarity and aggressive noise reduction are what make concert photos look processed rather than photographed.
Finish with a selective pass — a small dodge on the face, a slight crop that removes a distracting mic stand, a touch of saturation on the stage colors. Publish nothing before you have looked at the full set at screen size.
Common Mistakes
Shooting in aperture priority or full auto is the most common beginner error, and the meter will blow out the stage the first time the lighting drops. Switch to manual before doors open.
Starting at ISO 100 and hoping the aperture saves you is the second most common. In a dark room, aperture has already run out of room by f/1.4; ISO is what creates the exposure. Start at 1600 and raise it until the histogram looks right.
Leaving the shutter at 1/60s produces soft frames no amount of sharpening rescues. Hold 1/250s minimum, faster for jumping performers.
Firing burst for a whole song fills the card with near-duplicates and makes culling painful. Burst in three to five frame bursts, then stop and look.
Digital zoom on a phone, or any in-camera crop, destroys concert shots because the light is already scarce. Move closer or use an optical lens instead.
Standing dead center of the pit guarantees you photograph the back of heads and the mic stand. Start at the outer edge and work inward — you get a clean line of sight, and the middle of the pit opens up as the show settles.
Ignoring the three song rule by trying to keep shooting gets you removed. Know the limit before the band walks on and plan to be out by the third song.
Forgetting the earplugs is not a mistake you make once. Take a full set, and add them before the support act if the venue is loud.
A few habits separate the people who come back with usable galleries. Watch the light instead of the musician — the frame is usually good ten seconds before the singer moves into it. Shoot slightly into the backlight so rim light separates the performer from the background. Keep your eye on the pit for the band intros, because that is when the big lighting rig fires and it happens once per show. And never leave without verifying your card made it home.
Frequently Asked Questions
What camera settings work best for concert photography?
Start in manual mode at 1/250s or faster, the widest aperture your lens allows (f/1.4 to f/2.8), and ISO 1600 to 6400, recording RAW. Use spot metering on the brightest performer, set white balance to tungsten around 3200K for warm stage light, and enable continuous autofocus with a zone or expanded focus point. Check the histogram rather than the LCD screen.
Do I need a fast lens to photograph a concert?
A fast lens matters more than an expensive camera body. f/2.8 is workable, and a 70-200mm f/2.8 handles most arena work, but f/1.4 or f/1.8 gathers a full stop more light and lets you keep ISO lower. A 50mm f/1.4 is the classic club lens, a 24mm f/1.4 covers the full stage, and 14mm grabs the whole room.
Should I use flash during a concert?
No. Flash is banned at nearly every venue because it blinds the performer and disrupts the show. It also reflects off haze and stage glass, wrecking the frame. If a shot looks too dark, raise ISO or open the aperture instead. Reviewing images on a bright LCD screen in a dark pit draws unwanted attention, so lower the screen brightness too.
How do I keep shots sharp when performers move quickly?
Keep shutter speed at 1/250s minimum and raise it to 1/500s or faster for jumping singers or hard drumming. On a telephoto lens, 1/1250s or more may be needed for truly sharp results. Use continuous autofocus with a flexible focus point, enable back-button focus so the camera is focused before you raise it, and shoot short bursts of three to five frames.
Can I photograph a concert without a photo pass?
Yes, at most small and mid-size venues. Local clubs usually allow cameras if you ask the door staff and stay off the stage. Arenas and theaters generally require a credential arranged through the band’s publicist or a publication’s music editor. The usual credential is the three song rule: you shoot the first three songs from the photo pit, then leave.
How do I get sharp low-light photos without raising ISO too high?
You cannot fully, and that is the deal of this genre. Light comes from aperture and shutter speed first, and both have limits: too wide an aperture goes soft at the edges, too fast a shutter costs light you need. A bright prime, a well-positioned stage light, and shooting RAW with good noise reduction in editing will get you further than refusing to touch ISO at all.
Conclusion
Start with the unglamorous part: check the venue’s photo policy, learn the three song rule before you travel, pack two batteries and a pair of earplugs, and dial in 1/250s, f/1.8 and ISO 3200 before the support act starts. Then work the room — wide for the stage, medium for the players, close for the hands and the faces — and stop shooting long enough to actually watch the show. When you get home, cull for sharpness, correct the white balance, pull the highlights back and back up the files in two places. That routine is what turns a noisy, blurry night in the pit into a portfolio piece.