Choosing a print lab comes down to six things: color accuracy you can actually verify, a paper range that suits the images, the total landed cost rather than the sticker price, realistic turnaround, support staff who can explain their decisions, and a written guarantee. Photograph the same file through two or three labs before you commit anything.
A note on wording, because it matters when you search: here a print lab means a photographic printing service that takes your digital files and returns finished prints, canvases, albums and wall pieces. It has nothing to do with 3D printing, label printers or equipment dealers that flood the results for this search term.
Last updated: October 2026. I have run client work through four different labs over the years and swapped twice, so this is the process I actually use when I take on a new print supplier.
Table of Contents
- What You Need Before You Choose a Print Lab
- Step-by-Step: How to Choose a Print Lab for Your Work
- 1. Decide What You Need the Prints to Do
- 2. Check Color Accuracy and Print Consistency
- 3. Compare Paper and Finish Options
- 4. Review Pricing, Shipping, and Turnaround
- 5. Test the Lab Before Ordering a Large Set
- Common Mistakes Photographers Make
- Frequently Asked Questions
- What photo labs do professional photographers use?
- Should I choose a local photo lab or an online photo printing lab?
- How do I keep color accurate between my monitor and my prints?
- What file format and resolution does a print lab want?
- Can a print lab fix color problems in my file?
- Conclusion
What You Need Before You Choose a Print Lab
Most bad lab relationships start because the photographer walked in with a vague idea and came away with a guess. Spend twenty minutes on the following and the conversation with a lab becomes much sharper.
- Finished files. A TIFF or a high-quality JPEG, exported in sRGB, sized for the final print. Nothing else matters if this step is sloppy.
- A reference image. One file you love and one that gives labs trouble, usually a portrait with skin, or a frame with a saturated red and a deep shadow.
- Your real sizes and quantities. A one-off 8×10 behaves nothing like fifty 5x7s, and labs quote differently at volume.
- Your framing plan. Unframed print, matted print or full frame changes the border allowance you want and the finish you should pick.
- Where the print will live. Direct sun, a dim hallway, a rented gallery with controlled lighting. Paper choice follows the wall, not the catalog.
- Your deadline. Real deadlines, not hoped-for ones, because rush handling is usually a separate charge with its own clock.
- Your question list. Written down before you make contact, so you compare answers instead of impressions.
If you are unsure about the pixel counts, this is the part most people get wrong. The lab wants about 300 pixels per inch of the finished print, which means the file has to grow with the print:
| Finished size | Pixels at 300 ppi | Where a full-frame DSLR or mirrorless body usually lands |
|---|---|---|
| 5×7 in | 1500 x 2100 px | Comfortable |
| 8×10 in | 2400 x 3000 px | Comfortable |
| 11×14 in | 3300 x 4200 px | Tight, full resolution |
| 16×20 in | 4800 x 6000 px | Full resolution or upscaling |
| 24×36 in | 7200 x 10800 px | Upscaling or a stitch |
Note that ppi is what the eye judges on a print, not the dots per inch the printer’s spec sheet claims. A device quoted at 1200 dpi produces a 300 ppi result on an 18×24 sheet, which is why those two numbers get confused.
Step-by-Step: How to Choose a Print Lab for Your Work
Five steps, in this order. Each one narrows the field, and the last one is the only step that gives you an answer instead of an opinion.
1. Decide What You Need the Prints to Do
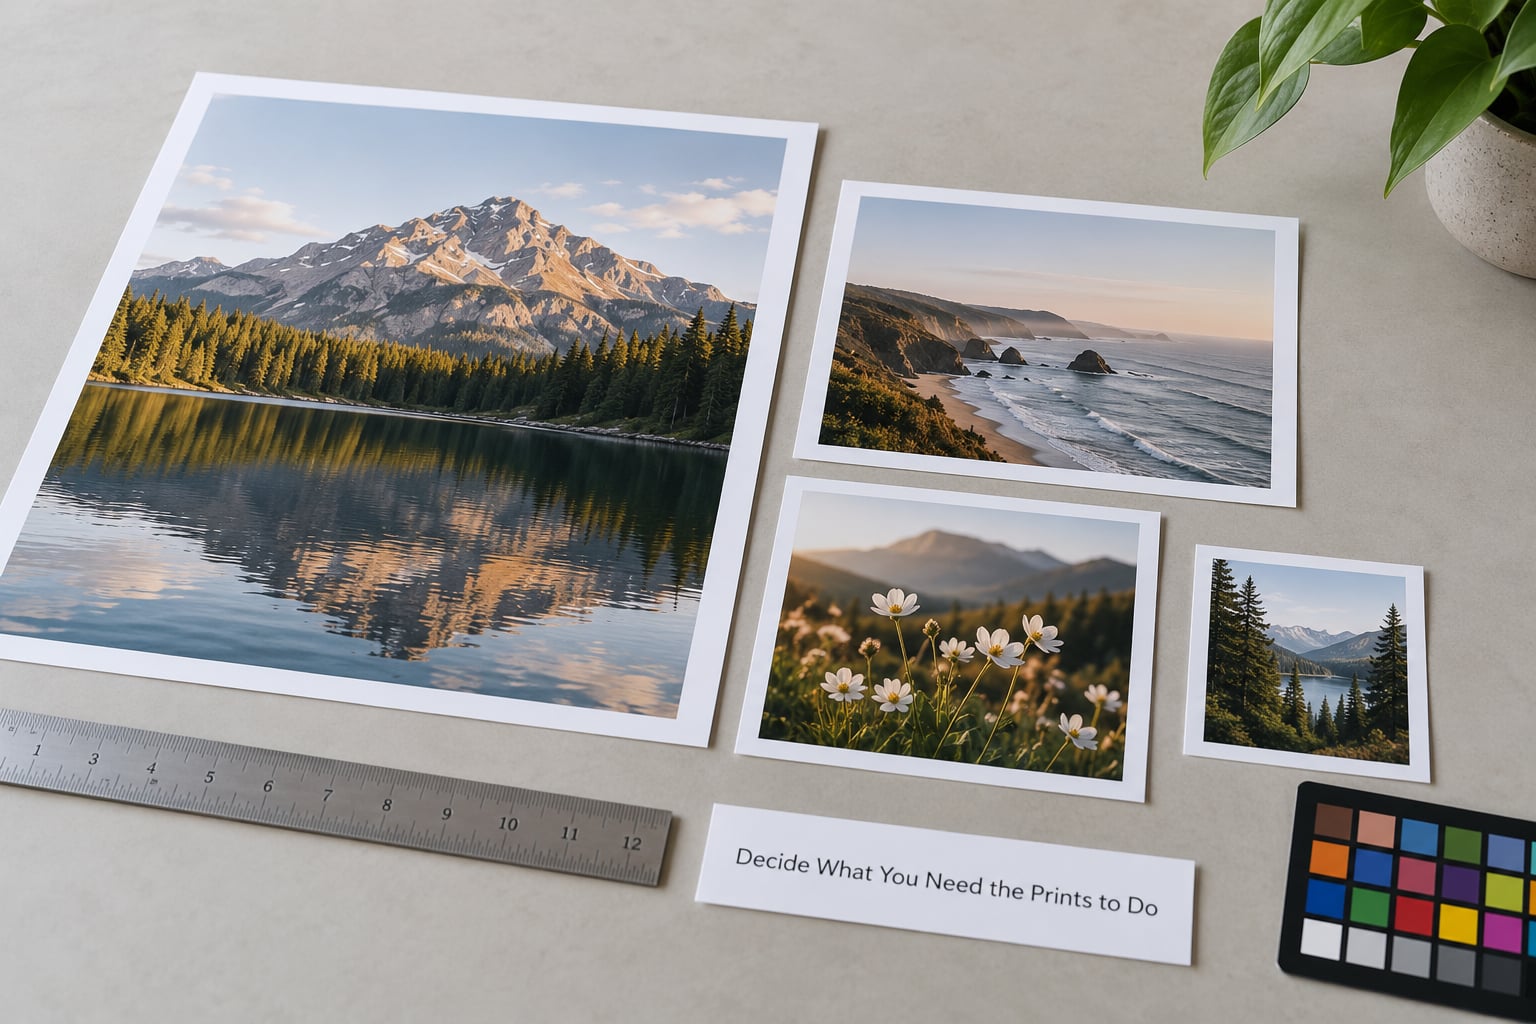
Start with purpose, not with the lab’s catalog. Wedding album pages need a durable matte or lustre surface that resists fingerprints and takes a mount cleanly. Gallery fine art prints live behind glass under controlled light, so a bright white base with a texture that holds pigment matters more than gloss. Metal and acrylic pieces are statement work that lives on a feature wall, and they need a lab that actually mounts them rather than resizing a file.
Client delivery prints have their own logic. Your client will handle them, frame them badly, hang them in a bright hallway, and ask you for a replacement eventually. A sturdier paper and a simple finish reduce that phone call later.
Write down the finished size, the quantity, the framing method, the delivery deadline and the budget ceiling for the whole order. That single line is what turns a vague search into a comparable quote.
2. Check Color Accuracy and Print Consistency
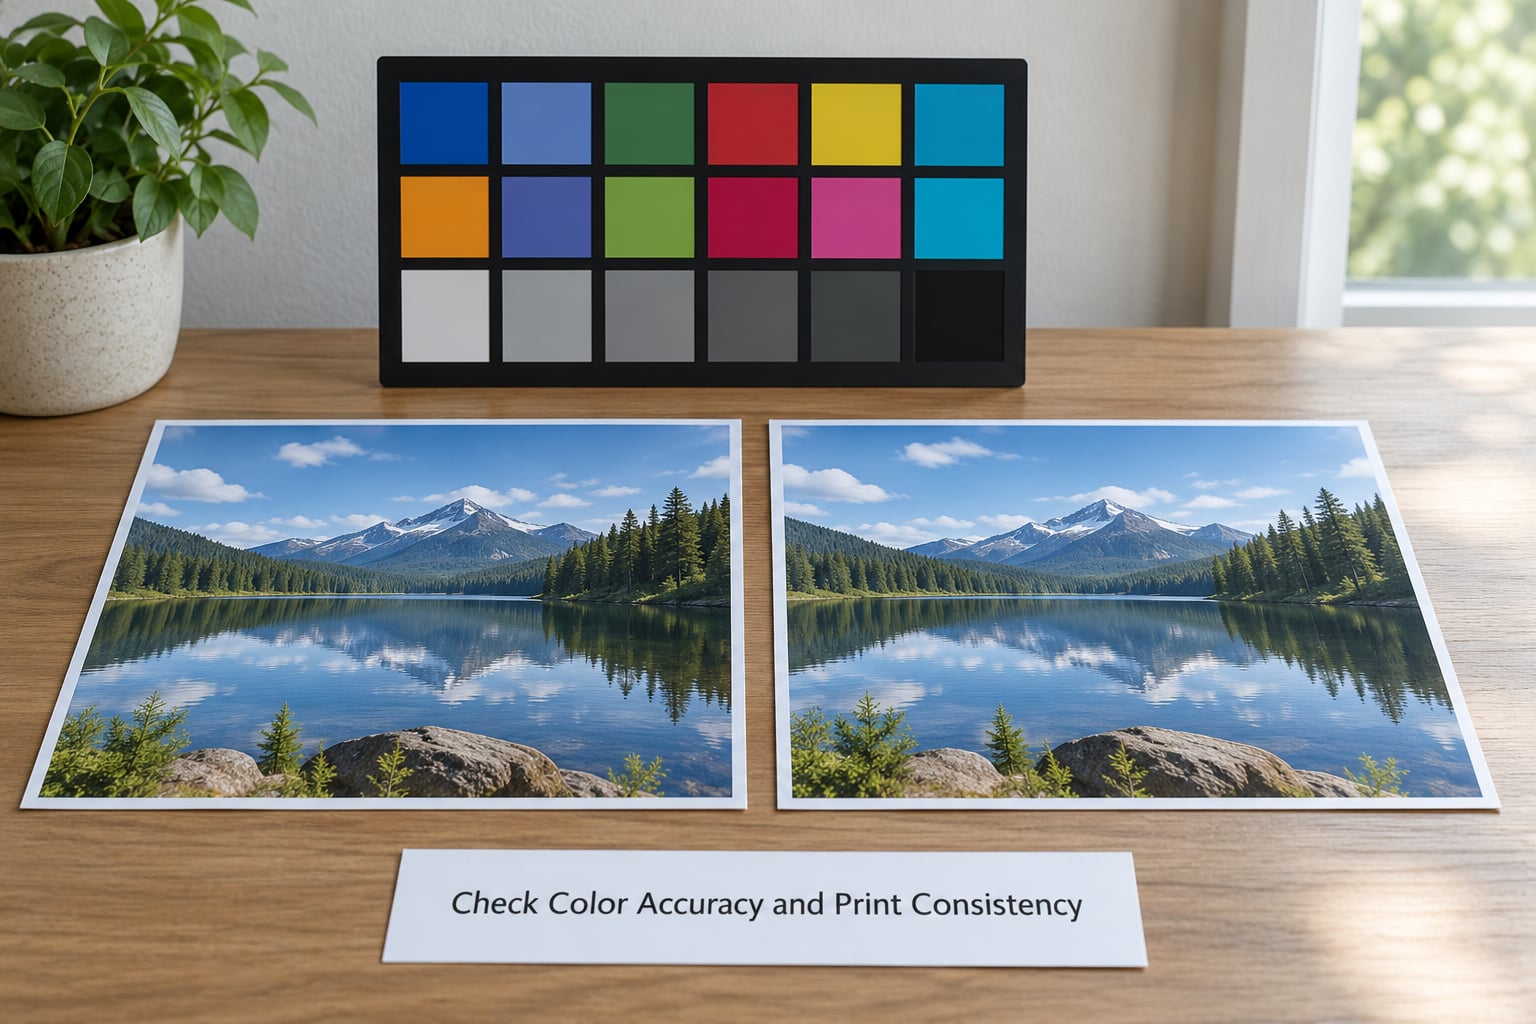
Color accuracy is the reason professional work costs more, and it is the first thing to interrogate. Every reputable lab works from an ICC profile, which is a translation file describing how their printer and paper render color. Ask whether they supply one, whether they accept files with your profile embedded, and whether they do automatic color correction on upload.
Automatic correction is not automatically good. If the lab rewrites your color on the way through, you lose the control you spent hours building. What you want is a lab that reproduces your intent, with an optional correction service you can switch on deliberately.
Consistency matters more than the single best print. Order the same image twice from the same lab six weeks apart and compare. A lab with a maintained color-managed workflow will match itself, and a lab without one will drift as ink levels, humidity and paper lots change.
G7 or G7 Master certification is a useful signal when you see it, though it applies to specific print and display combinations rather than to a whole company. Skin tones and dense blacks are the honest test. Look at a print next to your monitor under neutral daylight, not under a warm bedroom lamp, and remember that an uncalibrated monitor is the usual reason a good print looks wrong.
3. Compare Paper and Finish Options
Finish is not a preference, it is a decision about where the image lives. Gloss gives punch and depth and shows every fingerprint and reflection, which makes it a poor choice for anything hung opposite a window. Matte and lustre scatter light, hide handling marks and suit portraits and album pages. Lustre, sometimes called semi-gloss, sits between the two and is the safe default for client work.
Metallic and textured papers add a pearlescent layer that lifts blacks and makes skies and water read with more depth. Canvas stretches a pigment print over a woven surface, warm in tone and forgiving of small focus differences. Metal, acrylic and wood substrates are mounting choices as much as paper choices, and they bring their own depth, reflection and weight.
Two questions settle most of it. Does the lab use pigment inks, which hold color far better than dye inks that can shift noticeably within a couple of years under UV? And what is the base white and brightness of the paper, because a warm cream base will pull the whites in your image toward yellow no matter how good the printer is?
Fine art papers use cotton or rag bases with archival ratings measured in years under specific conditions. Ask for the specific rating and the light condition it assumes, since numbers quoted without conditions mean very little.
4. Review Pricing, Shipping, and Turnaround
Compare total landed cost, not the per-print figure that leads the price list. Add the size upgrade, the paper upgrade, shipping, any rush handling charge, and the cost of packing and insuring a large piece. Then add the reprint risk: if one in twenty prints arrives damaged or badly color-cast and must be redone, that cost belongs in your calculation too. A cheaper lab with no reprint policy and slow, thin packaging is often the more expensive option at volume.
Turnaround is where expectations break. A printed number means something only if it says what it covers: printing alone, or printing plus transit. Ask what the normal range is, not the best case, and ask what happens when a deadline is missed. In my experience the useful question is whether they will reprint at no charge when the delay was theirs, and whether that promise is in writing.
Packaging deserves a separate look because clients judge you on what arrives at their door. A print rolled into a tube will curl. Flat, interleaved, rigid-cornered packaging is the standard you want, and for anything above roughly 16×20 you want a custom crate or a corner-protecting box.
Finally, ask about the ordering software. Some labs require you to install a proprietary desktop application or use their storefront exclusively, which matters if you plan to keep more than one lab on hand.
5. Test the Lab Before Ordering a Large Set
This is the step that replaces opinion with evidence, and it is how to choose a print lab with confidence rather than by reputation alone.
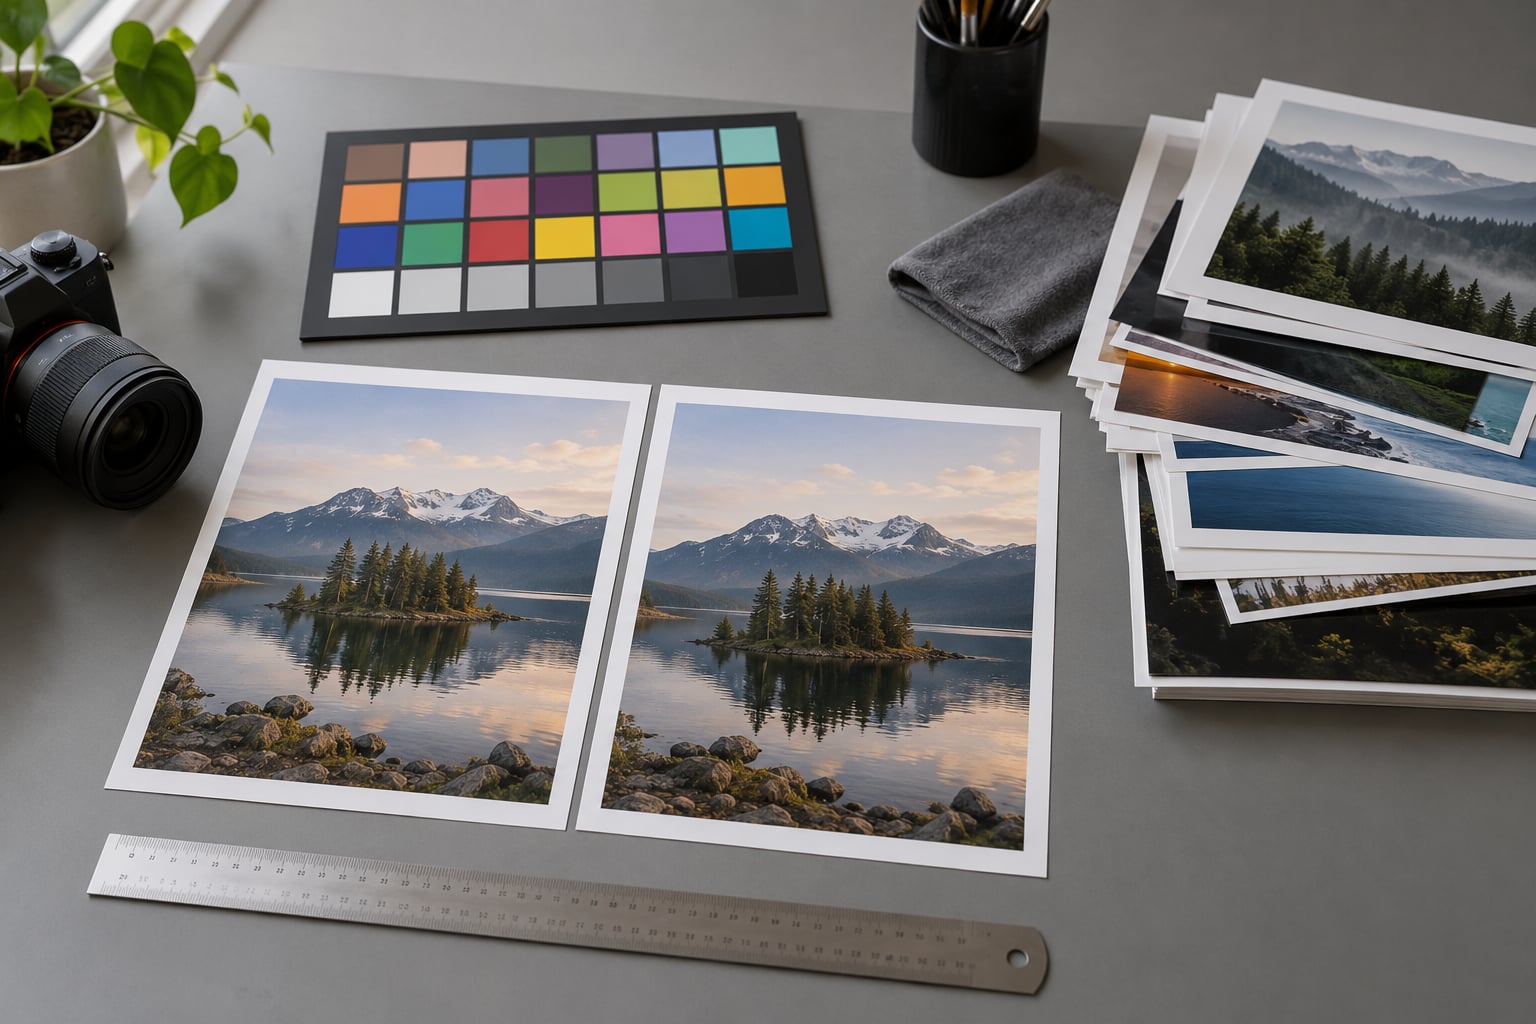
Pick three images: a portrait with skin, a landscape with saturated color, and a frame with deep shadows and fine detail. Choose one size you would genuinely order, such as 8×10, and use the identical crop for every lab.
Send each lab the same files with correction switched off, so you are comparing reproduction rather than two different editing opinions. Ask them to label the prints on the back rather than the front.
When the prints arrive, view them side by side in neutral daylight, away from a window and away from colored walls. Check four things in order: neutral skin tone, correct shadow density, clean saturated color without posterization, and sharpness at the final size. Judge in the room where the print will hang, because a print that looks flat in a bright gallery often looks correct in a dim hallway and the reverse is also true.
Then order the same image again from the runner-up three to four weeks later and check whether it matches the first print. Consistency across time is worth more than a single stunning result.
Record the paper type, crop, size, profile used and the date. When the approved test is filed with the lab, later reorders reproduce the same result, and you can compare labs on identical terms instead of on memory.
| Criterion | What good looks like | Red flag |
|---|---|---|
| Color workflow | ICC profile supplied, correction optional, soft proofing supported | Automatic correction with no switch to turn it off |
| Consistency | Repeat orders match across months | Visible drift in tone or density between runs |
| Paper range | Use named papers with brightness, base white and pigment ink stated | Unnamed stock, marketing language only |
| Turnaround | Quoted as a realistic range covering printing and transit | Best-case numbers with no written commitment |
| Packaging | Flat, interleaved, rigid corners, custom crates for large work | Rolled tubes, thin mailers, unprotected corners |
| Reprints | Written policy covering damage and color errors | No policy, or the photographer absorbs the cost |
| Support | Technicians who explain exposure and color decisions | Long hold times and staff who cannot say why a print looks wrong |
| Total cost | Quote includes upgrades, shipping and packing | Low headline rate with fees revealed at checkout |
| Workflow | Browser-based ordering, no exclusive client software | Proprietary app required before the first order |
Common Mistakes Photographers Make
Choosing on unit price alone. The cheapest print in the catalog is rarely the cheapest print delivered. Add shipping, packing, upgrades and the expected reprint rate before comparing anything.
Skipping the test print. A sample costs a fraction of a fifty-print run and removes almost all the risk. Skipping it to save a small amount is the wrong trade.
Trusting an uncalibrated monitor. If your display is uncalibrated, your color judgment is a guess and no lab can fix a guess. Calibrate first, and recalibrate every few months.
Ignoring the wall. Gloss under a bright window, matte in a dim room, and a paper chosen because the sample looked lovely on your desk. Match the paper to the light it lives in.
Forgetting to check the dimensions. Every print has a slightly different aspect ratio from your frame, and a lab that crops to fit will quietly cut off the edges of your composition. Specify print size and crop separately.
Reading no warranty terms. Find the reprint and damage policy before the first order, not after a bent corner arrives. Labs with clear policies are usually the ones that honoured them before.
Frequently Asked Questions
What photo labs do professional photographers use?
Professional photographers split between two groups. Wedding and portrait shooters delivering finished products use pro-oriented online labs that handle volume, offer album and wall-piece options, and print flat in protective packaging. Fine art, landscape and gallery photographers use labs built around archival papers, ICC profiles and giclee printing at larger sizes. A few studios with steady volume print in-house on wide-format printers and outsource overflow.
Should I choose a local photo lab or an online photo printing lab?
Choose a local lab when you need same-day prints, hand-delivered items or a technician you can talk to across the counter. Choose an online lab when you want a wider paper and substrate range, consistent color across large orders, and album or canvas capabilities you would not find nearby. The common compromise is a local lab for proofs and quick gifts, and a pro online lab for everything a client receives.
How do I keep color accurate between my monitor and my prints?
Four things have to line up. Calibrate your monitor with a hardware colorimeter and leave it alone between calibrations. Work in sRGB unless your lab specifically requests a wide-gamut file. Soft proof through the lab’s ICC profile with a proofing-aware application. Then view the print in neutral daylight rather than under household bulbs. If it still reads warm, adjust your editing rather than asking the lab to guess.
What file format and resolution does a print lab want?
A TIFF or a high-quality JPEG with minimal compression, uploaded in sRGB with your color profile embedded. Aim for about 300 pixels per inch of the finished print, so an 8×10 needs roughly 2400 x 3000 pixels. Send full resolution rather than web-optimized files, and let the lab handle cropping instructions separately from the print size. Check each lab’s specification page before your first upload.
Can a print lab fix color problems in my file?
Most professional labs offer a manual color correction service, where a technician adjusts exposure and color after reviewing your file, usually for a small per-print charge. Be careful with automatic correction during upload, since it changes your work without you seeing it first. The safer approach is to fix color in your own editing software, send the finished file, and use the lab’s correction service only when a client file genuinely needs a technician’s eye.
Conclusion
The whole process reduces to four moves. Define the job precisely, including size, quantity, framing and deadline. Interrogate the color workflow and the policies, not just the catalog. Compare total landed cost across labs using the same files. Then order one test print and judge it in the room where it will hang.
Start tonight: pick your three reference images, write the one-line brief, and send identical files to two labs. The comparison you get from that is worth more than every recommendation on the web, including this one.