
An online gallery is a private, branded web page where you upload finished photos and send one link, so clients can view the collection, pick favorites, and download files without email attachment limits. Learning how to use an online gallery for client delivery well means treating the handoff as a workflow: prepare and verify your files, choose the right gallery type, lock down access and download settings, and send a message that tells the client exactly what to do.
Most delivery problems are not technical. They come from uploading the wrong version, leaving proofs downloadable, or sending a link with no explanation of what happens next.
This guide walks through the whole process for wedding, portrait, family, and brand work. Most photographers can run the first delivery in about 45 minutes once the folders are set up the way described in step 2.
Table of Contents
- What You Need
- How to Use an Online Gallery for Client Delivery: Step-by-Step
- 1. Define the Delivery Purpose Before Uploading
- 2. Prepare and Organize the Images
- 3. Create and Customize the Online Gallery
- 4. Set Proofing, Selection, and Approval Rules
- 5. Share the Gallery With the Client
- 6. Review Selections and Deliver the Final Files
- Common Mistakes
- Frequently Asked Questions
- Should I send clients a proofing gallery or the finished high-resolution files?
- How do I prevent clients from downloading full-resolution proofs?
- Can clients select favorites and request edits through an online gallery?
- How long should I keep an online gallery available after delivery?
- What file format and resolution should I provide for client delivery?
- How do I handle a client who needs changes after approving the gallery?
- Conclusion
What You Need
Six things should exist before you build a single gallery. Missing one of them is what turns a clean delivery into a week of follow-up emails.
- Your edited finals. Retouched, color-corrected, exported at delivery size, and saved in a separate folder from the shoot originals.
- A platform account built for client delivery, not general file sharing. Pixieset, ShootProof, Pic-Time, Zenfolio, SmugMug, and Pass all handle this differently, so pick on features rather than on price alone.
- A storage plan outside the gallery. The gallery is a delivery window, not your archive. Keep a second copy of the finals somewhere you control.
- A naming convention. Something boring and consistent, written down before you upload.
- Your brand assets. Logo, cover image choice, and any color or type choices you want carried onto every gallery.
- An agreed delivery line in your contract or booking form. Number of images, gallery duration, and download size all need to be settled before the client sees anything.
If your contract is still silent on delivery, settle that first. Everything downstream gets easier when the rules were agreed before the shoot rather than negotiated after it.
How to Use an Online Gallery for Client Delivery: Step-by-Step
The process runs in six steps: define the delivery purpose, prepare the images, build and brand the gallery, set the proofing and download rules, share it with a short message, and then verify selections before the final release. Total time is roughly an hour for a 400-image wedding gallery, less for a portrait session.
1. Define the Delivery Purpose Before Uploading
Decide which of four gallery types you are building, because each one asks a different thing of the client. Uploading before you decide is how you end up resending the whole thing twice.
- Proofing gallery. Watermarked, no downloads, favorites enabled. The client chooses, you edit.
- Selection gallery. Web-size previews, favorites only. The client marks which images go into the album or the retouch queue.
- Final delivery gallery. Full-resolution downloads enabled, no favorites needed. This is the finished work, released.
- Private archive gallery. Long expiry, viewing and downloading allowed, no expiry pressure. Useful for a client who will come back years later for a print order.
Most shoots need two of these, not one. A portrait session usually runs proofing first, then final delivery. A wedding often runs selection, then delivery.
Check how it worked in practice: photographers on photography forums repeatedly describe the two-gallery handoff as the thing they wish they had documented sooner, because clients stop messaging you to ask whether a photo is the retouched version.
2. Prepare and Organize the Images
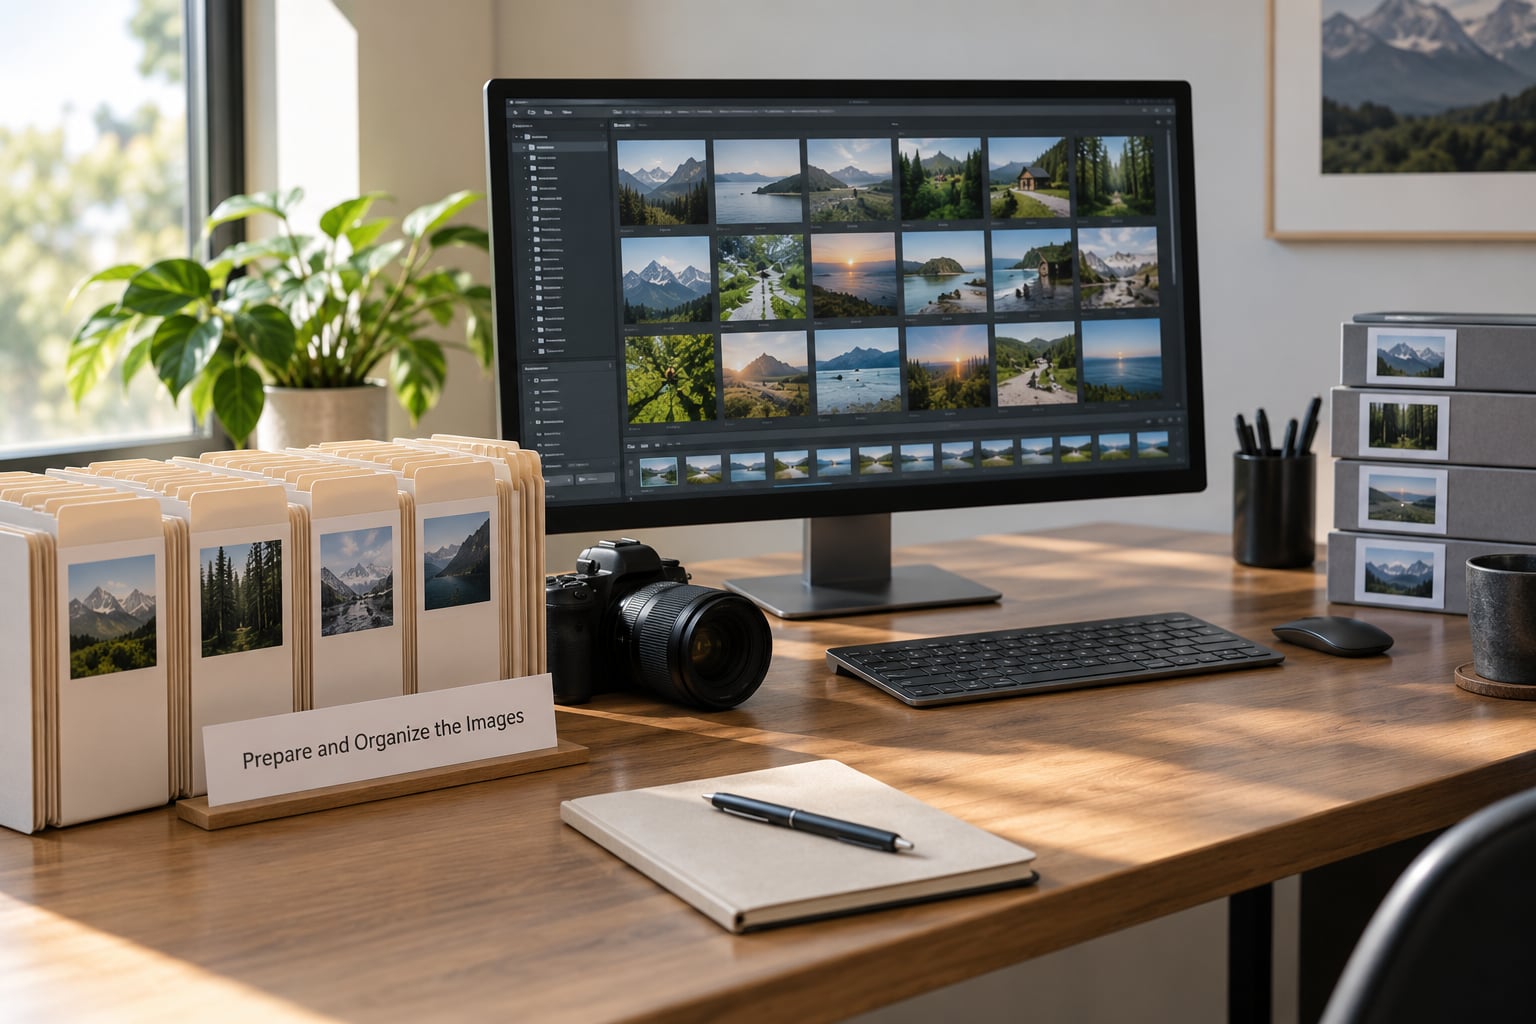
Preparation is the step clients never see and always benefit from. Cull, correct, export, verify, then upload in a structure that matches the gallery sections you will build.
Use one folder per gallery section, named the way you want the sections to read on the page. A wedding gallery with folders called 01_Ceremony, 02_Portraits, 03_Reception becomes three clean sections without any extra work later.
For filenames, zero-pad a simple sequence so files sort correctly everywhere: STONG_0914_CER_0001 through STONG_0914_CER_0087. Include your studio prefix, the date, the section, and the number. It takes ten extra minutes and it means you can rebuild a client’s entire archive from filenames alone.
Then verify before uploading. Open three or four exported files at full size and check skin tones, blacks, and any frame you were unsure about in the edit. Open one on a phone as well. A color shift that survives your calibrated monitor often shows up on the client’s screen, and that is where it gets noticed.
Export two sizes where the platform allows it: web-size JPEGs at roughly 2000 pixels on the long edge for viewing and proofing, and full-resolution JPEGs at the long edge your contract promises for delivery. If you only offer one size, it should be the full-resolution file.
3. Create and Customize the Online Gallery
Name the gallery so it is identifiable in a browser history six months later. Date plus shoot type plus client name works: Doe-Sarah-2026-04-18. Skip cutesy names, since you will be the one searching for them.
Choose the cover image deliberately. It shows in the client’s chat preview when you paste the link, so a strong single frame sells the gallery before anyone opens it. Widen it to the gallery’s aspect ratio before uploading so it is not cropped awkwardly.
Set the sections to match your folder structure, then add short captions. Even ten words per section helps; “Portraits with family at the estate” tells a client more than “Portraits.”
Turn on your logo and brand colors. This is the last touch the client sees before they decide how your studio feels, and it is the piece most photographers skip.
Finally, check the gallery on a phone before you send anything. Most of your clients will open it on a phone first. Make sure the cover loads fast, the section navigation is usable with a thumb, and a full-screen image can be swiped back to the grid without a reload.
4. Set Proofing, Selection, and Approval Rules
Access settings are where a gallery is either private or effectively public, so treat them as non-negotiable. Use a private link that only works for people you share it with, plus a password, for anything involving minors, a private home, or a location the client would not want visible.
A link with a long random string is not a secret. People screenshot links, forward them to relatives, and paste them into family group chats. The password is your actual control.
Set download permissions per gallery type. On a proofing gallery, turn off downloads entirely and rely on watermarked previews. On a final delivery gallery, enable full-resolution downloads and state the maximum size so nobody expects to print from a web-size file.
Set an expiry date, and pick it based on the shoot rather than on a platform default. A sensible starting point is 90 days for portrait and brand work and one year for weddings, after which the gallery either gets archived or renewed. Tell the client the date in your message.
Enable favorites and comments on a selection gallery, and turn them off on a final gallery. Asking a client to favorite files from work that is already finished only creates work for you.
Add a short instruction block at the top: what they can do, what they cannot, and by when. Two or three lines saves you the round of questions afterward.
5. Share the Gallery With the Client
Your message should do four things in under 120 words: identify the gallery, say what action you need from them, give the deadline, and set expectations about downloads and revisions.
A version I reuse and adjust for most sessions:
Hi Sarah, your gallery is ready. The link below has your 240 edited photos from our session at the park.
Private link: [link]
Password: [password]
Please favorite the 12 images you want enlarged and add any notes in the comments by May 12. Full-resolution downloads are turned on for this gallery, and the link stays open until August 18. Let me know if anything looks off and I will correct it.
Send it in the same thread you have been using, not from a new address. And paste the link as text where the client can read it, rather than hiding it behind “click here,” so they can see where it goes before they tap.
6. Review Selections and Deliver the Final Files

Once favorites come in, do not start editing from a screenshot. Work from the gallery, where each file carries its filename, so your retouch folder inherits the naming convention from step 2.
Confirm the payment or signed approval before releasing full-resolution downloads, not after. If your platform has an invoice or contract step, tie it to the gallery so payment and release are the same action.
Then replace rather than duplicate. When the finals are ready, swap the watermarked proofs for the retouched versions inside the same gallery, or publish a second gallery and clearly tell the client which one is final. Ambiguity here is the single most common source of the “which version is this?” email.
Archive the export folder to your own backup before the gallery expires. When a link dies and the client comes back in two years asking for one more image, the gallery platform may no longer have anything, but your folder still does.
Reviewers and working photographers both land on the same practical point: how to use an online gallery for client delivery is less about the software and more about whether the client knows what they are looking at and what you need from them.
Common Mistakes
These are the failures that cost the most time, in rough order of how often they happen.
Uploading finals as proofs. Once a full-resolution, unwatermarked file has been viewed, you cannot un-see it. Upload web-size previews for any round that involves a client decision, and add a watermark if the platform makes it easy.
Vague deadlines. “Let me know your thoughts” gets you nothing for eleven days. “Favorite 12 images by May 12” gets you a list. Give a real date, and remind once, politely, three days before it.
No expiry date, or an expiry nobody told the client about. Either way, someone gets locked out at the worst moment. Set the date in the platform, state it in the message, and keep an archive so a renewal is a two-minute job.
Permissions left at the platform default. Defaults usually favor open sharing. Check downloads, link visibility, and password one by one before the link goes out, every time, rather than once when you set up the account.
Inconsistent filenames across sections. Files that arrive as IMG_4821, final_FINAL2, and DSC9931 make your own archive harder to search later. Fix the convention before the first upload, not during delivery.
A gallery complex enough to need instructions. Ten different access states, nested sections, and a hidden menu are not a premium experience. A client who cannot find the download button will assume the files are missing and email you.
Never confirming the final selections in writing. A one-line summary, “You selected 12 images, enlarged files delivered today,” ends the disagreement thread before it starts. Record it in the gallery or your CRM.
Frequently Asked Questions
Should I send clients a proofing gallery or the finished high-resolution files?
Send whichever one you need a decision on. If the client still has to choose images, request edits, or approve a look, send a proofing gallery with watermarked web-size previews and no downloads. If the work is finished and signed off, send the final gallery with full-resolution downloads enabled. Most shoots need both: proofing first, delivery second.
How do I prevent clients from downloading full-resolution proofs?
Export proofs at a reduced size, around 2000 pixels on the long edge, and add a watermark if your platform supports it. Turn off downloads in the gallery settings rather than relying on file size alone, and give the client the low-resolution set if they ask for something to post. Watermarks deter casual sharing; they do not stop a determined re-post, so keep the masters private.
Can clients select favorites and request edits through an online gallery?
Yes, on most client gallery platforms. Favorites let a client tap the images they want, and comments or annotations let them attach a note to each one. Set a selection limit, for example 12 images for enlargement, so you get a usable brief instead of a list of everything they liked. Proofing galleries are the right place for this, not final delivery galleries.
How long should I keep an online gallery available after delivery?
Ninety days works for most portrait and brand sessions, and one year is a reasonable default for weddings. Longer if the client bought prints or an album and may reorder later. Whatever window you choose, tell the client the date in your message, and keep your own archive of the exported files so a renewal never depends on the platform still holding them.
What file format and resolution should I provide for client delivery?
JPEG at sRGB is the safe default for digital delivery, since it opens everywhere and matches what most phones and social apps assume. Offer full-resolution files sized for large prints, typically 4000 pixels on the long edge or larger, plus web-size versions for everyday sharing. If your client needs TIFF or layered files for print, agree that in the contract before the shoot rather than after.
How do I handle a client who needs changes after approving the gallery?
Treat it as a new round rather than reopening the approval, and put the changes in writing so scope stays clear. Small tweaks, a background removal, a crop change, are usually quick to absorb. Anything substantial, like a whole second look or more retouching hours, gets a new quote. Keep the original gallery intact and deliver revised files in an updated gallery or a clearly labeled new section.
Conclusion
Pick your next completed shoot and build its gallery folder and filename convention before you do anything else this week. Once that folder structure exists, the rest of the delivery takes about an hour and stops being the part of your workflow clients complain about.