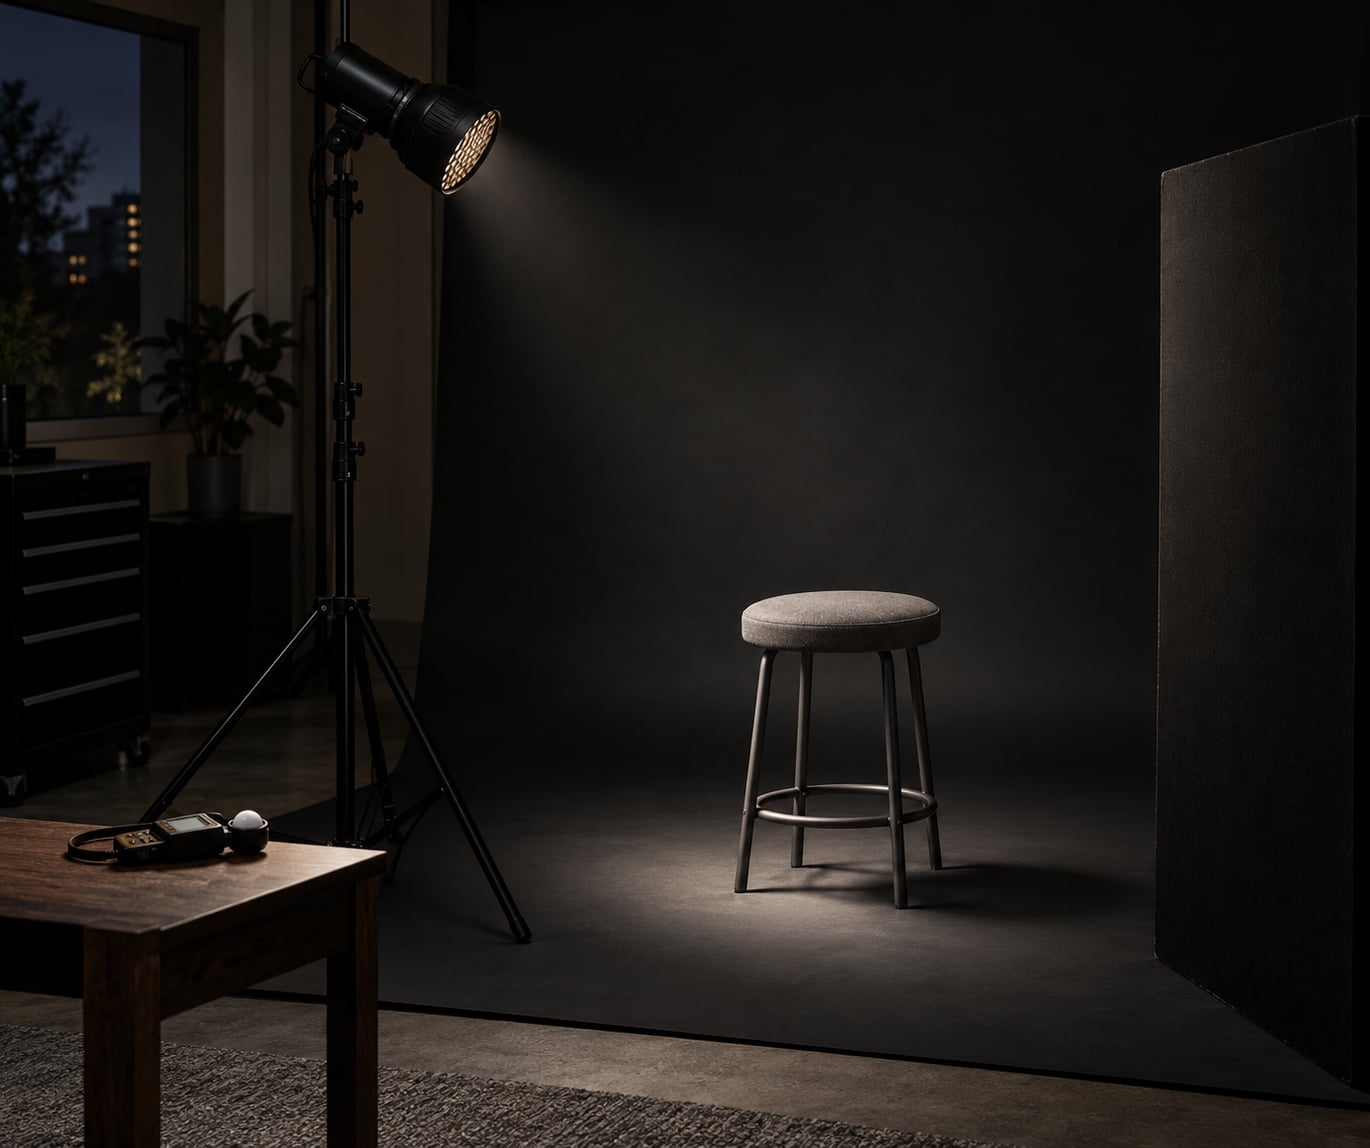
How to create dramatic low key portraits is simpler than most guides make it sound: light one side of the face with a single directional source, block or remove every other source, and meter so the lit side stays correctly exposed while everything else falls into deep shadow against a dark background. The whole technique is subtraction, and it is the fastest way to make a cheap setup look expensive.
Most beginners add lights. Low key is the opposite exercise: you take a room with all its windows, ceiling lamps and bouncing walls, and you subtract until one light owns the frame. Get that right and the image looks moody, filmic and deliberate. Get it wrong and you end up with a grey mush where the background is still glowing behind the subject’s head.
The method below works with a single speedlight and a dark room, and scales up to a strobe or LED panel if you have one. I have walked several beginners through it, and the same three failures show up every time: the background stayed bright, the fill side crept back in, and the highlights clipped before the frame looked dark enough.
Table of Contents
- What You Need
- How to Create Dramatic Low Key Portraits Step by Step
- Start With a Clear Lighting Concept
- Create Darkness With Flags, Panels, and Distance
- Position the Key Light for the Look You Want
- Set Camera Settings Without Losing Shadow Detail
- Direct Pose, Expression, and Head Angle
- Make Small Adjustments and Capture the Peak
- Develop the Portrait in Non-Destructive Edits
- Keep the Blacks Deep and the Skin Real
- Common Mistakes
- Frequently Asked Questions
- Do I need a studio to create dramatic low key portraits?
- Can low key portraits be made with a single window?
- What is the best lighting angle for low key portraits?
- How dark should a low key portrait be?
- Should I expose for the subject’s skin or the shadows?
- What aperture works best for dramatic low key portraits?
- Start With One Controlled Light
What You Need
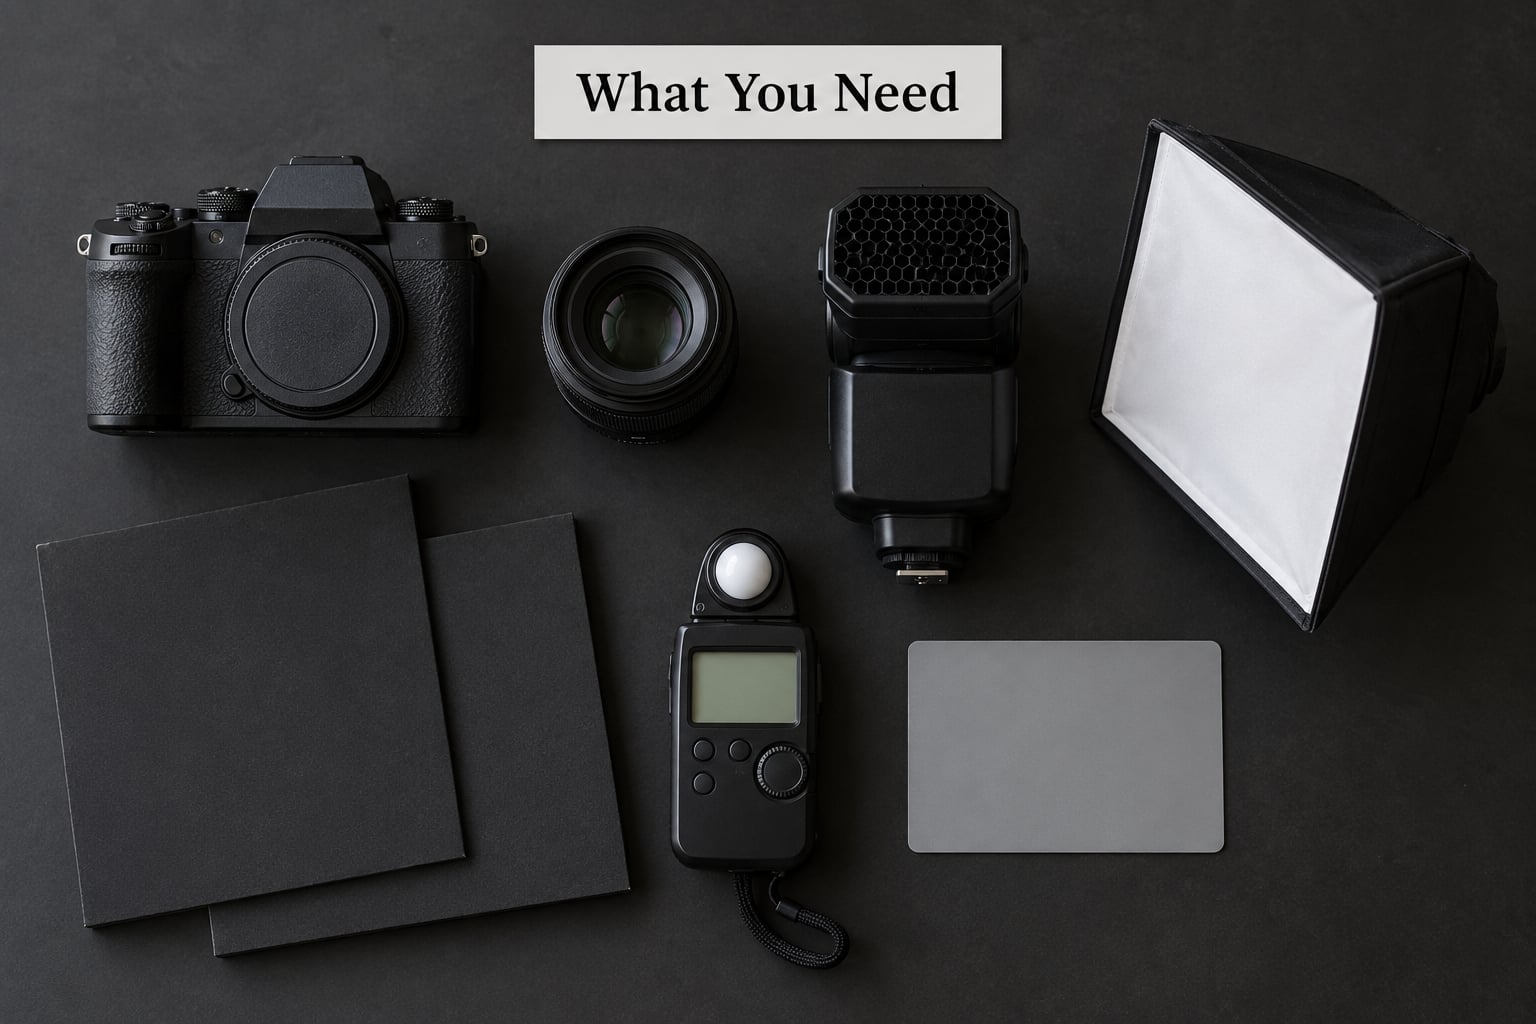
You need far less than most gear lists suggest. On r/AskPhotography the near-universal advice for starting out is one off-camera speedlight with a radio trigger and a grid, with a monolight treated as a later upgrade rather than a prerequisite.
- A camera with manual mode. Any DSLR or mirrorless body works, and a phone in manual or pro mode can get you started.
- A short focal length or a 50mm or 85mm prime. A 50mm is ideal for the 45-degree side position because you can back up without the light falling off too fast. Avoid ultrawide angles close to the face, which exaggerate the nose.
- One light with control. A speedlight, a small strobe, or a continuous LED panel. Continuous light lets you see the ratio before you press the shutter, which is a real advantage when you are learning falloff.
- A modifier that narrows the beam. A honeycomb grid, a snoot, or barn doors on the light. A softbox alone sprays light and undoes the whole effect.
- Negative fill. Two black foam core boards or a V-flat to stand on the fill side, plus gaffer tape or a clamp for anything you cannot lean.
- A dark background. Black paper, black velvet, or a wall far enough back that the light cannot reach it.
- A light meter and a gray card if you want repeatable ratios. A phone light meter app works fine, and so does making the ratios by eye once you know what they look like.
- Editing software that works non-destructively. Lightroom, Capture One, or DarkTable all cover what this article describes, and DarkTable users edit low key images in exactly this order: bring up exposure, add global contrast, then push the shoulder down if the highlights are running hot.
Substitutions are fine. A piece of black cardboard is a legitimate flag. A desk lamp with a black sock over the shade is a legitimate snoot. A bathroom with no window at night is a legitimate studio.
How to Create Dramatic Low Key Portraits Step by Step
Start With a Clear Lighting Concept
Decide the shape of the light before you touch any equipment. The cleanest low key portrait has a small bright area on the face, a large dark area, and a hard transition between them. If you cannot describe where that bright area should sit before you start, the camera will decide for you, and you will spend an hour guessing.
A useful check is the 80/20 rule borrowed from editorial portrait work: roughly 80 percent of the frame should sit in shadow and 20 percent in highlight. Shoot a test frame, squint at it, and count. If the bright area has crept past your shoulder, you are drifting toward high key with a dark filter look.
Low key lighting is the photographic opposite of high key lighting. High key fills the frame with light, wraps a soft box around the subject and keeps the background pale. Low key does the reverse. Remember the technique descends from chiaroscuro, the painting tradition where a face emerges from a dark ground, and that is exactly what you are rebuilding with a speedlight.
Create Darkness With Flags, Panels, and Distance
Darkness in a low key setup is made, not found. Three things create it: keeping the room dark, keeping the background out of the light, and putting black surfaces on the fill side so bounced light dies instead of returning.
Start by killing the ambient. Kill every practical light in the room, close the door so the hallway is not spilling in, and block the nearest window with a black sheet if you shoot in daylight. If you cannot darken the room, you can overpower the ambient with flash, which is the standard advice photographers give when daylight is winning the fight.
Then handle the background. Black velvet absorbs almost everything that hits it, which is why it is the classic choice. If you are using a wall you cannot paint, push the subject three to four feet away from it and flag the light so its beam never reaches the wall behind them. Spill on a wall two feet behind the subject is the number one reason a low key frame looks like a normal portrait with a dark filter.
Finally, add negative fill. Stand a black board on the side of the face away from the light, close enough that it covers what the camera can see of that side. Fill light is just light bouncing back off whatever is opposite the key, and in a small room that bounce is often the difference between a dramatic portrait and a flat one. It worked for me immediately the first time I tried it on a simple two-card setup, and it is the step beginners most often skip.
Before you meter anything, walk around the set with the light off and look for reflective surfaces: a white ceiling, a mirror, a bright window frame, a phone screen. Those are what turn a controlled setup into a soft one.
Position the Key Light for the Look You Want
Where you put the light decides which pattern the face shows. Three positions cover almost everything, and each one gives a different shadow shape you can recognise on the playback screen.
Side light at 90 degrees splits the face down the middle into a lit half and a dark half. It is the most graphic option and the least forgiving, so it suits a face with strong bone structure. Keep the light slightly above eye level or the shadow will drop across the mouth and read as a frown.
Light at 45 degrees, above eye level is the workhorse. The nose shadow falls just off the cheek and, if the light is high enough, connects with the cheek shadow to make the small triangle on the shadow-side cheek that everyone calls the Rembrandt triangle. This is the position I default to, and it is the setup I would hand anyone shooting their first low key session.
Top light angled down over the forehead and aimed at the cheek gives the most sculpted look and deep eye sockets. It is unforgiving of every bump and wrinkle, and it needs a lot of negative fill under the chin.
Distance sets the hardness of those shadows through the inverse square law. Move the inverse square law in your head as: double the distance and you lose about three quarters of the light reaching the subject. At two to three feet the shadows have hard, defined edges and the falloff across the face is steep. At six to eight feet the light wraps more gently and the contrast across the face softens, which suits a face you want to look less severe.
Rim or hair light is the optional second move. Aimed at the back of the head from behind and above, it draws a bright edge along the hair and shoulders and lifts the subject off the background. Keep it out of the lens axis or you will spend the shoot chasing flare.
Set Camera Settings Without Losing Shadow Detail
Low key does not mean underexposing the face. The most common confusion is treating a dark image as a dark exposure, and it produces muddy faces with no detail. Expose the lit side of the face correctly and let everything else fall away. That is the whole trick.
| Setting | Start here | Why |
|---|---|---|
| ISO | 100 to 200 | Dark areas amplify noise fast, so the lowest ISO your camera handles cleanly is the right one |
| Aperture | f/8 to f/11 | Keeps the whole face sharp so you can judge the shadow shape, and the depth of field hides background imperfections |
| Shutter speed | 1/200s to 1/250s with flash | Holds you at flash sync speed for strobes and speedlights; drop lower only with continuous light on a tripod |
| Metering | Spot meter on the brightest highlight | Matrix metering will lift the frame toward middle grey and undo the effect entirely |
| White balance | Daylight or a fixed value | Auto white balance shifts colour as you move the light, which makes comparisons useless |
| Key light | Grid or snoot fitted | Controls spill on the background and on the fill side |
Switch to spot metering and meter the brightest skin you can see, usually the lit cheekbone or the top of the forehead. That reading becomes your exposure. The shadow side is then underlit by design, and the background sits several stops below the face.
If you are using a light meter instead, the technique matters more than the number. Meter the key, then meter the fill side, then divide the two readings to get your ratio. Four to one looks moderately dramatic. Eight to one is the usual low key target. Twelve to one or higher is severe enough that skin texture starts to disappear.
You will also need to decide whether you underexpose or overexpose and print down. The people who insist on exposing to the right are coming from video, where the grade happens later on a calibrated display. For stills, metering the highlight and letting the frame fall where it falls is simpler and gives you cleaner shadows with less noise to fight in post.
Direct Pose, Expression, and Head Angle
Directional light makes the face look three-dimensional, and that is where the posing work earns its place. Photographers on r/photocritique keep saying the same thing about failed dramatic portraits: the lighting was fine, the head was pointed straight down the barrel.
Turn the face slightly away from the light source rather than presenting it flat to camera. A few degrees is enough to make the lit cheekbone catch the light and the far cheek fall away. Then set the chin down and forward a touch, which lengthens the jaw line and creates a shadow under the chin that separates the head from the neck.
Angle the shoulders away from the camera as well. Squared shoulders make a portrait look like a passport photo and they flatten the effect of the light entirely, because the light reads across a flat plane rather than wrapping a form.
Finally, keep the expression still and the eyes soft. Hard light exaggerates every facial movement, and a half-smile that looks relaxed in a lit room can look strained in a hard side key. Ask your subject to relax the jaw, drop the shoulders, and breathe out before the frame.
Make Small Adjustments and Capture the Peak
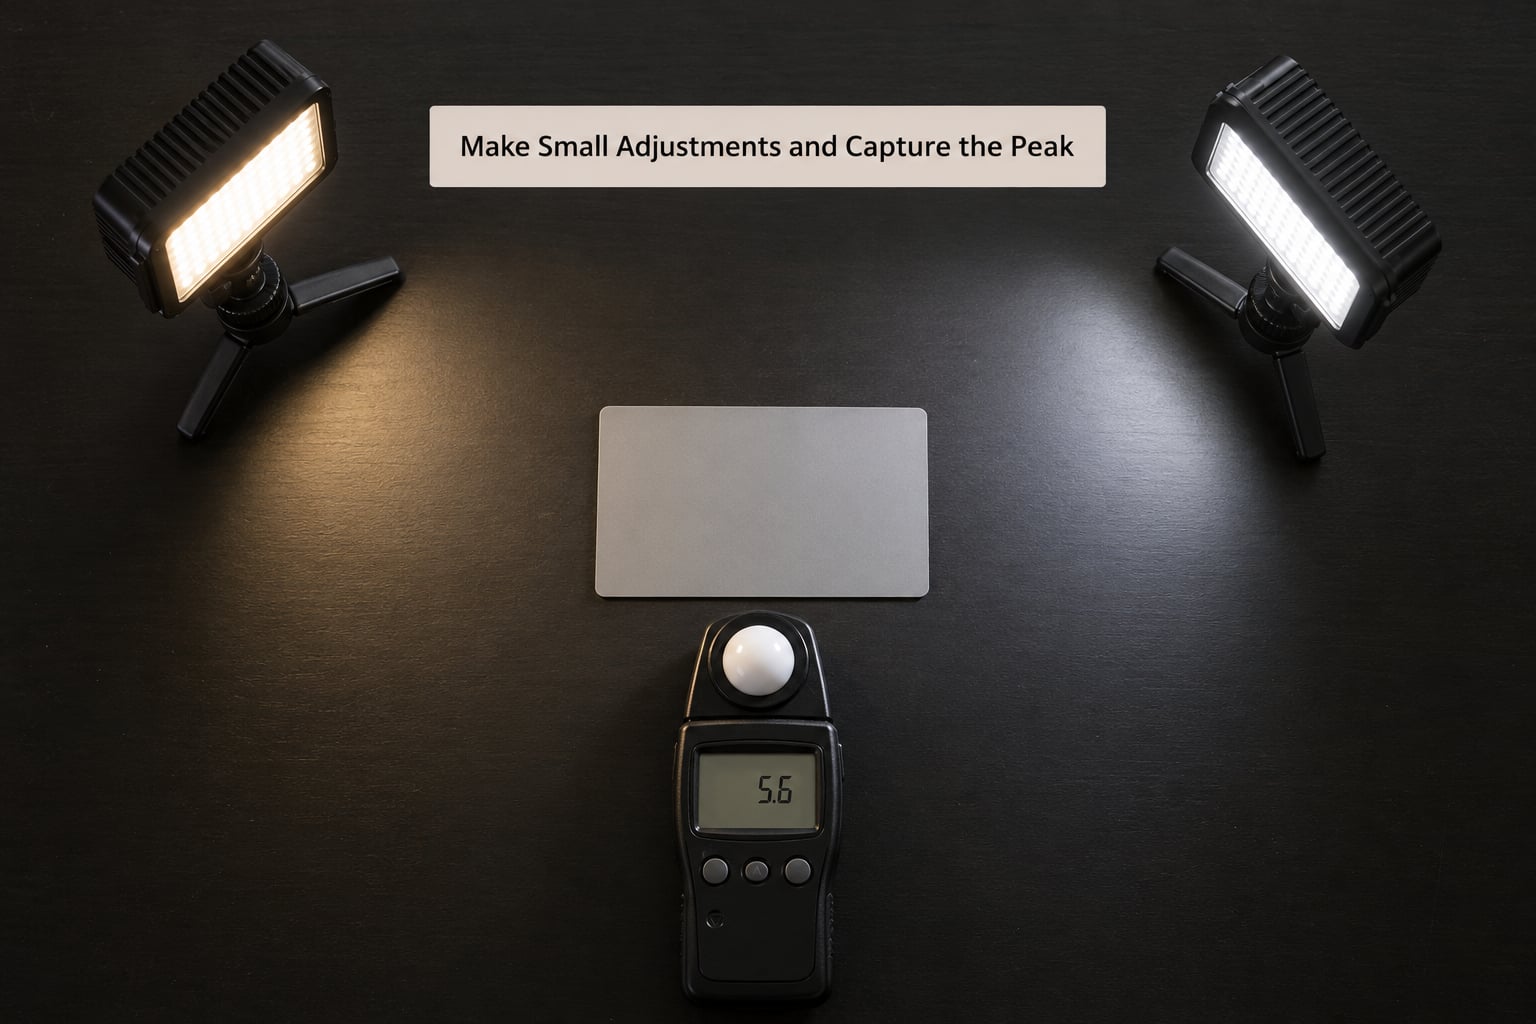
Once the ratio reads correctly, work in small moves. Nudge the light two or three inches and reshoot. Rotate the flag a fraction and reshoot. Change the background brightness and reshoot. Small adjustments of this kind are what turn a correct setup into the version you actually wanted.
Watch three things on the playback screen. Check the face for highlights that have gone flat white with no texture, because once skin clips you cannot bring it back. Check the background for the halo of spill that appears around the head and shoulders when the beam is too wide. Check the shadow side for grain, since dark areas on a modern camera look noisy before they look crushed.
Then shoot the sequence. Take a burst of eight to ten frames with the pose held, then have the subject turn a few degrees and burst again. The peak frame is usually not the first one, because the first frame catches the adjustment. It is usually a fraction past the middle, when the subject has settled into the angle you asked for.
Develop the Portrait in Non-Destructive Edits
Keep the raw file untouched and work in a non-destructive editor. The sequence I use is short and the order matters, because each step changes what the next one is looking at.
Start with exposure. Raise it if the frame is under, but stop when the lit cheek reaches roughly 80 percent brightness. If you need more lift than that, the problem is lighting, not the slider, and you will only be pulling noise out of the shadows.
Next, set the black point. Lower it until the darkest corners of the frame reach true black, then check the subject still has shape in the shadow side. A portrait where the shadow side is a featureless shape reads as a cut-out pasted on black, and users describe exactly that result as looking fake.
Add contrast with curves rather than the contrast slider. A gentle S-curve steepens the transition between the lit and unlit areas without dragging skin toward orange. Pull the black end down a little less than you did in the black point step, and you get a frame that reads dark but still has a shadow shape.
Use a soft local adjustment over the face to lift the lit cheek and brow slightly, and a second one under the jaw to strengthen the shadow edge. That is a dodge-and-burn pass in four clicks and it does more for drama than any global change.
Set the white balance to taste. Leave the skin warm with a touch of contrast for a film noir feel, or cool it slightly and drop saturation for something quieter. The shadows can carry a slight tint from whatever the room was doing, and a matching cool or warm cast in the background hides it.
One last check on the histogram. On a low key frame the data will bunch hard to the side, and that is correct. Do not drag exposure to the middle to make the histogram look balanced, because that is the fastest way to lose the look you spent the session building.
Keep the Blacks Deep and the Skin Real
Two habits keep the result believable. The first is protecting skin texture, which means the lit area never clips and the shadow side keeps some detail. If you are at f/11 and still losing the eyes to darkness, the light is too far to the side or too low, not the aperture too narrow.
The second habit is checking the histogram for noise, not just for clipping. Push ISO to 320 and the shadow side of a dark frame will start to break up. Lower it, lengthen the shutter, open the aperture a stop, or shoot the file at a lower ISO and crop in later. Fujifilm shooters use the DR400 or extended dynamic range modes for the same reason: they buy back clipping room so the scene can stay dark and the face still holds detail.
Work efficiently. Set the camera once, mark the button positions, and change only one variable per test frame. Once the ratio reads right, stop fiddling with the global settings and spend the rest of the session on the face, which is where the photograph actually lives.
Common Mistakes
Every one of these has come up again and again in photography forums, and every one has a specific cause rather than a gear answer. Work down the list and the frame usually fixes itself.
The background is still bright behind the head. The beam is too wide, or the background is too close to the subject. Fit a grid, aim the light away from the backdrop, and push the subject three or four feet further from it.
The face looks flat and grey. There is no negative fill, and light is bouncing off a white wall or the room’s ceiling onto the shadow side. Stand a black board on that side, close enough to cover the shadow from the camera’s position.
Highlights are blown while the frame still looks too bright overall. You are metering off the background instead of the brightest skin. Switch to spot metering, meter the lit cheekbone or forehead, and the background will drop without touching the shadows.
The subject dissolves into the background. Black clothing on a black background has nothing to separate against. Move the subject off the wall, add a rim or hair light from behind, or lighten the backdrop by one or two stops with a separate dimmed source.
The shadows look noisy. Darkness costs you grain, and the fix is exposure discipline rather than editing. Lower the ISO, open the aperture a stop, or drop the shutter speed and stabilise the camera.
The blacks look empty or fake. The shadow slider is at zero. Bring it back a little and let the shadow side retain shape, so the subject reads as a person in a dark room rather than a shape on a background.
Focus keeps landing on the wrong part of the face. The depth of field is too shallow for the 45-degree angle. Stop down to f/8 or f/11, and move your focus point onto the eye nearest the light.
Frequently Asked Questions
Do I need a studio to create dramatic low key portraits?
No. You need a room you can darken, one light with a modifier that controls its beam, and something black to stand on the fill side. A bathroom at night with the door shut and a speedlight bounced into a white card works. The technique is about subtraction, so a small space is easier, not harder, because there is less stray light to fight.
Can low key portraits be made with a single window?
Yes, and it is the cheapest way to practise. Close the curtains to a narrow slit and turn off every other light in the room, so the window becomes a hard directional source. Position the subject about a foot inside the window, angled about 45 degrees from it, and place a black board on the shadow side. The slits you would normally open to soften light are exactly what makes this work.
What is the best lighting angle for low key portraits?
Around 45 degrees to the side of the subject and slightly above eye level. That position drops the nose shadow onto the cheek and creates the small triangle of light on the shadow-side cheek known as the Rembrandt triangle, which is the signature of a dramatic portrait. Move the light to 90 degrees for a harder split look, or above the head for deeper eye sockets and more sculpting.
How dark should a low key portrait be?
Dark enough that the frame reads as low key, but not so dark that the subject loses shape. A useful check is the 80/20 split: roughly 80 percent of the frame in shadow and 20 percent in highlight. Count that in the playback screen before you accept a frame. If the shadow side has no visible form, the blacks are too deep and the subject looks pasted on.
Should I expose for the subject’s skin or the shadows?
Expose for the skin. Spot meter the brightest part of the lit cheek or forehead and let everything else fall where it falls. Metering for the shadows or for the background makes the camera lift the whole frame toward middle grey, which is the opposite of a low key look. If you want more detail in the shadows, add a dimmed fill source rather than raising the exposure.
What aperture works best for dramatic low key portraits?
Start at f/8 to f/11. You need enough depth of field to keep the whole face sharp under a 45-degree key, otherwise the focus sits on the nose and the far eye goes soft. A narrow aperture also helps the darkness read as depth rather than as a flat filter. Only open up below f/5.6 if you are using continuous light and can control the brightness another way.
Start With One Controlled Light
Forget the full setup for the first attempt. Put one light about 45 degrees to the side of your subject and slightly above eye level, fit a grid or tape black card over the front to narrow the beam, stand a black board on the shadow side, and meter the lit cheek in spot mode. Shoot ten frames, adjust by a couple of inches at a time, and keep the frame you like best.
That single move is how to create dramatic low key portraits without a studio. Everything else in low key portrait lighting is refinement of it, and once you can control one light you can shape almost any portrait with it.