Butterfly lighting is a portrait pattern where the key light sits directly in front of and above your subject’s face, on the camera axis, so a small butterfly-shaped shadow lands under the nose. Once you know how to create butterfly lighting, it is the fastest flattering one-light setup in portrait photography. It takes about ten minutes to rig, needs one light, and repeats frame to frame.
Other names you will hear for it are Paramount lighting and Hollywood lighting. Some sources also call the two-light version clamshell lighting, which is where a lot of the confusion starts. I will sort the names out, then walk through the setup one step at a time.
The single most useful thing to know before you raise a light: you are not chasing perfection, you are chasing one small, symmetrical shadow directly beneath the nose. Get that and the rest of the look follows.
Table of Contents
- What You Need
- The gear list at a glance
- Step-by-Step: How to Create Butterfly Lighting
- Step 1: Position Your Subject
- Step 2: Place the Key Light Above and Behind the Camera
- Step 3: How to Create Butterfly Lighting Softness with Your Modifier
- Step 4: Adjust the Light for the Subject’s Face
- Step 5: Set the Camera and Check the Catchlights
- Step 6: Refine the Look with Fill and Background Control
- Common Butterfly Lighting Mistakes and How to Fix Them
- Frequently Asked Questions
- What is another name for butterfly lighting?
- How high should the light be for butterfly lighting?
- What modifier is best for butterfly lighting?
- Do I need a reflector for butterfly lighting?
- Which face shapes does butterfly lighting flatter?
- Can I do butterfly lighting with window light?
What You Need
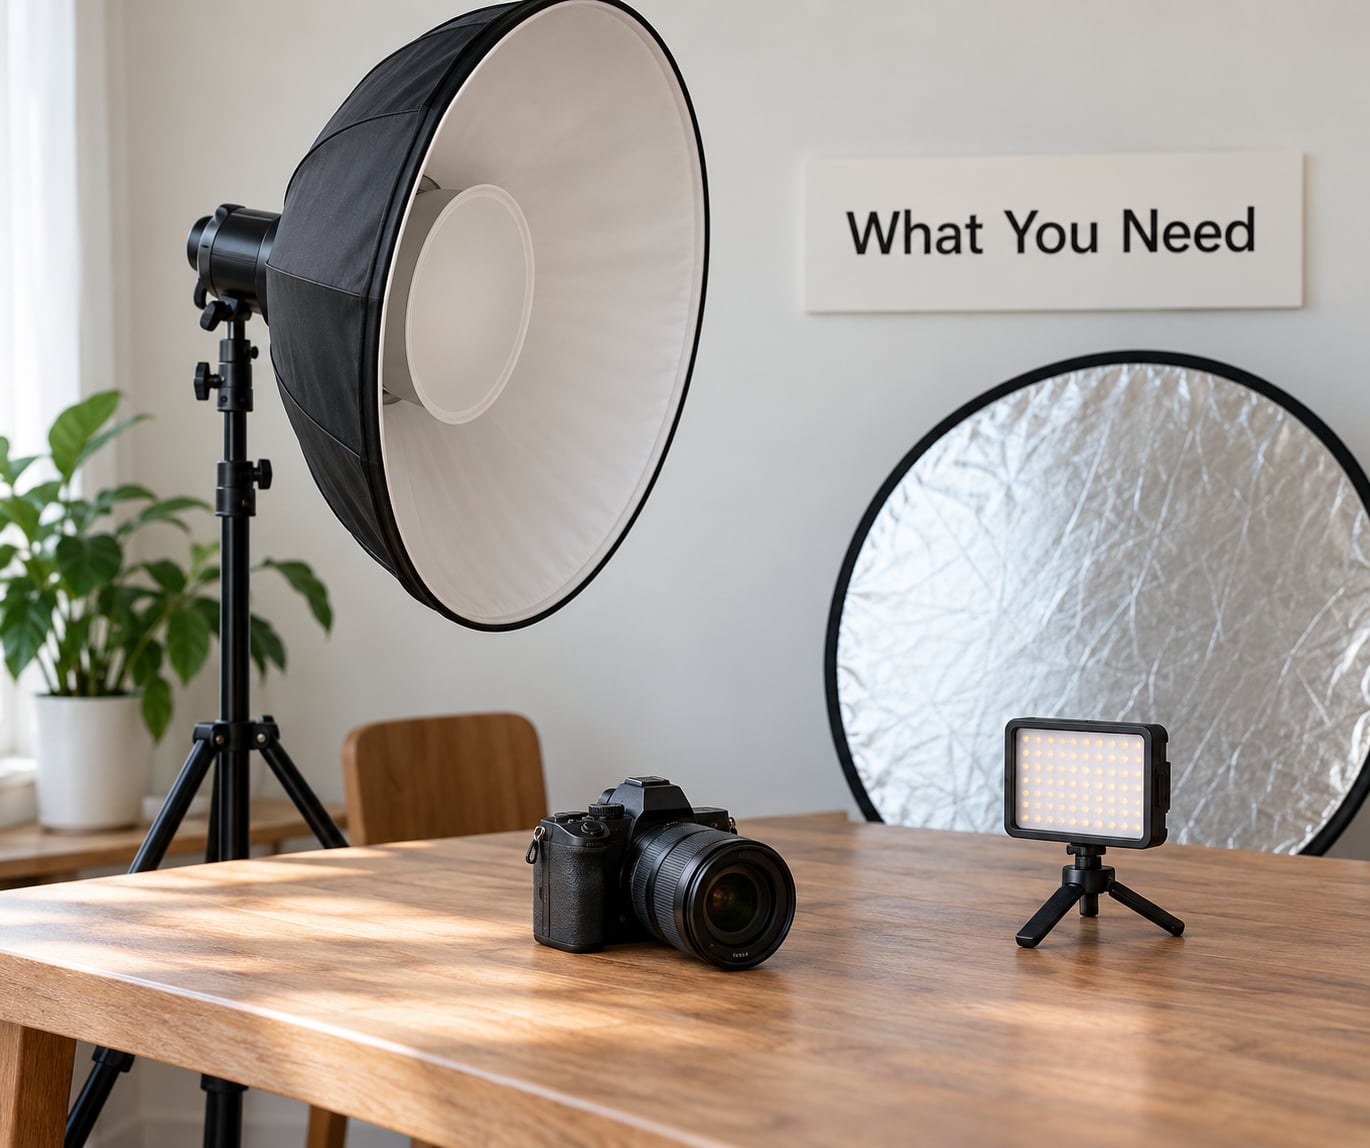
A camera and a lens you can get close with. Any focal length from 50mm upward works, but 85mm and 105mm give you that flattering head-and-shoulders compression beginners expect.
Then one light that can go above and in front of the subject. That is a strobe with a stand, a continuous LED panel, or a speedlight on a boom arm. Continuous light lets you see the effect before you shoot, which matters a lot when you are learning placement from a written description.
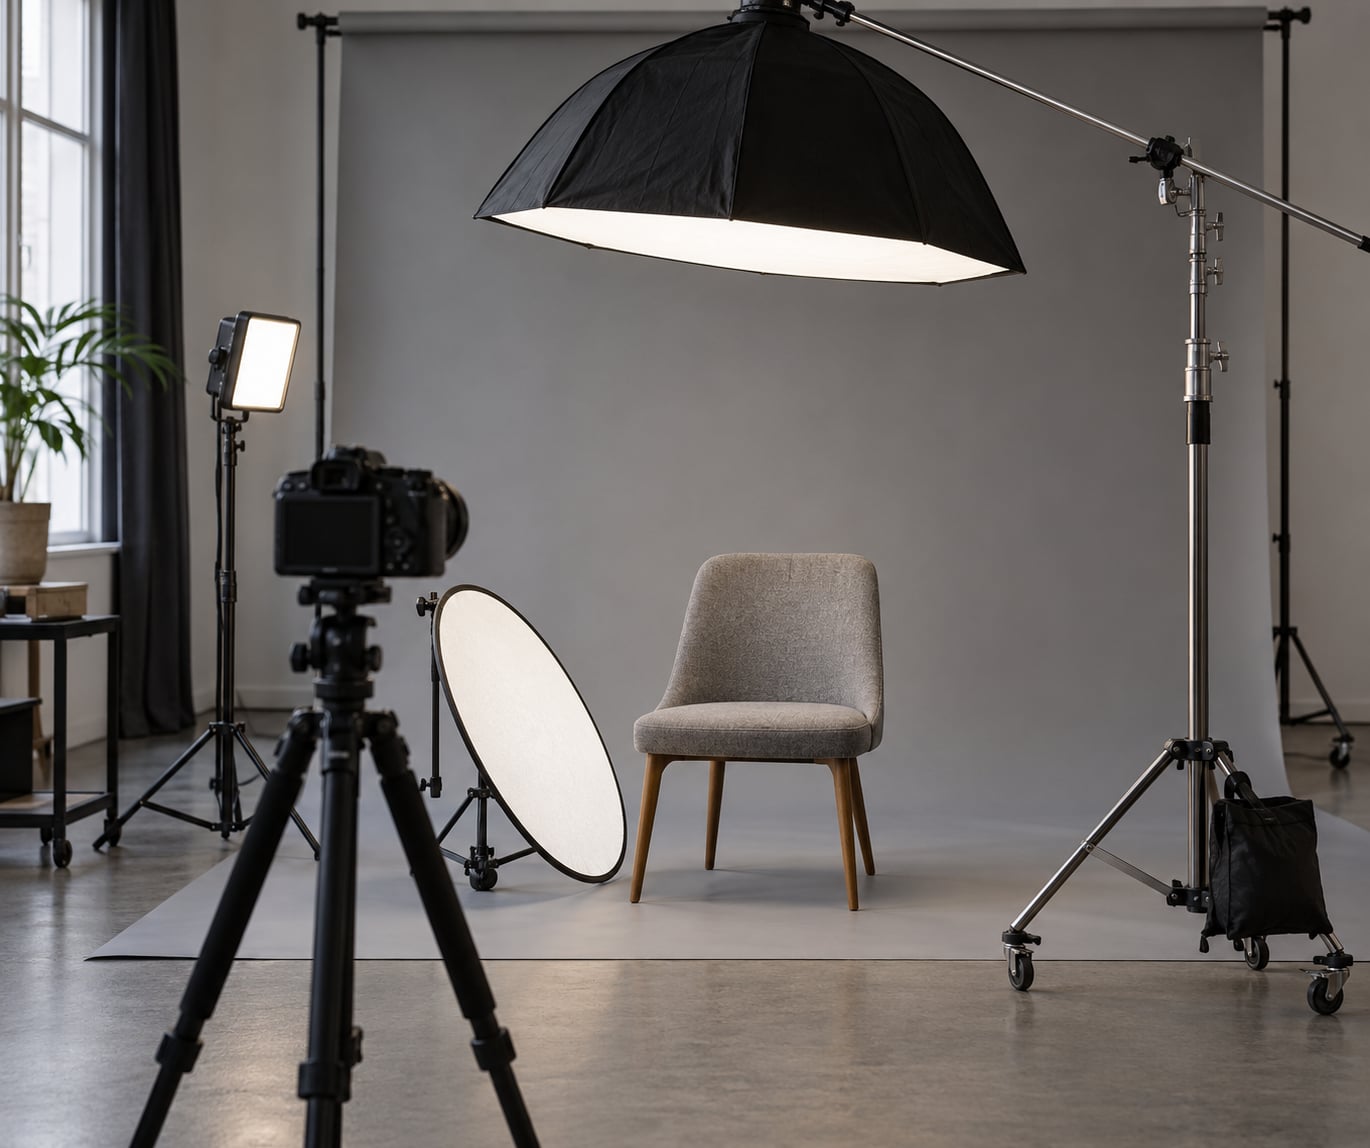
You also need something to raise and angle the light. A light stand with a boom arm is the honest answer, because the modifier sits on the camera axis and would block the lens otherwise. A C-stand with a boom arm and a counterweight does the same job if your room is small.
The gear list at a glance
- Key light: strobe, LED panel or speedlight
- Modifier: beauty dish, small softbox, or shoot-through umbrella
- Support: light stand with a boom arm, or a C-stand
- Fill: a white reflector, or a dim second light
- Metering: a light meter if you own one, otherwise the histogram in your camera
- Subject prep: a stool or chair back the subject can sit tall against, and a clear background
A reflector is the one accessory people skip and then wish they had. It costs almost nothing and it is the fastest way to control how deep the shadows go.
Step-by-Step: How to Create Butterfly Lighting
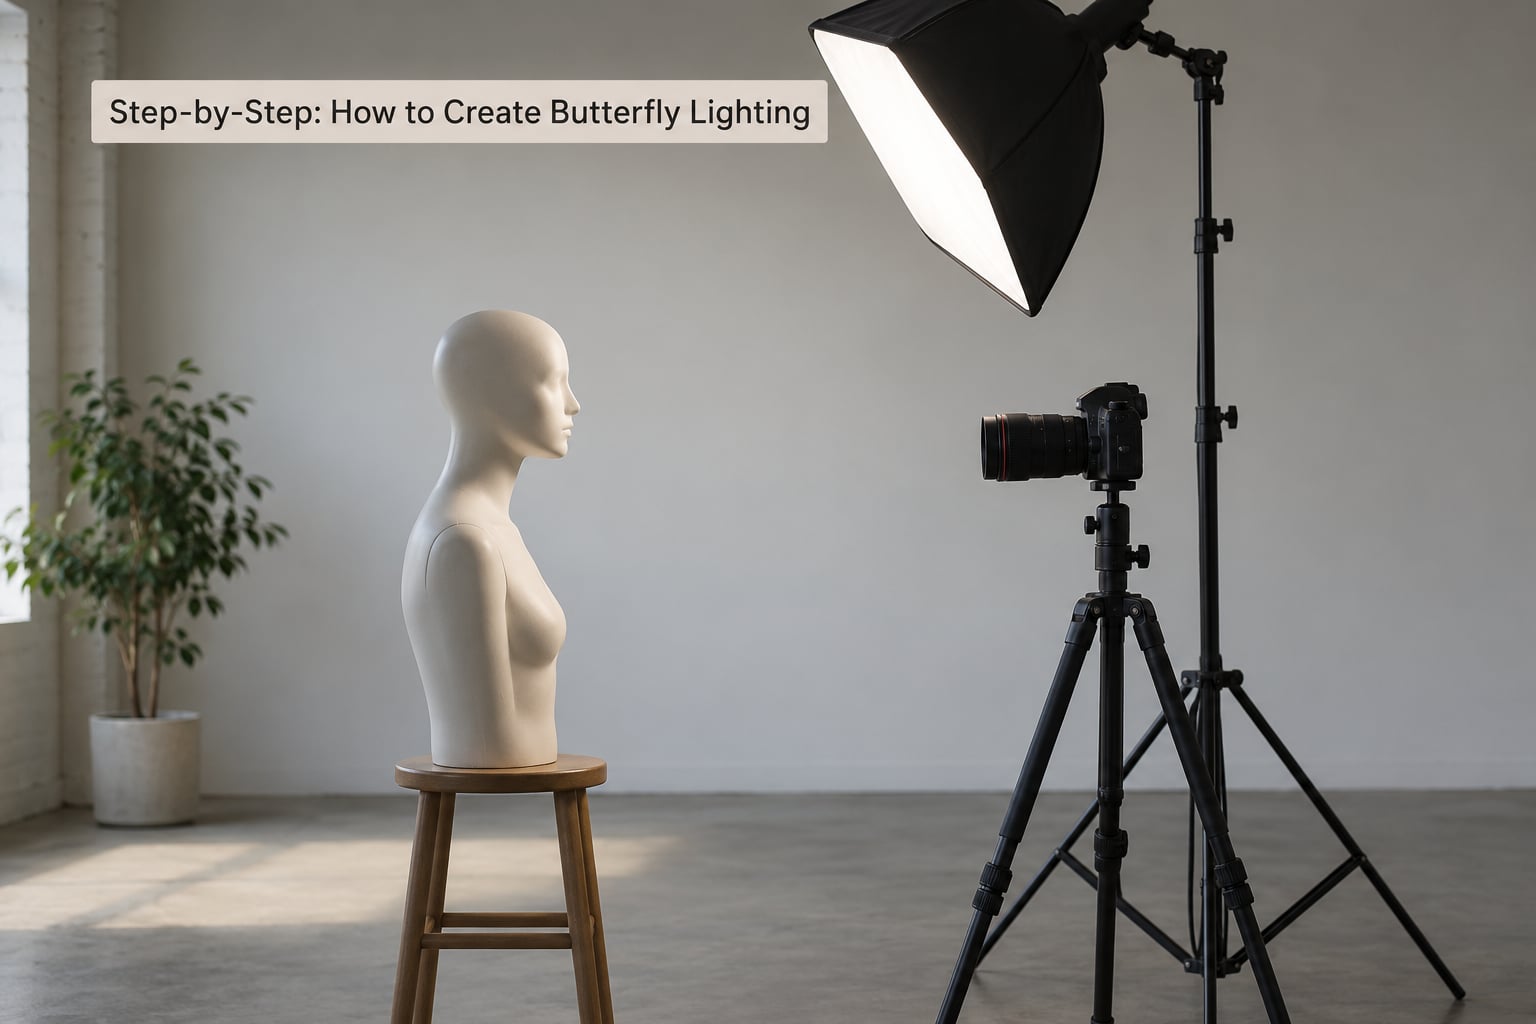
Set up your camera first, then the light, then the fill. Working in that order means the camera axis is fixed before you try to place anything on it.
Step 1: Position Your Subject
Have the subject sit or stand facing the camera square on, chin level or tipped very slightly forward. A chin tipped down closes the eye sockets and adds shadow under the brows, which fights the pattern.
Shoulders down and back, chin forward and down a touch. You want a long neck, because the butterfly shadow reads most clearly when there is space between the jaw and the collar.
Step 2: Place the Key Light Above and Behind the Camera
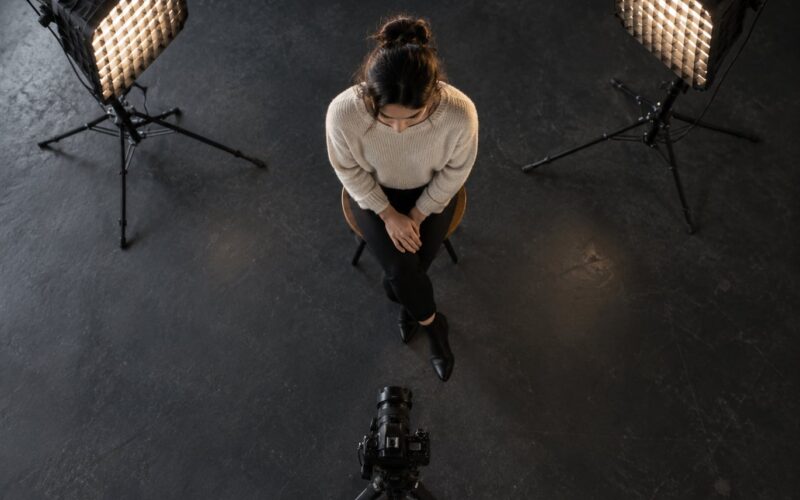
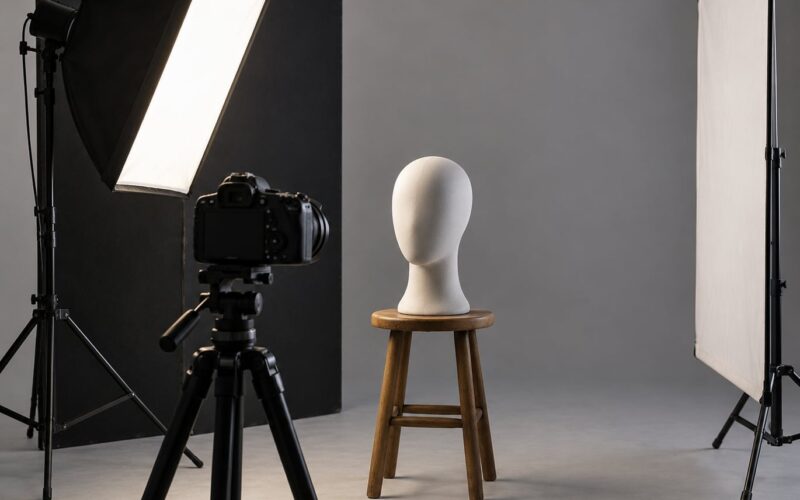
This is the whole technique. The modifier goes directly above the lens, angled down toward the face, close enough to the camera axis that the shadow falls straight down under the nose rather than off to one side.
If you had to draw it from above, it looks like the letter T. The camera sits on the horizontal bar, the subject faces it, and the light is directly above the camera rather than out to the side.
Start with the bottom of the modifier about 30 to 45 degrees above the subject’s eye line. That is high, and beginners always think it is too high. It is usually about right.
You want the light slightly forward of vertical rather than directly overhead. Angle the head of the stand a few degrees toward the subject so the nose shadow drops straight down instead of sitting under the tip.
Step 3: How to Create Butterfly Lighting Softness with Your Modifier
Size and distance together decide how soft the shadow edge is. Big and far gives gentle transitions. Small and close gives crisp, sculpted edges.
| Modifier | Shadow character | Best for |
|---|---|---|
| Beauty dish with diffusion sock | Medium-soft, slightly crisp under the cheekbones | Beauty and headshots where you want dimension |
| Small softbox (about 60 to 90 cm) | Soft, forgiving, easy to meter | First-time setups and softer skin rendering |
| Large softbox or octabox | Very soft, minimal texture | Close skin work and fuller frames |
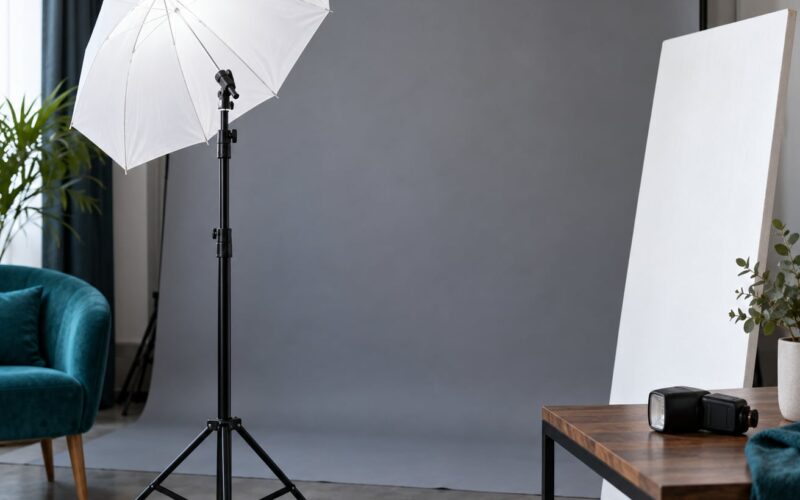
| Shoot-through umbrella | Soft, cheap, quick to rig | Budget one-light home studios |
| Bare flash or reflector head | Hard, defined edges, strong contrast | Dramatic or graphic looks on purpose |
Distance does as much work as the modifier itself. Moving the light closer shrinks the apparent size of the source and hardens the shadow. Moving it further away keeps it soft but covers less of the face, so you get falloff on the sides of the head.
For a beginner, a small softbox at about a metre and a half from the subject is the version I would build first. It is forgiving and easy to reason about.
Step 4: Adjust the Light for the Subject’s Face
The shadow tells you what to change next. Shoot a test frame and look at the underside of the nose.
Shadow too large, or stretching down toward the mouth? The light is too low or too far back. Raise it, or move it forward toward the subject, and the shadow shortens.
No shadow at all, just a bright nose and cheeks? The light has crept below or level with the camera axis. Push it up above the lens and the shadow returns.
Shadow sitting off to one side? The light is not on the camera axis. Bring it back in until the light, the lens and the nose are in a straight vertical line.
Butterfly lighting flatters round and heart-shaped faces because the downward light adds length and defines the cheekbones. It is less kind to very deep-set eyes, where it can push the upper lids into shadow. Long faces with strong cheek structure also lose some of their natural modelling. When a face fights the pattern, nudge the light slightly forward and lower rather than abandoning the setup.
Step 5: Set the Camera and Check the Catchlights
Pick a starting point rather than guessing every frame. Manual mode at f/4 to f/5.6, ISO 100 to 400, with shutter speed set by your flash sync speed, works well for headshots.
Meter off the brightest part of the forehead. Butterfly lighting puts the most light on the upper face, so metering there keeps the forehead from clipping while letting you lift the shadows in post if needed.
Watch the histogram rather than the meter reading alone. Blown highlights on the forehead and nose bridge are the usual casualty, especially on deeper skin tones, where the light hits the brightest parts of the face first.
Catchlights are your confirmation. With the light on the camera axis, you should see a small round catchlight high in each iris, sitting near the top of the pupil. Catchlights near the centre of the eye mean the light is too low.
Step 6: Refine the Look with Fill and Background Control
Now decide how much fill you want, deliberately. A white reflector held just below the chin, angled up, lifts the shadows under the jaw without touching the shadow shape under the nose.
Move the reflector closer for a softer, brighter fill and further away for a darker, moodier result. A roughly 2:1 key-to-fill ratio is a good opening point for corporate headshots. Push toward 4:1 for beauty and fashion work where you want the cheekbones to read strongly.
This is the mistake people make most often. Front fill strong enough to erase the nose shadow will flatten the cheekbone shadows too, and you lose the reason you chose the pattern. Fill should soften, not cancel.
For background separation, push the subject three or four feet away from the wall and light the background separately, or let it fall off to black with a single light. A rim or hair light behind the subject, aimed down at the back of the head and shoulders, separates them cleanly without disturbing the key.
Then check the shadow one more time. If the shadow is symmetrical and the catchlights sit high in both eyes, the setup is right.
Common Butterfly Lighting Mistakes and How to Fix Them
These are the failures I see repeatedly, each one recognisable by a symptom rather than by theory.
The face looks flat. The light is too low or too close to the camera axis, so the shadow side never gets any falloff. Raise the light and add a reflector below the chin, or drop the fill.
No butterfly shadow. The most common cause is placing the light beside the camera instead of above it. Also check that the modifier is not aimed at the chest rather than the face.
The shadow is too long. Light too low or too far behind the nose. Move it forward and up until the shadow is compact and sits right under the nostrils.
The shadow is off-centre. The light is off the camera axis. Align the modifier, the lens and the nose vertically, then recheck.
Hard, ugly shadow edges. Small source, close distance. Move the light back or step up to a larger modifier.
Blown highlights on the forehead. You metered for the midtones. Expose for the brightest skin and lift the shadows later, or use a lower power setting and shoot slightly darker.
Catchlights in the wrong place. Catchlights sitting centre-eye mean the light is too low. Catchlights missing from one eye mean the subject has turned their head. Realign both before touching the power.
Light falls off heavily on the sides of the head. The source is too far away or too small for the frame. Bring it closer to a larger modifier rather than cranking the power, which deepens the falloff.
Unwanted double catchlights. You have two lights or a reflector bouncing the key back into the eyes. Kill one source, and choose which one carries the catchlight.
One version worth knowing before you buy anything: butterfly lighting done with a window. Put your subject close to the window, stand so the camera is between the subject and the glass, and have them tip their chin down slightly. You get the same small shadow under the nose, no gear required.
Frequently Asked Questions
What is another name for butterfly lighting?
Butterfly lighting is also called Paramount lighting and Hollywood lighting. Both names refer to the same position: the key light directly in front of and above the face, aligned with the camera axis. Some sources use the term clamshell too, though that usually refers to the two-light version with a light above and one below.
How high should the light be for butterfly lighting?
Start with the bottom edge of the modifier 30 to 45 degrees above your subject’s eye line, sitting on the camera axis. Shoot a test frame and adjust from what you see. If the nose shadow stretches down toward the mouth, raise the light. If there is no shadow at all, it has dropped too low or moved off axis.
What modifier is best for butterfly lighting?
A beauty dish with a diffusion sock is the classic choice because it stays crisp enough to define cheekbones while keeping skin texture kind. A small softbox is softer and more forgiving, which makes it better for a first setup. A shoot-through umbrella does the job well on a budget. Bare flash gives you hard edges and heavy contrast.
Do I need a reflector for butterfly lighting?
You do not need one, but you will get a harder, more contrasty portrait without it. A white reflector held just below the chin lifts the shadows without touching the nose shadow shape. Aim for roughly a 2:1 key-to-fill ratio for corporate headshots and closer to 4:1 for beauty work where the cheekbones should read strongly.
Which face shapes does butterfly lighting flatter?
Round and heart-shaped faces benefit most, because the downward light adds length and defines the cheekbones. It works well on oval faces for a smooth high-key finish. Be careful with deep-set eyes, where the upper lids can fall into shadow, and with long faces that already have strong bone structure and can look over-modelled.
Can I do butterfly lighting with window light?
Yes. Put your subject close to the window, stand with the camera between the subject and the glass, and keep the camera on the same axis as the window. Have them tip the chin down slightly and angle their face up toward the light. The small shadow under the nose appears naturally, and it is a good way to practise the pattern before buying a strobe.
Start with the camera at eye level and the light directly above it, 30 to 45 degrees up. Shoot one frame and look under the nose. Adjust the height until the butterfly shadow is small, symmetrical and sitting right beneath the nostrils, then add a reflector below the chin to set the contrast, and the setup is finished.