Working well with a hair and makeup artist comes down to four things: a written brief, a booked schedule you both agree on, a look that has been tested in real light, and time built into the day for touch-ups. Get those right and the styling photographs exactly the way you planned it, without anyone standing around waiting.
Most shoots that go sideways did not fail because of talent. They failed because the reference photos never got sent, the call time was a guess, or nobody checked the look under the actual lighting before the first frame. This guide walks through the whole workflow in seven steps, from the first message to the final handshake, written from the photographer’s side of the set.
The same process works whether you are booking someone for a wedding party of nine, a branding session for one person, or a portfolio shoot on location. Only the schedule length changes.
Table of Contents
- What You Need
- References and direction
- Details the artist will ask for
- Schedule and money
- On-site kit
- Step-by-Step: How to Work With a Hair and Makeup Artist
- 1. Define the Photography Brief
- 2. Book the Right Artist and Schedule
- The basics
- Pricing and fees
- Styling and scheduling
- 3. Choose and Test the Look
- 4. Prepare the Subject and Set
- 5. Work Together On Set
- 6. Plan Touch-Ups Between Looks
- 7. Confirm the Final Look and Wrap Up
- Common Mistakes
- Sending references the week before, or not at all
- Vague briefs
- Untested products near the eyes
- No buffer in the schedule
- Ignoring what the camera does
- Improvising during the shoot
- Assuming the trial artist will be there on the day
- Unclear payment and image-use terms
- Frequently Asked Questions
- How much should I pay a hair and makeup artist for a photo shoot?
- Should a photographer book the hair and makeup artist or should the model?
- How do I work with a hair and makeup artist remotely?
- How much time should I allow for hair and makeup before a shoot?
- What should I do if I dislike the finished hair or makeup look?
- Why does my makeup look different on camera than in the mirror?
- Conclusion
What You Need
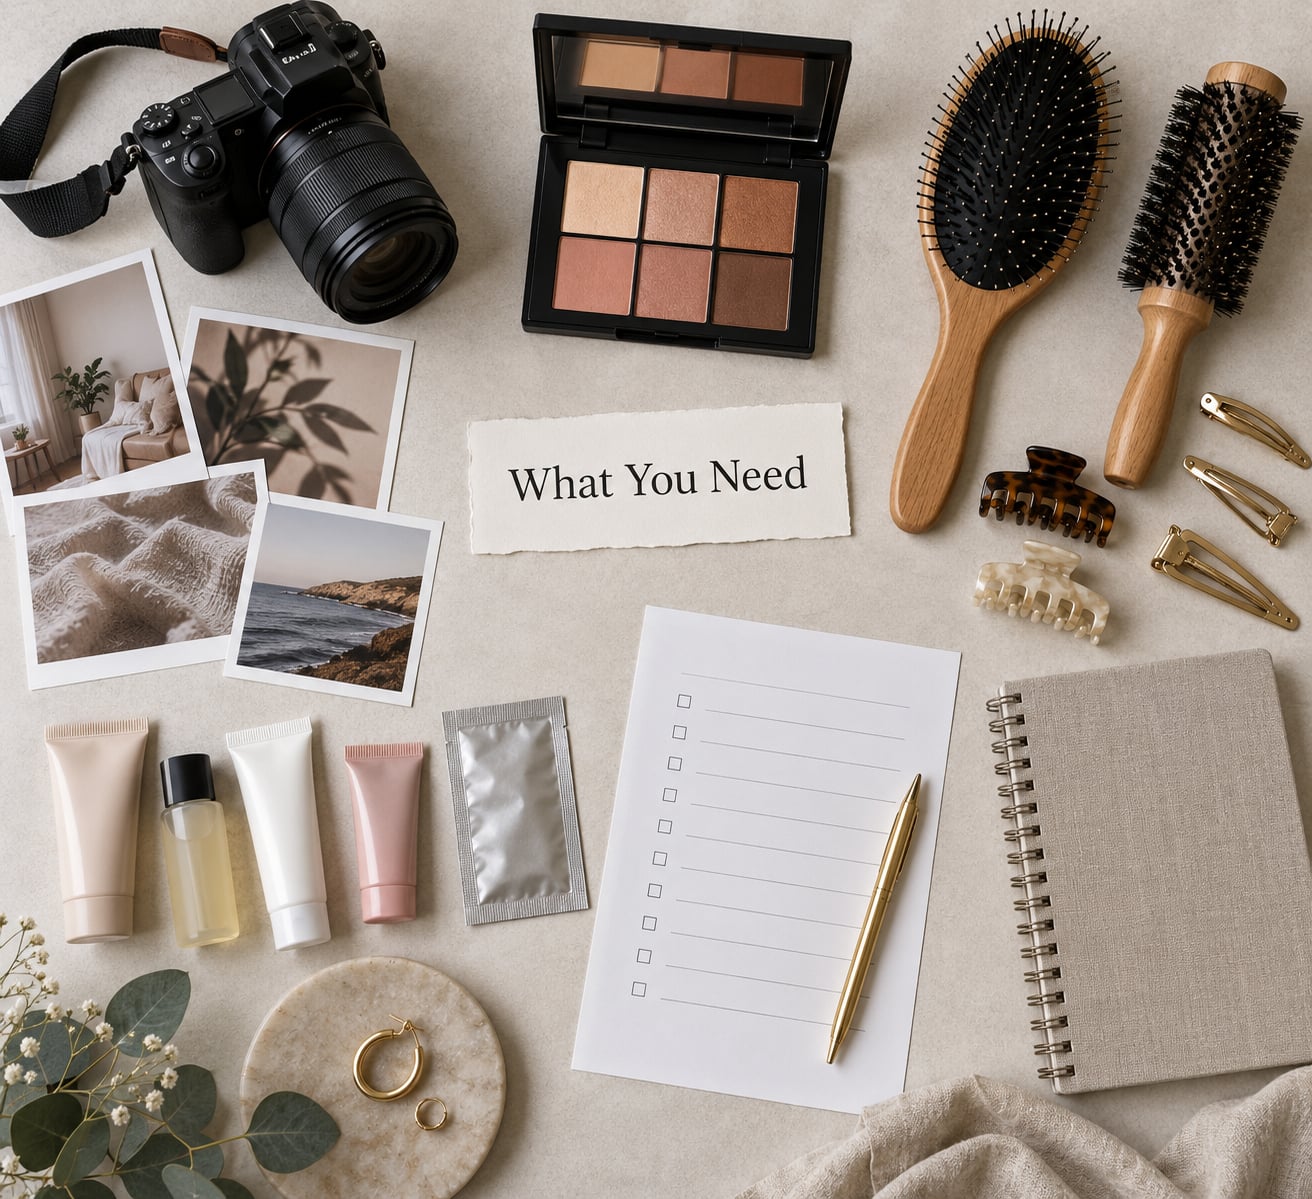
Have these ready before anyone confirms a booking. Missing one of them is the reason a shoot runs an hour behind.
References and direction
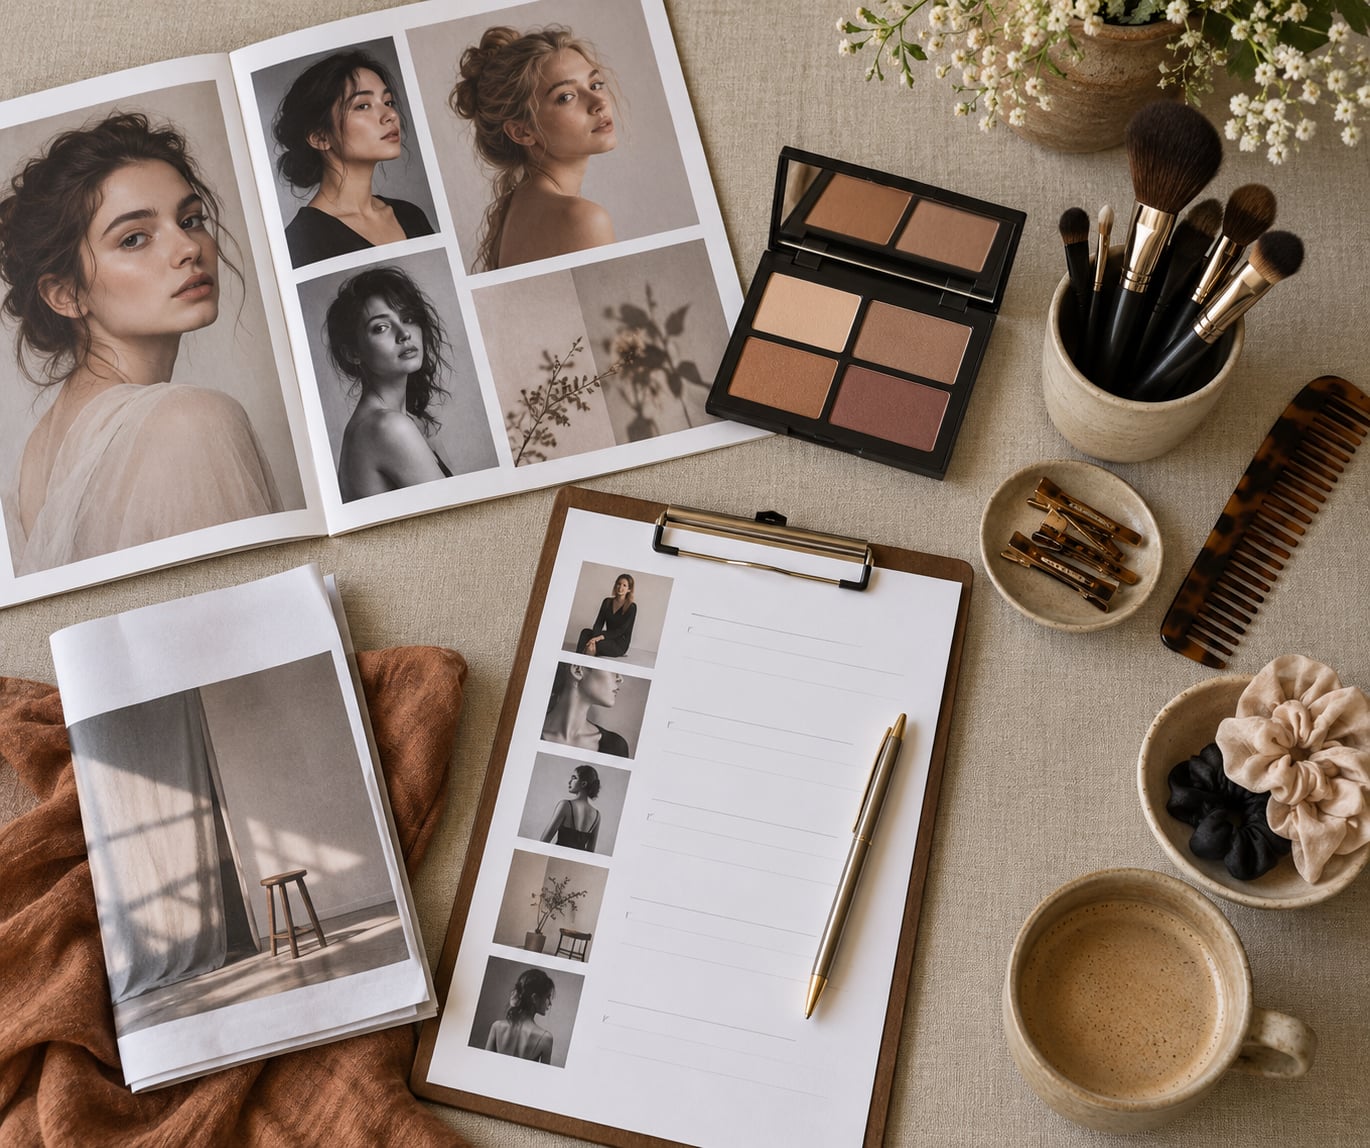
- Three to five photos of looks you like, sent in the same message rather than one at a time over a week
- A shot list or mood board showing the setting, wardrobe and mood you are after
- Hair length, texture and condition notes, plus what has been done recently (colour, extensions, chemical work)
- Any clothing colours, since pale fabric picks up shimmer and foundation transfer
Details the artist will ask for
- Skin sensitivities, allergies, recent peels, active breakouts, tattoos you want covered or left alone
- Medications or conditions that change how products sit on the skin
- Whether anyone in the group has a mobility or sensory requirement that affects a long appointment
- Contact details for a second decision-maker, because someone will ask you a question at 6am
Schedule and money
- Call time for the shoot and the hard time you need to be finished, worked backwards
- A per-person head count, plus who is doing hair, who is doing makeup, and who is doing both
- Ask for the quote in writing, broken down per person, with travel, parking, assistants, overtime and tax listed separately
- A deposit, a cancellation window, and a named backup artist in the contract
On-site kit
- A mirror and a hand mirror so the subject can check the back of the hair
- A small brush, hairspray, and whatever the artist asked you to supply (many work from their own case)
- A timer or the call sheet printed, because “ten minutes” means different things to different people
- A clean, low-traffic corner for the artist to work in, away from wardrobe and equipment
Step-by-Step: How to Work With a Hair and Makeup Artist
The seven steps below run in order. Each one ends with a result you can check, so you know the stage is actually finished before you move on.
1. Define the Photography Brief
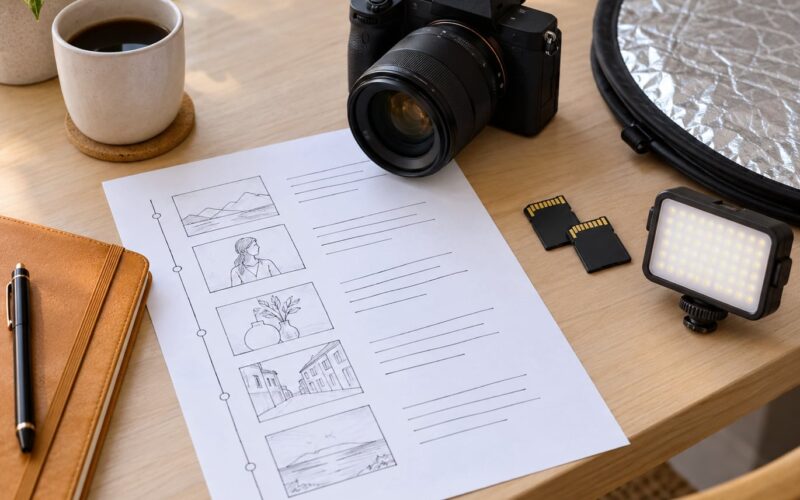
Send one message that tells the artist what the finished photographs need to look like, not just what the subject wants done to their face. A good brief names the concept, attaches camera-ready references, describes hair length and condition, states the makeup expectation in plain words, lists clothing colours, and says what the lighting will be.
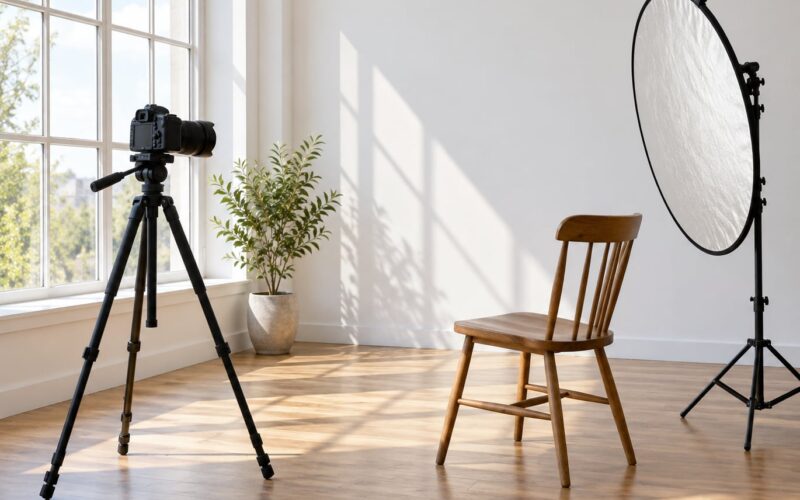
Lighting matters more than most people expect. A single hard flash, a soft window and a ring light produce three different results on the same foundation. Say which one you are shooting and ask the artist to adapt the finish for it.
A brief that works can be copied into an email or a direct message. Fill in the blanks and send it once:
- Project: engagement session, branding headshots, bridal portraits, portfolio work — plus date, location and shoot start time.
- Concept and references: three to five images, with a note on what you want from each one, the eye, the finish, the hair.
- Hair: current length, texture, colour status, extensions, and how much change is open to discussion.
- Makeup: the level you have in mind, references, and anything to steer away from.
- Wardrobe and lighting: clothing colours, and the light you will be shooting in.
- Sensitivities: allergies, recent treatments, active breakouts, tattoos, and whether pregnancy or breastfeeding affects product choice.
- Group details: number of people, who does hair, who does makeup, who is doing both.
- Timing and money: your call time, the budget per person, and the total you are working to.
- Extras: veils, hats, hair accessories, or products you want the artist to bring.
Include sensitivities in the same message rather than at the appointment. If a product has never touched that skin before and the look will sit near the eyes or mouth, ask the artist to patch-test it beforehand.
Result: the artist replies with their understanding of the look, any concerns about hair length or skin condition, and a realistic time estimate. If their reply reads like a different brief, fix it now.
2. Book the Right Artist and Schedule
Choose on portfolio evidence, not reputation. You want photographs of the specific style, hair texture and skin range you need, shot in similar light to your own. A bridal portfolio built entirely on fair-skinned brides tells you nothing about how the artist works on deeper skin tones or coily hair.
Confirm several practical things in writing: who will actually be working on the day, whether that person was the one at the trial, what is included, the deposit, the cancellation terms, travel, parking, overtime beyond an agreed window, and what happens if the artist falls ill.
The questions to ask a hair and makeup artist fall into three groups. Asking them in this order stops the awkward conversations happening on the day instead.
The basics
- Who will be doing the work on the day, and was that person at the trial?
- Who covers for you if you are ill, and how much notice do you need?
- What do you bring, and do I need to supply a blow dryer, brushes or a mirror?
- Do you work with extensions, and do you supply them or source them yourself?
- Have you worked with this hair texture and this range of skin tones before?
- What sanitation and hygiene practice do you follow between clients?
Pricing and fees
- What is the rate per person, and is hair priced separately from makeup?
- Does the quote include travel, parking, tolls and setup time?
- Is tax included, and is a gratuity expected or included?
- What does an assistant cost for a group, and when do you consider one necessary?
- How is overtime charged, and at what point in the day does it start?
- What is the deposit, the cancellation window, and the reschedule fee?
Styling and scheduling
- How long does my look take, and how long per additional person?
- Can you work to a fixed call time rather than a fixed finish time?
- How long does the look hold, and what brings it back up without a restyle?
- Will you travel to my location, and what is the travel radius included?
- Do you need breaks, meals or a private space for a long appointment?
- Do you need my accessories, veil, robe or pin curls arranged in advance?
Then agree the timing. Ask for a call time per person, not a single finish time for the whole group. Working backwards from the shoot is the only way this works: subtract the session length, then the styling and application time per person, then a buffer for the first person to sit down warm.
Some clients prefer one artist for both hair and makeup. It reduces the number of people to brief, and the person doing your face also controls how much hair gets over it. The cost is that they work alone, so time per person goes up unless an assistant comes with them. If your group is larger than about five, two artists working in parallel usually gets you out the door faster.
Ask about assistants rather than assuming. If the artist offers to bring one, confirm the assistant’s name appears on the contract, not just in a message. People booking for large events worry most about being let down by a single stylist with a calendar and no help.
Result: a contract with itemised pricing, a named artist, a named backup, and a start time calculated from the shoot rather than guessed from it.
3. Choose and Test the Look
Narrow the options with reference images, then book a trial when the shoot matters enough. A trial costs time and money, so use it when the look is unfamiliar, the artist has never seen your hair before, or the styling is doing real work such as an updo with extensions or a full airbrush application.
Ask these questions at the trial:
- Does this hold through the length of the shoot, or does it need a reset at hour three?
- How does it behave in direct flash, and how does it behave in soft window light?
- What changes if I wear a hat, veil, jacket or high collar over it?
- How long does a touch-up take with you specifically?
- What would you change if the final frames are close crops rather than full length?
- What do you recommend instead if my hair will not hold the look as pinned?
Photograph the approved result yourself, in the same light you plan to shoot in, and keep those images. On the day, those photos become the reference everyone points at, including the subject.
A test also tells you whether the hair will hold. Fine, short, freshly relaxed or very textured hair all behave differently, and a style that looks perfect at the salon can collapse under a hat or a humidity change.
Result: a documented, approved look with a known wear time and a plan for when it needs attention.
4. Prepare the Subject and Set
Send both sides the same arrival checklist a few days out. Clean skin and clean hair, nothing new applied in the last 24 hours, no self-tanning, and normal moisturiser rather than a heavy mask the night before. Makeup applied on top of a heavy mask behaves badly under a lens.
Ask about breaks, meals and water. Hair and makeup is a long appointment for a group, and nobody does better work hungry or rushed.
Decide the order in advance and stick to it. For a party, artists usually alternate so one person is never waiting while another is finished and sitting still. For a single subject, working in shadowless daylight first and then checking under test lighting is usually faster than the reverse.
Three details catch people out more than the rest. Wardrobe should be on a hanger, not worn to the session. Nails matter more than most people expect, because a finished hand is in a close crop. And jewellery should be on separately so it is not caught in a styling tool.
Then tell the artist your lighting setup and camera angles in advance, and share your camera position if the room layout is unusual. Two minutes of that conversation saves a reset later.
Result: everyone arrives at the same time with the same instructions, and the artist knows how the room will work.
5. Work Together On Set
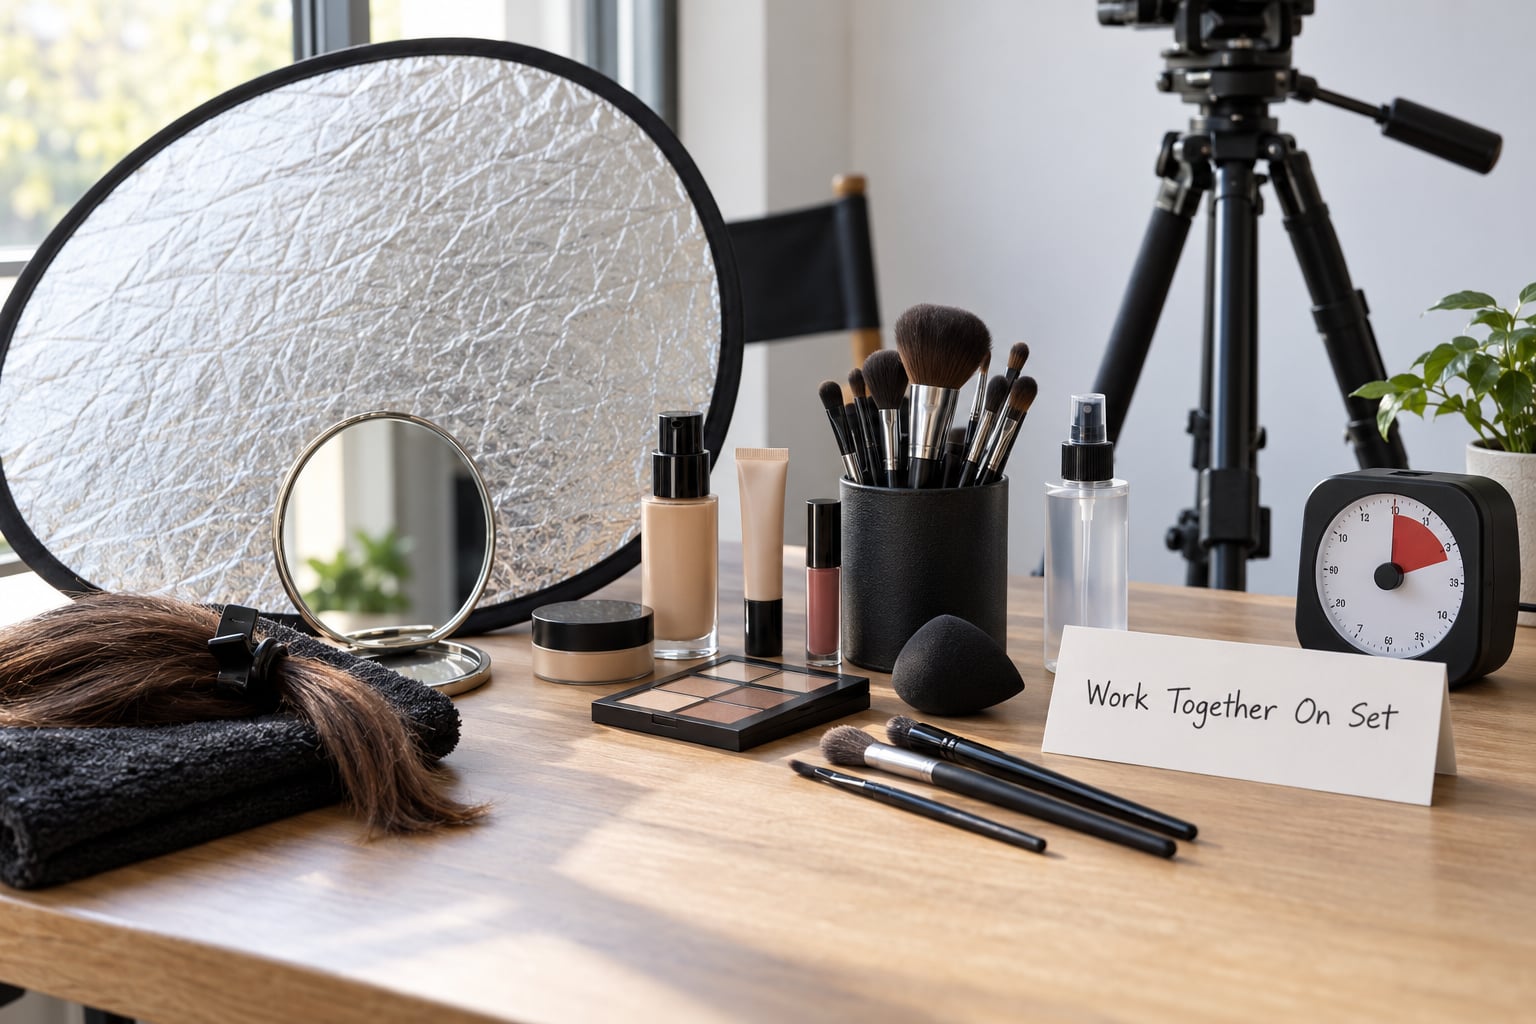
Work as a three-way conversation, not a chain of instructions. The photographer sees what the camera sees, the subject feels what is comfortable, and the artist knows what is possible in the time left. Review the reference photos together before the first frame, so nobody is imagining a different look.
Take one test frame before anything else. Check the hairline, the neck, the jaw, and the hair at the back under the actual light you are using. Problems found in test frames cost nothing; the same problems found at frame 400 cost a reset.
Then protect the work. Ask people to keep hands off finished hair, to take coats off over the top rather than pulling them down over it, and to eat before the session rather than during it. A dropped pastry on a white bodice ends the look more often than any product does.
Some quick fixes for what the camera reveals:
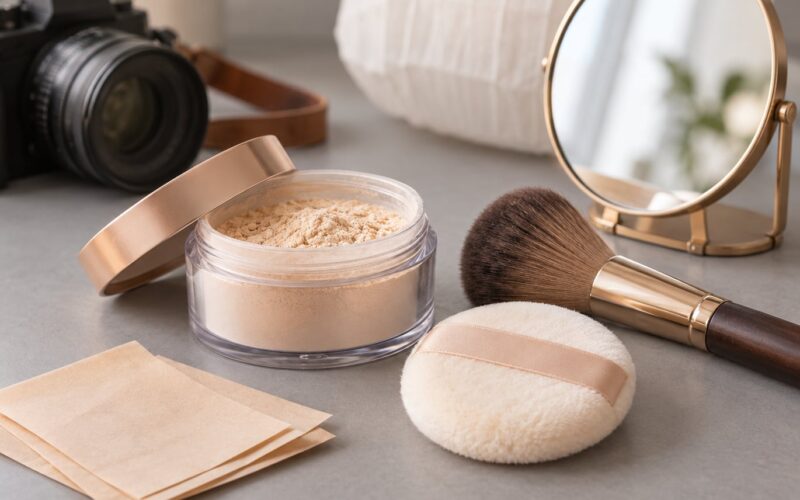
- Shine across the forehead and nose. Oily or dewy finishes catch direct flash and turn reflective. Ask for light setting powder on the T-zone only, keeping the glow elsewhere.
- Skin looks pale or grey. Foundation is not matched to the neck, or the tone is too light against flash. Match to the neck and chest, tested on camera rather than by hand.
- Shimmer blows out. Fine glitter or large particles reflect straight back into the lens. Keep sparkle to lids or a lip product, and skip highlighter with loose glitter.
- Foundation looks lighter around the jaw. SPF and mineral protection reflect white on camera. Ask for a mineral-free base or a proper set for flash work.
- Texture visible on the cheeks. Product is layered too heavily, or flash is raking across the surface. Use lighter layers, set between them, and add a diffused fill light.
- Hair flat at the roots. A head, hat or repeated handling between setups has crushed it. Schedule a quick reset during the outfit change rather than a full restyle.
Keep the communication light. A flat “that is wrong” invites defensiveness; “the flash is picking up the shine on my cheek, can we tone that down” gives the artist something to fix. That single phrasing difference does most of the work in keeping a set calm.
Result: a look that holds up in the test frames, with no one’s ego or schedule damaged getting there.
6. Plan Touch-Ups Between Looks
Book the reset before it is needed. Outfit and look changes are the natural window for it, because the subject is already sitting down and the artist is already out of the kit bag.
Name the areas in advance rather than discovering them at the change. Shine on the T-zone, a hairline flattened under a headpiece, lipstick that has transferred to a glass, fallout on a dark outfit. Every one of those is a five-minute job that a whole restyle would not be.
A five-minute reset menu worth agreeing in advance:
- Set powder through the T-zone with a light hand, not a full re-powder
- Blot-and-set rather than a fresh layer of foundation where shine has built
- Lip colour touch-up and a gloss change if the shade has gone patchy
- Root lift with a brush and light spray where a hat or headpiece has flattened it
- Fallback: powder used sparingly in the kit, applied with a clean brush at the change
Give the reset a real slot on the call sheet, with the artist told how many minutes they have. If the first look ran long, something has to give, and it should be decided in advance rather than discovered at 4pm.
The limit is the approved look. A touch-up restores; it should not redesign. Once the reference and the finished frame stop matching, later images in the set will not look like a sequence, and nobody wants to reshoot the whole thing.
Result: each look enters the camera in the condition the approved reference described.
7. Confirm the Final Look and Wrap Up
Before the session ends, walk through every planned camera angle once. Turn the head both ways, check the hair from behind and above, and look at the neck and jawline in the light you shot in. Small things that were invisible at full distance show up instantly on a monitor.
Note any last adjustments and let the artist apply them before you pack down rather than during.
Before you pack down, save the final frames anywhere you would actually look tomorrow. On the same screen, in the same room. A look that reads well on a bright laptop in daylight can look completely different on a dim phone at a kitchen table, and that is the screen most of your clients will use.
Then settle the paperwork. Confirm who was present and for how long, so the invoice matches the agreement about assistants and extra people. Confirm which products were used on the skin, in case the subject needs that information later, and get a receipt.
Agree in writing how the images may be used if you are licensing them, and whether the artist wants a copy of any published frame. Most are quietly pleased to be asked and never think to request it.
Book any future session with the same artist and the same assistant while the memory is fresh. Repeating a pairing that worked is the cheapest quality control there is.
Result: a completed set, an itemised receipt, clear image-use terms and a contact saved for next time.
Common Mistakes
Sending references the week before, or not at all
Last-minute inspiration gives the artist no time to test products, check the hair, or tell you a style will not hold in your hair texture. Send references at booking. Result: the artist walks in with a plan instead of a guess.
Vague briefs
“Something natural but a bit glam” means something different to everyone. Describe the occasion, the wardrobe, the lighting and two or three specific looks you like. Result: no reinterpretation on the day.
Untested products near the eyes
A new mascara or lash adhesive can leave marks that take days to clear, and they will be in the photographs. Ask for patch testing on unfamiliar skin and give yourself time before the shoot. Result: a red, puffy reaction stays out of the gallery.
No buffer in the schedule
Getting ready always runs long, especially with a group. Build in 20 to 30 minutes beyond the estimate and hold the buffer rather than spending it early. Result: the shoot starts when the look is actually finished.
Ignoring what the camera does
A look approved in a mirror has not been approved for a lens. Check shine, tone, sparkle and texture in a test frame before committing to a full set. Result: fewer reshoots and shorter retouch sessions.
Improvising during the shoot
Changing the plan mid-set without the artist usually produces two half-finished looks. If a change looks necessary, make it a deliberate reset with a time limit. Result: one clear decision rather than drift.
Assuming the trial artist will be there on the day
Ask who is doing the work, and get the answer in the contract along with a named backup. People booking stylists for large events report that a different face on the day is the thing they worry about most. Result: continuity you can rely on.
Unclear payment and image-use terms
Get the per-person rate, travel, parking, assistants, overtime, tax and deposit written down before the day, and settle how long overtime runs before it starts. Agree image usage separately. Result: no awkward conversation at the end of a long day.
A few smaller professional habits help more than people expect. Say thank you and mean it, on set and at the invoice. Ask the artist to flag anything they would change rather than staying quiet. And if you are booking repeatedly, keep a short list of two artists per category who are reliable, because the best one is usually not available for your date.
Frequently Asked Questions
How much should I pay a hair and makeup artist for a photo shoot?
Rates depend mainly on location, the artist, and how long the look takes. Ask for a written quote broken down per person, with hair and makeup priced separately if they are separate services, and confirm whether travel, parking, assistants, overtime and tax are included before you agree. The number that matters most is the total per person on the day, not a headline figure.
Should a photographer book the hair and makeup artist or should the model?
It depends who the shoot is for. On commercial, editorial and portfolio work the client, agency or photographer usually books and pays, and the stylist is briefed like any other vendor. For personal sessions, the subject often books and pays directly. Either way, get all three parties onto one schedule, and make sure the stylist has the photographer’s call time in writing.
How do I work with a hair and makeup artist remotely?
Remote collaboration works well for the planning stage. Send references, a shot list, wardrobe colours, lighting notes, sensitivities and a firm schedule by message, then agree a video call to walk through the look before the day. Keep the same channel and a single point of contact. On the day itself, appoint one person on location to answer questions so the artist is not fielding three inboxes.
How much time should I allow for hair and makeup before a shoot?
As a starting point, allow roughly 45 to 60 minutes for a simple blow-dry and natural makeup, and 75 to 90 minutes for a styled updo or a full camera-ready application. Extensions, lash application and airbrush add time. Work backwards from your call time, add a buffer of 20 to 30 minutes, and ask the artist to confirm their estimate for your specific look.
What should I do if I dislike the finished hair or makeup look?
Say so early and say it specifically, while there is still time to adjust. Describe what you want changed rather than what is wrong: less shine on the forehead, softer brows, less volume at the sides. If the look matches the approved reference, the difficulty is usually in the reference, not the artist, and a trial or a reference revision is the real fix for the next shoot.
Why does my makeup look different on camera than in the mirror?
A camera records colour, shine and texture differently from a mirror, and direct flash makes both more obvious. Pale or mineral foundations reflect white, which looks like flashback. Shimmer and glitter bounce straight back into the lens. Dewy finishes read as shiny patches, and thick layers of product show texture under raking light. A stylist who shoots regularly will already adjust for all of these.
Conclusion
Learning how to work with a hair and makeup artist is mostly administration done early. Write the brief, agree the pricing and the artist by name, test the look in real light, and work the schedule backwards from the shoot rather than forwards from the morning.
Start with one written brief. List the concept, the references, the clothing colours, the lighting, any sensitivities, the head count, the budget and the result you want in the final frame. Send it in a single message and let the reply come back before anything is booked.
Everything after that is easier than people expect, because the hard thinking has already happened.