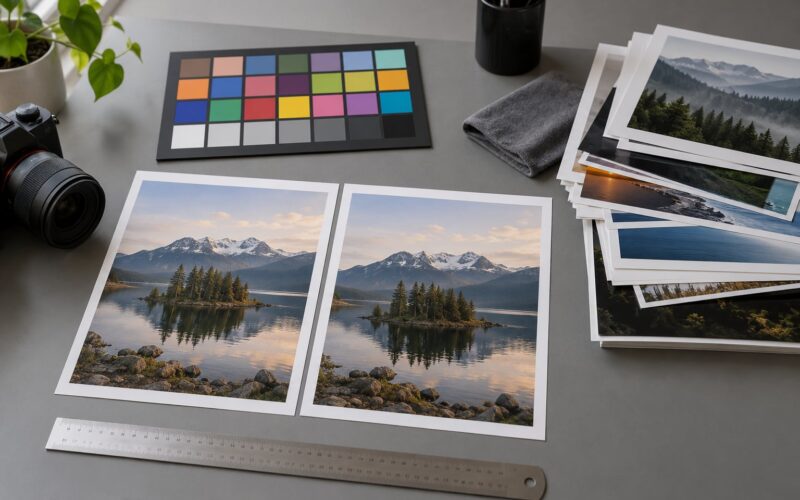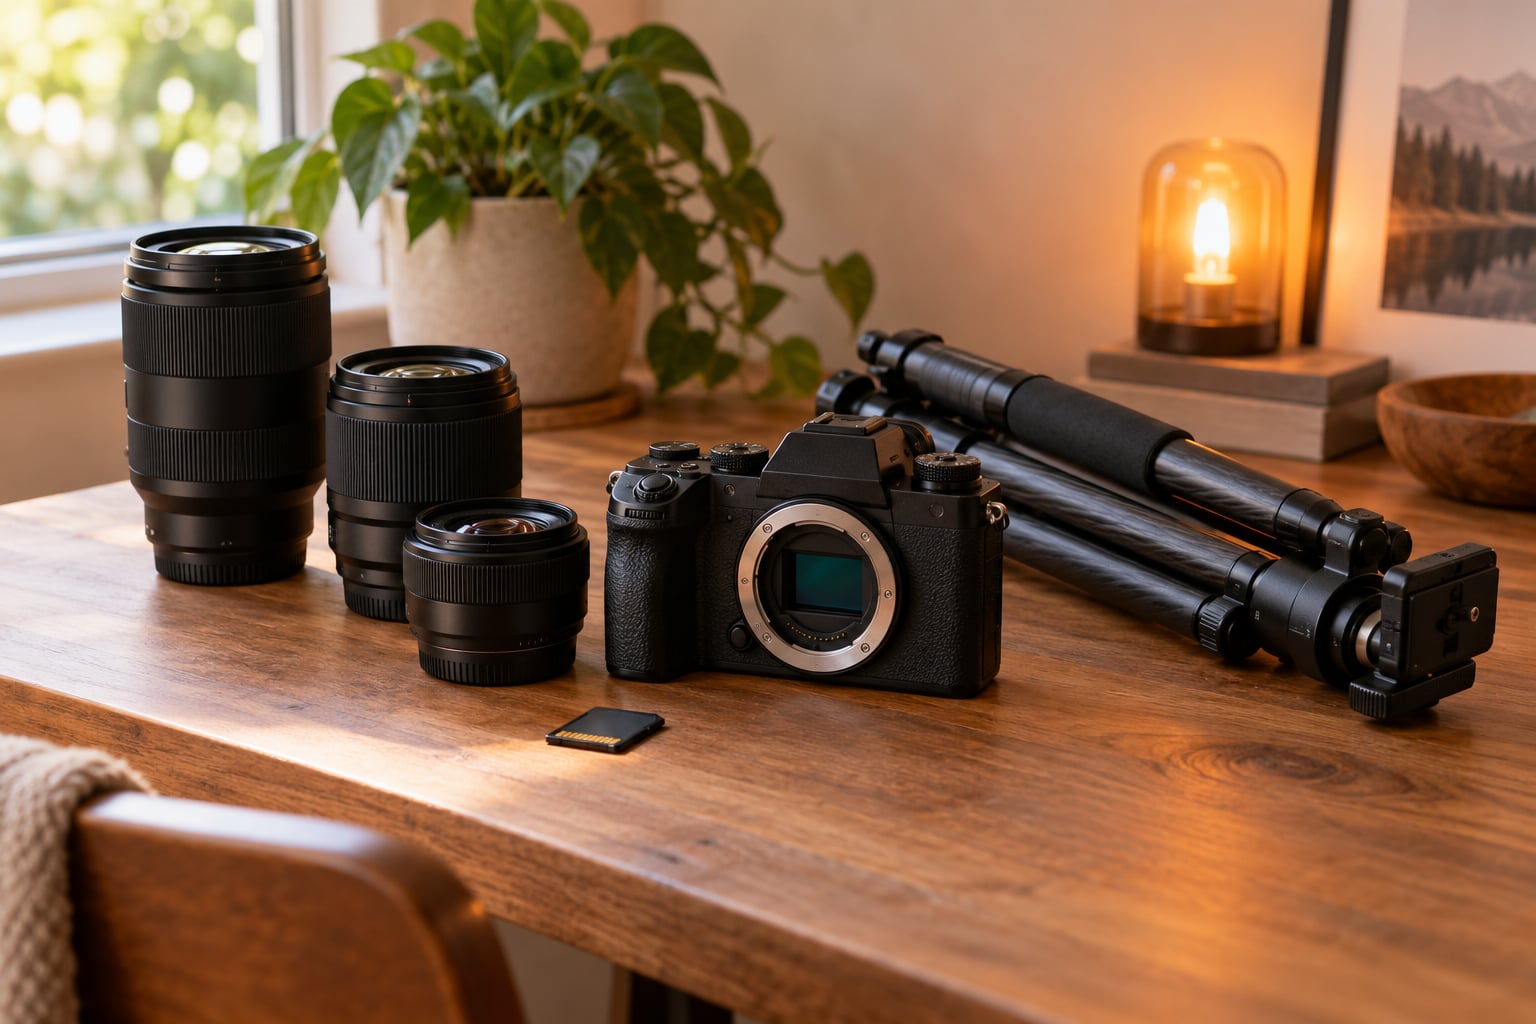
The right order is: technique and lighting first, then lenses, then support gear like a tripod, then the camera body last. Each purchase should fix the specific problem standing between you and the shot you want, not just be the newest thing on the shelf.
Most photographers who feel stuck are not short on megapixels. They are short on light, on a lens that suits their subjects, or on the patience to shoot until a scene feels familiar. Knowing how to upgrade camera gear in the right order is really about finding that bottleneck first, then spending against it.
It takes maybe an evening of honest inventory work to get your answer, and it saves you from the expensive kind of regret: a shiny new body that changes nothing about your photographs.
Table of Contents
- What You Need
- Step-by-Step: How to Upgrade Camera Gear in the Right Order
- 1. Identify the Limitation in Your Current Setup
- 2. Decide Which Genres and Subjects Matter Most
- 3. Set a Realistic Total Budget
- 4. Improve the Right Part of the System
- 5. Check Compatibility Before Buying
- 6. Compare the Cost of New, Used, and Renting
- 7. Test the Upgrade Before Committing
- Common Mistakes
- Frequently Asked Questions
- What should I upgrade first on a camera?
- How much should I spend on camera gear?
- Is it better to buy used camera equipment or rent?
- Should I upgrade lenses before buying a new camera body?
- When should I move from APS-C to full frame?
- How do I know when I need better camera gear?
- Start With the Bottleneck
What You Need
Before you look at a single product page, gather six things. Without them you are shopping, not upgrading.
Your camera model and lens mount. Write down the exact model number on the back of the body. The mount is the single most consequential detail, because it decides which lenses you can ever attach afterward.
A full inventory of what you already own. Bodies, lenses, flashes, filters, bags, cards, batteries, and any tripod. Photograph the list and put it somewhere you will find it in three months. Half of all “urgent” upgrades turn out to be gear you already own and never took out of the cupboard.
Three situations where your current kit forces a workaround. Be specific. “The focus hunts in low light and I miss the shot” is workable. “My photos are boring” is not. Name the moment, the subject, and what you did instead — bumped the ISO, gave up on the shot, cropped in post to rescue sharpness.
Your actual subjects and conditions. Mostly babies at home? Mostly sprint sports under stadium lights? Mostly dim restaurants and street scenes at night? The gear that fixes a wedding ceremony is nearly useless for astro, and the reverse is also true.
A total budget, not a per-item number. Decide how much you can spend across everything over a year, including accessories and the small consumables that always creep in.
Your weight comfort limit. Try your current body and lens with a full day of shooting in mind, and be honest about what your shoulder can carry. Gear you leave in the car produces nothing at all.
Step-by-Step: How to Upgrade Camera Gear in the Right Order
The table below is the shortcut. Read it top to bottom, then work through the seven steps to see which row actually describes your situation.
| Order | Upgrade | What it fixes | Typical lifespan | Best for |
|---|---|---|---|---|
| 1 | Technique and light control | Soft, flat, badly exposed frames | Lifetime | Every photographer, always first |
| 2 | Light and modifiers | Harassed skin tones, harsh shadows, dark rooms | 10+ years | Portraits, events, video, indoor work |
| 3 | Lens matched to your subject | Soft corners, slow shutter, missing focal lengths | 10+ years | Every genre, but the lens depends |
| 4 | Support gear | Unsteady long exposures, missed framing | 10+ years | Low light, landscapes, video, macro |
| 5 | Workflow and accessories | Backup failures, lost files, slow culling | 2-5 years | Anyone billing for photos |
| 6 | Camera body | Autofocus misses, buffer limits, high-ISO noise | 4-6 years | Action, events, video, and low-light shooters |
1. Identify the Limitation in Your Current Setup
Look at your last three months of keepers, not your last three purchases. The images you were happy with tell you what is already working, and the ones you deleted tell you what is not.
Autofocus that misses moving subjects points to the body. Files that look soft in the corners but sharp in the middle point to the lens. Shots that came out flat and grey point to lighting. Blurred frames at slow shutter speeds point to stabilization or to a support solution.
Write your three frustrations as plain sentences, then score each one by how often it stopped you from delivering a shot. The item that blocked you five times outranks the item you find annoying once.
2. Decide Which Genres and Subjects Matter Most
Sort what you shoot into roughly 70 percent regular work and 30 percent occasional, and only buy for the first group. Gear bought for the 30 percent segment sits in a bag.
Portraits and headshots reward a fast normal lens and a modifier. Events and weddings reward off-camera flash, spare batteries, and a body that keeps shooting when the card fills. Wildlife and field sports reward reach and tracking autofocus. Scenery, architecture, and long exposures reward a solid tripod, remote release, and manual focus. Video splits into two branches: one for image quality, one for audio, where the cheapest microphone on the shelf beats an expensive camera upgrade every time.
Deciding this before shopping is what keeps an upgrade list from turning into a wish list. A quick way to lock it in is to name the first upgrade for each of your top three genres before you name any product.
- Portraits and headshots: light and a modifier first, then a fast normal lens for separation and low light.
- Weddings and events: off-camera flash and spare batteries, then a body with a deep buffer and reliable autofocus in dim rooms.
- Wildlife and field sports: reach first, and body first if your current autofocus cannot hold a moving subject.
- Landscapes and long exposures: tripod and remote release before anything else, then filters and a wide lens.
- Street and travel: a small, fast, walk-around zoom that you are willing to carry all day.
- Food, products, and small work: lighting control and a tripod for overhead work, then a macro option.
- Video: audio first, then stabilization support, then image quality.
If two of those lists disagree, the genre you shoot most wins. Repeat that rule whenever a new idea shows up mid-project.
3. Set a Realistic Total Budget
Divide your total into six buckets: body, lenses, light and support, storage and backup, consumables, and a reserve. Reserve a slice you do not touch for sales, tax, and the surprise accessory you will need the week after the main purchase.
Then put the largest share into whatever your step 1 diagnosis named as the bottleneck. A common split is under a fifth of the total on a body, roughly half on lenses, and the rest on light, support, and workflow gear — but the ratio that works for you follows your diagnosis, not this paragraph.
Also decide the replacement horizon. A lens bought now should still be doing useful work in a decade. A body you will replace in four years should not eat the budget a lens would otherwise own.
Do the arithmetic on the timeline before you commit to anything expensive. Divide what you spend by the years you expect to use it, and compare the result across your shortlist. A mid-range item you keep six years usually costs less per year of use than a flagship you retire in three, and the money you do not spend stays available for the next upgrade instead of evaporating.
Leave the reserve untouched until the end of the year. Every photographer in this situation finds the same thing: the accessory that matters most is never the one they planned for.
4. Improve the Right Part of the System
Match the purchase to the symptom, and take the cheapest meaningful upgrade when two options fix the same problem.
For image quality and reach, the answer is a lens. One good fast normal lens transforms more photographs than any body, and it does so on the camera you already own. For movement — yours or the subject’s — buy a tripod or a stabilizer. For controlled scenes in ugly rooms, buy a light and a modifier; a reflector or a bounce off a wall handles a surprising share of soft directional needs at a fraction of the cost.
For tracking and burst, only the body helps. For workflow, that is cards, a backup drive, spare batteries, and a culling routine, and it costs almost nothing compared with a new body.
One exception deserves its own paragraph, because it is the case that breaks the usual advice. If you shoot fast action, wildlife, or paid events where a missed frame costs money, body first is correct. Users who paired a long telephoto from the early 2010s with a modern high-speed body report roughly double their keeper rate on the same scenes. When the gap between shot and keeper is the whole problem, fix the camera.
5. Check Compatibility Before Buying
This is where expensive mistakes hide. Confirm the mount matches the brand of your body, and then check the crop factor and the lens’s coverage.
Crop-sensor lenses — often labelled DX, APS-C, or with a manufacturer-specific APS-C name — usually do not cover a full-frame sensor, so a full-frame body later may mount nothing, mount with a cropped view, or mount with reduced functions. That is the ecosystem lock-in nobody warns beginners about. Buy full-frame lenses and you keep your options open on either sensor size.
Stabilization needs to work in lens or body, not both at once, so check the manual before combining. Firmware on the body can unlock lens features such as autofocus improvements or aperture control, so update before you conclude a feature is missing. Card format and card speed are body-specific, battery type is brand-specific, and third-party lenses vary in how well autofocus and electronic aperture behave — so read recent owner reports, not just the spec sheet.
6. Compare the Cost of New, Used, and Renting
New gear has the cleanest warranty and the fastest depreciation. Used gear often costs a fraction of the price and carries more usable life than the seller implied, if you check it properly. Renting costs the least of all for a one-off.
For a used body, ask for the shutter count and a fresh battery, and check for fungus or haze in the lens glass, sticky zoom rings, and a sensor that looks dirty in flat light. Confirm the return window and the warranty terms in writing before payment. For lenses, look at the front element under a light, the mount for bent pins, and the aperture blades for stiffness and oil.
Renting makes sense for a specific wedding, a sports season, a studio setup, or a lens far outside your genre. It also makes a good test: rent the exact upgrade for a paid job. If it changes your results, buy it. If the results were the same, you saved the money.
7. Test the Upgrade Before Committing
Buy the return period and use it. Shoot a real session on the full return window with your own cards and your own normal settings, and check the things that only show up in use: menu depth, how the camera sits in your hands with a lens attached, how quickly it finds focus on a face turning toward you, and how the files look on a large screen.
Weight matters more than any spec. A body and lens that hurt your shoulder after two hours gets abandoned, and an abandoned camera takes no photographs at all.
Do the test with everything you will carry, not just the new item. Strap, battery, and card included, because a body that felt fine in the store feels very different after four hours of walking.
If the return window has run out and the piece still feels wrong, sell it. Used gear moves quickly enough that recovering most of the cost inside a few weeks is normal, and a mismatch you discover at home is a cheaper lesson than one you discover on the day of a paid job.
Common Mistakes
Upgrading the body while a weak lens is still on the mount. The sensor can only record what the lens delivers. Fix the lens first and the body you already own gets better immediately.
Buying the wrong mount. Check the mount before anything else, then check the crop coverage. Getting this wrong leaves you with a beautiful lens that fits nothing later.
Chasing megapixels. More resolution only helps when light, lens sharpness, and your own technique can fill those pixels. Effective resolution is limited by the weakest part of the chain.
Changing several variables at once. Upgrade one thing, then shoot a full project. Otherwise you have no idea which purchase caused the change you liked.
Ignoring weight and balance. A heavy telephoto slung on a small body is harder to hold steady than a lighter combination. Test before you commit.
Skipping the compatibility check. Stabilization, firmware, card format, battery type, and third-party autofocus support all have rules. Ten minutes reading the manual prevents a return.
Buying gear for a technique problem. Blurred shots are usually shutter speed, not sensor size. Grey portraits are usually light direction, not image quality. Skill and gear are not rivals, and gear cannot compensate for a limit you have not identified.
Owning overlapping focal lengths. Two wide-to-short zooms covering the same range means one lens lives in a bag. Buy the gap in your coverage instead.
The fix for all of it is the same: fix the biggest bottleneck, one purchase at a time, and let each new limitation earn you the next upgrade.
If you have already made the wrong upgrade, it is not a disaster. Shoot the new body on a good lens and find out what it was actually for, then keep it only if it earns its place in your bag. Second bodies get used for high-pressure work, and a spare body is not wasted money when it has a defined job.
Frequently Asked Questions
What should I upgrade first on a camera?
For most photographers the first real upgrade is light control plus a lens matched to their subjects, not a new body. Technique comes before any purchase, and a tripod often out-earns an expensive body for low light and long exposures. Diagnose which limitation blocked you most often, then buy the cheapest item that removes it.
How much should I spend on camera gear?
There is no universal figure, but a workable rule is to keep the body under roughly a fifth of your total gear budget and let lenses take about half. Budget for accessories and consumables too, and hold back a reserve. If your gear budget would exceed what you can earn from photography within a couple of years, scale the whole plan down before you start.
Is it better to buy used camera equipment or rent?
Buy used when the item is part of your regular shooting and will stay in your bag for years. Rent for one-off work, such as a single wedding, a sports season, or a specialty lens, and to test an upgrade before committing. For used purchases, check shutter count, battery health, glass condition, and the return window before paying.
Should I upgrade lenses before buying a new camera body?
Usually yes, because lenses outlive bodies by years and change the look of every frame. The exception is fast action, wildlife, or paid events where missed focus and short buffers cost you money. In those cases a modern tracking body can double your keeper rate on the same scenes, so upgrade the body first and keep your existing lenses.
When should I move from APS-C to full frame?
Move when you are pushing a crop-sensor body to ISO levels that ruin your files, or when low light and shallow depth of field are central to your work. Check compatibility first, since crop-sensor lenses often do not cover a full-frame sensor. Buy full-frame lenses now so the move costs you a body rather than a whole lens set.
How do I know when I need better camera gear?
Name three specific situations where your current kit forced a workaround, such as missed focus, soft files, or raising ISO to get a usable shutter speed. If the pattern repeats across months and technique changes did not fix it, gear is the limit. If your files are fine and the moment still failed, the limit is timing and practice, not equipment.
Start With the Bottleneck
Do this tonight: list the three frustrations that recur most, assign a total budget across the next year, and buy the one component causing the most interference. That is how to upgrade camera gear in the right order, and it holds whether you spend very little or a great deal.
Every purchase after that one repeats the same loop. Diagnose, fix the biggest limit, shoot a full project, then diagnose again. The photographers whose images improve fastest are rarely the ones with the newest bodies — they are the ones who bought the right thing at the right moment.