To insure camera equipment, you usually add a scheduled rider for your gear to an existing homeowners or renters policy, buy coverage through a professional association such as PPA PhotoCare, or take out an inland marine or small business policy that lists your kit. Start by calling your current home insurer before spending anything new.
That first call is the step most people skip, and it is the cheapest one. Plenty of photographers buy a standalone policy while sitting on coverage they never checked. On the other end of the spectrum, plenty of hobbyists assume a home policy covers a kit worth several thousand dollars when the personal-property sub-limit on that policy sits far lower.
This guide walks through the whole process: working out what to insure, building an inventory an underwriter will accept, comparing policy types, reading the limits that decide whether a claim pays, filing the policy properly, and keeping it current as your gear changes. Rules, named plans and pricing vary by state, country and insurer, so treat everything here as a framework and confirm the specifics with your own agent.
Table of Contents
- What You Need Before You Insure Camera Equipment
- Step-by-Step: How to Insure Camera Equipment
- Step 1: Identify What Needs Coverage
- Step 2: Document and Value Your Gear
- Step 3: Compare Coverage Types
- Step 4: Check Important Policy Limits and Exclusions
- Step 5: Purchase and Record the Policy
- Step 6: Review Coverage After Every Major Change
- Common Mistakes When You Insure Camera Equipment
- Frequently Asked Questions
- Can I insure camera equipment through homeowners insurance?
- What is the best type of insurance for expensive camera gear?
- Do camera-insurance policies cover lenses and lighting equipment?
- Do I need a receipt to make a camera-equipment claim?
- Does camera equipment insurance cover equipment used for paid photography?
- How much does it cost to insure camera equipment?
- Conclusion: Start With the Inventory
What You Need Before You Insure Camera Equipment
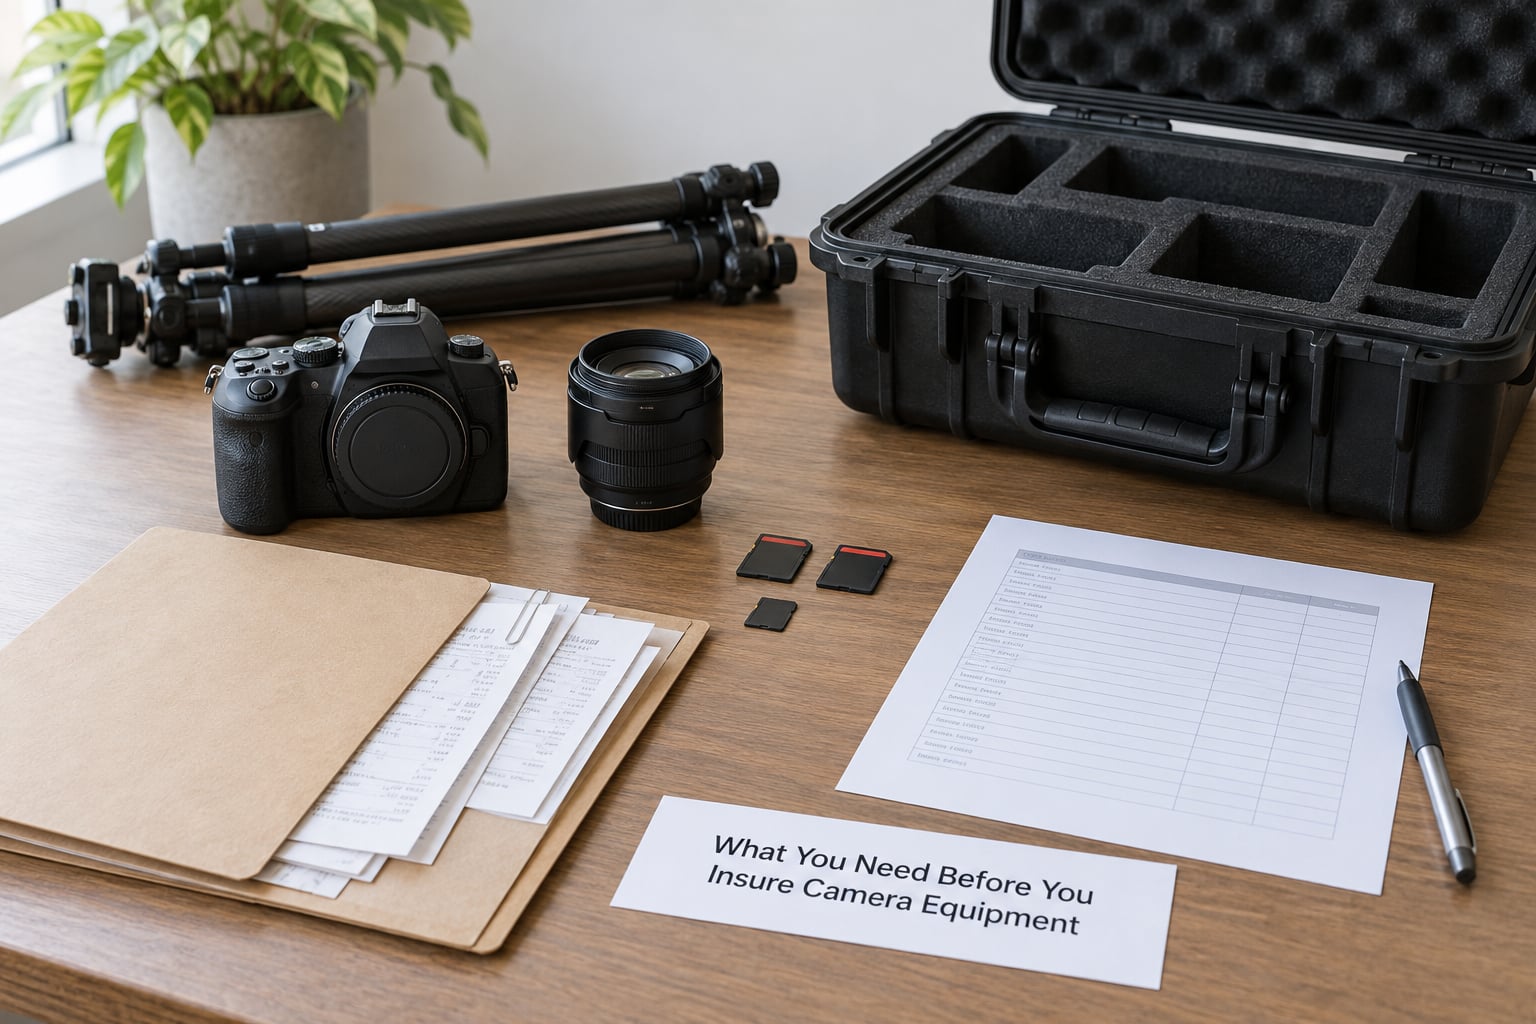
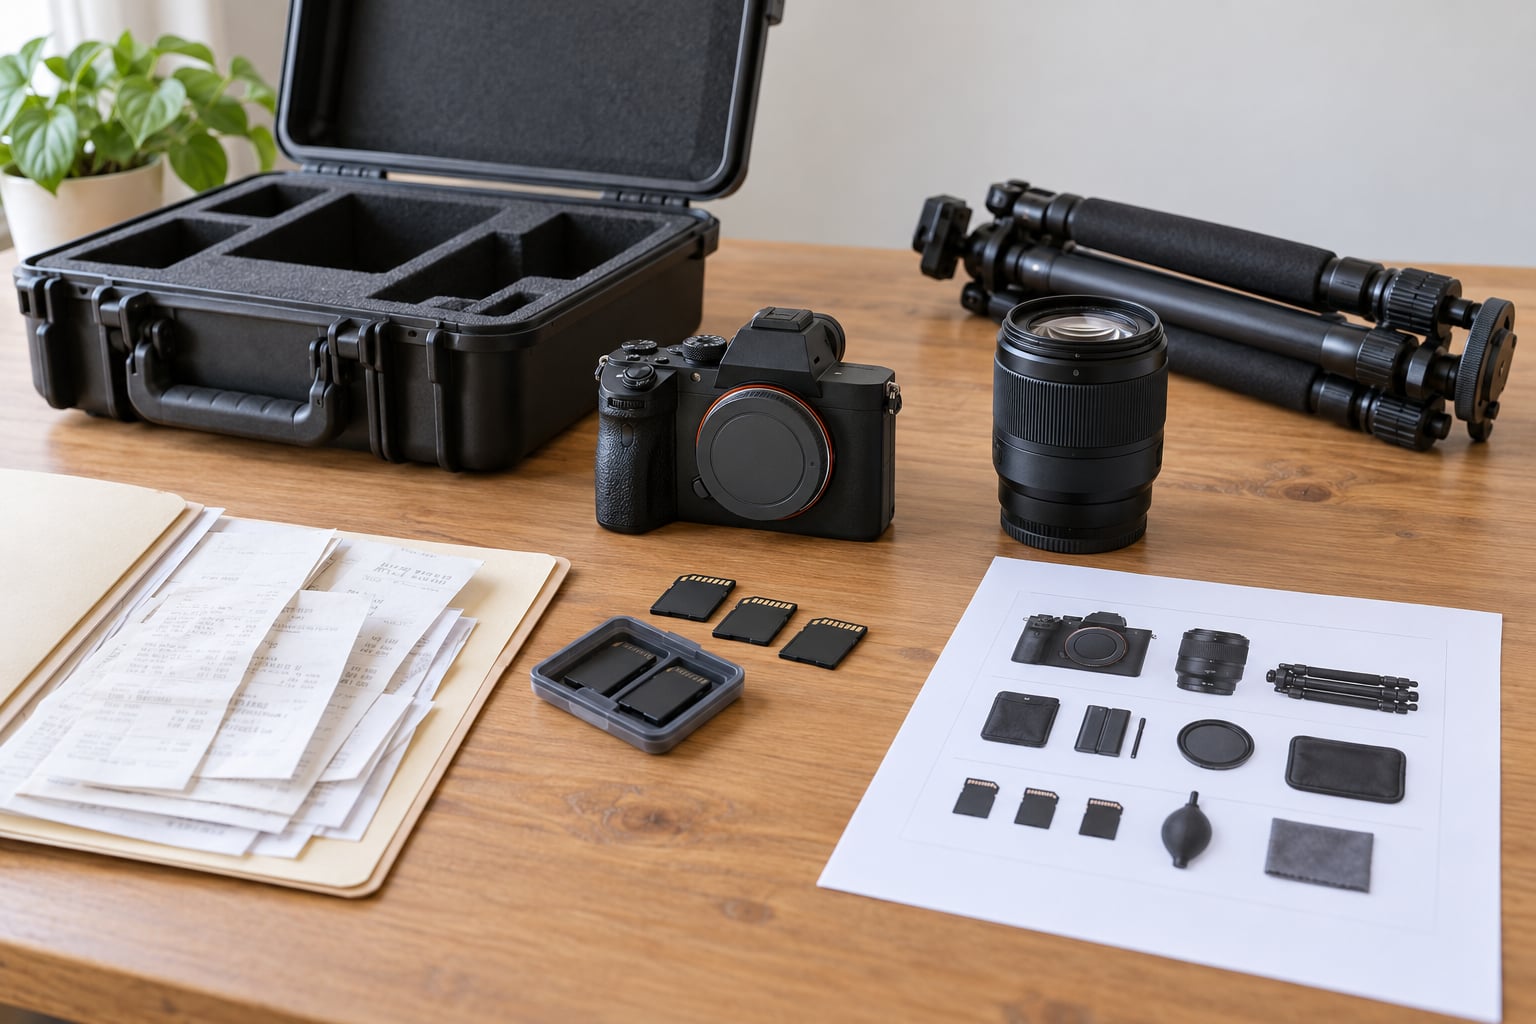
Insurers underwrite from paperwork, not from memory. What you gather before you apply decides how much coverage you get offered and how smoothly a claim runs later.
- A written inventory of every body, lens, light, grip, filter and cable you want covered, with make, model, serial number, purchase date and value.
- Proof of purchase — receipts, order confirmations or bank statements. A folder of PDFs works as well as a shoebox.
- Photos of serial numbers taken where they are etched on the body, lens barrel and battery compartment.
- Current value, not historic value — what the same item costs today, in the condition you actually own it in.
- Your existing policy declarations page, so you can see the personal-property limit and any sub-limit that applies.
- A list of where gear lives — home studio, rental unit, car overnight, or a bag that goes to another country.
- Paid-work details, if you shoot commercially. Some personal policies exclude professional use outright.
A formal appraisal is usually unnecessary. It matters for older or rare gear, collectible lenses, and high-value kits above a carrier’s threshold. For a normal digital kit, receipts plus a current-market value check are enough.
Step-by-Step: How to Insure Camera Equipment
Six steps, in order. Skipping step two is the most expensive mistake people make, because the insurer sets your limit based on what you declare, and the claims experience depends on what you documented.
Step 1: Identify What Needs Coverage
List everything, then sort it. Separate gear you own from gear you borrow, rent from clients, or use on an employer’s job. Borrowing someone else’s equipment and insuring it as your own is a claim problem waiting to happen.
Most people insure two or three bodies and lenses and forget everything else. Lights, triggers, grip rigs, monitors, hard cases, ladders, generators and even a laptop full of a decade of client work add up fast. Drones need their own category and often their own policy.
How do you know the step worked? Every item in your house that would cost real money to replace should appear on your list, and every line should say whose it is.
Step 2: Document and Value Your Gear
Build the inventory before you contact anyone. For each item capture make, model, serial number, purchase date, current value and where the receipt lives. Photograph each serial number in place — that photo is often the fastest way an adjuster confirms ownership after a theft.
Then decide the valuation basis, because it changes what you get paid. Actual cash value pays depreciated worth: a four-year-old body that cost a given amount new is worth notably less now. Replacement cost pays the current price of a comparable item. If you want replacement cost, the policy has to say so in writing.
One r/photography user described insuring a large professional kit as a scheduled listing of every individual camera and lens at full replacement value — itemized, not lumped into a single number. That structure is the difference between a smooth claim and an argument.
You know the step worked when a stranger could rebuild your list from your spreadsheet alone.
Step 3: Compare Coverage Types
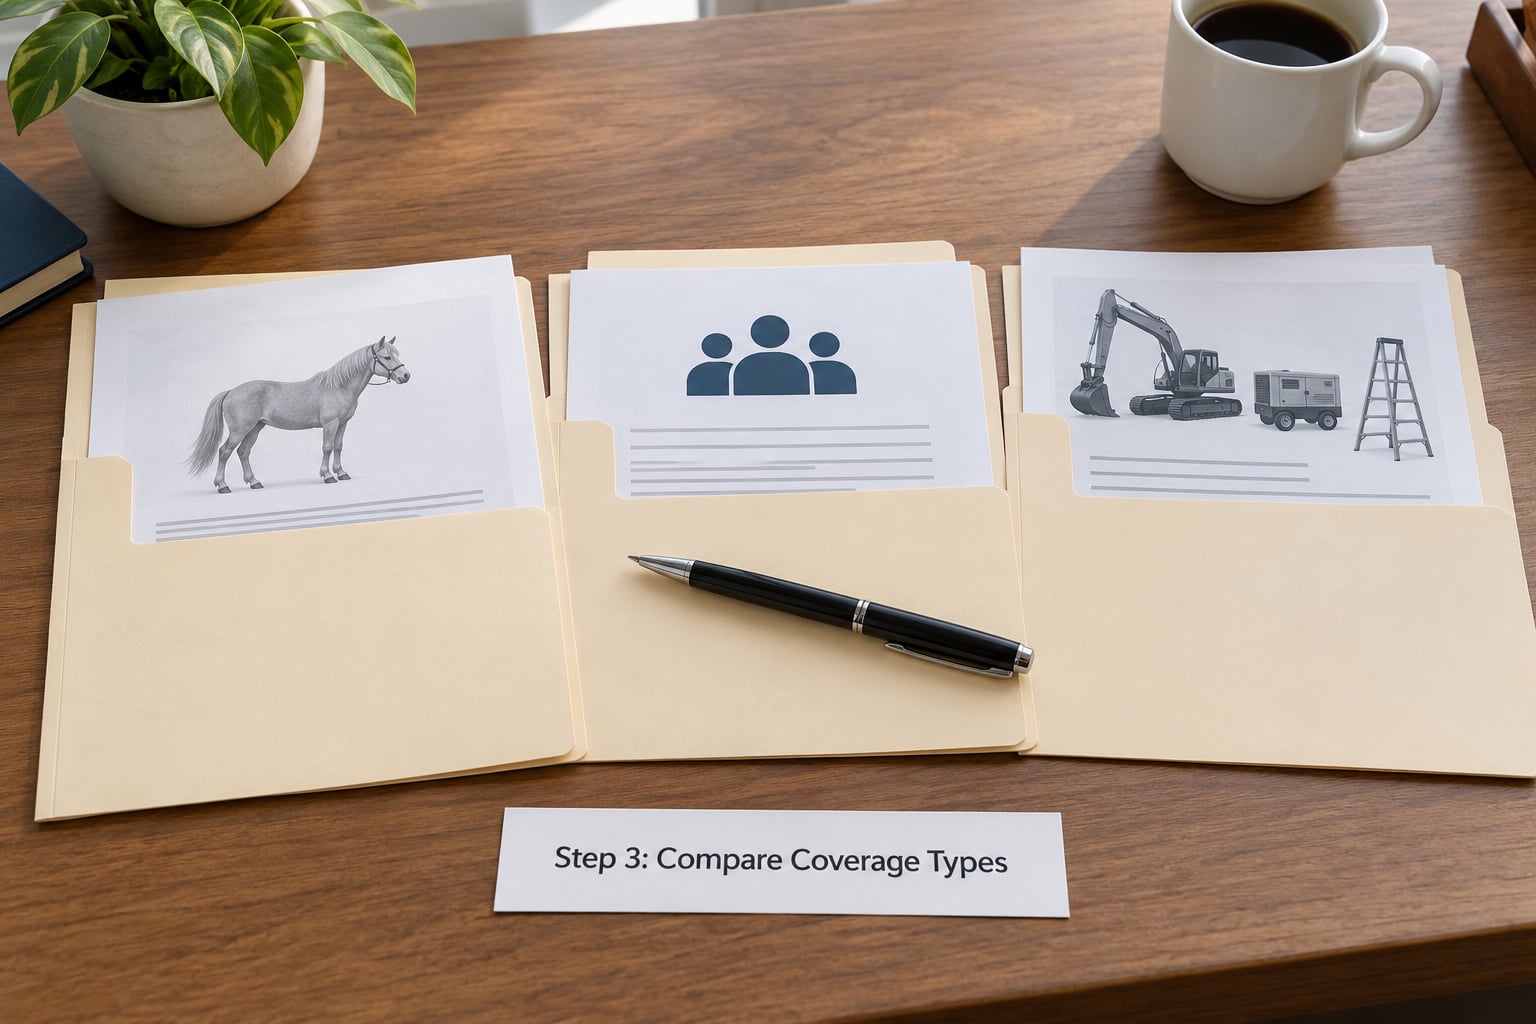
Three routes cover almost everyone. Each one reaches the same gear through different machinery, and the differences show up at claim time.
- Scheduled rider on a homeowners or renters policy: your existing insurer adds an endorsement listing each item and an amount. Usually the cheapest route if you already carry the home policy, and it folds into one renewal. Ask about sub-limits first — some personal-property limits apply per category and can sit surprisingly low.
- Professional association policy: PPA PhotoCare, National Photographic Society and The Guild of Photographers all run gear coverage for members, and association plans are frequently the simplest fit for a working photographer who wants equipment, liability and errors-and-omissions in one place. Membership dues sit on top of the premium, and higher tiers can carry higher deductibles.
- Inland marine or small business policy: written for equipment that moves, is used professionally and doesn’t live in a residence. This is the standard route for a full-time shooter, someone running a rental house, or a photographer whose kit is worth more than a personal property rider will comfortably carry.
Community consensus on the photography forums keeps pointing back to the same order: call your homeowners agent first, find out what you already have, then decide whether the gap is worth closing. That is the cheapest first step available.
Named carriers and plans in this space include USAA, Progressive, State Farm, Allstate, Thimble, Full Frame Insurance and Worth Ave. Group. Which of them is available, and at what terms, depends on where you live.
Step 4: Check Important Policy Limits and Exclusions
This is where claims quietly die. Before you buy, read these lines closely:
- Maximum limit and per-item limit. The schedule total is a ceiling, and some policies cap any single item below that ceiling.
- Sub-limits. A home policy may cap precious metals, collectibles or musical-instrument-grade property at a figure far under your gear’s value.
- Professional-use exclusion. Personal articles policies commonly exclude damage arising from professional use. One occasional paid shoot is enough to trigger it, which is the denied-claim trap photographers worry about most.
- Unattended equipment. Gear left in a parked car, on a café table or in an unattended bag is commonly excluded from theft coverage.
- Vehicle storage conditions. Some policies require gear to be locked in a specific place, or place a curfew on overnight storage in a car.
- Rented or borrowed gear. Cover for equipment you rent out to clients is usually a separate endorsement, not a default.
- Depreciation. If the policy settles on actual cash value, your payout drops with age no matter how careful you were.
- Proof-of-purchase rules. Some carriers pay only with a receipt; others accept a self-certification, which is why the photos from step two matter.
- Territory. US-only coverage is common. If you shoot abroad, check whether the policy applies worldwide and what it expects of you — a police report filed locally before you fly home, for example.
Deductibles deserve their own look. A high deductible on a small camera can cost you more than the gear is worth; the same deductible against a full lighting kit is a rounding error. Read the deductible as a number of items you could afford to lose, not as a percentage.
The step worked if you can name, without looking, the two exclusions most likely to hit your kit.
Step 5: Purchase and Record the Policy
Get quotes in writing and ask written questions. A phone conversation leaves no record, and the answer you need is usually a specific one: is coverage worldwide, does professional use count, is the deductible flat per claim, and what proof of ownership do you need. Save the answers in the same folder as the inventory.
When the policy issues, read the declarations page top to bottom and check four things against your inventory: the item count, the declared total, the deductible and the effective date. Confirm nothing was dropped in transcription — a schedule missing one lens is a schedule you will not notice until it matters.
Save the policy number, the claims phone number and a copy of the declarations somewhere you can reach without your camera bag. Set a calendar reminder for the renewal date and one for any equipment purchase.
Step 6: Review Coverage After Every Major Change
New lens, sold body, borrowed kit, gear moved to a storage unit, switching from hobby to paid work. Each of those changes your schedule, and each one is a few minutes of work now or a headache at claim time.
Run the same annual review too: premiums against current value, deductible against what you could absorb, limit against your actual inventory, and replacement records for anything you no longer own. Rates and terms shift, so a policy that was right two years ago may no longer fit.
Common Mistakes When You Insure Camera Equipment
Almost every denied gear claim traces back to one of these.
- Assuming your home policy covers the full value. Personal-property limits and sub-limits can sit far below what a serious kit is worth. Fix: read your declarations page and ask the agent for the number in writing.
- Filing a claim from professional use under a personal policy. One paid shoot can void coverage. Fix: ask whether the policy covers professional use, and close the gap with a business or association policy if it does not.
- Declaring a value far above what you own. Paying premium on a declared total several times the actual gear costs more every year and raises questions at claim time. Fix: declare what you own, at current value.
- No serial-number photos. After a burglary, ownership is the first thing an insurer tests. Fix: photograph every serial number in place, and store those photos outside your house.
- Losing the receipts. Fix: scan them into a cloud folder on the same day you unbox.
- Filing no police report after a theft. The claim can stall without one, especially abroad. Fix: report it locally, get the report number, keep a copy.
- Missing the claim deadline. Fix: write the notification deadline into your calendar the day the policy starts.
- Repairing before the adjuster sees it. Fix: photograph the damage thoroughly, then wait for the go-ahead before any repair.
Prevention still pays. Carry on location, keep bodies and lenses separated in a bag so one impact cannot take both, avoid leaving gear visibly in a vehicle, and use a cable lock or a locked case for anything that stays in a car overnight. Marking bodies with an ultraviolet pen gives you ownership proof if the gear turns up in someone else’s hands. For paid work, a written contract and a model release protect your reputation and your liability position, which gear coverage alone does not touch.
One more distinction worth keeping straight: a manufacturer warranty and an extended protection plan are neither of them insurance. Warranties cover defects. Protection plans cover specific mechanical failures for a fixed term. Neither pays for theft, and neither responds to a claim the way an insurance policy does.
Frequently Asked Questions
Can I insure camera equipment through homeowners insurance?
Usually, yes, and it is the first place to look. Most homeowners and renters policies cover personal property including cameras, but the coverage sits inside a personal-property limit and a precious-metals or collectibles sub-limit that can be much lower than your gear is worth. Ask your agent for the exact sub-limit figure and whether adding a scheduled rider listing each item is available to you.
What is the best type of insurance for expensive camera gear?
For most working photographers, equipment coverage paired with general liability and errors-and-omissions is the right package, usually through an association plan such as PPA PhotoCare or a small business inland marine policy. A scheduled rider on a home policy suits a hobbyist with a few high-value items. The best fit depends on whether you shoot professionally, travel, and how much your kit is worth.
Do camera-insurance policies cover lenses and lighting equipment?
They can, but only what you schedule. Most gear policies list lenses, bodies, lighting, grips and accessories individually, and items you forget to declare fall outside the coverage limit. Include flashes, triggers, stands, modifiers, monitors and hard cases in your inventory if they would cost real money to replace. Confirm that stands and softboxes count as covered equipment rather than general property.
Do I need a receipt to make a camera-equipment claim?
A receipt is the strongest proof, but not every carrier requires one. Some settle on photographs of serial numbers plus a self-certification of ownership, while others pay only against documented purchase. Either way, a written inventory, serial-number photos taken at home and stored in the cloud, and scanned receipts make the difference between a fast claim and a long correspondence.
Does camera equipment insurance cover equipment used for paid photography?
Only if the policy says so. General personal articles and personal property policies frequently exclude damage arising from professional use, and an occasional paid shoot can be enough to void the claim. If you shoot commercially at all, tell the insurer in writing and get an answer about professional use in writing. An association or small business policy is the cleaner route for paid work.
How much does it cost to insure camera equipment?
Premiums scale with the declared value and the deductible you choose, and they vary widely by state, insurer and whether you add liability and errors-and-omissions cover. Association plans add membership dues on top. Standalone provider policies for hobbyists often sit in the low hundreds per year, while a full business policy with liability cover costs more. Ask for quotes with the declared total, deductible and limits stated together so you can compare like with like.
Conclusion: Start With the Inventory
Insuring camera equipment is not complicated once the paperwork exists. List every item with its serial number and current value, check whether your homeowners or renters policy already covers any of it and where its sub-limits sit, then compare a scheduled rider, an association policy and an inland marine or small business policy against the same set of limits and deductibles.
Start with the inventory, because it is the part you fully control and the part every later decision depends on. Save your declarations page, set the renewal reminder, and revisit the schedule whenever your kit changes.
Terms, rates and named plans change, and coverage rules differ by state and country. Confirm everything with your own agent before you buy. Stongphotography.com does not sell insurance, and none of the carriers named here endorse this guide.