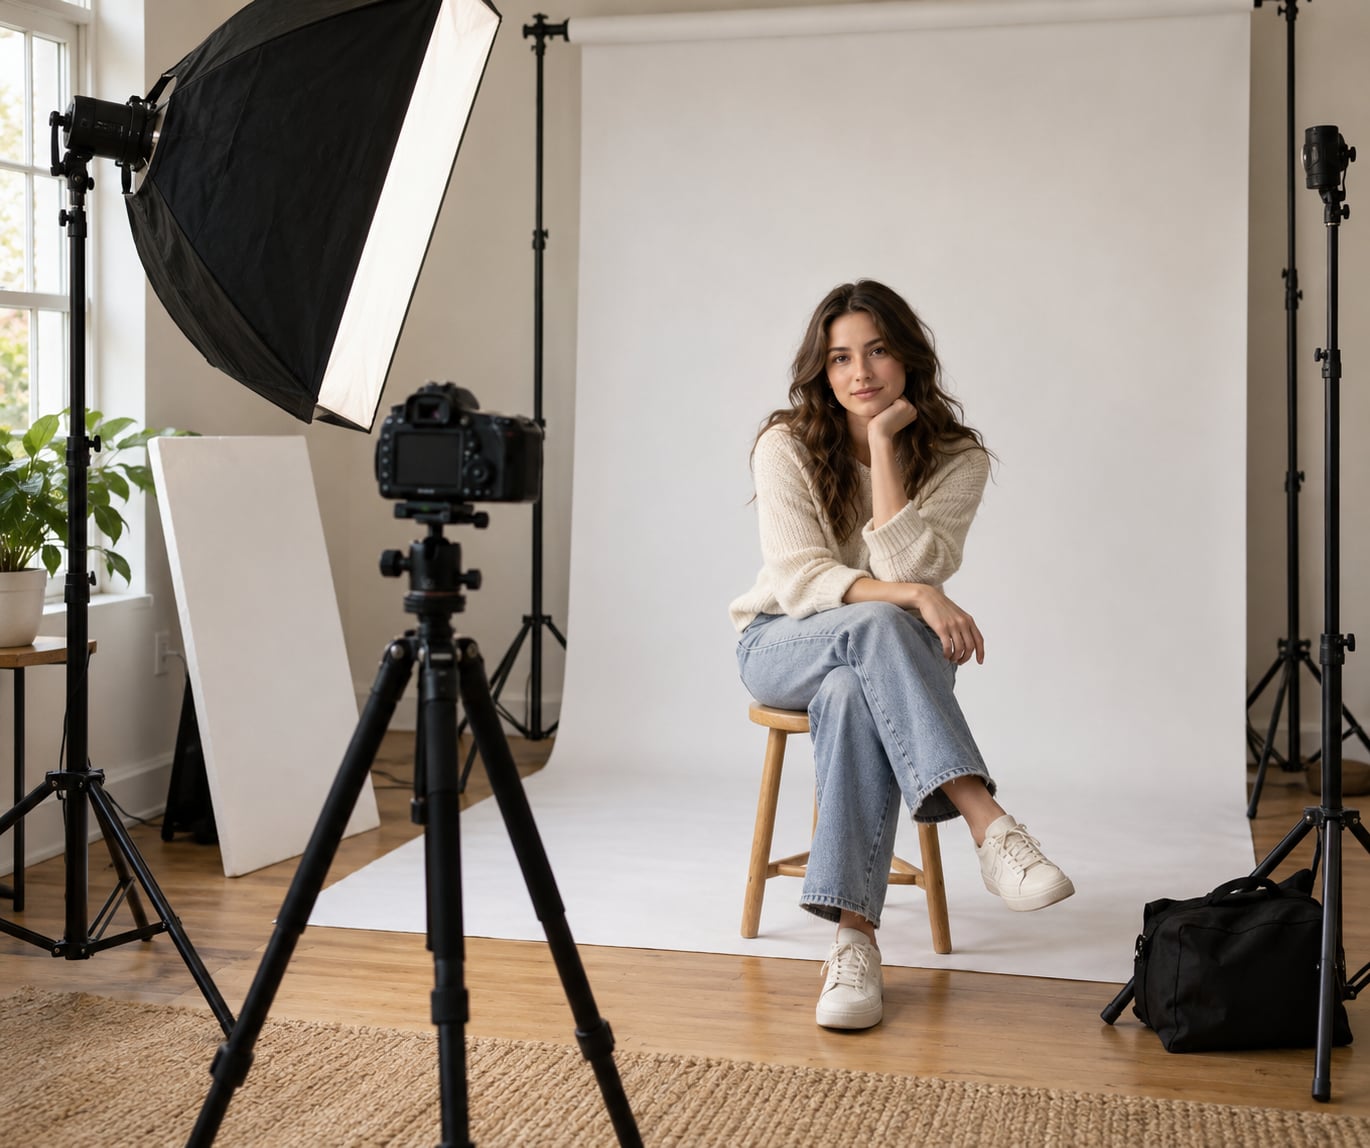
To shoot high key portraits, light a white background brighter than your subject, place one large soft light about 45 degrees in front, bounce a white reflector or weaker second light into the shadows, and expose in manual mode so skin lands just below clipping. Everything else is refinement.
The look gets a bad reputation for being flat, but flat is not the same as boring. A high key portrait still has a light direction, still needs catchlights in the eyes, and still falls apart if the background behind the head goes gray. Most beginners are not short on talent or gear; they are short on a repeatable order of operations.
That order is what this guide gives you. Beginners on r/AskPhotography and r/photocritique ask the same three things over and over: why is my background gray, why do my shadows look like a mistake, and how do I keep bright skin from going chalky. Each one has a simple fix, and all three come back to lighting and metering rather than editing tricks.
Table of Contents
- What You Need
- Camera and lens
- Key light
- Fill
- Background
- Background lights and the rest
- How to Shoot High Key Portraits Step by Step
- Set Up a Bright White Background
- Create Soft, Even Light with Two Lights
- Set Camera Settings for High Key Portraits
- Direct Posing and Expressions
- Review, Refine, and Capture the Final Look
- Common Mistakes and Quick Fixes
- Simple Editing for a High Key Finish
- Frequently Asked Questions
- What is the best light ratio for high key portraits?
- How do I get a pure white background instead of gray?
- Can I shoot high key with just one light and no reflector?
- What camera settings should I use for high key photography?
- How do I light high key portraits for dark skin tones?
- Why do my high key photos look flat and lifeless?
- Conclusion
What You Need
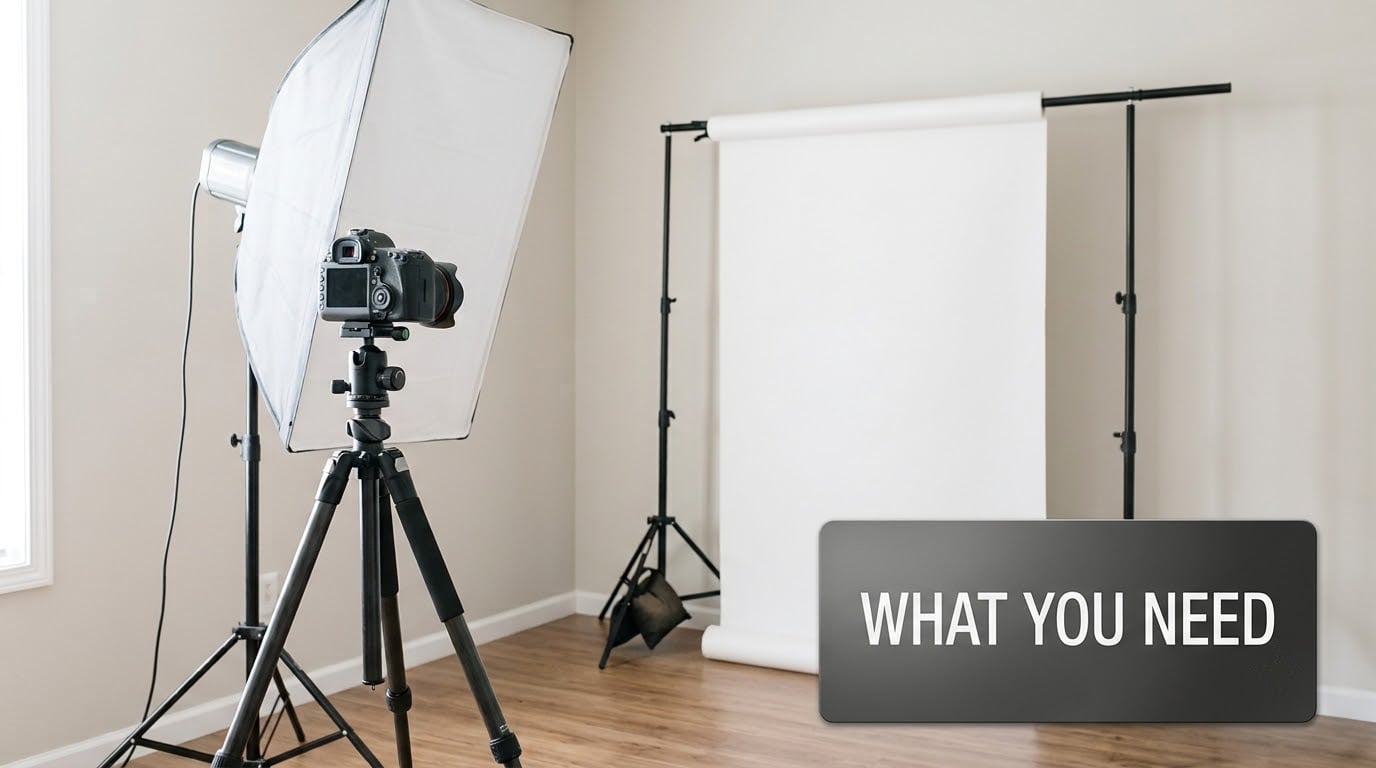
You need a camera, one big light source, something white to bounce with, and a white background lit separately from your subject. That is genuinely the full list.
Camera and lens
Any interchangeable lens camera or DSLR will do. A 50mm or 85mm lens is the classic choice because it keeps facial proportions honest and lets you stand far enough back to work with a small soft light without it becoming a wall in front of you.
A zoom in the 70-200mm range covers the same ground if you have one. A kit lens at 35mm is workable for a first attempt, though you will be closer to the subject and shadows on the background get harder to avoid.
Key light
Look for a light source that is large, because size is what makes the shadows soft. A 90cm octabox, a 5-in-1 reflector dish, or a large LED panel all produce the open, shadowless quality high key depends on.
Beginners often start with a single speedlight bounced off a white ceiling, which works but wastes a lot of power and gives you a moving light source. A continuous LED you can dial down with a dimmer gives you far more control over brightness, and control is the whole game here.
Fill
Fill is what separates a high key portrait from an overexposed one. The cheapest option is a 5-in-1 reflector, which comes in sizes around 43 inches for small spaces and 74 inches for standing portraits.
A second light works too, set one stop under the key. If you only have one light, stand in for the fill yourself: a white shirt and pale trousers will lift shadows more than most beginners expect.
Background
Use a roll of white seamless paper for the cleanest result, or a white wall if you are starting out. Paper is worth the cost because it has no skirting boards, no light switches and no color bleed from the room.
Budget builders have had good results with a white bed sheet stretched over a wall and a foam board underneath to bounce light back into it. The sheet needs ironing, and the foam board makes the difference between a gray backdrop and a white one.
Background lights and the rest
Two more lights pointed at the backdrop are the part people skip, and they are exactly why the background reads gray. Cheap LED panels or bounced flashes work as long as they are brighter than the light hitting your subject.
You will also want light stands with sandbags, a white cloth or tape for securing the paper, and editing software. Spot metering on a dedicated light meter is a luxury; the histogram and blinking highlight warnings on your camera screen are free and good enough for a beginner.
How to Shoot High Key Portraits Step by Step
The order matters more than the gear. Light the background first, then the key, then the fill, then set the camera, then direct your subject, and only then shoot.
- Hang or mount a white background 2 to 3 meters behind your subject and light it to pure white.
- Place the key light 45 degrees to the side and 45 degrees above your subject’s face, close enough to stay soft.
- Add fill opposite the key at about one stop less power, or bounce a white reflector into the shadow side.
- Shoot in manual mode at ISO 100-200, f/5.6 to f/8, and 1/125 second or below your flash sync speed.
- Spot meter the skin and add roughly 0.7 to 1 stop of exposure compensation.
- Pose, focus on the nearest eye, and check the frame for shadows on the background before you shoot a series.
Set Up a Bright White Background
Make the background brighter than the light on your subject, and put enough distance between subject and backdrop that the subject casts no shadow onto it.
Start with the paper roll. Run it from a holder above and behind your subject, sweeping onto the floor so the sweep curves rather than ending in a hard line. Iron it the night before, or the creases will show up as grey stripes that no amount of editing fixes cleanly.
Next, aim your background lights. Two LED panels placed low and wide, or a bounced flash aimed at the ceiling and back down, will get you to a clean white faster than cranking one light. Watch your camera’s highlight warnings: a background that clips to pure white is exactly the goal, but you want the transition between the subject and the backdrop to stay smooth.
If the background stays gray, there are three usual causes. It is not getting enough light, so add a second source. It is too close to your subject, so shadows land on it, so push it further back. Or it is a wall with a color in it, and the camera sees the room’s warm tone, so grey it down in editing or white balance it out.
Distance does more work than power here. A subject standing 2 to 3 meters from the backdrop will throw their own shadow and the shadow of your key light onto it, and neither reads as high key.
Create Soft, Even Light with Two Lights
Aim the key light at 45 degrees above and to one side of your subject’s face, and put the fill opposite it at slightly lower power. That gives you soft, open shadows without erasing the face.
The key is the light that creates the catchlight and the shape. Keep it high and close, roughly 1 to 1.5 meters from your subject with a diffuser or softbox on the front, feathered so the hot centre of the beam points at the backdrop rather than straight into the lens.
The fill’s only job is to control how dark the shadow side goes. Light ratio describes the difference between the two sides of the face in stops, and it is the number that separates a clean high key portrait from a washed-out one.
| Light ratio | What the shadows look like | Best for |
|---|---|---|
| 1:1 | Almost no shadow, very open face | Beauty, cosmetics, e-commerce |
| 2:1 | Faint shadow under nose and chin, face keeps shape | Corporate headshots, most portraits |
| 4:1 | Visible shadow side with detail still intact | Bright lifestyle and family work |
| 8:1 | Half the face falls away into shadow | Dramatic work, not high key |
For a beginner, 2:1 is the sweet spot. It looks bright and clean without turning the subject into a flat cutout, and a small shadow under the nose is what tells the eye the face is three-dimensional.
With a reflector instead of a second light, hold it just below your subject’s chin on the shadow side. Closer means more fill and a lighter ratio, further means less. If you cannot get the ratio right with the reflector alone, add a white card on the lapel or a sheet of white foam board on the floor, and the shadows will lift a stop or so on their own.
Butterfly lighting is worth trying for a beauty look. Put the key directly above and in front of the face, and the shadow from your nose lands as a small butterfly shape under it. Add fill from below and you get the classic high key beauty portrait.
Set Camera Settings for High Key Portraits
Switch to manual, start at ISO 100, f/5.6, and 1/125 second, then set exposure by metering the skin. Everything after that is adjustment.
| Setting | Starting point | Notes |
|---|---|---|
| ISO | 100 to 200 | Keep low in a controlled room to protect skin tone |
| Aperture | f/5.6 to f/8 | Wide enough for a soft light, narrow enough for sharpness |
| Shutter | 1/125 or slower | Stay at or below flash sync speed |
| White balance | Flash preset or custom around 5500K | Prevents the yellow cast LEDs cause |
| Metering | Spot on the skin | Then add 0.7 to 1 stop |
| Exposure comp | +0.7 to +1.0 EV | Push the histogram right without clipping skin |
Metering is the part beginners rush. Point the spot meter at the cheek, not at the shirt and not at the background, because a white background will push the meter down and underexpose the face.
Then add about 0.7 to 1 stop. High key sits right against the upper end of the histogram without pushing skin into clipping, and the blinking highlight warnings on your screen are the safety net. Some skin tones clip before the display says so, which is why the histogram matters more than the meter reading alone.
On aperture, f/2.8 versus f/4 matters for how much of the face is sharp. At f/2.8 with a 50mm lens close up, the far cheek and ears go soft, which is flattering for a beauty frame and wrong for a headshot. f/5.6 to f/8 keeps the whole face sharp and still gives you enough light.
For full-length frames, stop down a little more and check that both subject and backdrop are sharp. Do not push past f/11 unless you need to, because diffraction softens fine detail at that point.
Set white balance manually rather than auto. Mixed LED and daylight sources produce the yellow-green cast that makes bright portraits look sickly, and a custom setting around 5500K fixes it before the shot instead of after.
Direct Posing and Expressions
Bright lighting exposes posture and tension, so give your subject simple physical instructions and let the expression come from the conversation between shots.
Start with the basics. Have them turn their shoulders about 45 degrees to the camera and their head back toward it, which adds dimension to a very even light. Ask them to bring one shoulder forward and down, and to put their weight on their back foot so they do not lean toward the lens.
Chin forward and slightly down shortens the face and defines the jaw. With a high key light coming from above, a dropped chin creates a visible shadow under the jaw, which is the one piece of dimension this style allows you.
Hands are the usual failure point. Give them a job: one hand on a pocket, both hands holding a prop, or fingers lightly touching the collar. Avoid the hand hanging straight at the side and avoid the classic bent-elbow pose, which reads as awkward in a bright, clean frame.
On expression, ask for a thought rather than a smile. A real half smile with a slightly open mouth reads as confident, and it settles faster than asking for a full grin. High key portraits that look cold usually come from a subject holding a smile for twenty frames, not from the lighting.
Shoot a short burst for each pose, then change one thing at a time: shoulders, then hands, then expression. Changing all three at once gives you nothing to compare.
Review, Refine, and Capture the Final Look
Check four things on every frame before you change the setup: exposure, white balance, background shadows, and eye focus.
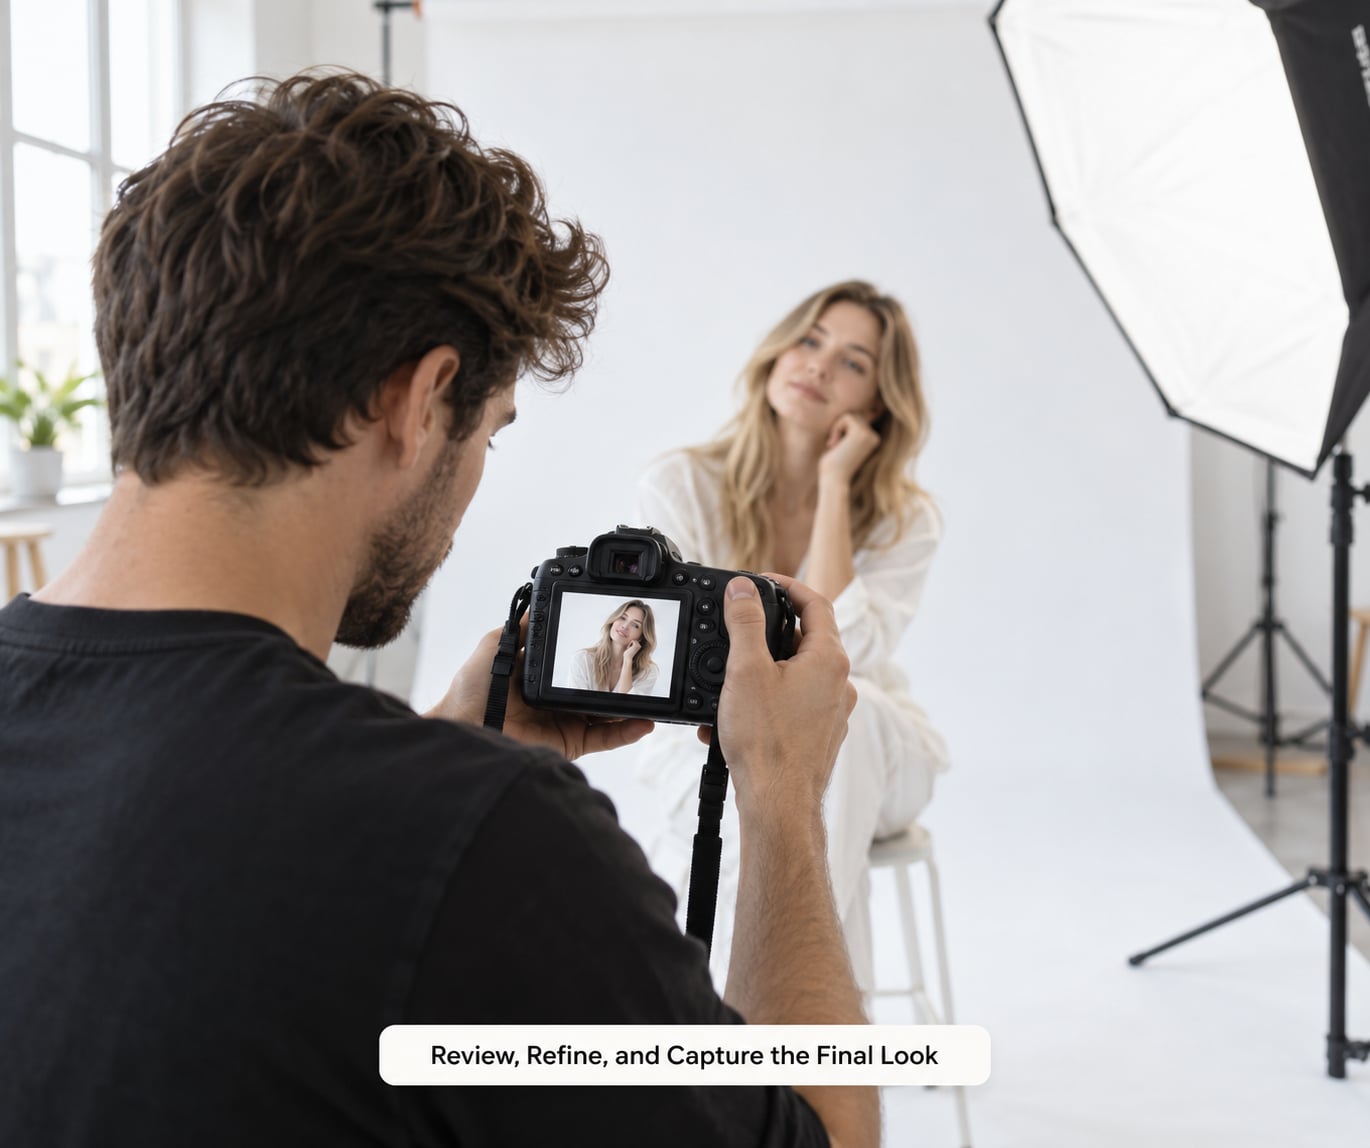
Zoom in on the face at 100 percent and look for two things. First, are there any blown highlights on the forehead, nose or cheekbones. Second, is the catchlight sitting in the eye, because a high key frame without catchlights looks lifeless no matter how well it is lit.
Then look at the background. A grey patch behind the shoulder or a visible shadow edge means the subject or key is too close to the backdrop, and no amount of editing will make it look intentional. Fix the position rather than the file.
Check white balance on the camera screen rather than trusting your eyes, because the bright surround shifts your perception. If skin looks yellow and the histogram is fine, that is a white balance problem, not an exposure problem.
Finally, shoot variations. A quarter turn of the body, a slightly higher camera, a hand in a different position, and one frame with a little more exposure given to the backdrop will give you real options later. Portrait work is cheaper in frames than in re-shoots.
Common Mistakes and Quick Fixes
Almost every high key problem has a lighting cause, and every one of them has a specific fix you can apply in under a minute.
Gray background. Your background is not lit, or it is too close to the subject. Add a second background light and push the backdrop 2 to 3 meters further away before you touch the exposure.
Harsh shadow on the shadow side of the face. The key is too small, too close, or too hard. Move the light closer to the subject rather than further, swap it for a larger modifier, or add fill to lift the shadows by a stop.
Skin that looks chalky or blown out. You added too much exposure compensation, or the light is far too powerful for the room. Drop compensation to +0.7, turn the key down, and watch the histogram so the skin peaks just short of clipping.
Everything clips, subject and all. Metering is aimed at the white background, so the camera stopped down for it. Switch to spot metering on the skin and add exposure compensation instead of pulling the aperture wider.
Yellow or green color cast. Mixed light sources and auto white balance. Set a custom white balance near 5500K and turn off any auto color correction in the camera menu for the shoot.
A flat, two-dimensional face. You removed every shadow. Add back a 2:1 ratio by lowering the fill by one stop, and give the key a defined position above and to the side so a small shadow under the nose survives.
Look-alike frames. Small changes in hand position and head angle read as more variety than you expect. Take three variations for every pose you think is good.
Simple Editing for a High Key Finish
Edit high key images by brightening the whites, holding skin back from clipping, and pulling the shadows just slightly off the floor.
Start with exposure and white balance, because every later slider depends on them. In a raw workflow, lift exposure a third of a stop, then set the white balance with the eyedropper on a patch of skin near the cheek rather than on the background.
Lower the highlight slider until the brightest skin highlights stop being flat white, and lift the whites until the background reads as clean white without looking grey. Bring the blacks up slightly for the airy feel, but not to zero, because true black anchors the image and keeps it from looking washed out.
Use the tone curve for the shape of the light. A gentle S-curve adds contrast without darkening shadows, and pulling the highlight end down a touch protects skin. Reduce texture or clarity a small amount, since both accentuate skin texture and pore detail that high key lighting has already emphasized.
For skin, use the tone slider of your choice gently, a few notches toward magenta and yellow, to keep faces from going green or grey after the whites are lifted. Then handle the background last, removing any stray bits with a soft brush or healing tool, and crop the frame a little tighter to put the face against clean white.
A restrained edit looks like better light rather than a filter. If someone can tell you applied it, you went too far.
Frequently Asked Questions
What is the best light ratio for high key portraits?
Start at 2:1, meaning your fill light is one stop below the key. That keeps the background bright and the face open while preserving a faint shadow under the nose and chin so the face still has shape. Move to 1:1 for beauty and cosmetics work, where flatter skin and even texture matter more than depth. Avoid going past 4:1, since visible shadow starts to read as low key rather than high key.
How do I get a pure white background instead of gray?
Light the background separately with its own source until it clips to white, and place your subject 2 to 3 meters in front of it so no shadow falls on the paper. A white wall often reads gray because room light is bouncing off it, so add a second light or bounce a flash into the ceiling. If it is still dull, the paper is too close or the light is angled at the subject rather than the backdrop.
Can I shoot high key with just one light and no reflector?
Yes, and it is the fastest way to learn the look. Put one large soft light above and to the side, then place a white card on the floor in front of your subject to bounce light back into the shadow side. A 5-in-1 reflector does the same job better because it is larger and closer. Without any fill at all you will get a bright image with a hard shadow side, which is not really high key.
What camera settings should I use for high key photography?
Shoot in manual at ISO 100 to 200, f/5.6 to f/8, and 1/125 second or anything below your flash sync speed. Set white balance manually near 5500K to avoid a yellow cast, use spot metering on the skin, and add 0.7 to 1 stop of exposure compensation. Watch the histogram so it sits to the right without skin clipping. Stacking filters afterwards will not recover blown highlights.
How do I light high key portraits for dark skin tones?
Darker skin holds highlights differently, so meter the cheek directly and watch the histogram rather than trusting the camera meter, which tends to underexpose. Keep the key light large and close, and set the fill at 2:1 rather than 1:1 so shadow detail survives. Avoid pushing too much into the highlights on the forehead and cheekbones, and check a test frame on a large screen before you shoot the full set.
Why do my high key photos look flat and lifeless?
Flat usually means two things. Either the light is not directional, so there is no catchlight and no shadow to define the face, or the shadow side was filled to the same brightness as the key. Raise the key above and to one side of your subject, lower the fill by a stop, and check that a highlight sits in each eye. A small shadow under the nose is what keeps the face from reading as flat.
Conclusion
Start with one large soft light, a white reflector, and a white background that you light brighter than your subject. Set manual at ISO 100, f/5.6 and 1/125, spot meter the cheek, and add about one stop.
Once that frame looks right on the camera screen, repeat it. The style is not difficult because the lighting is simple; it is difficult because the order matters, and the order is the part people skip. Get that sequence into your hands and the rest of high key portraits is just practice.