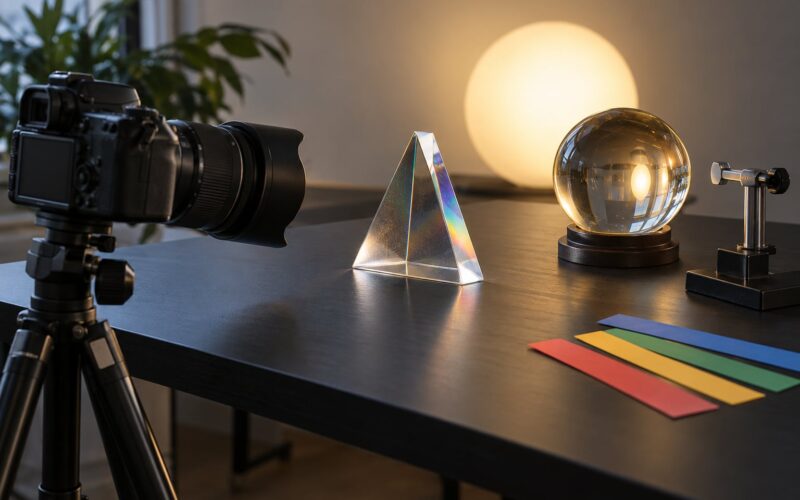
To study light like a photographer, you look at every scene before raising the camera and name three things: where the light comes from, how soft or hard it is, and what colour it carries. Then you rebuild that light on purpose instead of accepting whatever the day hands you. It takes about ten minutes a day and no gear beyond a camera, or even a phone.
Most beginners don’t have a settings problem. They have a looking problem. They raise the camera, take the frame, and only then wonder why the portrait looked flat and the shadows on the wall fell in a strange place. Studying light is the habit of noticing those things first, in words, before the shutter moves.
The word itself is a useful hint. Photography comes from the Greek words for light and drawing. A camera records what the light already did, so the only way to influence it deliberately is to see it deliberately.
The eight steps below are the routine I use, and they work in a bedroom, a kitchen, an open field or a city street at noon. Each one is small. Together they turn a glance into an observation.
Table of Contents
- What You Need
- Step-by-Step: How to Study Light Like a Photographer
- 1. Identify the Light Source
- 2. Notice Direction and Shape
- 3. Judge Quality and Contrast
- 4. Read the Light Across a Scene
- 5. Measure Exposure Without Guessing
- 6. Experiment With Position and Distance
- 7. Use Color and Contrast Deliberately
- 8. Make One Change and Record the Result
- Common Mistakes
- Frequently Asked Questions
- What is the 20-60-20 rule in photography?
- What is the 3 lighting rule?
- What are the five main types of lighting used in photography?
- How do I train my eye to see light?
- How do I reverse engineer the lighting in a photograph I admire?
- Why is it so difficult to take photos of lightning?
- Start With One Shadow Today
What You Need
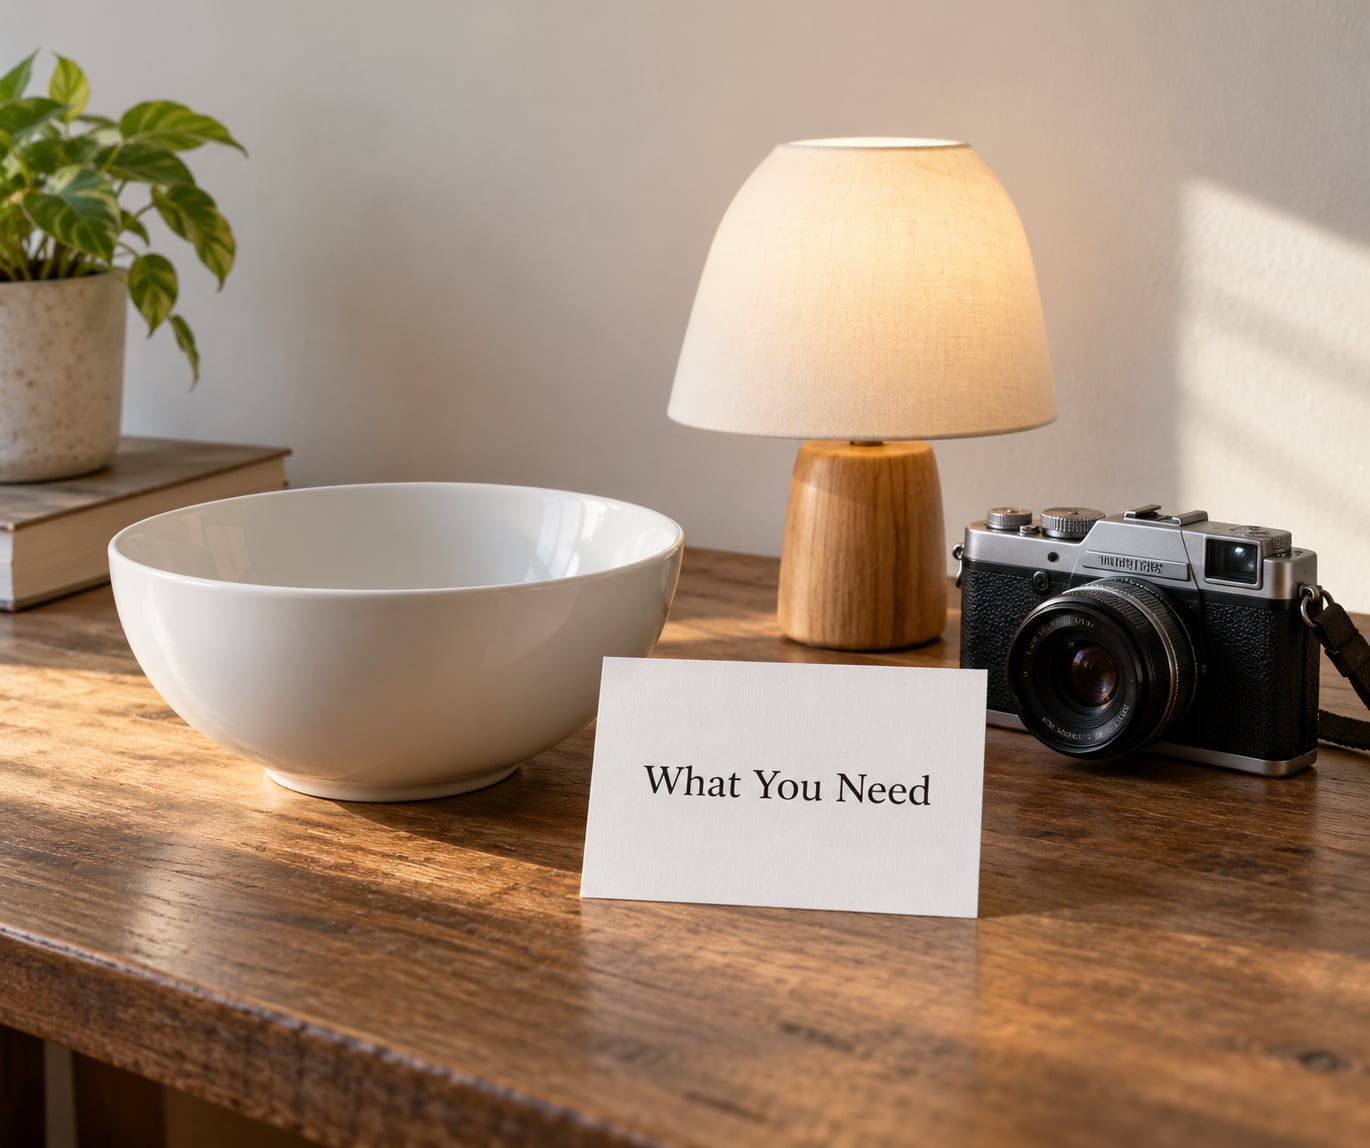
You need very little. A camera or a phone camera, a subject you can move around (a chair, a plant, a mug, a friend who will sit still), and somewhere with a wall or open ground for shadows to land on. That is the whole kit.
A notebook helps more than people expect. Two lines per session, one describing what the light did and one describing what you changed, is enough to build a record you can actually review. Phones are excellent for this because you can hold a frame next to your notes.
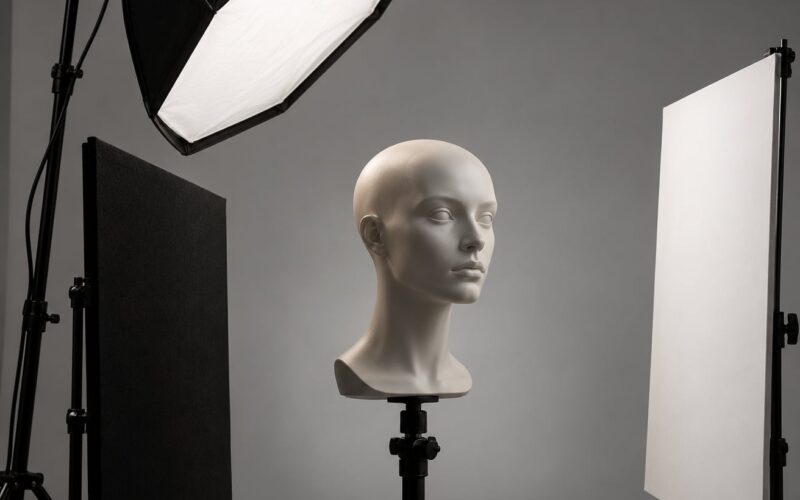
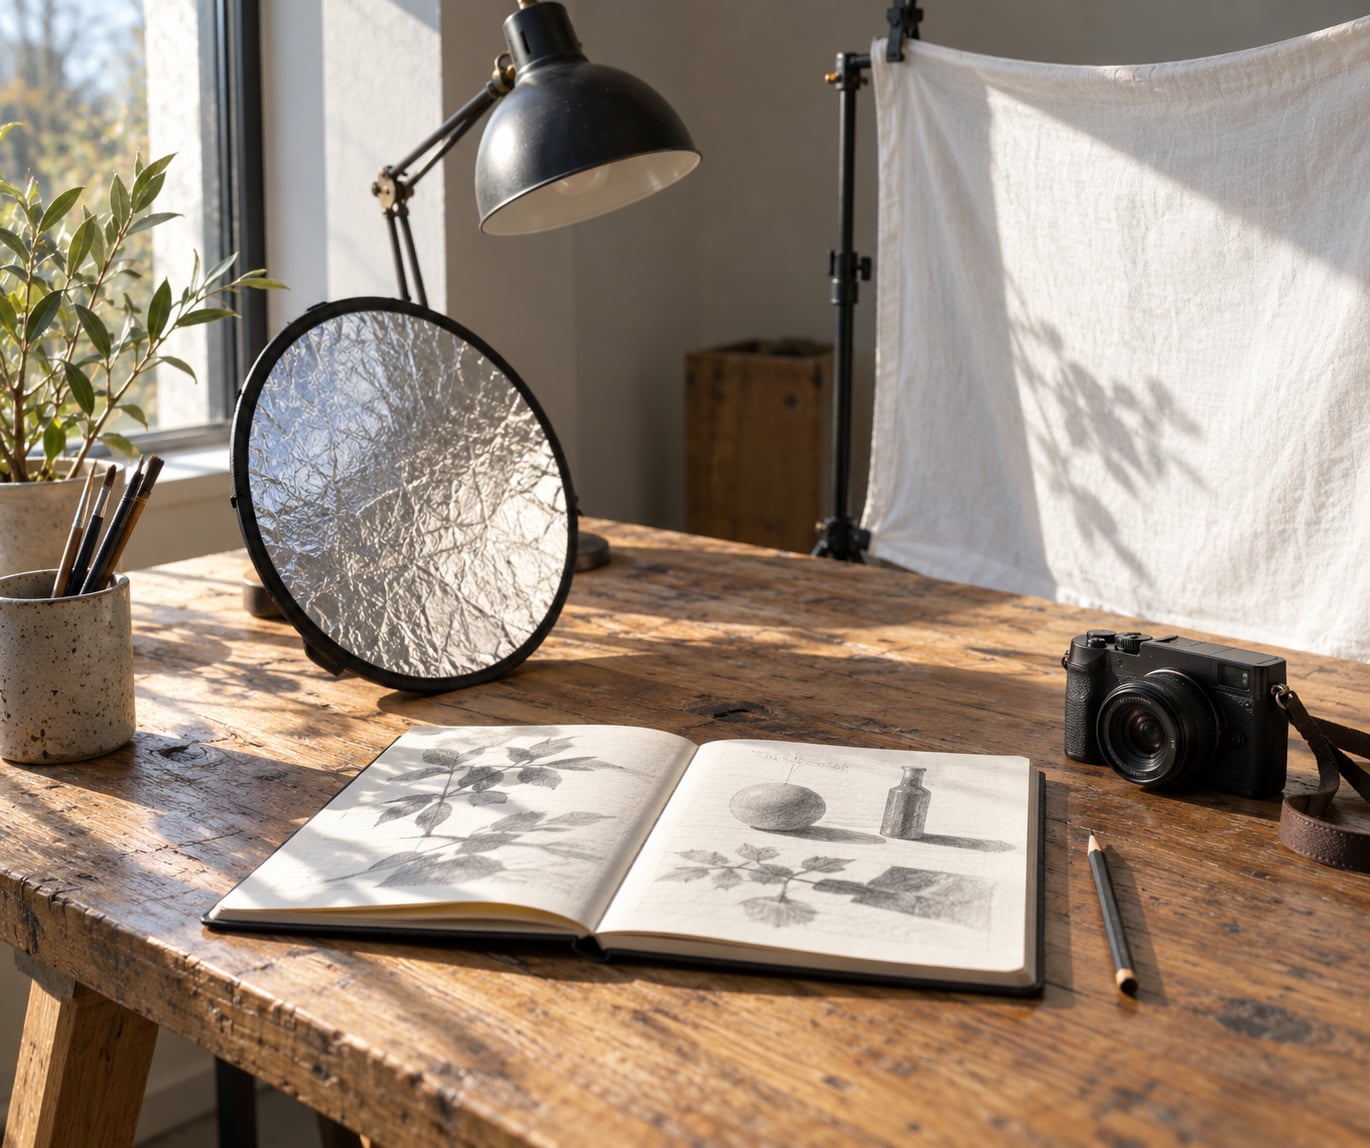
Optional tools: a handheld light meter if you shoot manual, a cheap white reflector or a piece of foam board for bounce and fill, a sheet for diffusion, and a small LED panel or desk lamp for evening work. A scrim, a softbox or a grid all exist to do one thing, and you can copy each one with something in a drawer before you buy anything.
None of that matters until you start writing things down. The camera is a recorder of a decision; the decision happens in your head, and the notebook is where you catch it.
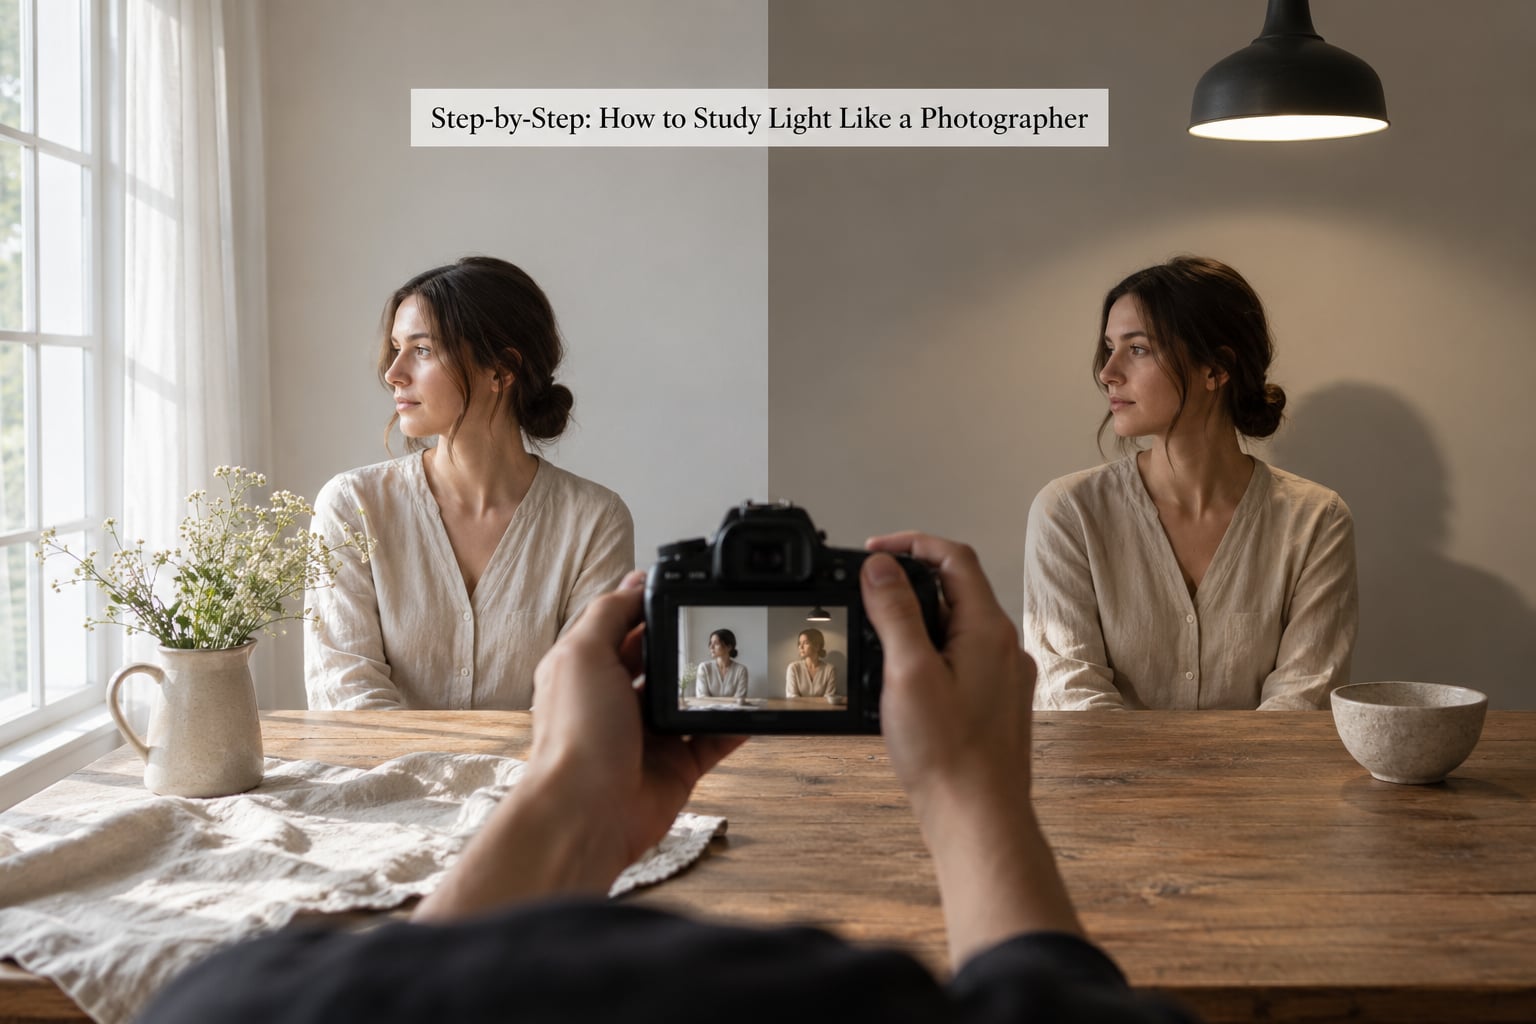
Step-by-Step: How to Study Light Like a Photographer
1. Identify the Light Source
Start by naming every source you can see, plus the ones you can’t. The sun, a window, a lamp, a bare ceiling bulb, a wall bouncing light, the sky itself, a phone screen, a car’s headlights. Fill light, backlight and reflected light all come from somewhere specific.
Then separate the source from the brightness of the subject. A face can look evenly lit and still be lit by one small window, because the shadow side is being filled by a pale wall two feet away. If you can’t name the fill, you won’t be able to change it.
How to know it worked: you can point at the place the light is coming from and someone else would agree. If you argue with yourself about whether it’s the window or the lamp, keep looking.
2. Notice Direction and Shape
Direction is where the light sits relative to the subject: front, roughly 45 degrees off the camera axis, side, or behind. Shadows tell you which one. A nose shadow pointing toward the camera means front light. A small triangle of shadow beside the nose means 45 degrees. A shadow across half the face with light wrapping around the far cheek means side light and a reflector or wall doing the fill.
Cast shadows are the clearest evidence. Look at the shadow a chair throws on the floor: its direction tells you where the source is, its length tells you how high the source is, and the shape of its edge tells you how big the source is.
Edge separation matters too. A rim of light along the far shoulder or the edge of hair means a source behind your subject, and that rim is usually what keeps a dark background from swallowing the shape.
3. Judge Quality and Contrast
Softness is not about how nice the light looks, it is about the size of the source compared with the size of your subject. The sun is enormous and still casts hard-edged shadows, because it is enormously far away. A flashlight in a dark room is tiny and casts soft-edged shadows on a face, because it is close.
So the working test is simple: compare the shadow edge to the subject. A crisp-edged shadow across a cheek means the source is small relative to the face. A shadow that fades gradually into the lit area means the source is large relative to it.
Here is the diagnostic most beginners skip. Look at the terminator, the line where the lit side of the face turns into shadow. Hard light puts an abrupt line there and hides skin texture on the bright side. Soft light spreads the transition across a wide band, lets the eye read the roundness of the form, and flatters most faces. Midday sun outdoors is the classic hard source; open shade under a building overhang or a bright overcast sky is the classic soft one.
4. Read the Light Across a Scene
Photographers usually assess one subject. Observers read the whole frame. Scan for patches of light on the ground, gradients on a wall, a single bright doorway at the end of a corridor, colour bouncing off a painted surface, the darkest part of the composition.
Then decide what the frame is actually about. If the brightest thing is a lit window and your subject sits in shade, the picture is about the window. Moving the subject into that light may be a bigger decision than any camera setting.
This scan takes about twenty seconds and it is the difference between framing a scene and reacting to it. I do it now even after years of shooting.
5. Measure Exposure Without Guessing
Turn on the histogram and watch what the light is doing rather than what the meter suggests. Most beginners protect the brightest area of the frame by underexposing, then wonder why the face looks dull. That instinct came from protecting a sensor, not from protecting the picture.
Ask instead: which highlight is important enough to keep detail in, and which one can be allowed to go bright? A specular reflection on a glass or a chrome edge can clip without damage. A highlight on skin usually should not.
Reflected light readings and handheld meters are useful precisely because they force you to point at a surface rather than at a feeling. Read off a mid-grey card in open shade for outdoor ambient, then check that the lit side of your subject lands where you want it. A light meter is a measuring tool for an observation you have already made, not a substitute for making it.
6. Experiment With Position and Distance
Move the source. Closer means brighter and faster falloff across the subject; farther away means dimmer and flatter, because the light wraps more. Doubling the distance quarters the brightness, which is the inverse square law and the single most useful thing to know when a portable light won’t reach across a room.
Then move it around the subject in a slow arc: front, 45 degrees, side, behind. Take one frame at each stop and nothing else. Height changes the shadow shape as much as horizontal position does, so raise and lower it too.
What to watch: shadow depth, how fast light falls off across a face, whether the background separates from the subject, and whether texture is flattering or harsh. A high side light exaggerates texture and looks dramatic. A low side light creates long shadows and lets the shadow side go dark.
7. Use Color and Contrast Deliberately
Colour temperature runs from roughly 2000K at a candle to over 10000K in open shade under a blue sky. Your white balance setting is the number that tells your camera what to call white.
Here is the part that trips up almost everyone, including people who have read about it. Raising the Kelvin setting makes the image warmer, and lowering it makes the image cooler. You are compensating, not correcting toward the light’s own colour.
Mixed temperatures are where indoor scenes get muddy. An overcast window at about 7000K plus a household bulb at about 2800K gives you two colours fighting on the same face. The fix is not to hope post-processing will save it; it’s to decide which source wins and let the other one stay in the background, or turn it off.
Contrast is the same story with brightness. A subject against a bright background needs separation from a rim or a darker backdrop. A pale subject against a dark wall can float without any extra light at all. Negative fill, which simply means putting something black on the shadow side, is the cheapest contrast tool there is.
8. Make One Change and Record the Result
Two frames that differ in five ways teach you nothing. One change per frame means every difference in the results is yours, and that is how the habit actually forms. Move the lamp two feet. Wait ten minutes for the sun to move one degree. Change only the reflector side.
Then write two lines. What you saw in the scene, and what your change did. Date them. In a few months those notes are worth more than any gear list, because they are your own light library keyed to your own locations.
A useful extension, once single changes feel normal: take a finished photograph you admire and reverse-engineer it. Find the key light direction from the nose shadow, guess the source size from the shadow edge, decide the ratio from the depth of the shadow side, and check your guess against behind-the-scenes shots of the same shoot if they exist. Filmmakers on r/cinematography describe exactly this loop of comparing reference stills and attempting to recreate them, and report it teaches far more than gear shopping does.
Common Mistakes
Thinking brightness is good light. More light flattens a face just as much as it brightens it. Fix: raise the ratio between the lit and shadow sides by cutting the fill rather than adding output.
Stacking modifiers before understanding the source. Diffusion on a small, distant light barely changes the shadow edge. Fix: identify the source and its distance first, then choose one modifier that matches the softness you want.
Copying a setup you have not decoded. A shot list tells you someone used a softbox at forty-five degrees. It does not tell you why the shadow side still had detail. Fix: predict the result before the shoot, then check your prediction against the frame.
Exposing for the background lights. Window highlights and practicals will happily drag your exposure down until the subject is a silhouette, often unintentionally. Fix: meter or expose for the subject’s lit side, and let the brightest non-essential highlight go.
Never comparing. Single frames feel like proof that the light was fine. Fix: keep before-and-after pairs from the same position and same settings. Review four of them each week and name what changed.
Mixing temperatures by accident. Two colours on one face reads as a colour cast, not as a choice. Fix: check your sources on the Kelvin scale before you shoot and pick the one you are white-balancing to.
A final observation habit that costs nothing: on any walk, pick three shadows and try to work out their source, size and direction before you take a single photo. Ten minutes of that beats an hour of reading about lighting ratios.
Frequently Asked Questions
What is the 20-60-20 rule in photography?
The 20-60-20 rule is an exposure and composition guideline: roughly 20% of the image should be highlights, 60% mid-tones and 20% shadows. It maps directly onto the histogram. Beginners use it as a warning, because a frame pushed mostly toward black or mostly toward white usually means an exposure decision was left to the meter rather than made deliberately.
What is the 3 lighting rule?
The 3 lighting rule usually means three-point lighting: a key light that shapes the subject, a fill light that controls how dark the shadow side goes, and a back or rim light that separates the subject from the background. Do not confuse it with the three properties of light, which are quality, direction and colour. One describes a lighting setup, the other describes how to read any scene.
What are the five main types of lighting used in photography?
Five common types are hard natural, soft natural, direct artificial, diffused artificial and bounced or reflected light. Hard natural, such as midday sun, gives crisp shadow edges and strong texture. Soft natural, such as open shade or overcast sky, wraps gently around form. Direct and diffused artificial are the same source with and without a modifier, and bounced light is light redirected off a wall or floor.
How do I train my eye to see light?
Train your eye with repetition and written records, not more tutorials. Name the source, direction, quality and colour in every scene you pass, change one variable at a time, and note what happened. Forums like r/AskPhotography and r/photocritique show the same complaint repeatedly: hours of watching videos and little measurable change, because consuming is not practising.
How do I reverse engineer the lighting in a photograph I admire?
Start with the shadows. The nose shadow gives the key light direction, the shadow edge softness gives the relative size of the source, the depth of the shadow side gives the key-to-fill ratio, and the colour cast gives an approximate temperature. Then look for behind-the-scenes frames of the same shoot to check your guesses against the real modifiers and positions.
Why is it so difficult to take photos of lightning?
Lightning is an extremely bright source that lasts only milliseconds, so exposure has to be set before it happens and focus is usually set to manual on infinity. There is no time to react and no second frame if the values are wrong. It is also a sharp lesson in the rest of this guide: an unpredictable source is best handled by deciding your settings in advance.
Start With One Shadow Today
The fastest way to start is to stop trying to improve your photos and start trying to describe them. Pick one scene before dinner, name its source, direction, quality and colour out loud, and predict what the frame will look like. Then shoot it and see how wrong you were. That gap between the prediction and the picture is where the skill lives.
Ten minutes of honest observation a day, with two lines written down, will teach you more about light than any amount of watching other people set up lights. After a few weeks of how to study light like a photographer, you will be repositioning your subject instead of hunting for a brighter spot, and your frames will start to look like decisions rather than records of whatever the day was doing.