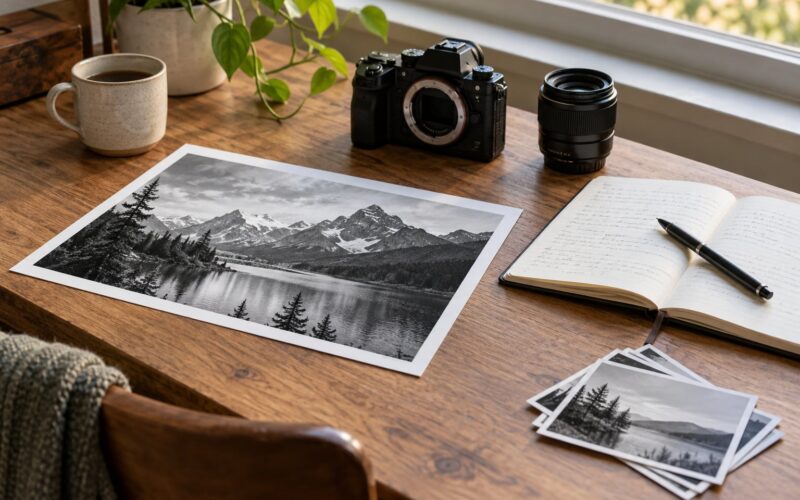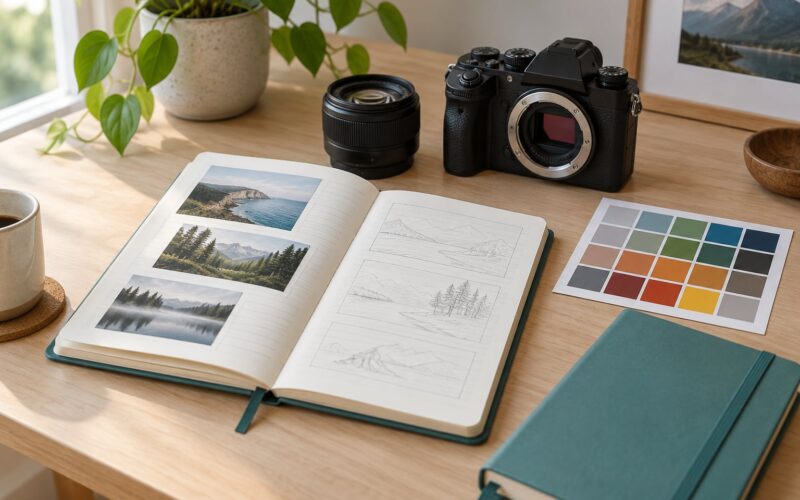
To critique your own photos honestly, review the shoot after a cooling-off period, run the same fixed technical, composition and storytelling checks on every frame, then write down the one to three things you would change if you shot it again. On a set of a hundred images the whole pass takes about half an hour once the routine is in your hands.
The hard part is not finding flaws. It is that you remember the effort, the cold, the three-hour wait for the light, and the fact that your uncle complimented the frame at dinner. A viewer carries none of that. They see only the photograph, and closing that gap is what makes your own judgment worth listening to.
Critique request threads keep circling the same sentence: I know this frame is weak and I still do not want to delete it. That gap is attachment, and it closes through structure rather than willpower. This routine works with any camera, including a phone, and it has been updated for 2026.
Table of Contents
- What You Need
- Step-by-Step: How to Critique Your Own Photos Honestly
- 1. Create distance before you critique your own photos
- 2. Check exposure, focus and color
- 3. Judge composition and visual hierarchy
- 4. Ask whether the image communicates its intent
- 5. Get a second perspective without chasing approval
- 6. Write a revision plan and change one thing at a time
- Common Mistakes
- Frequently Asked Questions
- How do I know if I dislike a photo because it is weak or because it is not my style?
- Should I trust my own judgment or ask another photographer for feedback?
- How can I improve my eye for composition without taking more photos?
- What should I check first when colors in my edited photo look wrong?
- When should I stop editing a photograph?
- Conclusion: Start With One Measurable Fix
What You Need
Start with a computer, the original file open, and somewhere to write. That is the whole shopping list.
- A photo editor. Anything that opens RAW files and shows you a histogram. If you shoot on a phone, its own gallery app is enough, since every pass in this guide is visual.
- A distraction-free view. Full screen, side panels hidden, film emulation off. Panels and edit thumbnails are how you end up rating a preset instead of looking at the picture.
- A notes document. One file called something like critique log. You will add to it after every shoot, and in six months it becomes more useful than any preset.
- A second display or a calibrated screen. Nice to have, not required. Most displays run a little bright and slightly warm, which makes you over-sharpen and over-warm every file you judge.
- Time. A day of distance for a quick read, two to six weeks for an honest one.
You do not need expensive gear, a colour grading suite, or a mentor on speed dial. A second pair of eyes helps, but it is step five of six, not a prerequisite.
Step-by-Step: How to Critique Your Own Photos Honestly
Six passes, run in the same order every time. The order matters: attachment distorts the technical read, a technical fault distracts from composition, and composition distracts from story.
1. Create distance before you critique your own photos
Put the shoot away. Do not cull it on the day, no matter how good the light was. A minimum of 24 hours is the floor; two to six weeks is where honest evaluation tends to land, because a week dissolves memory and a month dissolves the reason you liked the frame in the first place.
Then write your first impression before you look closely. Sixty words, no camera data, no file name, no memory of which settings you used. What was happening, what you felt, what you hoped the viewer would notice. This is the moment you are still close enough to see the real picture.
After that, switch from preference to evidence. Preferences sound like the sky is moody or the framing is classic. Evidence sounds like the sky is about one and a half stops under, the shadows are blocked up, and the skin tones have drifted magenta. Judge the frame you are looking at, not the one you remember.
Watch for self-flattery in its usual forms. Renaming a flaw as a choice, defending a crop before you have checked it, explaining that a stranger simply did not understand, or picking the three best frames out of two hundred and calling that a review.
Writing down the first impression also gives you a record. Six months later you can see that you keep over-softening skies, which is far more useful than any single critique session.
2. Check exposure, focus and color
Now the objective pass. Set clipping warnings on and look at the histogram before you look at the picture.
- Highlights and shadows. A histogram that sits neatly between both edges is not proof of a good exposure. It only means nothing is clipped. Check whether the brightest areas hold any texture and whether the shadows contain detail or have turned into flat blocks.
- White balance. Judge colour away from the screen first, on a single image at 100 percent. Mixed lighting in one frame is the most common white balance problem and it is easy to miss once you have accepted it.
- Focus. Zoom to 100 percent on the subject’s nearest important detail. Not the middle of the frame, the actual subject, which is often not in the middle.
- Sharpness and noise. Check the edges of the subject rather than flat areas, since sharpening and noise hide well in smooth tones and pile up along detail.
- Lens behaviour. Wide frames bend straight lines near the corners. Check any horizon and any architecture.
Write each fault as a fact plus a cause. Sky clipped by half a stop, probably metering for the dark foreground. Focus landed on the fence post in front of the subject, because I focused first and composed second. A fact plus a cause is something you can fix on the next shoot; a fact alone just makes you feel bad.
3. Judge composition and visual hierarchy
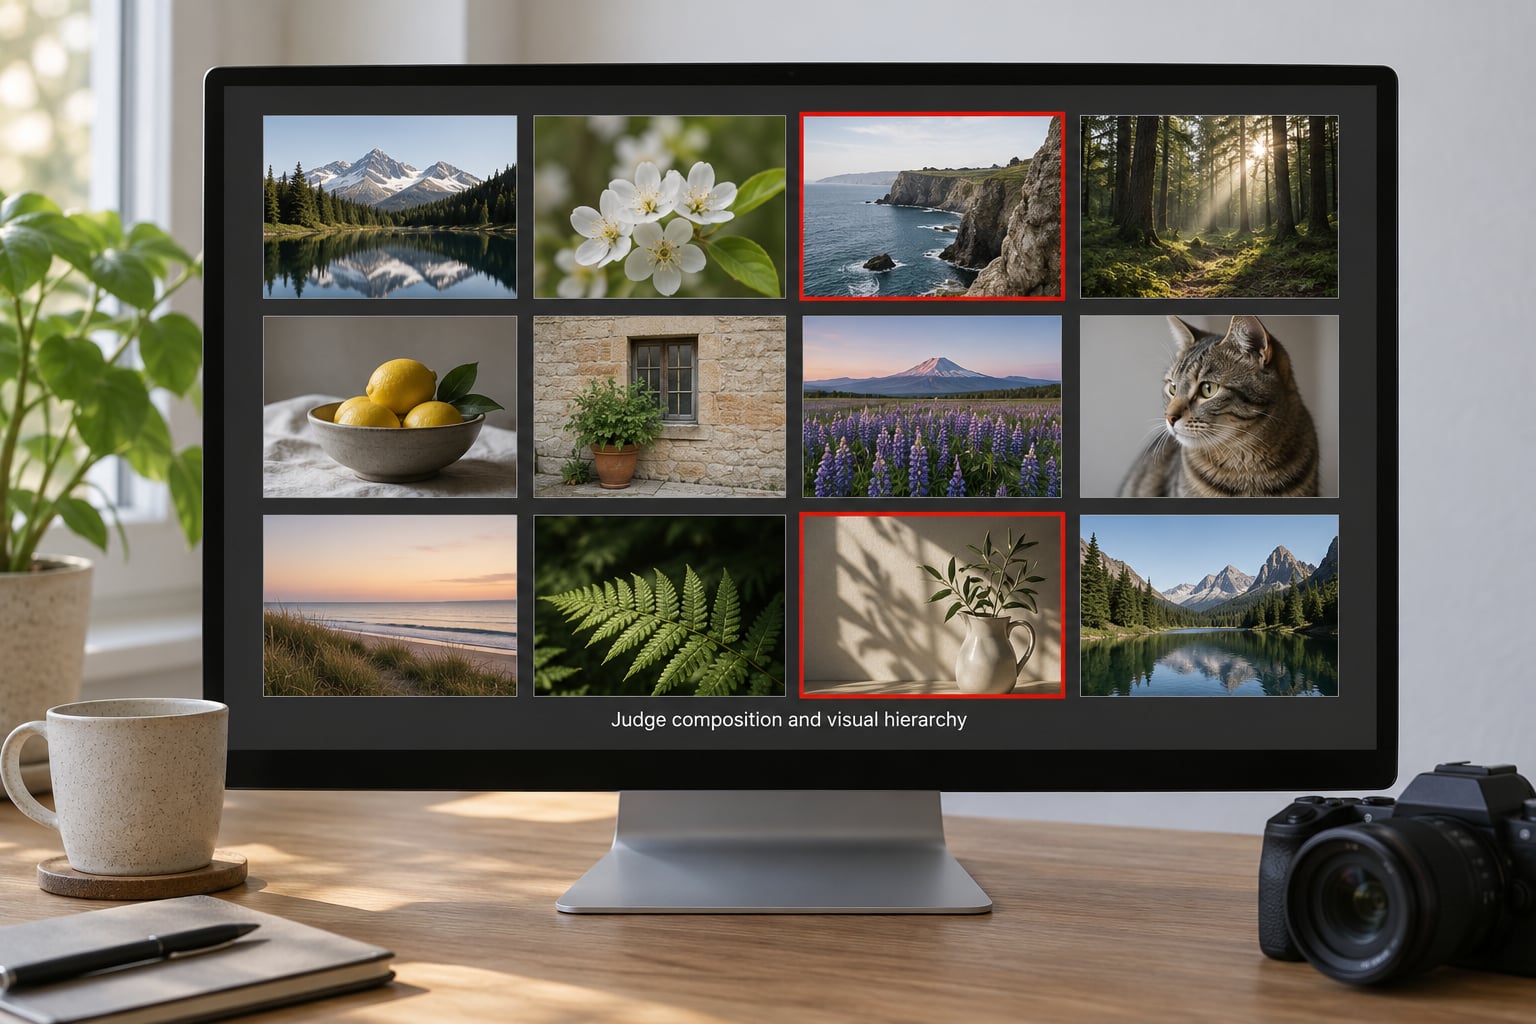
Build a contact sheet of the whole set and look at it as a grid, not as single frames. Patterns jump out at grid scale that you will never notice one image at a time: a horizon that keeps drifting, a subject that keeps landing in the same dull spot, or an edge collision that repeats across twenty frames.
With the grid open, run these checks on the handful of frames that survived the technical pass.
- Placement. Is the subject on an intersection of the rule of thirds, or jammed in the centre? Centre placement is a choice when the light is symmetrical and an accident when it is not.
- Room to move. Look for space in the direction the subject faces or travels. In a street frame from r/AskPhotography, the sharpest note given on a photograph was that the house at the end of the road needed more space away from the frame edge. Edge tangency and cramped negative space are the two flaws beginners name most often.
- Tangency. Look for any subject edge, pole, branch or horizon line that just touches another. Near-misses read as accidental, and the viewer’s eye snags on them.
- Competing elements. Is there a second bright or saturated thing pulling attention away from the subject? Duplicate skies, a sign, a bystander’s bright jacket.
- Background and edges. Check the four edges of the frame first. Most backgrounds are fine until a tree branch pokes in at the corner.
- Depth. Does something sit in the foreground, something in the middle and something behind? Flat arrangements get boring fast.
Owners usually see the same flaw an expert would. The gap is vocabulary, and naming it in your notes closes that gap faster than taking more photographs.
4. Ask whether the image communicates its intent
Now name the intent in one sentence before you judge anything. What was the picture for, and what should a viewer feel or understand in three seconds?
Then compare the intent against what is actually visible. Missing context, such as a subject that is too small to read or cropped so tightly that nothing tells you where it is. Inconsistent cues, such as warm light everywhere and one blue shadow that was not a choice. Weak timing, such as a wave half finished or a peak of an expression already past. Details that work against the mood, such as a bin bag in the corner of a quiet frame.
You will also catch the distinction that matters most for honest self-critique: did you choose a weak subject, or did you execute a good subject badly? They call for opposite corrections.
| Symptom | What it actually means | What to fix |
|---|---|---|
| Nothing in the frame makes you want to look twice | Weak subject or weak moment, not a settings problem | Move closer, wait for a better instant, or drop the frame entirely |
| The subject is good but the image feels empty | Poor execution, usually framing or timing | Change the crop or shoot the moment again rather than editing around it |
| The subject is good and the image still works but not as well as it could | Execution issue with a clear cause | Name the one variable to change next time, usually position or light direction |
| You only like it because of the memory | Attachment, not quality | Put it in the grid and judge it against frames with no story attached |
Repeat mistakes are a separate category, not errors. A tilted horizon, a blown highlight or a figure lost in shadow may all have been choices. Label those as repeat rather than fault, then check later whether the choice was deliberate.
5. Get a second perspective without chasing approval
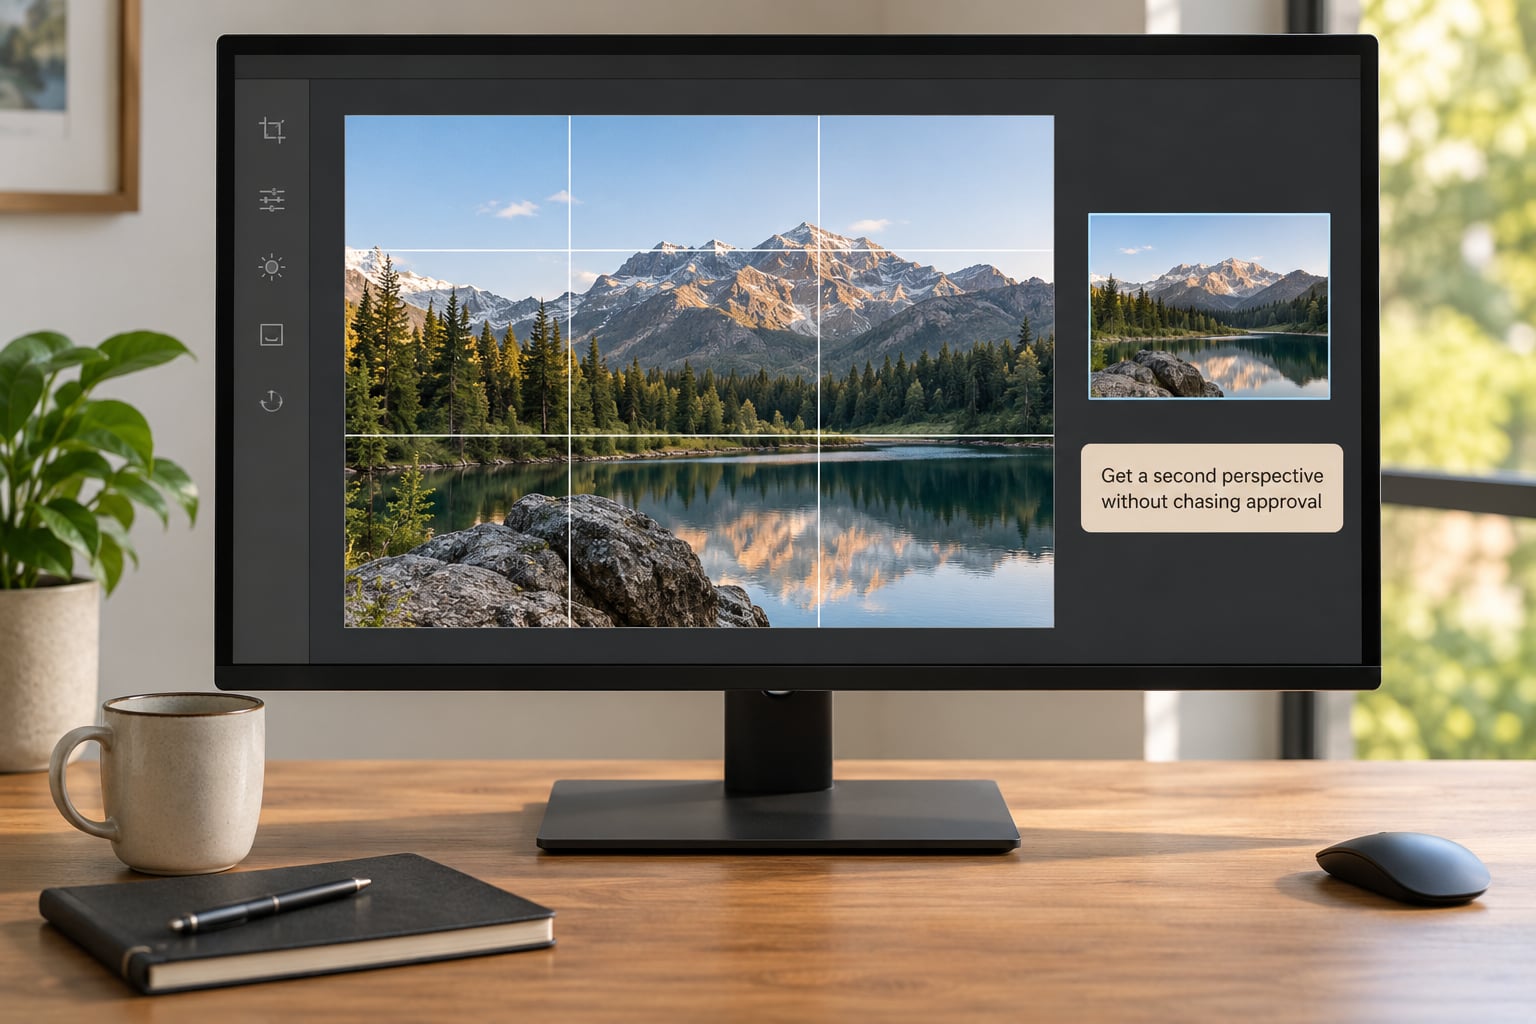
Your own eyes have already made every adjustment they are going to make. A second view breaks that loop, and it does not have to be a person.
- Look at the thumbnail. The single most useful trick. Open the image on a second screen or as a small panel beside the full-size version. What survives at thumbnail size is what a viewer will actually register.
- Switch to grayscale. You stop judging colour taste and start seeing shape, balance and separation.
- Add a grid. Rule-of-thirds and diagonal lines reveal placement problems you absorbed without noticing.
- Walk away for another day. Distance is free and it works better than any tool.
- Ask one person, properly. Post a small set on r/photocritique or photo.stackexchange, say what you were trying to do, and ask for the two biggest problems rather than general feedback. Name what you were after so advice from someone who shoots a different genre does not land.
One honest view of the debate is worth knowing. Some working photographers argue that any outside opinion is just their own vision projected onto your work, so you should never take it. That is half right. Nobody can tell you what you meant to make, but plenty of people can tell you that the horizon is crooked, and the technical observations survive the philosophical objection.
6. Write a revision plan and change one thing at a time
Turn observations into a ranked list of corrections, and keep it short. Separate essential fixes from optional refinements: essential means the frame is technically wrong or fails its own intent, such as a clipped highlight, missed focus or an unreadable subject. Optional means you could go either way and a stranger would not notice.
Duplicate the original file before you touch it, so you keep a version that represents your eye on that day rather than the version you argued yourself into. Then apply one change at a time and look after each. Two or three changes per session is usually the most you can genuinely judge, because after that your eyes stop resetting.
Notes should read like this: the horizon is 2 degrees off, fix the tilt, next shoot check the level before the shutter. The house is too close to the frame edge, next shoot leave a body width of space. Skin is magenta, the white balance was set under mixed light, next shoot set it custom. That form, what and why and what you would do instead, is the format photographers themselves describe as ideal feedback.
Here is a five-line scorecard I run on every frame before it goes near a portfolio. Pass and fail signals are deliberately blunt, because vague signals produce vague notes.
| Element | What to check | Pass signal | Fail signal |
|---|---|---|---|
| Exposure | Histogram with clipping warnings on | No clipped highlights, shadow detail retained | Blown skies or flat black shadows with no shape |
| Focus | 100 percent view on the subject | Nearest important detail is critically sharp | Sharpness on grass, a fence or a bystander instead |
| Colour | Full image away from the screen, then on it | One consistent white balance across the frame | Skin or walls disagreeing with the rest of the image |
| Composition | Grid view and the four frame edges | Clear subject, space in front of it, clean edges | Tangent lines, edge collisions, a brighter competitor |
| Story | One-sentence intent test | A viewer gets it in three seconds without context | Needs your explanation of who and where and why |
Mark each row pass or fail, and only a row that fails carries forward into your notes. Close the session by writing one line about the shoot as a whole: the single habit you want to change on the next one.
Common Mistakes
Most bad self-critique fails in one of six ways.
Confusing taste with technical quality. Not liking a photo tells you almost nothing. A badly focused frame can be a beautiful frame, and a technically immaculate one can be dull. Ask which of your standards is failing before you react.
Editing to hide a mistake instead of naming it. Cloning out the bin bag feels like progress but leaves the real lesson unlearned, which was that you framed too loose. Edit for taste, and critique for cause.
Changing five things at once. Crop, exposure, white balance, dodge, and sharpen in the same pass and you will never know which change fixed the frame or which one hurt it. Make one change, look, decide.
Trusting an uncalibrated display. If every photo you edit looks slightly warm until you share it, the answer is usually the screen. A neutral desktop profile and a quick check against a mid-grey webpage fix most of it for free.
Asking for vague feedback. Nice shot teaches nothing. Ask what works, what fails, and why, which is the formula photographers themselves keep asking for when they are reviewing each other’s work.
Treating every criticism as a command. Someone will not like your framing, and their framing preference is not your brief. Keep a technical column and a taste column, and only act on the technical one automatically.
Two habits keep this working over time. Review on a schedule, maybe one evening a week for a fixed shoot, rather than whenever guilt shows up. And cap your notes at three action items, because a list of twelve gets ignored and a list of three gets practised at the next location.
Frequently Asked Questions
How do I know if I dislike a photo because it is weak or because it is not my style?
Run the technical pass first, before you judge anything else. If focus, exposure or white balance fails, you have a real weakness and a concrete fix. If it passes cleanly and you still dislike the frame, you are probably responding to subject matter or genre rather than quality. Keep those in two separate notes columns, and only let the technical column drive corrections.
Should I trust my own judgment or ask another photographer for feedback?
Do both, in that order. Your own critique tells you what you actually see, which nobody else can give you. Outside feedback catches blind spots you have normalised, especially composition and background clutter. Ask a small set at a time, state your intent, and request the two biggest problems. Ignore anyone shooting a genre unlike yours unless the point is technical.
How can I improve my eye for composition without taking more photos?
Review contact sheets rather than single frames. At grid scale the repeated problems show up: the same dull subject placement, the same horizon drift, the same edge collision. Name each pattern in words and check the same five things on every shoot, since most composition gains come from checking rather than from shooting more.
What should I check first when colors in my edited photo look wrong?
Check the white balance before touching any individual slider. Auto white balance often shifts between frames from one scene, especially under mixed light. Set it deliberately from the frame, then look for a single colour that still disagrees with everything around it. Only after the base is consistent should you correct skin tones or split tones.
When should I stop editing a photograph?
Stop when a new edit stops producing a difference you can defend out loud. Practically, that is usually three passes or the point where the original and the edit read the same at thumbnail size. Save a version, put both side by side a day later, and if you cannot say which one is stronger, the edit has finished.
Conclusion: Start With One Measurable Fix
Pick one photograph. Put it away for a day, then write your first impression in sixty words before opening the histogram.
Run the technical pass, name each fault as a fact plus a cause, and check the composition at grid scale with a rule-of-thirds overlay on. Then state the intent in one sentence and ask whether a stranger gets it in three seconds.
Finally, write down the single most important correction, keep a duplicate of the original, and change one thing at a time. One photograph, one fix, one shoot to test it on. That loop, repeated for thirty days, is how you learn to critique your own photos honestly.