A photo series holds together when you make every decision in advance: pick one narrow idea, write it down as a single sentence, plan your locations and frames before you go, and then edit and order the shots so they read as one body of work. Most sets fall apart in the edit, not the shoot, and almost always because nobody decided what had to stay the same.
What is a photo series? A photo series is a group of photographs built around one central idea, where each image reinforces the others so the set carries more meaning than any single frame could on its own. The images can stand independently, but they share a subject, a treatment or a mood that ties them into one deliberate body of work.
The practical version of learning how to shoot a photo series with a theme is less about gear than about constraint. Decide what stays fixed, decide what changes, and you can pick up whatever camera you already own and still produce something that looks intentional.
Table of Contents
- What You Need
- How to Shoot a Photo Series: Step-by-Step
- Step 1: Define the Theme in One Sentence
- Step 2: Research the Concept and Build Visual References
- Step 3: Create a Location Plan and Shot List
- Step 4: Choose a Consistent Visual Approach
- Step 5: Photograph Wide, Medium, and Detail Frames
- Step 6: Edit for Continuity Without Making Every Frame Match
- Step 7: Sequence, Review, and Share the Series
- Common Mistakes and Quick Fixes
- Frequently Asked Questions
- How many photos should be in a themed photo series?
- Do I need a different camera or lens for every series?
- How do I keep the lighting consistent across multiple locations?
- Should all photos in a series have the same color treatment?
- How should I order photos when presenting a photography series?
- Can I create a photo series from photos taken on different days?
- Conclusion
What You Need
You need far less than most people expect. The useful items fall into two groups: the things that actually make the series coherent, and the nice-to-have gear that saves time.
- A one-sentence theme. Not a topic like “street photography” but a premise with limits in it.
- A location and timing plan. Where you are shooting, at what hour, and what you do if the weather turns.
- Visual references. Six to ten frames that tell you the light, palette and mood you are after.
- A shot list. The frames you will be upset to miss, written down where you can see them.
- A camera and one lens. Whatever you own. A single focal length across the series removes half the cohesion problems before you start.
- A tripod, if the light is low. Optional in daylight, essential for consistent framing at dawn and dusk.
- Editing software. Anything that handles RAW files, adjustments and batch corrections.
- Two backups. One on your computer, one somewhere else, both updated the day you shoot.
If you only have a phone, shoot in one aspect ratio and one editing mode. Beginners often buy gear to solve a planning problem, and it never works.
How to Shoot a Photo Series: Step-by-Step
The workflow runs in seven parts. The goal is visual consistency with enough variety to hold attention, and each step exists to protect one of those two things.
Step 1: Define the Theme in One Sentence
A broad subject becomes a usable theme when you add a setting, a recurring detail, a mood or a visual limitation. “Autumn” is a season. “Autumn in a single city block, shot only at golden hour with one red object in every frame” is a project.
Three examples of themes with real edges: the same bench photographed in different weather over one autumn, workers in one trade photographed during a single shift, and kitchens in one apartment building shot in late afternoon light. Each one tells you where to stand and what to look for.
Write the sentence and read it again. If you cannot picture three specific frames from it, it is still a topic, not yet a theme.
Step 2: Research the Concept and Build Visual References
Look at other people’s work to learn what decisions are open to you, not to copy their finished images. Collect references in five separate folders: composition, light direction, color palette, wardrobe and setting, and recurring motifs.
A mood board of fifteen frames is plenty. Add a note under each one describing what you are borrowing: “backlit haze”, “muted greens and warm skin”, “subject placed low and left”. Those notes become your editing target later, and they stop you from wandering mid-shoot.
Step 3: Create a Location Plan and Shot List
Scout before you commit. Stand where you plan to shoot at the hour you plan to shoot, note where the light falls and where it will be blocked, and check whether you need permission for interiors, models or commercial property.
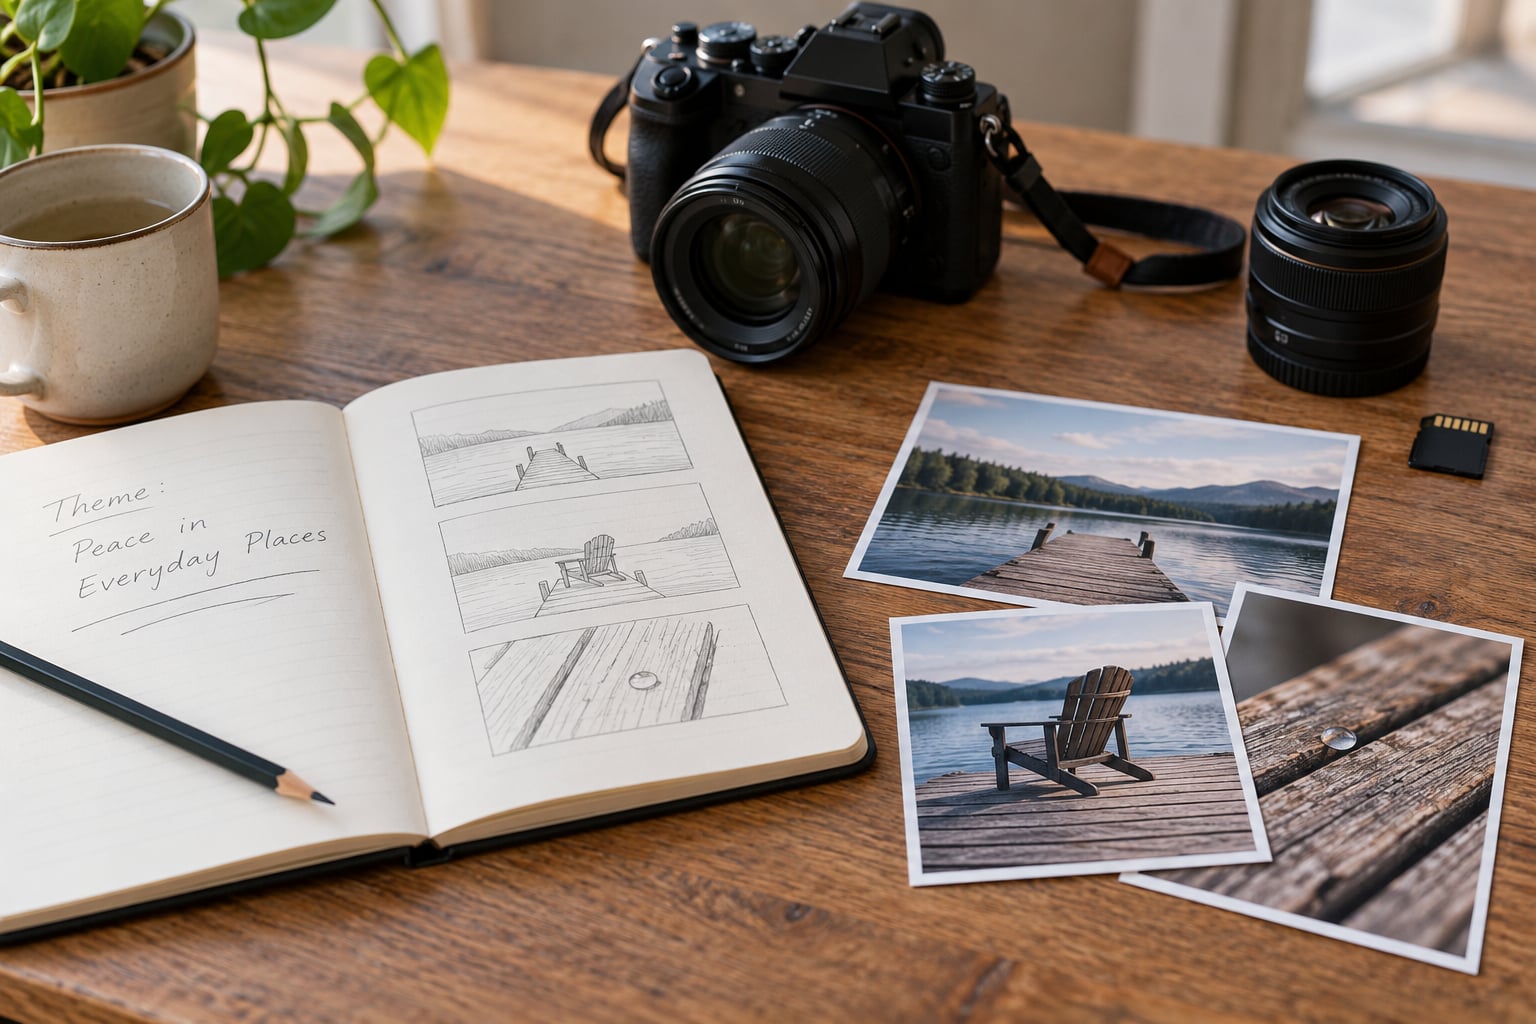
Organize the shot list into five groups: establishing views that show the place, medium frames that show a person or subject in it, details that carry the recurring motif, variations that test a new angle or moment, and one closing image. Aim for a list of twenty items knowing you may only use eight.
Give yourself a weather backup. A second location at the same hour of day preserves your light, which matters far more than a second location that looks better in different light.
Step 4: Choose a Consistent Visual Approach
This is where you decide what stays fixed. Most successful series hold steady on five things: perspective and camera height, color treatment, direction of light, depth of field, and pacing.
Shoot at the same height as your subject and keep one focal length. Set a white balance and leave it there rather than chasing auto. Pick one depth of field approach, wide enough for context or shallow enough for intimacy, and hold it across the series.
Vary the other things: distance, angle, gesture, moment, framing. A series where nothing changes is a folder, not a project.
Step 5: Photograph Wide, Medium, and Detail Frames
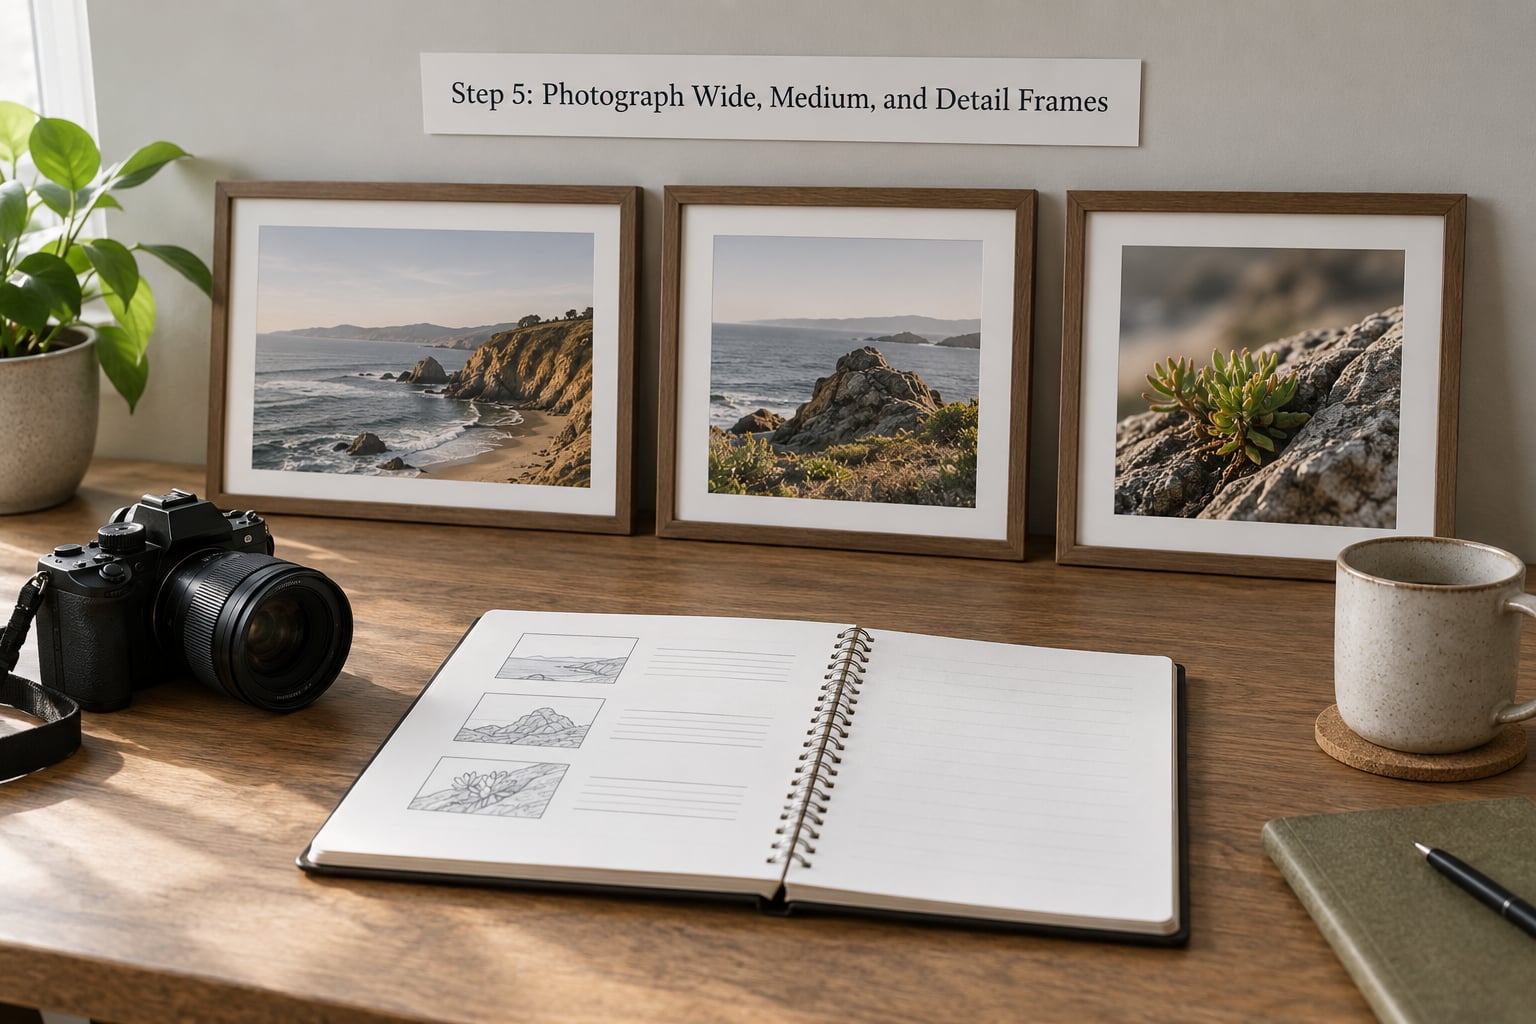
Combining wide, medium and detail frames is what gives a series rhythm. A wide shot tells the viewer where they are, a medium shot shows who or what matters, and a detail frame rewards a second look.
For a portrait series that means a full-body frame in the room, a half-length frame, and a tight frame on hands or an object. For a place, it is the street, a doorway, and a worn tile. For documentary work, it is the scene, the exchange between two people, and the trace someone leaves behind.
Your capture checklist is simple: get the five must-have frames first, then shoot variations of each, and let a few unplanned frames in. When something unexpected happens, take it anyway and judge it later.
Step 6: Edit for Continuity Without Making Every Frame Match
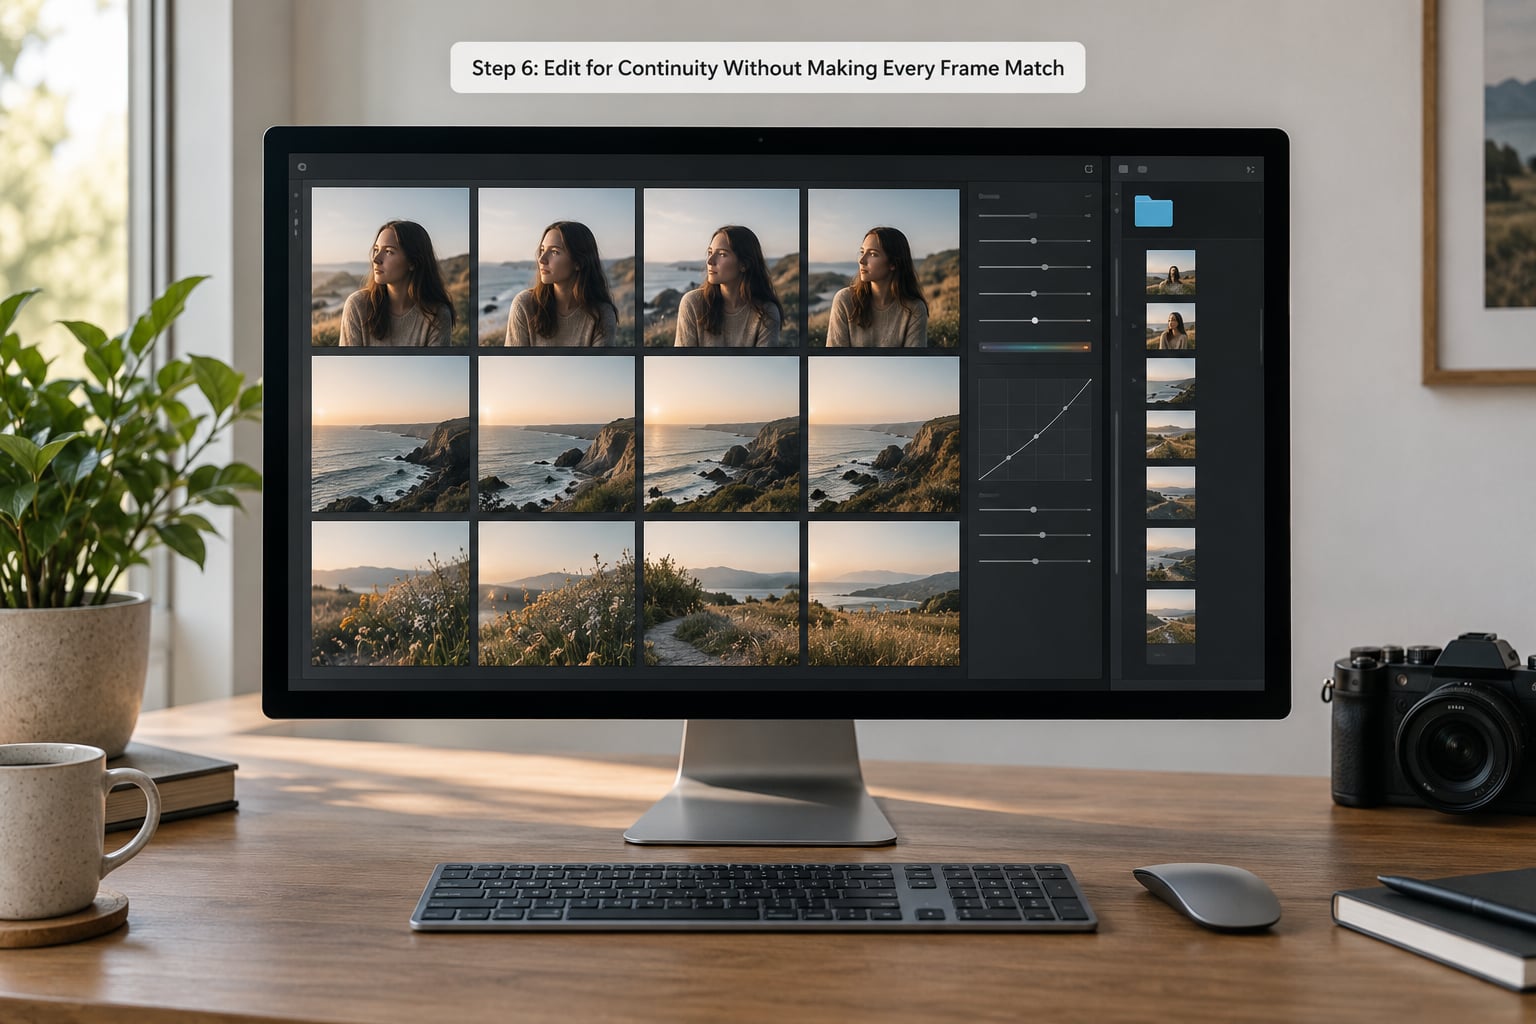
Consistency means the same decisions, not identical pixels. Apply the same exposure approach, contrast shape, color treatment and crop orientation across every frame, then let subject-specific differences stand.
Build a repeatable routine. Start with a batch correction pass that fixes white balance and lens distortion across the whole set. Apply your base preset or grade, then adjust each frame for its own exposure. Clean up distractions last, and keep a catalog folder where you store untouched backups.
Step back often and judge the set as a whole on a contact sheet, because the thing that breaks cohesion is rarely obvious on a single image. One frame at 30 percent brighter than its neighbours is invisible alone and glaring in a grid.
Step 7: Sequence, Review, and Share the Series
Ordering is what turns a pile of good photographs into a series with a beginning, a middle and an end. Start with your strongest image and place it first. Build the middle from frames that change something, alternating wide and detail so the eye keeps moving. Close with the image that resolves the theme rather than the loudest one.
Repeat a motif at least twice. A recurring element in the first and last frames is the cheapest way to make a set feel designed.
For a printed exhibition, sequence in fives or sevens per wall and step back several paces before you commit to the order. For a gallery grid or a social feed, repeat that same order in threes across so the rhythm survives the format. Ask two people who are not photographers to look at the set cold and tell you what the theme is. If they say something you never intended, the order needs work, not the pictures.
Common Mistakes and Quick Fixes
- The theme is too wide to finish. “Old doors” across a whole country will never resolve. Fix: add a location limit or a date limit until the theme fits on one sheet of paper.
- Two visual styles in one set. You switched lenses, changed white balance or moved between open shade and hard sun. Fix: grade the whole set again from one baseline and cut the frames that still fight it.
- No backup of the originals. A formatted card mid-project ends it. Fix: copy to two places before you open the files.
- Only one type of frame. Ten similar medium shots leave the viewer nowhere to rest. Fix: add establishing views and details before you edit anything.
- Editing each image on its own day. Mood drifts and the set stops matching. Fix: schedule one editing session for the whole series and grade from a contact sheet.
- Publishing near-duplicates. Three almost identical frames read as indecision. Fix: keep one and let the others go, however painful that is.
Two habits keep projects alive past the midpoint, where motivation usually dips. Shoot a second location on the same day so you have material without a new trip, and show the work-in-progress to strangers rather than friends, who tend to reassure you instead of telling you what is weak. Specificity helps too: name your lens, your location and your settings when you ask, because vague requests get vague feedback.
Frequently Asked Questions
How many photos should be in a themed photo series?
Most finished series sit between 7 and 12 images. Fewer than 5 rarely feels substantial, and more than 15 becomes hard to hold in mind unless you are making a book or gallery wall. Plan for 20 to 30 frames and edit down. The real test is whether every remaining image adds something, because a series can run too long long before it is too short.
Do I need a different camera or lens for every series?
No. Most differences you notice between series come from light, color treatment and editing rather than equipment. Using one body and one prime lens across a series is a genuine advantage, since it removes variables you would otherwise fight later. Upgrade your camera when it limits a specific technique you want to learn, not because you are starting a new project.
How do I keep the lighting consistent across multiple locations?
Shoot every location in the same time window, ideally within an hour of the same position in the day, and note the conditions in your shot list. If that is impossible, repeat the light instead of fighting it: visit each location at more than one hour and use only the frames from matching conditions. Overcast days are the most forgiving conditions for a beginner’s first series.
Should all photos in a series have the same color treatment?
Same treatment, yes, applied with judgement. Apply one white balance correction, one base grade and one crop orientation across the set, then adjust each frame only as much as the subject needs. If two frames of the same red door still read as different reds, the fix is usually in your capture stage, where the light changed, not in the edit.
How should I order photos when presenting a photography series?
Open with the strongest image, build the middle by alternating wide frames with details so the eye keeps moving, and close with the frame that resolves the theme rather than the most dramatic one. Repeat your recurring motif at both ends. Print a contact sheet, mark your order with pencil, then step back several paces before committing to the sequence.
Can I create a photo series from photos taken on different days?
Yes, as long as you are honest about the constraint you kept. Daylight direction, color and scale shift between sessions, so match those in the edit, or set the series inside a theme where varied light is part of the idea, such as one street across a full day or one building through four seasons. Consistency has to come from somewhere, and matching the edit is a legitimate place to find it.
Conclusion
A cohesive series comes from a small number of decisions made once and honoured throughout: one theme in one sentence, a plan for light and location, a fixed set of visual rules, and a single editing session that treats the set as one piece of work.
Start today rather than planning the whole project. Write the one-sentence theme, choose the one recurring element you will repeat in every frame, and list five frames you would be sorry to miss. Then go shoot those five.