The fastest way to stop copying other photographers is to separate analysis from execution: work out why a frame works, then rebuild that idea with your own subject, your own location and your own light. Most copying is not a character flaw. It is habit — you see an image you want, you reconstruct its setup element by element, and you never actually make a decision. That is why it feels hollow afterwards.
Learning from photographers you admire is not the problem. Recreating their exact photograph and presenting it as your own is the problem, and it has consequences beyond the aesthetic ones: people in the photography community notice, clients work out whose eye they are really buying, and a genuinely close copy of someone else’s composition can create real copyright exposure.
Here is how to do this properly, in six steps. It takes about an hour a week for a month to start changing what you make.
Table of Contents
- What You Need Before You Study Other People’s Work
- How to Avoid Copying Other Photographers, Step by Step
- 1. Study Influences Without Reproducing Them
- 2. Define Your Own Visual Priorities
- 3. Practice the Technique, Not the Exact Photograph
- 4. Build a Personal Style Experiment
- 5. Edit for Your Own Voice
- 6. Review, Credit, and Keep Evolving
- Common Mistakes That Make Your Work Look Copied
- Frequently Asked Questions
- Is it okay to copy a photography style?
- How can I learn from photographers I admire without copying them?
- What if my photos look like another photographer’s work?
- Should I use presets or editing styles inspired by other photographers?
- How do photographers develop a recognizable personal style?
- Do I need to credit a photographer whose work inspired mine?
- Start With One Reference and One Rule
What You Need Before You Study Other People’s Work
You do not need new gear, and you do not need a clearer sense of who you are yet. You need a way of writing things down that keeps you on the principle side of the line.
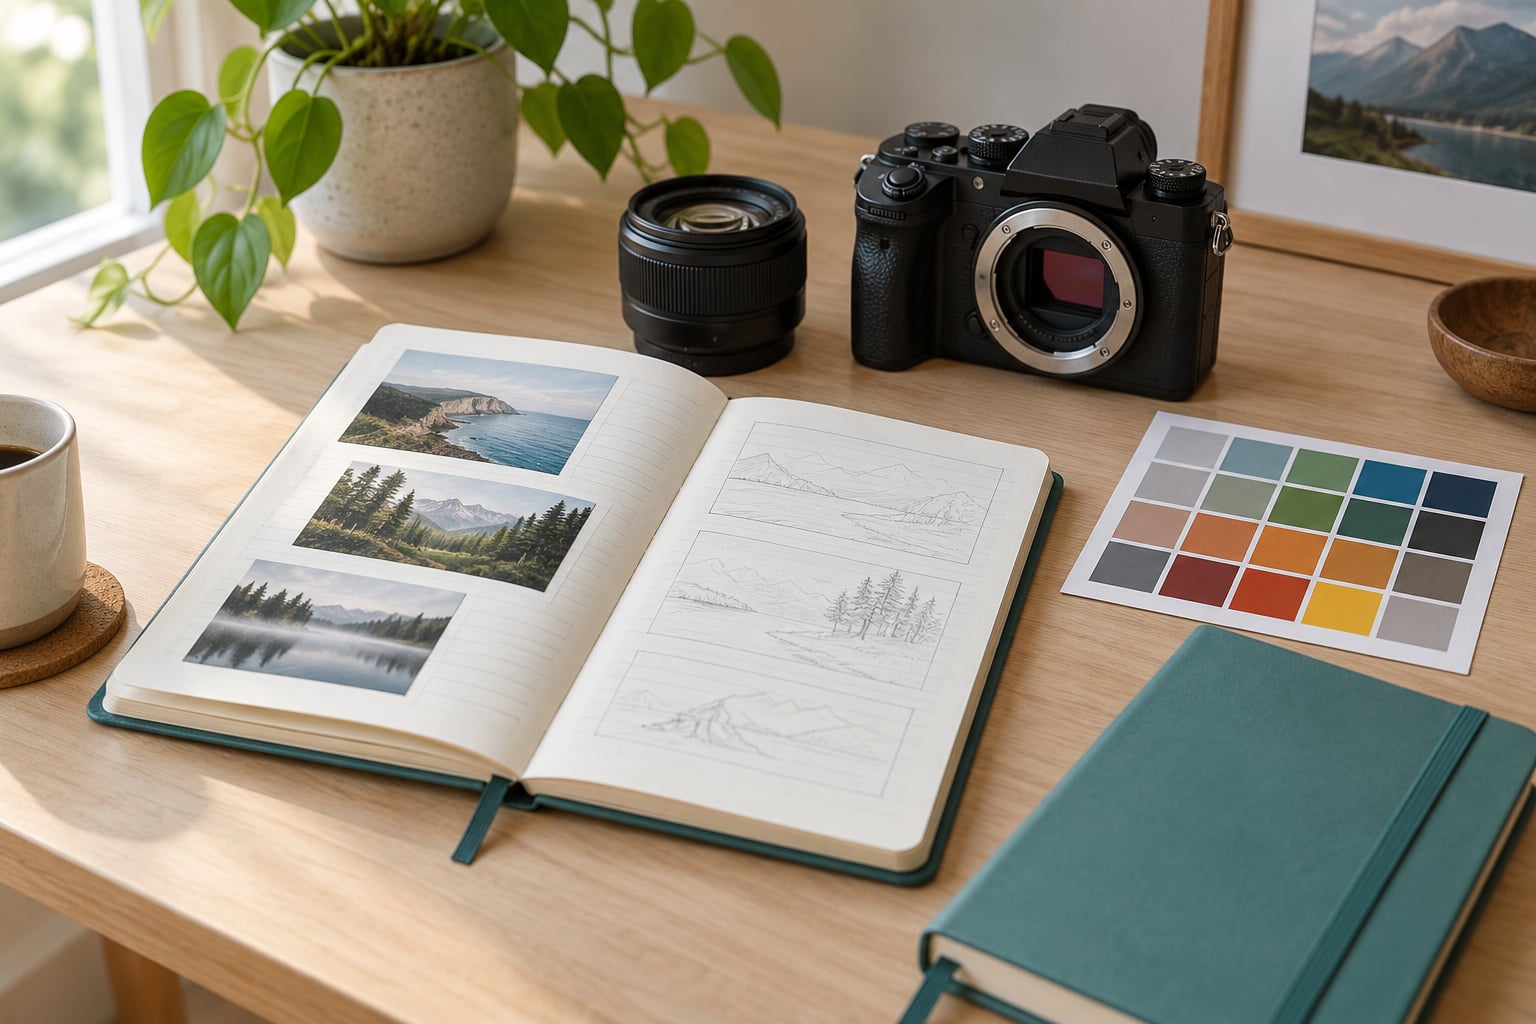
A reference notebook or a single note on your phone. One line per image you stop on. Not a saved folder of screenshots — a folder becomes a shopping list of poses to replicate. Write instead: “backlit, subject small in frame, cold shadows.” Three or four words about the reason the image works. Most people who think they are studying style are actually transcribing settings.
Your own archive, dated. You cannot tell whether you are drifting or developing without a baseline. Fifty frames is enough to start. Look at them in one sitting, at small size, and note what repeats: the light direction, the height you shoot from, the colour you lean toward, the way you crop.
One constraint to work inside. A single focal length for a month, monochrome only, golden hour only, no tripod. Constraints are the cheapest way to force decisions, because they remove the option of defaulting to what you saw someone else do.
A private folder for studies. Deliberate copies have a legitimate use — they teach you how another photographer solved a lighting problem. They just belong in a study folder, not a portfolio, unless you say clearly that the frame is a recreation.
A way to ask better questions. Instead of asking another photographer for their settings, ask them what they were trying to make the light do. Forum advice on photo.stackexchange keeps landing on the same point: analysing why an image works teaches you more than asking for the recipe, and the recipe would not have reproduced the image anyway.
How to Avoid Copying Other Photographers, Step by Step
Before the process, it helps to name the four things people blur together. Where the line sits changes everything about how you use a reference.
| Level | What it means | Signal it is happening | What to do |
|---|---|---|---|
| Inspiration | Something makes you want to shoot. No plan yet. | You feel pulled toward an image and go make your own. | Use it. This is the healthy version. |
| Influence | You adopt a repeatable principle, such as shooting into the light or leaving headroom. | Your work starts echoing a habit, not a frame. | Keep a note on what you borrowed and from whom. |
| Imitation | You reproduce the same spot, pose, framing and edit together. | Your image is recognisably the reference with the subject swapped. | Do not publish it as your own. Change at least three things. |
| Plagiarism | You pass someone else’s image off as your own, or strip their watermark and repost. | No credit, no context, or the file itself is theirs. | Remove it, credit the original, and get advice before re-shooting that setup. |
1. Study Influences Without Reproducing Them
Read a reference image the way you would read a good piece of writing — for the decisions, not the surface. Run it through six questions: where is the light coming from and how hard is it, how much of the frame does the subject occupy, which way is the subject facing and how much space is left, what colours dominate and how saturated they are, what was happening one second before, and what emotion lands.
Then write the principle in one sentence. “Backlight with subject small in frame and cool shadows” is a principle. “Sony A7R, 85mm, f/2, ISO 400, golden hour, edited in Lightroom with the Clarity slider at +15” is a recipe, and following it produces a frame that is technically similar and emotionally empty.
How it worked: after this exercise you can look at a reference and describe it in your own words. If you can only describe it by listing settings, you have copied a recipe instead of learning something.
Gary Gough’s argument on Fstoppers is worth sitting with, because it is the strongest case for the other camp: recreating an image surfaces the exact technical problems the original photographer solved. That is true, and it is how a lot of people learn. The distinction everyone agrees on, including that video, is between copying in private to learn and shipping derivative work as your own for profit.
2. Define Your Own Visual Priorities
Sit down with your last fifty frames and write down what repeats. Not what you like — what is actually there. Most photographers find their priorities are already formed by the time they worry about originality, usually without noticing.
Build an influence map next. Pick three photographers and take one element from each: framing from one, colour from another, the way they handle a difficult light from the third. The result will not belong to any of them, which is the whole point. Borrowing everything from one person is how you end up recognisable as their follower rather than as yourself.
Add a structure of refusals. Decide what you will not shoot. No haze at sunrise, no flat-lay coffee shots, no portraits with both hands visible in the pockets. Style is what you refuse to shoot, not what you add. The Fstoppers essay on style argues this same thing, and it is the fastest way to make a feed look like it was made by one person instead of five.
How it worked: if you can describe your work in three rules, and those rules would rule out half the images on your own feed, you have priorities rather than preferences.
3. Practice the Technique, Not the Exact Photograph
This is the master study exercise, and it is the practical core of learning without copying. Take the principle you extracted, then rebuild the feeling of it with your own subject, your own location and your own light. If you wanted the feeling of backlight and negative space, shoot a friend on your street at five in the afternoon, not at the viewpoint from the reference.
Change at least three variables at once. Different subject, different location, different light, different framing — any three. The exercise should feel slightly uncomfortable, because the part that felt effortless in the reference is the part you were borrowing.
Have a shipping rule ready before you start. The study lives in a private folder, or it gets published with a clear line saying it is a recreation and naming the photographer. That single habit removes most of the anxiety, and it is what separates learning from pretending.
How it worked: someone who knows the reference exists cannot tell which is which from your version alone. If they can, you still owe a caption.
4. Build a Personal Style Experiment
Constraints do what willpower cannot. Pick one for 30 days: monochrome month, single focal length, golden hour only, available light only, or one composition repeated every week from a different position. The exact choice matters less than the fact that it is testable.
Run one concept through five variations. Same subject, same hour, five viewpoints or five gestures. The variations that keep working are your style showing through; the ones that fall apart were a borrowed habit.
Keep what repeats and write down why. Most photographers come out of a monochrome month with an answer to a question they could not phrase at the start — often something about contrast and skin tone that they would never have chosen deliberately.
How it worked: at the end of 30 days you have a body of work where the through-line is yours, plus a short list of decisions you made on purpose.
5. Edit for Your Own Voice
Post-processing is where copying is hardest to notice and easiest to do. A preset pack imported wholesale gives you another photographer’s colour signature, tone curve and grain, applied to every frame. If your edits are indistinguishable from someone else’s feed at a glance, the look is not yours regardless of who took the photograph.
Start from neutral instead. Develop your base look on a flat, ungraded file, then build a repeatable sequence you could describe out loud: how you set white balance, how you treat blacks, how far you push saturation in skin, what you do with the corners. Write it down as a recipe you wrote, not one you downloaded.
Check the unglamorous things before the look is finished. Skin tone accuracy, clipped highlights in the brightest window, whether the histogram has a shape you chose. A consistent look that survives being described in words is a style. A look you cannot describe is a habit.
How it worked: you can hand someone your edit steps in a short list, and applying them to a photo they shot does not produce your photo. That is the test.
6. Review, Credit, and Keep Evolving
Curate the portfolio and archive the rest. Half the copying problem is solved by publishing fewer things. Work you made as a study is a study, even if it is good, and keeping it out of the public set removes the whole question. In photography, the images you choose not to show say as much about your style as the ones you do.
Credit influences out loud. Say who taught you a technique, in a caption or a post. Photographers on r/ArtistLounge and r/artbusiness tend to land on the same conclusion: plagiarism is not always illegal, but it is nearly always a credibility problem, and credit resolves most of it.
Know where the legal line sits, as general information. Photographs are protected by copyright from the moment they are made in most countries, and a close recreation of someone’s specific composition can be a derivative work. You cannot reproduce their photograph or strip their watermark and sell or post that as yours. On r/COPYRIGHT the recurring worry is that the law is uncertain — distinct similarities alone have not always been treated as infringement. If you are in real trouble over a specific image, talk to a copyright attorney rather than relying on forum consensus.
Know how to check whether your own work is being used. Register significant work with your national copyright office, keep your original files with intact metadata, run a reverse image search on your strongest frames every few months, and watermark images you publish if you want to. If you find a violation, document it, then use the platform’s takedown process or a DMCA notice.
Then keep moving. Styles go stale, and a photographer who rigidly defends one look for a decade ends up with a smaller client list than one who evolves. The Fstoppers comment thread raises the fair objection: you can hold several consistent styles across genres, and nobody is required to have exactly one.
Common Mistakes That Make Your Work Look Copied
Reproducing the exact spot, time and angle. It is the fastest route to looking derivative and it is the easiest habit to break. Correction: pick a location within a mile that you have never shot, and make the frame from a different height.
Importing a preset pack as your look. Correct it by editing a flat file start to finish yourself once, writing each step down, then repeating that sequence forever.
Borrowing an entire aesthetic from one photographer. Their light, their grade, their framing, their posing. Correction: go back through your influence map and take one element from each person instead.
Reusing the same pose vocabulary. A small set of gestures you did not invent will keep surfacing in portraits. Correction: ban one familiar pose for a month and find ten others.
Asking for EXIF data instead of asking why. Forum photographers point this out constantly — the settings will not reproduce the image for you. Correction: ask what the light was doing, then try to make it do the same thing to your subject.
Letting one aesthetic fill your whole feed. Curating around one look feels like failure early on, and it is why people mimic wholesale. Correction: follow accounts outside your genre and outside photography entirely — painting, architecture, cinema — so the feed stops dictating what you shoot.
Publishing a study with no context. Correction: caption it as a recreation, name the photographer, and say what you were trying to learn. Credited studies build a reputation instead of damaging one.
Frequently Asked Questions
Is it okay to copy a photography style?
Learning from a photographer’s style is fine, because a style is a set of habits rather than a single protected image. Copying a specific photograph, with the same location, pose, framing and edit, is a different matter and can be both ethically poor and legally risky. A useful test: could someone looking at your image recognise the original underneath it? If yes, treat it as a study and credit it rather than publishing it as your own work.
How can I learn from photographers I admire without copying them?
Write down the principle behind each image instead of the recipe. Ask where the light is coming from, how large the subject sits in the frame, and what mood is created, then rebuild that feeling with your own subject, your own location and your own light. Change at least three variables at once. Keep these recreations in a private study folder, and publish them only with a clear caption crediting the photographer.
What if my photos look like another photographer’s work?
Audit fifty of your own frames and write down what repeats: light direction, shooting height, colour, crop. Then compare against the photographer you think you resemble, element by element. Most people find one borrowed habit rather than a whole borrowed style, and it is usually the edit or the crop. Change that one thing for a month and shoot new work before judging the result.
Should I use presets or editing styles inspired by other photographers?
A preset pack you download gives you someone else’s colour signature, tone curve and grain, applied to every frame you shoot. Start from a flat, ungraded file instead and build your look in steps you can describe out loud: white balance, black point, saturation in skin, vignette. Consistency matters more than the specific look, and a look you built yourself will not be confused with someone else’s feed.
How do photographers develop a recognizable personal style?
Mostly through repeated small decisions rather than a single revelation. Shoot under constraints for 30 days, find what survives the constraint, and keep it. Take one element from three different photographers instead of everything from one. Add a structure of refusals, meaning a list of what you will not shoot. Style is defined as much by what you refuse as by what you add.
Do I need to credit a photographer whose work inspired mine?
Credit is cheap and it protects you. If your image is recognisably a recreation of theirs, say so in the caption and name them. If the influence is a general habit, like shooting into the light or leaving generous headroom, a mention in a post or caption costs you nothing and earns goodwill. Photographs are protected by copyright from creation in most countries, so if a dispute is real, speak to a copyright attorney rather than relying on general advice.
Start With One Reference and One Rule
Pick a single image you admire and write one sentence about why it works, in words rather than settings. Then shoot that feeling with your own subject, your own place and your own light, and change three things deliberately. Do that once a week for a month and most of the copying stops on its own, because you are making the decisions again instead of borrowing them. Published 2026, kept practical, no gear required.