Learning how to shoot editorial fashion portraits comes down to four things working together: a clear concept, styling that supports it, one repeatable lighting setup, and a pose sequence that gives you variations instead of a single frozen stance. That is the whole method, and this guide walks through it in the order you actually work on a shoot day.
Most beginners lose time on gear instead of structure. A body, a lens, one light and a plan for the first ten frames will get you further than a studio full of equipment and no shot list.
Table of Contents
- What You Need
- Camera and lens
- Light
- Support gear
- Styling and admin
- Optional
- How to Shoot Editorial Fashion Portraits, Step by Step
- Define the Editorial Concept and Visual Direction
- Create a Styling Plan
- Choose the Location and Background
- Set Up Lighting for Editorial Fashion Portraits
- Establish a Posing and Movement System
- Choose Camera Settings
- Direct, Photograph, and Review the Session
- Edit for a Cohesive Editorial Series
- Common Mistakes
- Frequently Asked Questions
- What lighting is best for editorial fashion portraits?
- Do I need a studio to shoot editorial fashion portraits?
- What camera settings work best for fashion portraits?
- How do I make model poses look more natural?
- How do I create a consistent look across an editorial photo series?
- How much retouching should I use on fashion portraits?
- Conclusion
What You Need
Build the kit in this order and stop when the frames start working.
Camera and lens
Any camera you can shoot RAW on is enough. A 50mm or 85mm prime covers portrait work well, and a 24-70mm gives you room for full-length and detail frames without changing glass. Focal length changes how you treat the background, so pick one and commit.
Light
One light does most of the work: a continuous LED panel with a diffuser, a strobe with a softbox, or a bare reflector working with a window. A second light for a rim or hair separation is a nice extra, not a requirement. Where pros like Ian Hippolyte earn their edge is placement, not head count.
Support gear
A stand, a sandbag, a white or silver reflector, and a V-flat or foam board to block stray light. Clamps and tape for pinning garments count as real gear on a small set.
Styling and admin
Wardrobe chosen one day ahead, garment steamer, safety pins, styling spray, water and snacks for the model, a model release, and a call sheet with timings and locations. The release is what makes the frames usable later, and paperwork is part of the shoot.
Optional
A stylist, hair and makeup, an assistant, a second body to handle wardrobe changes while you keep the camera up, and lighting diagrams or a laptop for tethered review. You can shoot a strong editorial alone, but every hat slows the frames down.
How to Shoot Editorial Fashion Portraits, Step by Step
Define the Editorial Concept and Visual Direction
Editorial images are judged as a sequence, not as single frames. Before booking anything, write one sentence describing the story, then pick three references that share a mood.
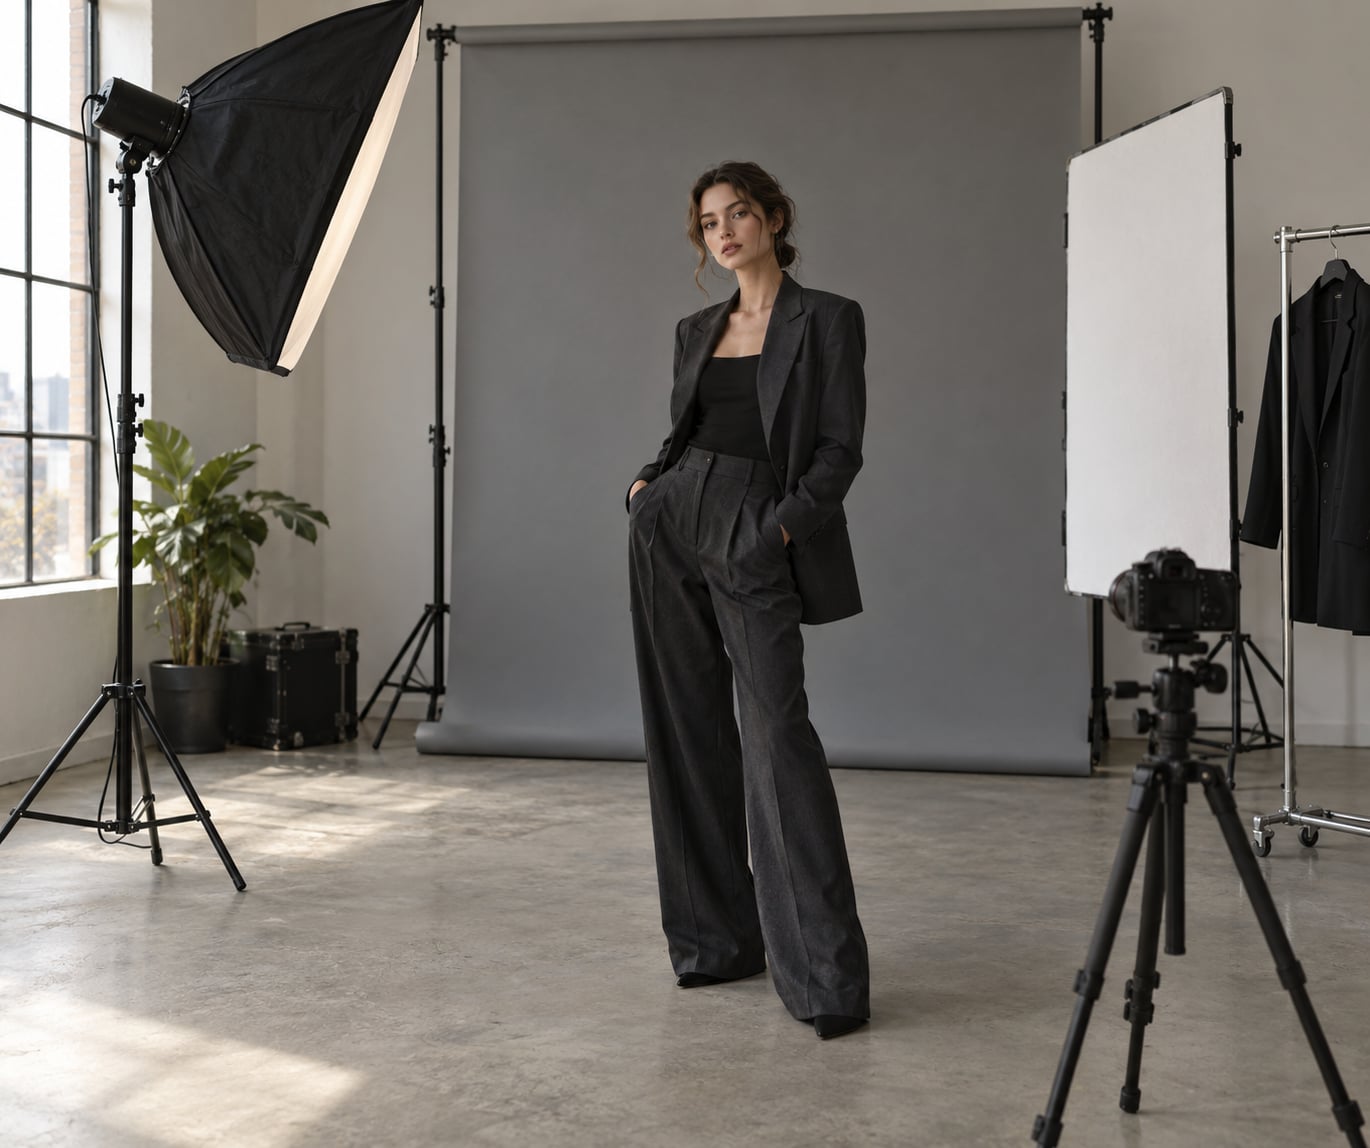
Take the minimalist monochrome city-fashion concept: tailored black pieces, concrete and glass, overcast light, no visible logos. That sentence decides the wardrobe, the location, the lighting and the edit, which means half your decisions are already made.
Create a Styling Plan
Wardrobe, hair, makeup and accessories should all pull toward the same idea. Pick pieces that hold their shape, and bring one backup look in the same palette in case something stains or a garment moves badly.
Have the model arrive 30 minutes early so hair and makeup can settle. Steam garments between looks, pin anything that gapes, and choose shoes the model can actually stand in for a full take. Nadia Lee Cohen’s fashion work reads as editorial largely because nothing in the frame is accidental.
Choose the Location and Background
A studio gives you full control over light and falloff. Architectural locations bring lines and texture but fight you with mixed brightness. Outdoors you inherit the weather and the time of day, so shoot when the light is softest and check for signage, crowds and clutter behind the subject.
Look at the background before you look at the model. If something distracting sits behind the subject, either move the subject, change your angle, or darken it deliberately. A clean background that reads as a choice beats an accidental one every time.
Set Up Lighting for Editorial Fashion Portraits
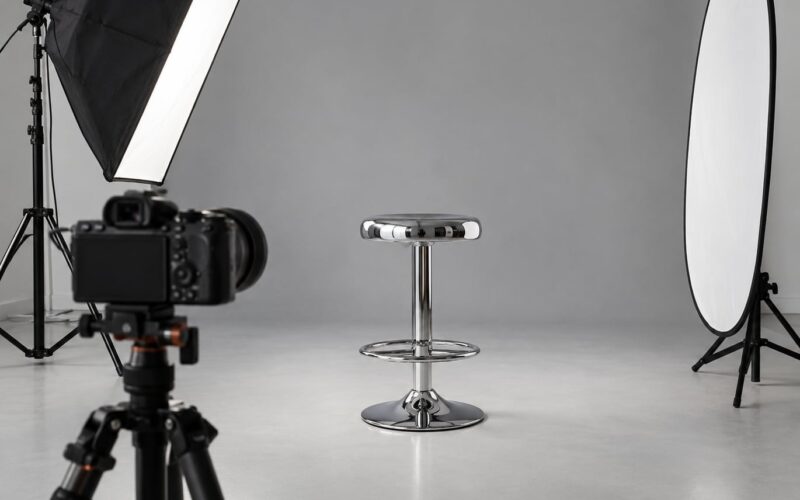
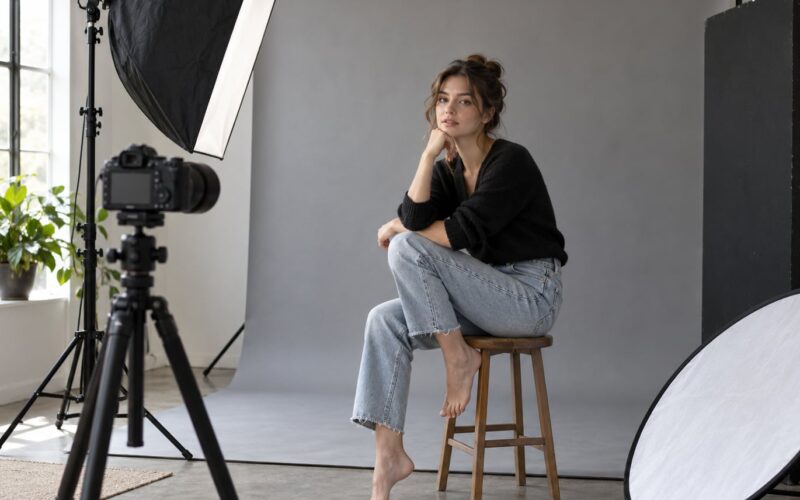
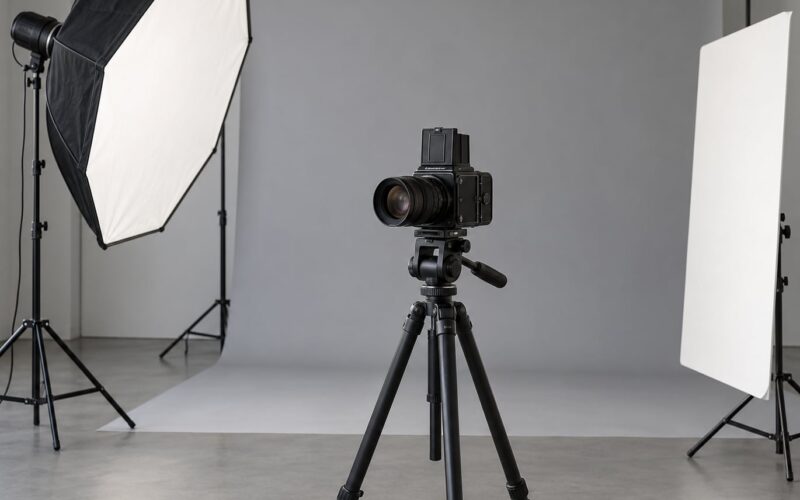
The starter setup I keep coming back to: subject standing three to four feet in front of a seamless backdrop, main light at roughly 45 degrees and slightly above eye level, reflector on the opposite side near the subject, rim light behind and above at low power.
Move the main light closer for softer, flatter light, and further out for harder shadows that describe cheekbones and fabric. The reflector controls how much shadow you keep. For a harder editorial look, skip the reflector on one side and let the shadow fall across half the face.
Most of the craft in how to shoot editorial fashion portraits happens at this one step. On a budget, a north-facing window with a sheer curtain acts as the softbox and a piece of white foam board handles fill. Natural light gives a believable, cinematic quality, which is why so many photographers keep attention on the model and the clothes rather than the gear.
Establish a Posing and Movement System
Break every pose into head, shoulders, hands, weight and movement, then vary those five pieces in sequence rather than hoping for something good.
Start with the head turned slightly off the lens, then shoulders square or angled, then hands doing one clear thing: in a pocket, on a strap, touching the collar, or holding nothing at all. Push weight onto one leg so the hips shift.
Once the base works, add movement: a step forward, a shoulder turn, a head tilt held for two beats, a slow hand across the face. Practice in front of a mirror yourself first, hands especially. Beginners who try that tend to direct far better on the day.
Choose Camera Settings
A dependable starting point is manual exposure at f/4 to f/5.6, shutter 1/250 second, ISO as low as your light allows, and RAW capture with white balance set to the light source rather than left on auto.
Open to f/2.8 or wider when you want the background soft and the garment sharp, and close to f/8 when the whole look needs to stay readable from head to toe. Drop shutter to 1/125 or 1/60 only for deliberate movement blur with a stable subject.
Use continuous autofocus with animal or eye detection if your body has it, otherwise use back-button focus on the eye. Check focus on the eyelashes and keep highlights off the clipping point by watching the histogram, not the screen brightness.
Direct, Photograph, and Review the Session
Give short, specific direction rather than a full sentence of instruction. Chin forward, elbow in, step toward me, hold that for two seconds.
Knowing how to shoot editorial fashion portraits is mostly about how you run the room. Work through your shot list in blocks, and inside each block change one variable at a time so you get variety you can use. Shoot a horizontal and a vertical of anything you like, and grab an alternate frame before the pose resets.
Show the model the frame occasionally. It builds trust and it keeps energy up. Pause every twenty minutes to review focus and exposure before you waste the rest of the shoot on a wrong setting.
Edit for a Cohesive Editorial Series
Culling works best in passes: first pick the frames with the strongest poses, then the ones with clean technicals, then build an order that opens wide, moves to details and closes on a face.
Match exposure and white balance across the sequence so the set reads as one story. Keep skin tones natural, hold contrast consistent, and pick a colour treatment once and apply it to every frame.
Crop with a purpose: portrait for a stance, vertical for full-length, wide for a standing figure in a space. Retouch distracting elements and keep skin texture. If the frames are too polished they stop looking photographed and start looking rendered.
Common Mistakes
Flat, even lighting. Move the main light further from the subject and drop the reflector to one side. Shadow is what describes shape.
Uncontrolled backgrounds. Check the frame edges before every take, and treat the background with a flag, a change of angle or deliberate underexposure.
Rigid posing. Assign the weight to one leg and give the hands a job. If the model holds still for more than a few seconds, add motion.
Over-directing. Explain the mood, not the exact pose. A model who understands the look can invent better frames than one following instructions.
Drifting camera settings. Lock exposure and white balance for the look, then change only what the shot needs. Consistency is what makes a series look intentional.
Excessive retouching. Fix distraction, not skin. The top complaint in the fashion photography community is that the look has been done to death, and heavy smoothing pushes you further toward that.
Chasing technical perfection. A perfectly exposed frame with no expression loses to a slightly soft frame that holds a moment.
Frequently Asked Questions
What lighting is best for editorial fashion portraits?
One light at about 45 degrees and slightly above eye level does most of the work. Move it close to the subject for soft, even light or push it further back for hard shadows that describe shape. Add a reflector opposite for control and a low-power rim behind for separation. Overcast windows work well too, especially for a cinematic, natural look.
Do I need a studio to shoot editorial fashion portraits?
No. A studio gives you repeatable light and a clean background, but architectural locations and outdoor spots produce more interesting depth and texture. Choose based on the concept. Outdoors, pick soft light, scout for clutter behind the subject and bring a reflector or small LED for shade. Indoors, a plain wall and a window can carry a whole series.
What camera settings work best for fashion portraits?
Start in manual at f/4 to f/5.6, 1/250 second, and the lowest ISO your light allows, shooting RAW with white balance set to the light source. Open up to f/2.8 for a soft background, close to f/8 when the full look needs to stay sharp head to toe, and slow the shutter only for deliberate movement blur. Check focus on the eyelashes.
How do I make model poses look more natural?
Give the pose a job instead of a shape. Weight onto one leg, turn the head slightly off the lens, and give the hands one clear thing to do. Then add movement: a step forward, a shoulder turn, a slow hand across the face. Practising in front of a mirror yourself, especially your hands, is the fastest way to direct someone else.
How do I create a consistent look across an editorial photo series?
Lock your camera settings and white balance for the look, then apply one grade to every frame so exposure, contrast and colour match. Plan the sequence to open wide, move into details and close on a face. When a series feels scattered, the fix is usually ordering and colour, not better individual frames.
How much retouching should I use on fashion portraits?
Retouch distraction rather than identity. Clean up stray hairs, temporary blemishes and garment glitches, keep skin texture and natural colour, and avoid heavy smoothing. Over-worked skin reads as artificial and pushes your work toward the look editors and audiences already see too much of.
Conclusion
Editorial fashion portraits come down to preparation: one concept written down, one lighting setup you can rebuild anywhere, and a pose sequence that gives you variation. Start there tomorrow with one model, one outfit and one light, and build the shot list from your references — turn the mood board into specific frames before the model arrives.