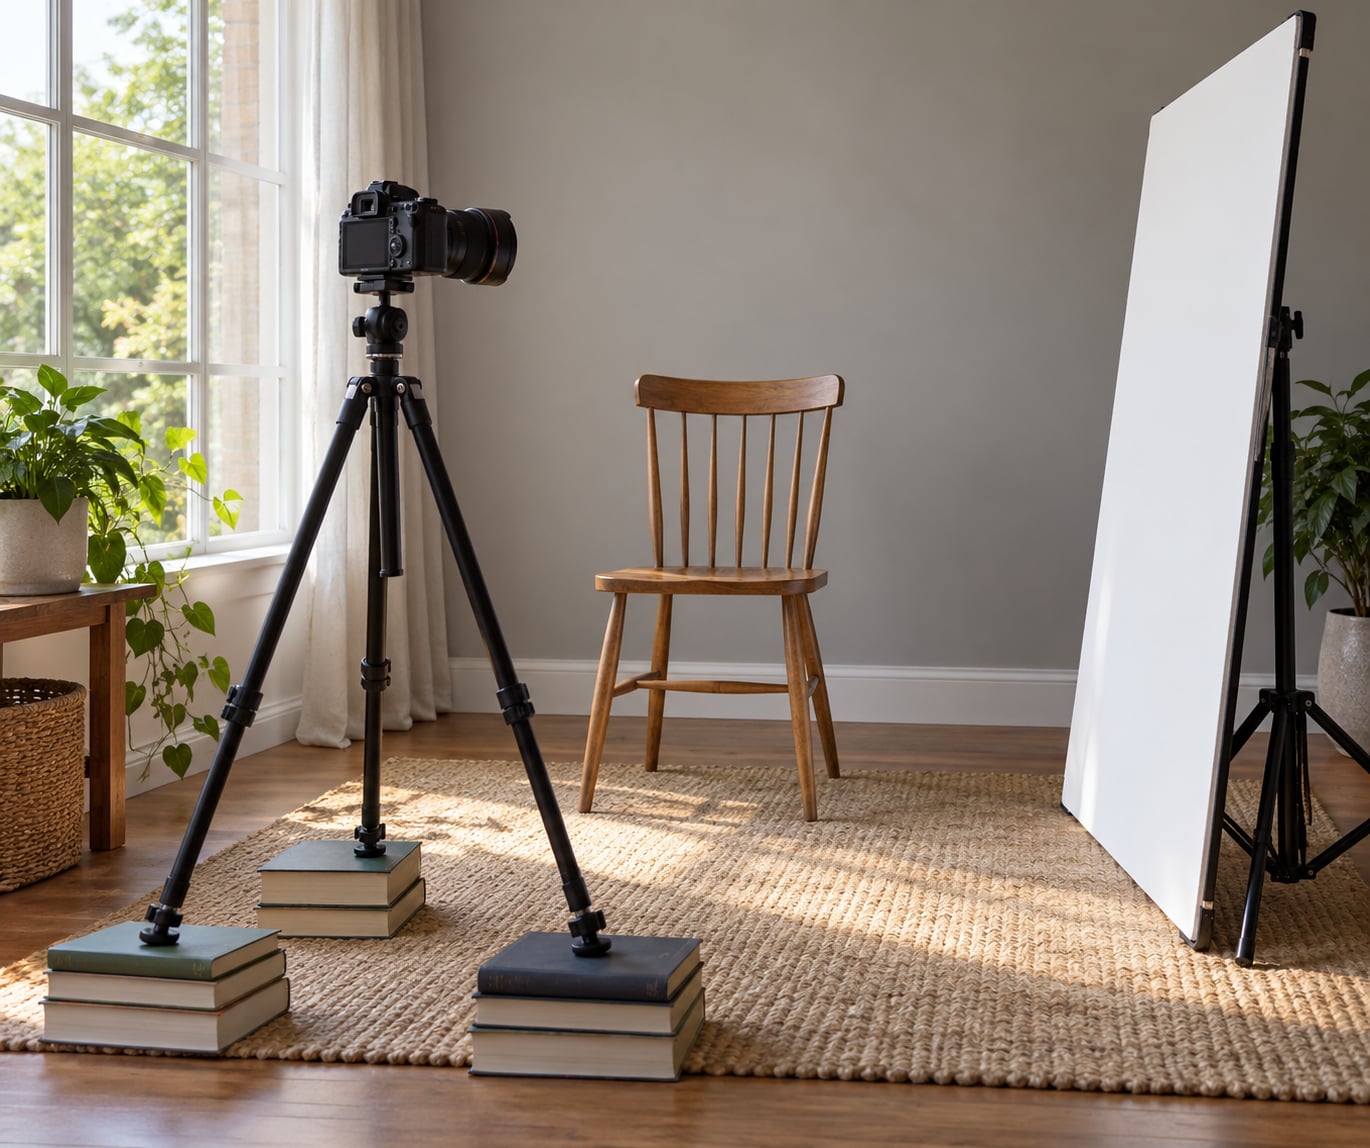
Learning how to shoot LinkedIn profile photos takes about 30 minutes of setup and one window. Put the subject 2 to 4 feet from a large window, add a plain wall behind them, put the camera at eye level on a stack of books, and shoot a burst with the rear camera on a timer. That combination produces a head-and-shoulders frame that reads clearly in the small circular crop LinkedIn uses.
The reason this works is that a profile photo gets judged in under a second, at thumbnail size, next to dozens of other faces. Your job is not to make a perfect portrait. It is to make a recognizable one: even light, a clear face, an easy expression, and a background that stays out of the way.
Table of Contents
- What You Need
- The camera
- The light
- The background
- What to wear
- Step-by-Step: How to Shoot LinkedIn Profile Photos
- 1. Plan the portrait around the person’s role
- 2. Choose a simple, distraction-free background
- 3. Set up soft, even lighting
- 4. Use a camera angle that flatters
- 5. Frame the photo for LinkedIn’s small profile space
- 6. Direct posing and expression
- 7. Capture several natural variations
- 8. Review focus, exposure, and skin texture
- 9. Edit, export, and deliver multiple profile sizes
- Common mistakes and quick fixes
- Frequently Asked Questions
- Can I use a smartphone to shoot LinkedIn profile photos?
- What is the best background color for a LinkedIn profile photo?
- How much headroom should I leave above the head?
- Should the subject smile or look serious in a LinkedIn photo?
- What resolution and file size should I upload to LinkedIn?
- Should a LinkedIn profile photo be retouched?
- Conclusion
What You Need
The whole shoot needs a camera, one light source, a background, and something solid to wear. Most of it you already own. A phone and a window will get you 80 percent of the way there, and a real camera handles the last 20 percent.
The camera
A recent smartphone is genuinely enough. Use the rear camera, never the selfie lens. The selfie camera sits closer to the subject and stretches the nose and rounds the cheeks, which is exactly the distortion a professional headshot cannot afford.
A dedicated camera or mirrorless body gives you more control over focus and background blur, but only use an 85mm or 105mm equivalent lens. Anything wider than about 50mm will distort facial features when you get close enough for a headshot.
The light
One large window is the whole lighting kit. South-facing windows give harder, brighter light through most of the day; north-facing windows give soft, even light that photographers pay for on location. Overcast days are a gift, because the cloud layer acts as a giant softbox.
Optional but useful: a white foam board or a piece of white card to bounce light back onto the darker side of the face, and a collapsible reflector if you shoot regularly. Skip ring lights, which flatten the face and leave a donut catchlight in the eyes.
The background
You need about 4 feet of clear wall behind the subject. A plain painted wall, a bookshelf pushed flat against the wall, or an ironed bedsheet hung on a curtain rail all work. The wall should be a few shades away from the subject’s skin tone so the head separates from it.
What to wear
Wear a solid mid-tone or dark color with no fine pattern, no logos, and no thin straps. Checks and stripes create a shimmer effect called moire that phones render badly. If you work in a conservative field, go darker; in creative or technical fields, a muted color with some saturation reads better.
Step-by-Step: How to Shoot LinkedIn Profile Photos
1. Plan the portrait around the person’s role
Ask three questions before anyone picks up the camera: what does this person do, who will recognize them, and where will the photo appear. The answers decide the clothing, the expression, the background tone, and how formal the frame should feel.
A recruiter scanning finance roles reads a conservative frame as credible. A conference speaker wants warmth. Someone building a personal brand wants a close, well-lit crop that survives being shrunk into a feed.
How to tell it worked: you can state the purpose in one sentence and the wardrobe and framing choices follow from it without argument. If you cannot, you are guessing.
2. Choose a simple, distraction-free background
Stand the subject 4 to 6 feet in front of a plain wall so the wall is lit dimly and evenly rather than carrying a shadow of the head. Push the camera closer to the subject than to the wall so background blur does some of the cleanup for you.
In an office, turn the subject to face an open area rather than a desk or window. At home, remove anything hanging on the wall behind them, and check for light switches, cable runs, and picture frames in the crop.
How to tell it worked: look at the smallest version of the frame on your phone. If any object pulls the eye before the face does, move or remove it.
3. Set up soft, even lighting
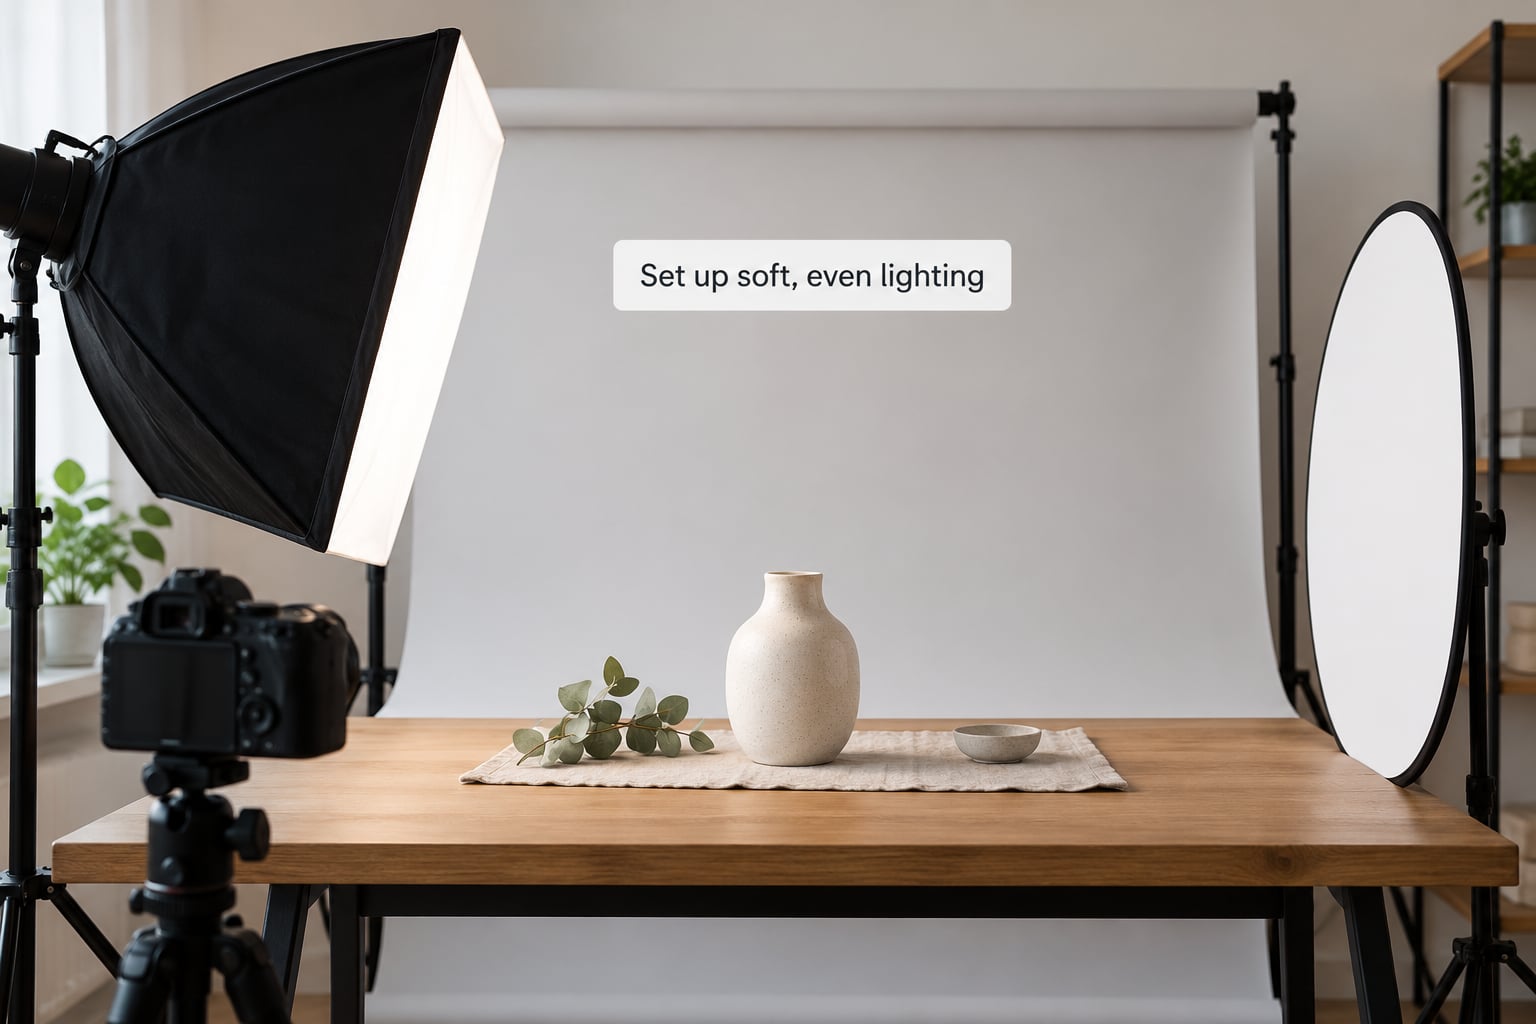
Place the subject 2 to 4 feet from the window with their face turned roughly 45 degrees toward it. That position lights one side of the face and lets the other fall gently into shadow, which is the classic loop pattern and gives the face dimension.
Turn off every other light source in the room. Mixing cool daylight with warm ceiling bulbs is the single biggest cause of orange skin tones, and it cannot be fixed properly in editing.
If the shadow side of the face goes too dark, hold a white board just out of frame on that side and let it bounce fill light back. You are looking for a soft edge under the jaw, not a hard black triangle.
How to tell it worked: the catchlight in each eye is a small bright window shape, not a ring light or a pinpoint. No shadow crosses the nose, and both eyes are equally open.
4. Use a camera angle that flatters
Put the camera at eye level. Above eye level reads as dominant, below eye level reads as weak, and for a professional profile photo neither helps you.
Turn the body about 30 degrees away from the camera while the head turns back toward it. A squared-up body looks stiff and broad; the turn narrows the shoulders and reads as relaxed confidence.
Fill the frame from mid-chest upward. Move closer instead of zooming, because zooming adds depth that softens the eyes.
How to tell it worked: the shoulders form a diagonal rather than a straight horizontal line, and the head sits above and slightly forward of that diagonal.
5. Frame the photo for LinkedIn’s small profile space
Leave a small amount of headroom, roughly the height of a thumb between the top of the head and the frame edge. Too much empty space above the head shrinks the face; too little makes the crop look accidental.
Keep the eyes in the upper third of the frame. Center the crop on the face, not on the whole body, because LinkedIn displays the photo inside a small circle and crops from the sides.
How to tell it worked: preview the shot inside a circle and at roughly 100 pixels wide. The face should fill most of the circle, the top of the head should have a little air, and the shoulders should touch the lower edge.
6. Direct posing and expression
Ask the subject to drop both shoulders, bring them slightly forward, and keep the chin level rather than pushed down. That combination opens the neck and lengthens the face without touching anyone.
For the expression, skip the instruction to smile because it produces a held, lip-stretched look. Instead give the eyes something to do. Ask them to think of a person they genuinely like working with, then shoot on the exhale.
Three other prompts that work: read a sentence aloud and photograph between words, look slightly past the camera as though listening to someone mid-sentence, and say something mildly amusing right before the shutter fires. A real smile engages the muscles around the eyes, and you can see that in the final frame.
How to tell it worked: the expression in the shot is one the subject recognizes as themselves, not as a version of themselves they have never seen before.
7. Capture several natural variations
Change one thing at a time. Take a set at neutral expression, then a set smiling, then a set with the head turned a few degrees more. Keep the light and the framing identical so you are comparing expression, not setup.
Shoot bursts of 8 to 10 frames per variation rather than single frames. Forum shooters report that 20 to 30 frames typically yield three to five usable options, mostly because the good frames land in the middle of the sequence when the subject relaxes.
How to tell it worked: you have at least four frames that are all technically fine, and the choice between them is about personality rather than about fixing something.
8. Review focus, exposure, and skin texture
Check focus on the nearest eye first, then look at the same spot in every frame. Back up the subject until the whole face is sharp, which means opening the aperture or stepping away rather than relying on a phone’s portrait mode.
Portrait mode fakes blur by separating a mask from the background, and it softens ear and hair edges in a way that reads as artificial at full size. Shoot in the normal lens on a recent phone and get separation with distance instead.
For exposure, protect the forehead and cheek highlights. If the face is a half shade dark, use exposure compensation rather than raising shadows later, which pulls up grain.
How to tell it worked: skin still shows pores and fine lines when you view the image at 100 percent, and no shadows on the face are pure black.
9. Edit, export, and deliver multiple profile sizes
Keep retouching restrained. Straighten the background, remove temporary blemishes, lift shadows a touch, add a small amount of sharpness to the eyes, and match the white balance so skin looks the same as in the room. That is enough.
Do not smooth skin until it looks plastic, do not whiten eyes until they glow, and do not reshape the jaw. Recruiters and clients notice over-worked images quickly, and the discomfort reads as trying too hard.
Export a high-resolution master in PNG or high-quality JPG, then make a square version from the chest up at 800 by 800 pixels. LinkedIn displays profile images around 400 by 400 pixels, so uploading the square crop avoids the platform deciding which part of your head to cut.
Also export a vertical version for a website bio, a speaker page, or a conference badge. Shoot with enough room around the subject that a second crop is possible instead of returning to the session.
How to tell it worked: the person in the photo looks the way they look in person on a video call. Any difference in that comparison is a problem, and a common complaint about older profile photos is exactly that mismatch.
Common mistakes and quick fixes
Most bad DIY headshots come from one of eight problems, and each has a simple correction. Here they are in rough order of how often they turn up.
- Harsh side light. A window placed directly to one side with nothing on the opposite side creates a hard nose shadow and a black eye socket. Turn the face 45 degrees toward the light and put a white board on the shadow side.
- Mixed color temperatures. Daylight through the window plus ceiling lights produces skin that goes orange in some areas and grey in others. Turn off the room lights entirely.
- The selfie camera. Wide-angle distortion enlarges the nose and pulls the ears outward. Switch to the rear camera and use a timer or a remote.
- Too much headroom. A gap of several inches above the head shrinks the face inside LinkedIn’s circular crop. Leave roughly a thumb’s width.
- An exaggerated expression. A held grin with visible teeth and raised cheeks reads as forced. Use an eye-focused prompt instead of the word smile.
- Over-retouching. Heavy skin smoothing, glowing eyes, and slimmed jaws make the photo look synthetic. Stop before the texture changes.
- A distracting background. Bright frames, plants, or a busy bookshelf compete with the face. Clear four feet of wall and turn off anything glowing behind the subject.
- Glasses glare. Reflections from a window or softbox can white out the eyes completely. Tilt the glasses a few degrees, lower the light to about eye level, and move the window off to the side rather than straight on.
Two more fixes worth knowing. If the subject looks uncomfortable, that usually comes from the shoulders being pushed up rather than from the expression. If the photo is inconsistent across a team, fix the background, the camera height, and the light position first, then change everything else back to one standard position.
When any of this stops being worth your afternoon, hire someone. For senior roles, conference speakers, and anyone whose photo will be printed large, a professional session pays for itself. Set your own budget by checking a few local photographers, and remember the photos get reused on your website, speaker bio, and press page for years.
Frequently Asked Questions
Can I use a smartphone to shoot LinkedIn profile photos?
Yes. A recent phone with a multi-lens rear camera produces results most people cannot distinguish from a dedicated camera at thumbnail size. Use the rear lens, never the selfie lens, shoot in portrait orientation, and prop the phone on a stack of books at eye level with a three or ten second timer. Skip portrait mode, since it softens hair edges and ears unnaturally.
What is the best background color for a LinkedIn profile photo?
A plain, neutral mid-tone wall, somewhere between light gray and soft blue, separates cleanly from almost every skin tone and clothing choice. Avoid pure white, which blows out under direct window light, and bright saturated colors, which compete with the face. Whatever you choose, the wall should be several shades away from the subject’s skin so the head stays distinct.
How much headroom should I leave above the head?
Leave roughly the height of your thumb between the top of the head and the top of the frame. Because LinkedIn crops photos into a small circle, generous headroom shrinks the face until it is hard to read at thumbnail size. Shoot a little wider than you think you need so you can crop down afterward rather than discovering the problem after uploading.
Should the subject smile or look serious in a LinkedIn photo?
A natural, relaxed expression wins most of the time, and warmth tends to suit client-facing and leadership roles better than a stern look. Avoid telling someone to smile on command, which produces a held expression. Give the eyes something to do instead, such as thinking of a person they enjoy working with, and shoot on the exhale so the frame catches the real version.
What resolution and file size should I upload to LinkedIn?
Upload a square image around 800 by 800 pixels in PNG or high-quality JPG, which covers the roughly 400 by 400 display size with room to spare on high-density screens. Keeping the file in that range preserves detail without a long upload. Always keep the original full-resolution master for other uses, since you will want the larger file for your website and speaker bio.
Should a LinkedIn profile photo be retouched?
Yes, lightly. Straighten the background, remove temporary blemishes, correct the white balance, lift shadows slightly, and add modest sharpness to the eyes. Leave skin texture intact and avoid reshaping the jaw or whitening the eyes. Over-retouched portraits read as synthetic to recruiters and clients, and they no longer match how you appear on a video call.
Conclusion
Start by simplifying the background, softening the light, and taking a few natural expressions rather than one stiff frame. Move the subject 2 to 4 feet from the window, put the camera at eye level, and shoot bursts. Review the frames on a phone at thumbnail size, pick the one that looks like the person, then export a square crop with restrained editing.