A band promo photo is a set of styled, posed images created to promote a group: press-kit shots, streaming profile art, tour announcements, album imagery and gig listings. Unlike a live shot, it is fully controlled, so it reads clearly at thumbnail size and as a full-bleed banner.
This guide covers the whole job, start to finish. Here is how to shoot a band promo photo that survives every crop a booking agent or playlist curator will throw at it: what to pack, how to light a room with one head or five, the settings that hold up, how to direct people who spend their lives performing, and the file specs bands actually ask for. Budget two to three hours for a first session with a group you have not met.
One warning before we start. Most search results for this topic are about shooting bands live in a pit, which is a completely different job with completely different constraints. A promo session is not a concert. Nobody is moving, the lights belong to you, and you get to ask for the same frame nine times.
Table of Contents
- What You Need
- Camera and lenses
- Lighting, in three tiers
- Playback, grip and background
- Paperwork and planning
- Step-by-Step: How to Shoot a Band Promo Photo
- Plan the Image and Choose a Visual Direction
- Scout the Location and Prepare the Background
- Set Up Lighting for Faces, Instruments, and Energy
- Choose the Composition and Camera Settings
- Direct the Band and Capture Natural Performances
- Review, Reshoot, and Edit the Promo Photo
- Common Mistakes
- Additional Tips
- Frequently Asked Questions
- How do you make a band photo that looks professional?
- How do you pose a band when members are different heights?
- What camera settings should I use for band portraits?
- How do you light a band portrait with only one light?
- What is the three-song rule in band photography?
- How do you direct musicians who say they do not know how to pose?
- Conclusion
What You Need
A modest kit genuinely covers this work. Bands care about the image, not the badge on your camera, and plenty of strong promo sets come out of a rehearsal room lit by one head.
Camera and lenses
Any interchangeable-lens camera will do. A full-frame body gives you a little more headroom for tight rooms, but APS-C bodies handle this fine and most people reading this already own one. Shoot RAW. Bands will ask for grading later and a JPEG-only workflow limits what you can do for them.
Two focal lengths do most of the work. An 85mm portrait lens handles individuals and the classic group compression, and a 35mm or 50mm gives you room to work when six people and a drum kit are in the frame. A 70-200mm is worth having for live work and wasted on a controlled session unless your space is enormous.
Lighting, in three tiers
The cheapest workable tier is one continuous light or one strobe head, a stand, and a white bedsheet or a single softbox for diffusion. Add a reflector, or even a piece of white foam board on a chair, to lift the shadow side. This is enough for a rehearsal room.
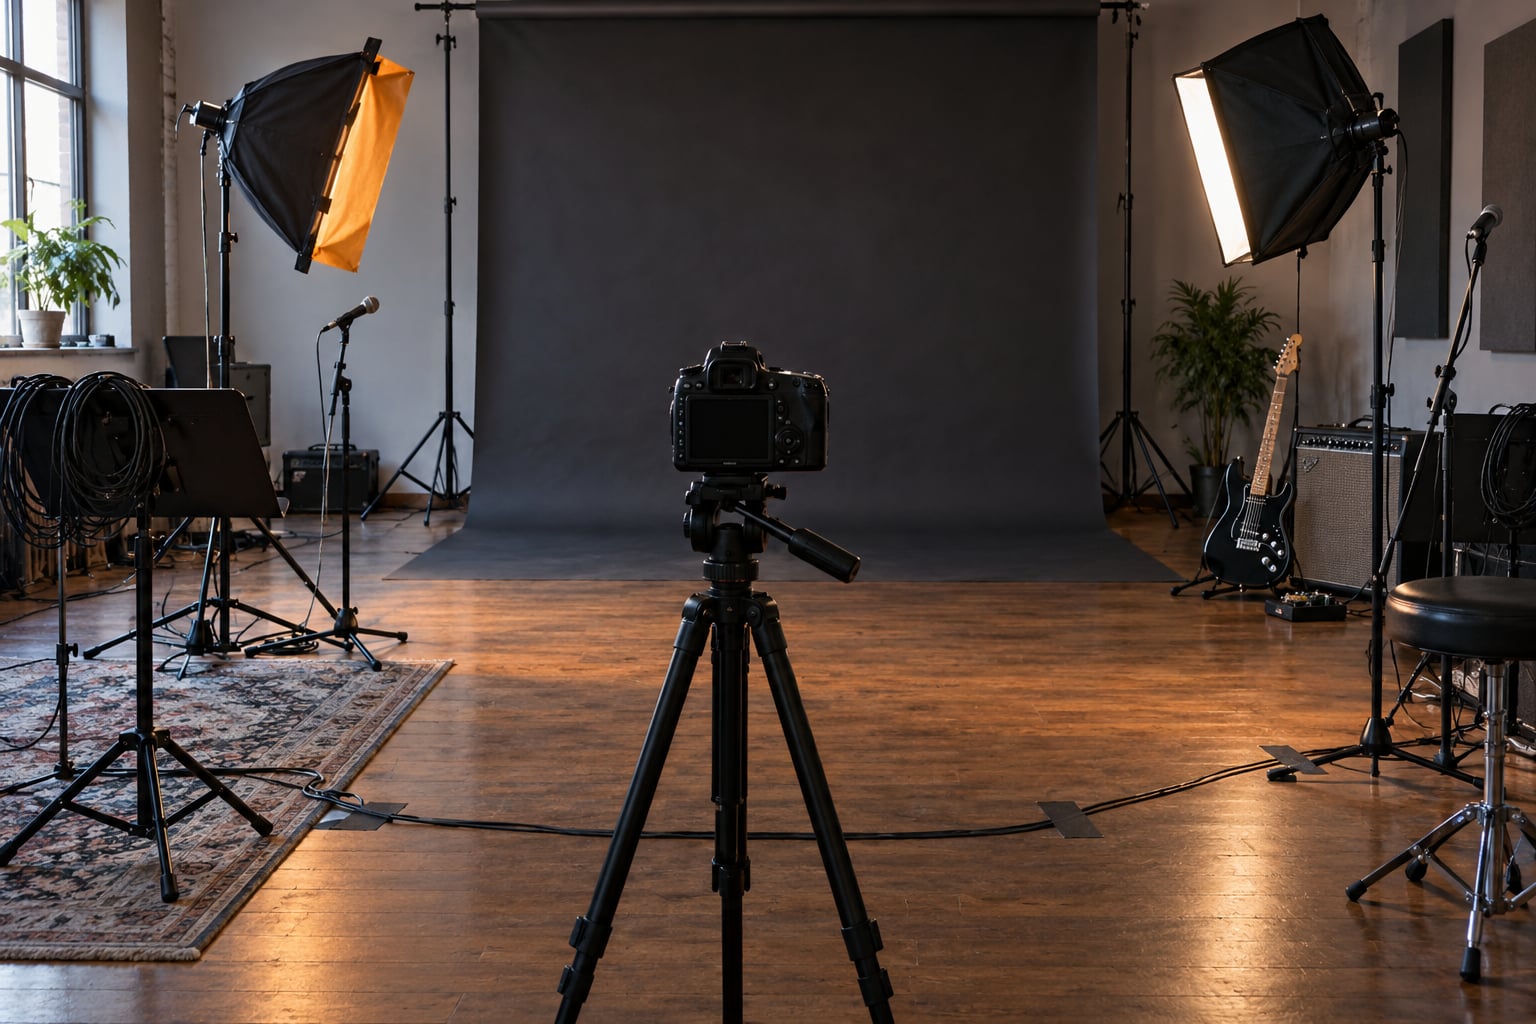
The middle tier is two strobes with a softbox on the key and a gridded reflector or bare head on the back light. That combination covers almost every commercial band shoot you will be hired for. The upper tier adds a second back light, coloured gels, a heavier stand or two, and a scrim or a flag to kill spill onto a white ceiling.
Whatever the tier, bring gaffer tape, a lens cloth, spare batteries, and a colour meter if you own one. Venues have a way of glowing a faint green that no white balance preset fully rescues.
Playback, grip and background
A small speaker matters more than people expect. Bands relax the moment they hear their own track at volume, and that is when the honest expressions start arriving. Bring a cable long enough to reach a mains socket away from where the band will stand.
For the background, a roll of neutral seamless paper or a painted wall beats muslin, which stains and creases. If you are stuck in a venue with no blank surface, a large black or grey duvet thrown over a door or a drum riser kills most clutter. You also want sandbags for every stand. A toppled light onto a guitar neck ends the session.
Paperwork and planning
Write a one-page shot list before the day. Group hero wide, group three-quarter, individual portraits for each member, two tight detail shots, and candids with instruments. Bring it printed and show it to the band at the start; it stops the session drifting into forty near-identical group frames.
Step-by-Step: How to Shoot a Band Promo Photo
Plan the Image and Choose a Visual Direction
Before anything else, decide what the photo has to do. A press-kit hero, a tour announcement graphic and a Spotify canvas want different compositions, so ask which one is driving the session and shoot for it. When you plan how to shoot a band promo photo this way, the rest gets easier: lighting, framing and wardrobe all follow from the purpose.
Ask the band three questions in writing, a week ahead. What is this for, which single are you promoting, and who are the two or three press outlets you want it to land in? Their answers tell you the mood and, more practically, whether the image needs clean negative space for a headline to sit on top of it.
Then pick a direction in one sentence and write it down. Moody and dark for a post-punk record. Bright and colour-coordinated for a debut single aimed at festival bookers. Editorial and stripped-back for a press photo that has to look like a magazine portrait. Bands bring ten ideas and appreciate a photographer who commits to one.
A mood board helps more than a chat. Three or four reference images pinned to a shared folder will settle arguments in a minute and give you a colour palette to match wardrobe against.
Scout the Location and Prepare the Background
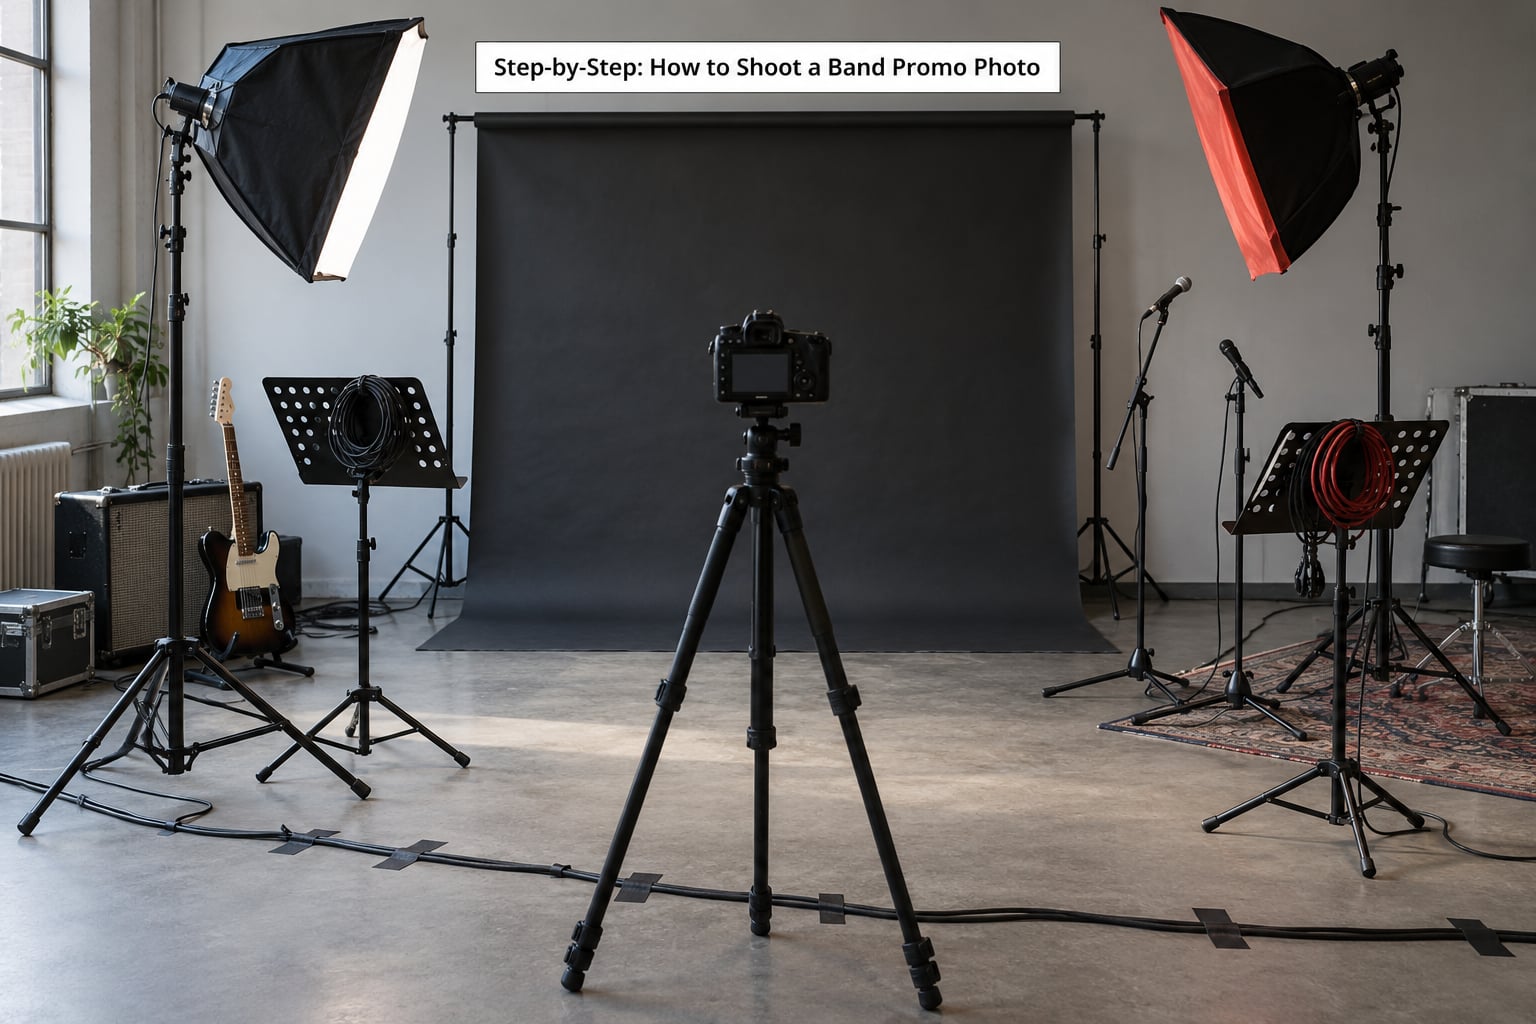
Arrive before the band does. Walk the room, stand where the group will stand, and look at what the lights hit. You are hunting three things: a flat surface for the background, a source of ambient light you can either kill or use, and enough floor space to back up four or five metres.
Ambient light is the enemy of consistency. Overhead house lights, coloured wall washers and exit signs all contribute. Turn off what you control, block what you cannot with a black sheet or a flag, and check your frame at the exposure you plan to shoot at. If the background is brighter than the faces from the camera position, it will blow out before the skin tone looks right.
Clear the cables next. Nothing wrecks a promo photo faster than a mic cable snaking out of the bottom of the frame. Tape everything down, mark the spot with gaffer tape so members know where to stand, and push furniture out of the working area rather than trying to frame around it.
On location, think about the room you were given, not the room you wanted. The trick with a bad space is to stop treating it as a whole scene and instead commit to a simple background, a controlled light and a band arrangement that fills the lower two-thirds of the frame.
Set Up Lighting for Faces, Instruments, and Energy
Every competent setup is the same idea: one key light that gives shape to the face, plus something to separate the band from the background. Fill light is optional and cool light is optional. Shape is not optional.
Start with the key at roughly 45 degrees to the subject and a little above eye level. That single position gives you dimension on the face without turning the shadow into a nose-and-chin smear. Move the key further to the side for a harsher, more confrontational look, and closer to the camera axis for a flatter, friendlier one.
| Setup | What it looks like | What you need | Best for |
|---|---|---|---|
| One head, hard side | Half the face in shadow, crisp shadow edge | One strobe with a snoot at 60 to 90 degrees | Punk, garage and anything with attitude |
| One head through diffusion | Soft wrap, forgiving on skin, gentle shadow | One light plus softbox or bedsheet, reflector opposite | Rehearsal rooms, dark bars, tight budgets |
| Two-light cross | Bright face, bright edges, clean separation | Softbox key at 45 degrees, gridded back light high and behind | Most band campaigns; reliable in any room |
| Practical plus rim | Dark, moody, colour living in the shadows | Tube light or practical in frame, gridded back light | Backstage rooms, bar stages, moodier genres |
Watch for the traps that specific to this job. Dark hair on a dark background disappears, so a back light does double duty there. Glossy instruments blow out faster than faces do, and a chrome cymbal facing the key will flare in every frame. Tilt it, angle it, or move the key. White shirts next to a lit backdrop become glowing rectangles, so either expose for the shirt or move that member into shadow.
Set white balance manually rather than leaving it automatic once you have settled the lights. It keeps skin tones consistent across the whole session and saves you fighting drift later. If you work with two lights, match their colour temperature with gels or by adjusting the back light until skin reads the same on both sides of a face.
Choose the Composition and Camera Settings
Frame for the smallest place the image will live. Look at the frame at thumbnail size on the back of the camera, then at it blown up. If it works in both, your composition holds.
Camera height is the cheapest upgrade you have. Dropping the camera to chest height and angling it slightly upward makes the group read as taller and more confident, and it takes five seconds. Back-button focus plus a single focus point on the nearest eye is more reliable than autofocus hunting when people shift weight.
| Scenario | Lens | Aperture | Shutter | ISO | Note |
|---|---|---|---|---|---|
| Full group, everyone sharp | 35mm to 50mm | f/4 to f/5.6 | 1/200s | ISO 100 | Enough depth of field for a five-piece at one distance |
| Individual portrait | 85mm | f/2.8 | 1/200s | ISO 100 | Shallow focus isolates the member from the band |
| Energetic, hands moving | 35mm to 50mm | f/2.8 | 1/500s | ISO 400 to ISO 800 | Freezes hands, hair and sticks |
| Deliberate motion blur | 50mm | f/2.8 | 1/30s to 1/60s | ISO 200 | Tripod or monopod required; shoot a burst |
| Six or more members | 24mm to 35mm | f/4 | 1/250s | ISO 400 | Wide enough that nobody is cropped at the edge |
Leave headroom deliberately rather than by accident. For a hero image that will carry a headline, keep faces in the upper-middle third and leave a calm band of empty backdrop on one side. For a vertical social frame, put heads near the top third with room below, and never crop anyone at a joint.
Shoot every important composition at three aspect ratios: full landscape for the hero frame, a vertical version with the band repositioned rather than merely cropped, and a tighter square for profile and press use. Repositioning beats cropping because a cropped vertical from a landscape frame usually loses someone’s instrument or lands on someone’s elbow.
Direct the Band and Capture Natural Performances
Musicians are unused to being still, and stillness is what a promo photo is built on. Expect the first five minutes to look like a high school class photo, and give it time to pass.
A photographer quoted by LiveAbout describes a rule that works for almost every band: if you have an hour, spend the first three quarters of it talking and shoot for the last quarter. Relaxed people make better pictures. Play their track loud while you set up, take the shot you have planned, and only then start directing.
Composition rules for a group beat individual posing every time. Stagger the line instead of standing everyone shoulder to shoulder, put the tallest members at the ends or slightly forward, and vary head heights rather than levelling them. Place a gap in the middle of the line and let one member stand half a step forward or lower their instrument, and the frame stops looking like a roster.
Everyone should face the camera with a clear line of sight. Where one member is shorter, do not shove them backwards, which hides them entirely, and do not leave them stranded on the end. Step them forward, give them the light, and let the taller members angle inward around them.
Give physical instructions rather than abstract ones. Do not tell a frontperson to have more energy. Ask them to count in with the mic and hit the last word, then shoot on the count. Tell a bassist to rest the instrument neck on their shoulder and look at the drummer. Tell a drummer to keep striking and look up between hits. Concrete actions produce frames; adjectives produce stiff ones.
Have them change one variable at a time. Same pose, different expression. Same expression, different hand position. Shoot it in bursts so you have options in the edit. If someone is camera-shy, put them on second, give them a job like adjusting a stand strap, and photograph them doing it. Busy hands relax faces.
Then let the band play. A frame of the band mid-song, instruments up, lit properly, beats a rigid lineup every time for a tour announcement. Jeff Lovin of 130Down Photography, quoted in a Voyagela interview, calls musicians unpredictable, like fish. Stop chasing and wait, and the good frame usually arrives about a minute after you stop directing.
Six or more members need a different plan. You cannot get a clean face on everyone in one frame, so plan a set: a hero wide with everyone, a tighter arrangement of the four most visible, and an individual portrait for each member. Deliver all of it and let the band choose.
Review, Reshoot, and Edit the Promo Photo
Do not judge the session in your head while it is happening. Shoot to the card, then review on a screen at 100 percent. Look for focus, closed eyes, awkward hands, a guitar neck colliding with a face, and blown highlights on chrome and white shirts. Fix what is fixable and reshoot that frame immediately while the light and wardrobe still match.
On the edit, work through the set in order. Correct exposure and lens distortion, set a consistent white balance, then build a single colour grade and apply it to the whole session so the files read as one shoot. Refine skin tones gently; heavy retouching changes the look of a person’s face, and musicians notice. Remove distracting objects from the background, but do not composite a different backdrop in behind a hair edge.
Export more crops than you think you need, in the specifications below. The single most common complaint from bands is not image quality, it is that only one usable aspect ratio arrived and everything else has to be badly cropped for weeks afterwards.
| Where it goes | Aspect ratio | Minimum size | Safe area note |
|---|---|---|---|
| Press kit hero image | 3:2 landscape | 3000 x 2000 px | Keep faces away from edges so headlines can overlap |
| Streaming profile circle | 1:1 | 3000 x 3000 px | All faces inside the centre square; the circle crops the corners |
| Streaming canvas video | 9:16 | 1080 x 1920 px | Motion must sit in the middle third, since platform UI covers the top and bottom |
| Instagram feed | 4:5 portrait | 1080 x 1350 px | Shoot a true vertical with heads in the upper third |
| Story and reel cover | 9:16 | 1080 x 1920 px | Leave roughly 250 px clear top and bottom for text |
| Venue website banner | 3:1 wide | 2400 x 800 px | Negative space on one side for a venue logo |
| Album or single artwork | 1:1 | 3000 x 3000 px | Deliver clean, no text burned in, plus an open version |
| Poster or flyer | 2:3 | 3300 x 5100 px | Photograph extra floor and headroom around the group |
Send the same session twice: a small, quick-to-download set for immediate social use, and full-resolution files for press. Compressed files are fine; undersized files get rejected outright, because most outlets state minimum dimensions and ignore submissions that miss them.
A workable two to three hour session runs roughly like this: 15 minutes for warm-up conversation with music playing, 30 minutes for group heroes and variations, 20 minutes for pairs and thirds, 40 minutes for individual portraits, 20 minutes for performance frames, and 15 minutes of candids while equipment comes down.
Common Mistakes
The class-photo lineup. Everyone shoulder to shoulder, equal head heights, identical expressions. Fix it by staggering depth, breaking the line with one member forward, and giving each person a different small action.
Flat, shadowless light. A bare flash straight on the lens gives a snapshot look. Move the key off-axis or add a softbox and reflect from the other side.
Harsh, ugly shadows. A hard source at low angles carves out eye sockets. Raise the light above eye level and use a reflector or fill to open the shadow side slightly.
Cluttered background. Exit signs, mic stands, stacked amps and stray cables. Clear the frame from the camera position, not from where you are standing.
Mixed colour temperature. Tungsten house lights mixing with daylight gives green or orange faces and no amount of editing fully fixes it. Set a manual white balance and light faces deliberately.
Over-retouching. Skin smoothed into plastic changes how the band looks, and they will ask you to redo it. Retouch distraction, not identity.
One aspect ratio only. Shoot the vertical and the square during the session. Recovering them later from a landscape frame costs you composition.
Autofocus hunting. Group members shift constantly. Use a single focus point on the nearest eye with back-button focus, or set the distance by hand once the arrangement is locked.
Additional Tips
Shoot a test exposure and check the histogram before the band arrives. Ten seconds of setup saves a session of guessing, and it protects skin tones from clipping on the faces you can least afford to fix.
Watch the instruments. Microphone stands get kicked, cymbals get dropped, and a cable underfoot is an ankle risk. Move cables before you move lights, and keep sandbags on anything tall.
Work with the smallest crew that can run the session. One assistant holding the reflector and managing the playback beats two people giving conflicting direction, which is worse than no assistant.
Deliver a wider asset library than the brief asks for. A full set of individual portraits, one wide hero, two vertical frames, one tight detail, and a few performance images gives a band everything for a release cycle of several months.
Ask about naming conventions before you hand over files, and send press files with your credit in the file name or metadata. Bands will forget, and your name on the image is how the next booking comes back to you.
If you are shooting in a venue with a fixed stage wash you cannot turn off, use it. Turn a bad red gel into the colour of the image rather than fighting it with a white balance that makes everyone look ill.
Frequently Asked Questions
How do you make a band photo that looks professional?
Control the five things a live shot cannot: lighting, background, wardrobe, arrangement and moment. Light the face deliberately, clear the background, agree a colour palette with the band in advance, stagger the group instead of lining them up, and shoot each key composition at landscape, vertical and square ratios. Editing should apply one consistent grade across the whole session rather than rescuing each frame separately.
How do you pose a band when members are different heights?
Stagger rather than line up. Put the tallest members at the ends or a half step forward, keep short members closer to the camera rather than pushed backwards, and vary head heights across the frame instead of levelling everyone. Leave a gap in the middle and break the line with one person stepping forward. Check every face has a clear sight line to the lens before you shoot the frame.
What camera settings should I use for band portraits?
For a full group use 35mm to 50mm at f/4 to f/5.6, 1/200s, ISO 100, which keeps a five-piece sharp at one distance. For an individual portrait, 85mm at f/2.8, 1/200s, ISO 100. For movement, drop to 1/500s and raise ISO to 400 or 800. Shoot RAW and set white balance manually once your lights are final.
How do you light a band portrait with only one light?
Put a single source at roughly 45 degrees to the subject and slightly above eye level, which gives shape to the face without crushing the shadow side. Diffuse it with a softbox or a white sheet if the room is small and the light is hard, and place a white reflector on the opposite side to lift the shadows. For more separation, move the light further behind the subject and accept a darker face.
What is the three-song rule in band photography?
It is a rule for live concert work, not for promo sessions. In a pit, many photographers shoot the first three songs to work out the lighting, the stage geography and the band’s performance, then concentrate on the strongest material once they understand what they are looking at. On a controlled promo shoot you already know the light, the background and the arrangement, so there is nothing to learn and no reason to hold back.
How do you direct musicians who say they do not know how to pose?
Give instructions rather than adjectives. Do not ask for more energy, ask them to count in with the mic and hit the last word, then shoot on the count. Play their own track while you set up, and photograph them before you start directing so they see real frames of themselves. If someone is shy, give them a job such as adjusting a stand strap and shoot them doing it. Busy hands relax faces.
Conclusion
Start with the purpose, not the camera. Decide what the image is for, pick one direction, and build the whole session around it: one key light for shape, a back light for separation, a cleared background, and a group arrangement with depth instead of a straight line.
Then shoot the frame you planned, shoot it vertical and square as well, and hand over a full set of crops. That is how to shoot a band promo photo that a booking agent can use without a second call, and it is the version of this job nobody has to ask you to explain twice.