Lens flare problems come from light bouncing around inside your lens instead of travelling straight to the sensor, and the fix depends on where that light is coming from. In most cases you can stop it at the capture stage by cleaning the glass, fitting the hood properly, moving a step sideways, or putting something between the lens and the light. Whatever survives that goes to your editor.
This guide walks through eight fixes in the order worth trying, from free to expensive, and it works the same on a DSLR, a mirrorless body and a phone. Most of it takes under ten minutes across a whole shoot day.
Table of Contents
- What You Need
- Step-by-Step: How to Fix Lens Flare Problems
- 1. Identify What Type of Flare You Have
- 2. Clean the Front and Rear Lens Elements
- 3. Remove or Fit a Lens Hood Correctly
- 4. Change Your Camera Angle
- 5. Control the Light Source
- 6. Use a Filter Only When Necessary
- 7. Adjust Camera Settings and Exposure
- 8. Correct Remaining Flare in Photo Editing
- Common Mistakes
- Frequently Asked Questions
- What causes lens flare?
- Do lens flares mean my lens is broken?
- Does a lens hood stop lens flare?
- Can I remove lens flare from a photo I already shot?
- Why does my phone camera glare so much?
- Conclusion
What You Need
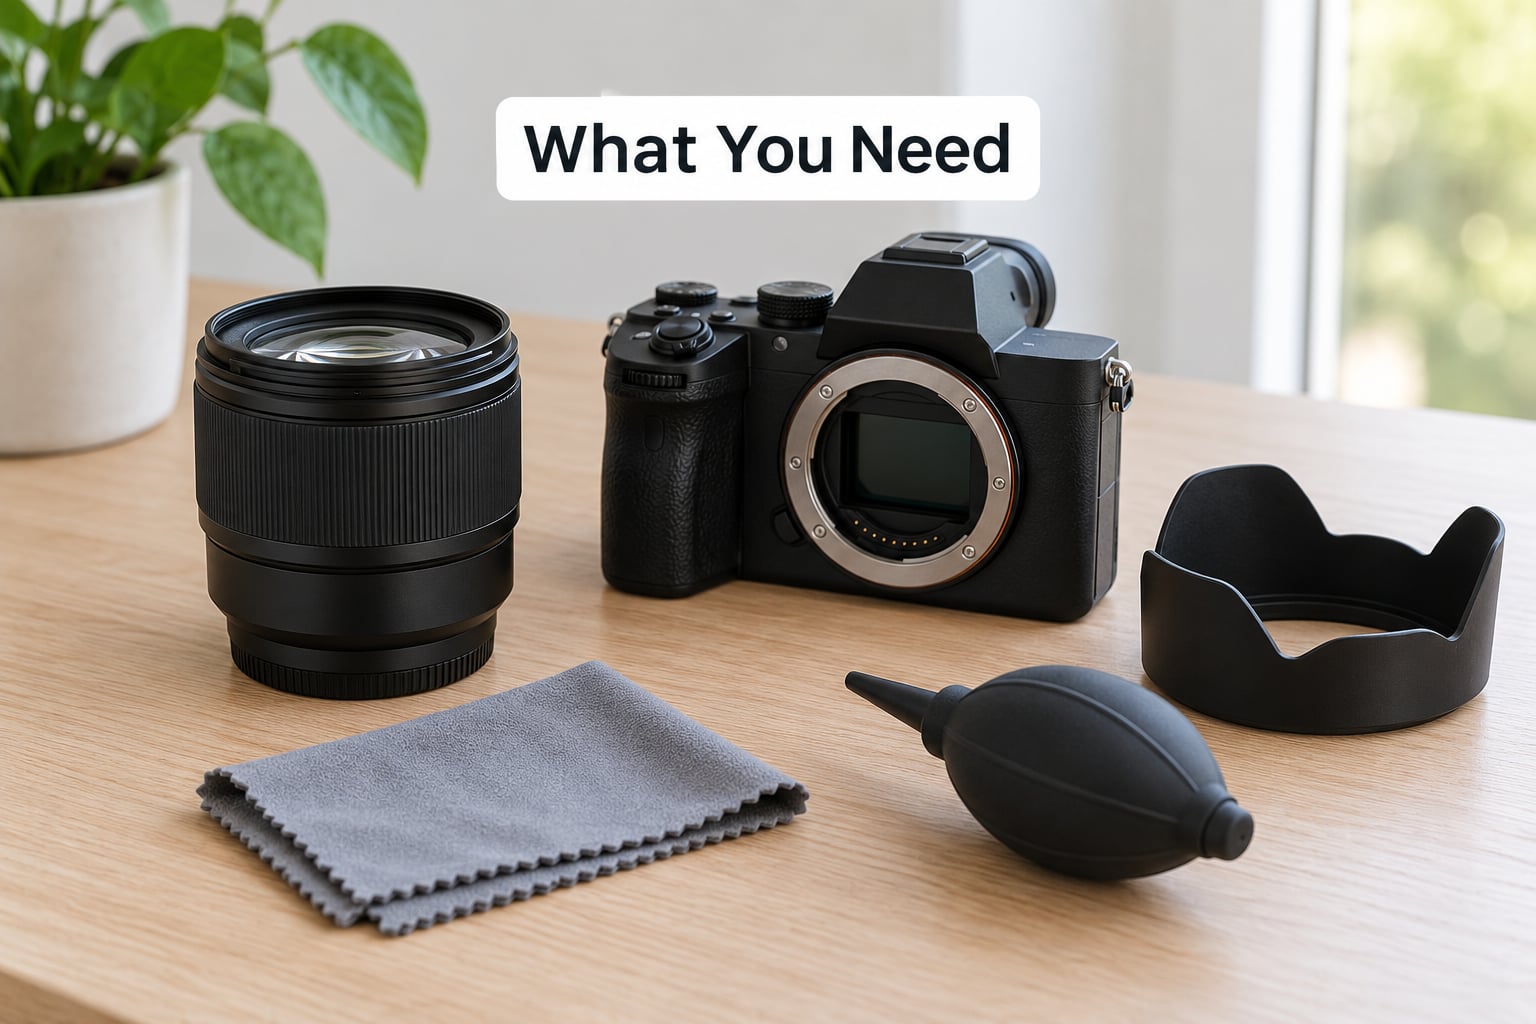
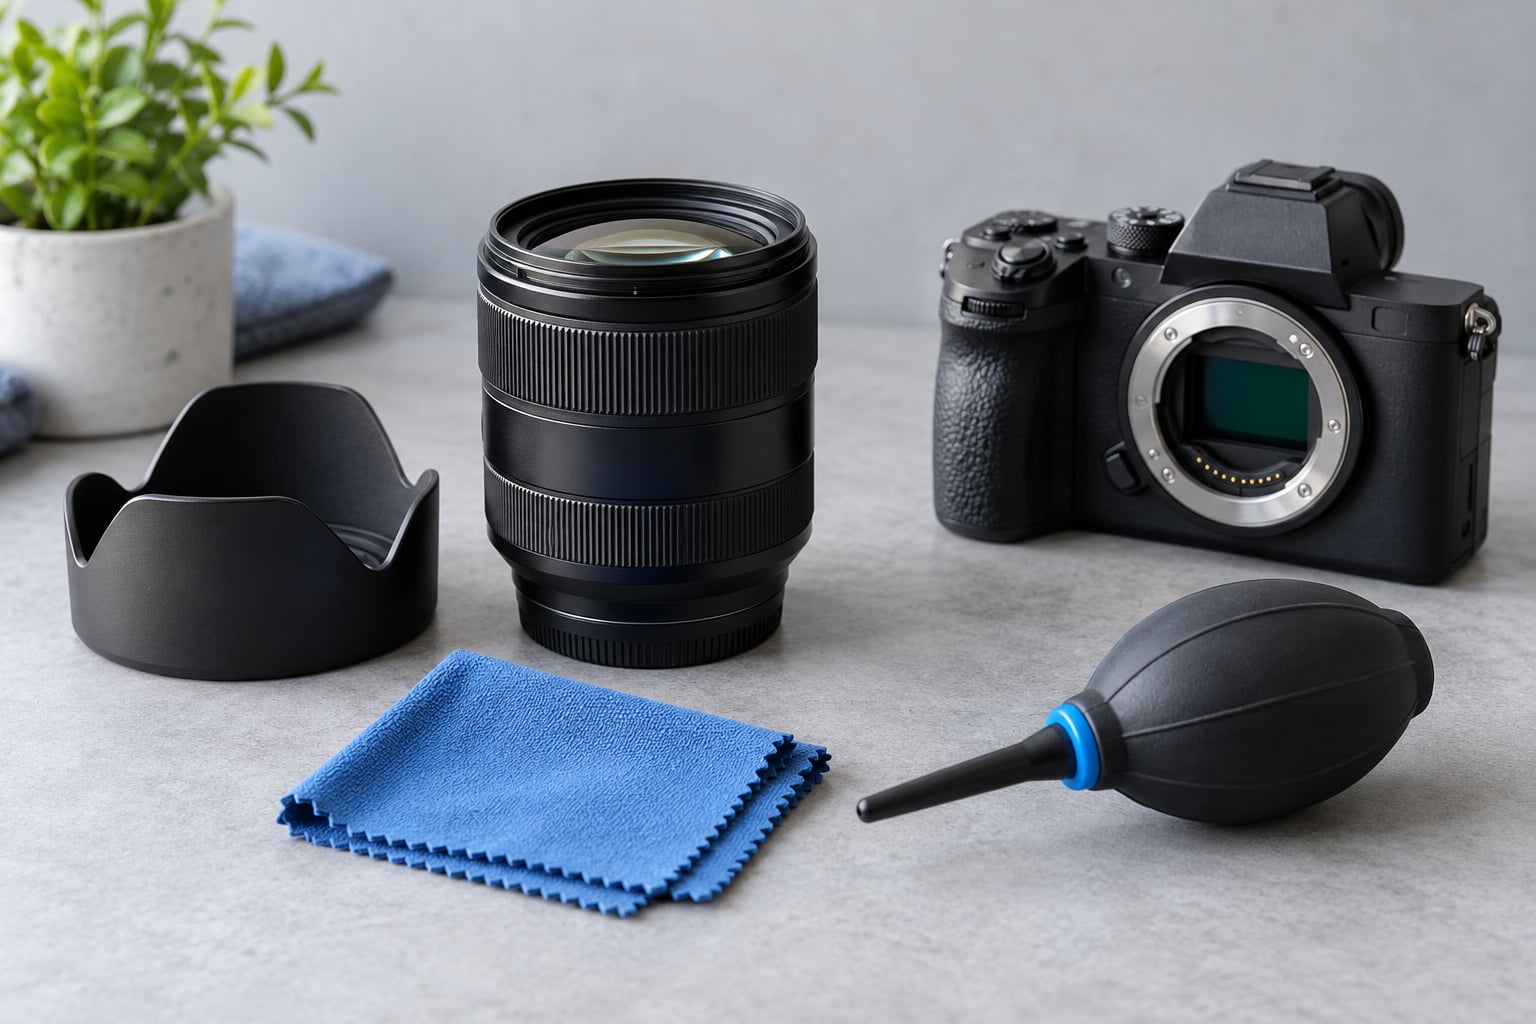
Almost nothing here is a purchase, and that is deliberate. The first four fixes use gear you already own, and the last two need software you probably already have open.
- Your camera and lens. Remove the lens hood for now so you can see the front element while you work.
- A blower and a microfibre cloth. A hand blower clears dust and grit before you wipe anything.
- Your lens hood. The one that came with the lens, or the correct one for it. A hood from a different lens often does not sit square.
- Something flat and black. A black card, gaffer tape flag, or the back of a matte box panel. Your hand works too.
- A clean, wide open surface. Put the lens face down on a towel so you are not kneeling in dust when you flip it over.
- RAW files and an editor. Capture in RAW. Lightroom Classic or Adobe Camera Raw if you shoot stills; a layer-based editor if you need surgical work.
Step-by-Step: How to Fix Lens Flare Problems
The order matters more than it looks. Cleaning and hood work takes three minutes and can remove the problem outright, while exposure and editing work will happily spend an hour repairing something a 30-degree camera move would have prevented.
1. Identify What Type of Flare You Have
Veiling flare is a milky haze over the whole frame with black levels lifted and contrast crushed. Ghosting is the coloured polygon or ring shapes that march along the line between the light source and the centre of your picture.
| Type | What it looks like | Cause | Fix |
|---|---|---|---|
| Veiling flare | Flat haze, washed blacks, low contrast across the entire frame | Stray light bouncing between elements and hitting the sensor from many angles | Hood, angle change, shading with a hand or card |
| Ghosting | Polygonal blobs or rings along the line from light source to frame centre | Single reflections off element edges, the barrel or the sensor | Change angle, reposition the light, fit a hood |
| Sensor bloom | Soft spreading halo around small bright sources, edges look smeared | Sensor overload from very bright point sources, not the lens | Stop down one or two stops, change position, or accept it |
| Light leak | Coloured streak from an edge of the frame, irregular shape | Seal failure on a film body, cracked screen, or a loose battery door | Not an optical flare. Find the seal and fix it |
Interior shooters get the bloom case handed to them constantly, and mistaking bloom for flare sends people off to clean a lens that was never dirty. A useful tell: take the same frame at f/8 and again wide open. If the halo shrinks with the smaller aperture, it was sensor overload.
2. Clean the Front and Rear Lens Elements
Smudges, fingerprints and dust scatter light exactly like a weak diffuser does, and a smeared front element will flare on a perfectly good lens. Dust, smudges and even fine scratches on the coating each add a different flavour of haze.
Blow the front element clean first, then the rear. Wipe with a dry microfibre cloth using a light touch and a rotating motion, and work from the centre outward. Keep the lens face up on a clean towel when you reach the rear element so grit does not fall into the mount.
For stubborn marks, a drop of proper lens fluid on the cloth beats anything household. Never touch the glass with a finger, and skip the alcohol, the tissue and the shirt cuff, all of which can strip the anti-reflective coating.
You will know it worked because the contrast under a hard light source sharpens and the black point drops back down in the histogram.
3. Remove or Fit a Lens Hood Correctly
A lens hood does one job well: it blocks light arriving from the side. That makes it the strongest fix against off-axis flare, and almost no help when the sun sits directly behind your subject, which is the case most people are complaining about when they search this question.
Fit it until it clicks all the way round and the petals face the right way. A round hood can sit at any angle, and a petal hood only protects the corners if it is rotated to match the frame. If the flare appeared after you mounted a hood, take it off and test again before blaming the lens.
Watch for a hood that does not match the lens or sits loose enough to wobble, because a slightly crooked hood can be worse than none at all.
4. Change Your Camera Angle
Moving your feet beats every accessory, and it is the fix experienced shooters reach for first. Step a metre to the left or right, lower the camera 20 centimetres, or walk forward and reframe tighter until the bright light sits just outside the frame or behind something solid.
The goal is to break the line between the light source and the front element. You do not have to abandon the composition, only nudge it, and usually the alternative framing is the better shot anyway.
5. Control the Light Source
If the light cannot move, move the subject. Put a person half a step so the sun lands behind their shoulder rather than in your lens, and for interiors, drag a curtain or reposition so the window is not mirrored in the glass you are shooting through.
Where the light source is fixed and in frame, use a flag. A black card, gaffer tape panel, or even a dark jacket held just outside the frame blocks the offending ray without touching the exposure. Keep the flag matte and keep it out of the shot, since a shiny black card is its own mirror.
At night, street lights and shop signs are a hard case. Flare around fast wide primes in a crowded frame is largely unavoidable, so the realistic move is to reposition, stop down, or accept a small amount and crop it out.
6. Use a Filter Only When Necessary
UV and protective filters add two flat glass surfaces that can generate their own reflections, and the cheap ones add flare that no amount of cleaning will touch. Test before you buy anything: shoot the same composition with the filter off and the hood on, then compare the two files at 100 per cent.
A damaged filter is worse than no filter at all. If you get scratches, haze or separation in the glass, take it off, and do not try to clean a coating that has already failed.
Protective glass does make sense when you work in dust, rain or near a salt spray, so keep a clear filter as a sacrificial layer rather than pretending filters reduce flare. They do not, and forums spend a lot of energy explaining that.
7. Adjust Camera Settings and Exposure
Settings cannot remove flare, but they control how much damage it does. Stopping down from f/1.8 to f/4 shrinks sensor bloom noticeably, and holding shadows one or two stops under the midtones keeps veiling flare from flattening the whole frame.
Switch to spot or centre-weighted metering when the sun is in frame, because the evaluative meter will try to expose for the sun and leave everything else as a silhouette with a haze on top. Exposure bracketing and shooting RAW give you the headroom to recover highlights later, which is the closest thing to a second chance on a frame you already shot.
Watch for confusion here: a hazy image with no bright object in or near the frame is often just a wrong exposure or a dirty sensor, not lens flare.
8. Correct Remaining Flare in Photo Editing
Editing is the last fix, not the first, because it costs the most time and gives the least control. If the black point is intact and the colour cast is mild, the result can be genuinely convincing.
In Lightroom, start with the Lens Corrections profile under the Profile tab, which corrects the vignetting and distortion that heavy flare usually arrives with. Then drop Highlights and Whites until the washed areas recover, and nudge Dehaze upward in small steps to rebuild contrast, watching the sky for banding. Mask the work with a soft brush or the AI Mask so you are not dragging the entire frame.
In Photoshop, duplicate the layer, use the Channel Mixer to desaturate the ghost colour out of the copy, then attack the remaining haze with a Curves adjustment masked to the flare shape. Clone Stamp and the Healing Brush come last, for the spot artefacts they cannot blend away.
Be honest about the ceiling. A clipped highlight is gone, a strong colour cast leaves a stain in the shadows, and heavily ghosted frames usually end up looking worse after a long retouch than they did before. If the flare destroyed the picture, that is the moment to go back and re-shoot it.
Yes, there are AI retouch tools now that will isolate a flare and fill it in, and for small ghost blobs on a busy background they are quick. On a large veiling haze they tend to invent texture the original never had, so I still check the pixels behind the cleanup.
Common Mistakes
Cleaning the wrong surface first. Everyone starts at the back because it is easy to reach, and it is usually already clean. The front element is where fingerprints from swapping lenses collect, and it is the one that flares.
Forcing the hood. Twisting a hood that does not match the lens can damage the filter thread or leave it sitting crooked. If the hood does not click in smoothly, it is the wrong hood.
Leaving a damaged filter in place. Scratched or separating glass reflects more than a bare element. Take it off and test again before deciding the lens is faulty.
Buying a lens hood to fix on-axis flare. A hood blocks light from the side. If the sun is straight down the lens axis, no hood will save that frame, and moving the camera is the only real fix.
Editing a haze that was never flare. Some fogged frames are just sensor dust, a dirty protective screen, or an exposure mistake. Check the RAW file against the JPEG first, and use the frame and focus controls at 100 per cent to rule out dirt on the sensor.
Two habits help more than anything else. Check the LCD and the file separately, since flare visible only on the screen is a screen issue, and change one variable at a time so you know which move fixed it.
Frequently Asked Questions
What causes lens flare?
Light reaches the front element at an angle the lens was not designed for, then refracts and reflects off internal glass surfaces, the barrel and the sensor before landing on the image. Anti-reflective coatings and hoods reduce those internal reflections. Cleaning, changing angle and shading the lens are the practical fixes that follow.
Do lens flares mean my lens is broken?
Usually not. Every lens flares to some degree when pointed near a bright light, and budget glass flares more because it has fewer elements and weaker coatings. A lens is worth suspecting if flare appears at wide apertures in even light, if ghosts sit still while you move, or if haze is visible with the lens capped.
Does a lens hood stop lens flare?
A hood blocks light arriving from the side, so it works well against off-axis flare and poorly against a light source directly behind your subject. Fit it fully seated, with petals oriented to the frame, and test the frame again with the hood off to confirm what changed. Angle still beats equipment.
Can I remove lens flare from a photo I already shot?
Often, partly. Correct the lens profile, pull highlights and whites down, then add Dehaze in small steps with a mask over the flare area. Clipped highlights and heavy colour casts are permanent, and a strongly ghosted frame may retouch worse than it looks untreated. Keep the RAW file and re-shoot if it matters.
Why does my phone camera glare so much?
Phone cameras use small, fixed, plastic-coated lenses with no hood option, so off-axis light has nothing to stop it. Wipe the lens, hold the phone so the light is behind you or just outside the frame, and clean both the front and rear camera lenses. Tap the bright source to darken the exposure, which reduces the haze.
Conclusion
Identify the flare pattern first, then clean the glass, check the hood, move the camera, and control the light before touching anything in the editor. That order is fast, costs nothing, and fixes the majority of flares outright. When a frame is already ruined, work the profile, highlights and dehaze in small steps, and accept that clipped highlights are not coming back.