You photograph children without posing them by giving them something to do, not something to hold. Set up the light, pick an activity with movement in it, then watch for the moments that happen while they are busy and forget the camera is there. Most of the work happens in the ten minutes before you lift the camera to your eye.
The reason children stiffen the instant a lens appears is simple: they are being asked to perform. Once you swap performance for play, the same photograph takes a fraction of the effort and holds up far better in a print.
Below is the workflow I use for toddler sessions at home and on location, and I adjust it every year as my own habits change. Eight steps, roughly a 30-minute session for a young child, no studio required.
Table of Contents
- What You Need
- Step-by-Step: How to Photograph Children Without Posing Them
- Step 1: Build Trust Before You Take Photos
- Step 2: Choose an Activity With Built-In Movement
- Step 3: Use Simple Direction That Sounds Like Play
- Step 4: Stay Low and Photograph From Their Perspective
- Step 5: Use Continuous Autofocus and a Fast Shutter Speed
- Step 6: Anticipate Moments Instead of Chasing Them
- Step 7: Make Small Adjustments Between Frames
- Step 8: Let the Session End on a High Note
- Common Mistakes
- Frequently Asked Questions
- How do you get natural expressions from children without telling them to smile?
- What camera settings work best for photographing active children?
- How do you photograph a shy child who will not engage with the camera?
- Can I use a phone to photograph children without posing them?
- How do I direct a child during a photo session without making it feel forced?
- What activities produce the best candid child photographs?
- Conclusion
What You Need
Unposed child photography is not a gear problem. It is a preparation problem, but a few things make the work much faster once play starts.
- A camera with reliable continuous autofocus. Mirrorless bodies and modern DSLRs track a moving face far better than an old point-and-shoot. If your camera has eye-detection autofocus, turn it on.
- A short telephoto or a fast wide-open prime. A 50mm or 85mm at f/1.8 lets you stand back and still get a blurred background. A 24-70mm at f/2.8 covers a whole play area without constant repositioning.
- A fast card and burst mode. A child mid-laugh changes expression in half a second. You want 10 to 12 frames a second available at all times.
- A camera body you can shoot without looking through. A tilting screen, a live view screen, or an electronic shutter lets you get down at floor level without a viewfinder pressed to your face.
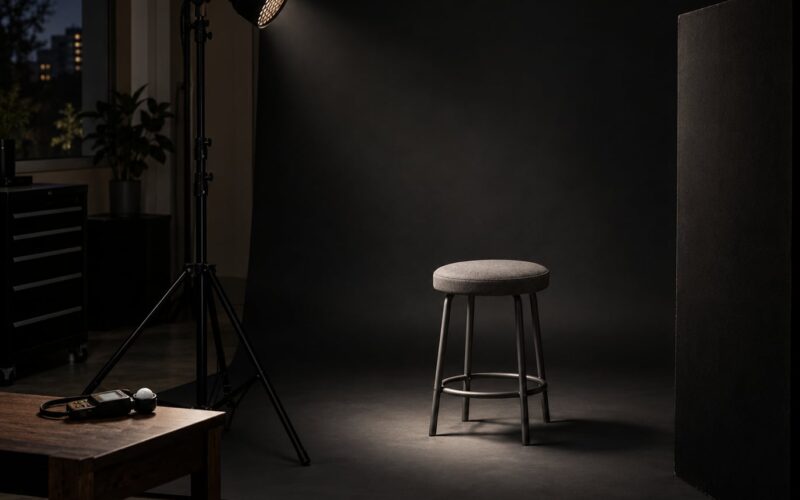
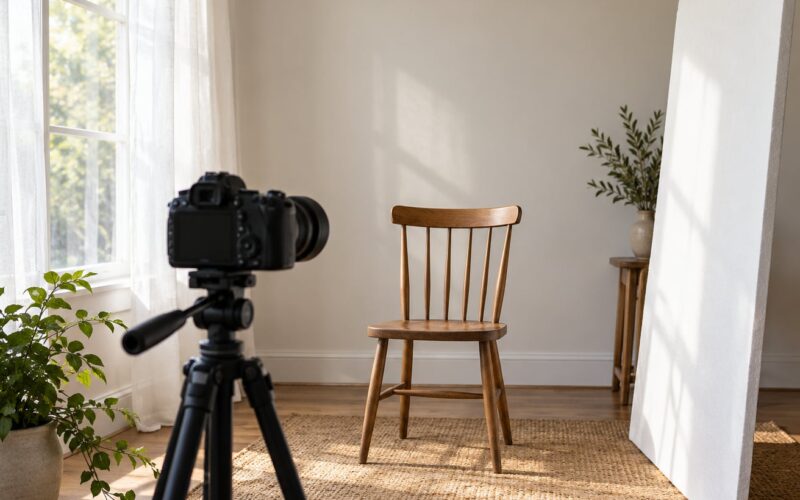
- Open shade or a big window. Look for the shadow of a building edge, a tree canopy, a porch, or a window that gives soft directional light. Midday full sun makes children squint and look away from you.
- Two or three simple props. Bubbles, a ball, a blanket, a flashlight, a book, a dog on a lead. The prop is not for the photo, it is to give the child a reason to move.
- A white card or a reflector. Faces near a bright window go dark. Bouncing light back at face level fixes it in a second.
You do not need any of this to start. A phone held at knee height with the volume buttons as a shutter works for a surprising share of a session.
Step-by-Step: How to Photograph Children Without Posing Them
Step 1: Build Trust Before You Take Photos
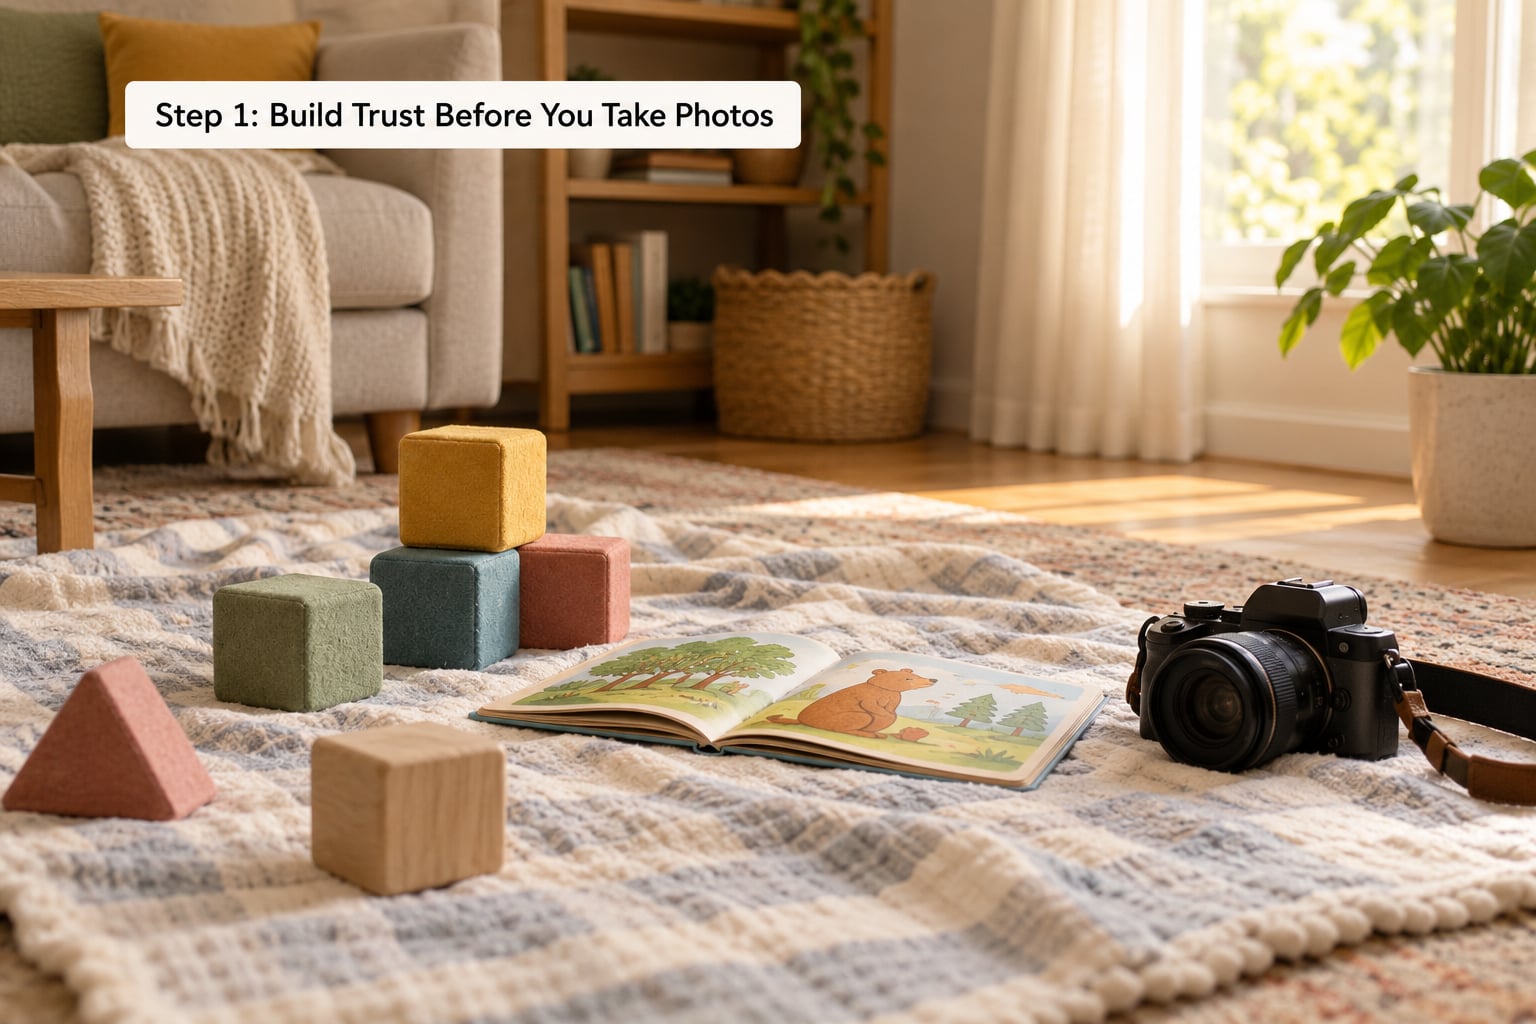
Arrive, then put the camera down for five minutes. Sit on the floor at the child’s level, answer their questions, and let them touch the camera body without the lens pointed at them. Most of the guardedness a child shows a stranger comes from being watched.
Talk in short sentences, at their height, about what they are doing rather than about the photos. Comment on the tower they are building instead of saying the words look at the camera.
You will know the trust has landed when the child stops checking on you and turns back to what they were playing with. That is your cue to start shooting, from the hip, without announcing it.
Step 2: Choose an Activity With Built-In Movement
Posing asks a child to hold a shape. Activities produce motion, and motion produces faces: concentration, effort, a squeal when the bubble pops, a fall that turns into a grin. Pick something with a beginning, a middle and an outcome so you can predict roughly when the interesting part arrives.
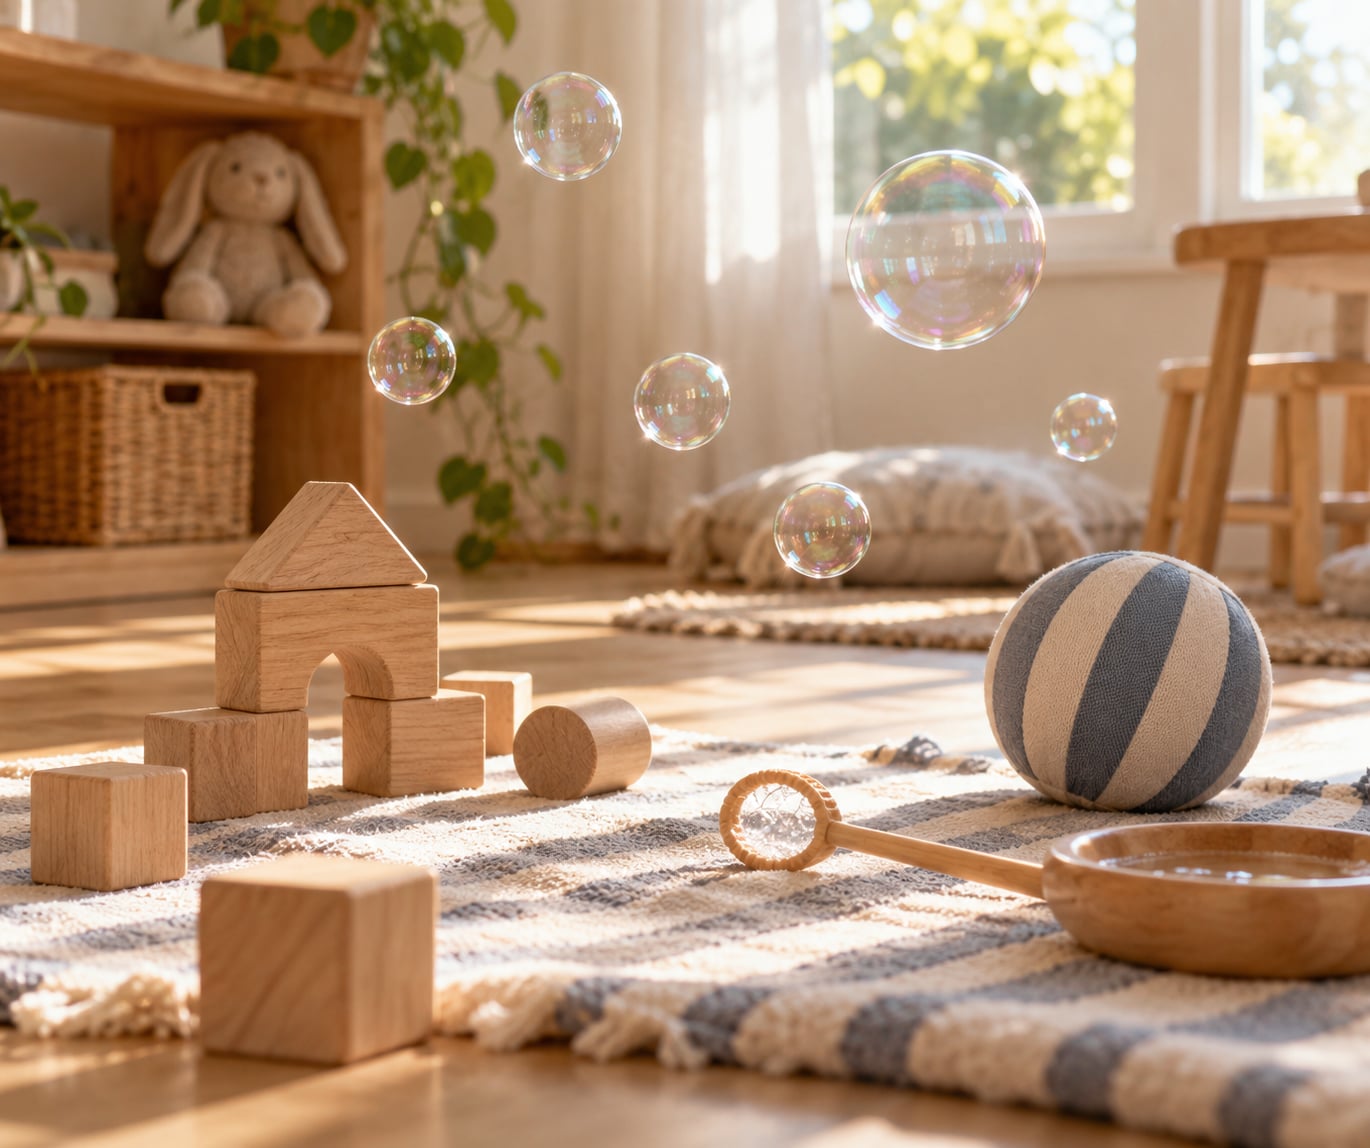
Bubbles are the workhorse because a child cannot pop one without looking up. Chasing a dog gives you running, stopping and a parent calling from behind. A flashlight in a dim hallway gives you surprise. Cooking together, leaf collecting, drawing with chalk on a patio, and a pillow fight all work, because the child forgets they are being watched halfway through.
Plan two activities, not five. A two-year-old will not hold interest past the first good one, and a session that keeps swapping props produces fifty semi-interested frames instead of a few alive ones.
Step 3: Use Simple Direction That Sounds Like Play
The wording matters more than most photographers expect. Stand like this and smile for me are instructions a child cannot relax into. Short, active prompts that continue the game instead of ending it work far better.
- Run to the caregiver, or the caregiver runs away and the child chases.
- Find something blue, then something round, then something that makes noise.
- Jump as high as you can, three times, on my count.
- Show me your favourite toy and tell me why.
- Make the funniest face you know.
Point the prompt at the caregiver instead of the lens when you can. A child looking at a parent’s face while reacting to your voice is far more convincing than a child looking at you on cue.
Photographers argue both sides here: some shoot from two feet away talking continuously, others retreat to a tripod and stay silent. Both produce good work. The deciding factor is the child. A confident four-year-old responds to a loud, silly photographer. A cautious eight-year-old relaxes when nobody is talking to them at all.
Step 4: Stay Low and Photograph From Their Perspective
Standing over a small child makes the camera feel like an authority. Kneeling or sitting so the lens is level with their eyes changes the whole relationship, and it fills the frame with background and hands instead of floor.
Once you are down there, stay down for the rest of the activity. Moving between crouching and standing repeatedly breaks concentration and signals that something important is about to happen.
Low angles also give you cleaner backgrounds. Shooting upward past a child removes the clutter of the room behind you, and it catches rim light when the sun is low and behind them.
Step 5: Use Continuous Autofocus and a Fast Shutter Speed
Everything else on this list depends on the frames actually being sharp and in focus. Continuous autofocus with subject tracking, burst mode at full speed, and a shutter speed matched to how fast the child is moving is the whole technical answer.
Match the shutter speed to what the child is doing, and keep the aperture wide:
- Sitting, reading, drawing, talking: 1/125 s at f/2.8 or wider, Auto ISO with a raised ceiling.
- Walking, crawling, gentle play: 1/250 s at f/2.8 or wider, Auto ISO with a raised ceiling.
- Running, jumping, bubbles, a fall: 1/500 s at f/2.8 or wider, Auto ISO with a raised ceiling.
- Indoors in low window light: 1/250 s minimum, f/1.8 if your lens has it, raise ISO to 3200 or beyond.
If frames are still soft, raise the shutter speed before anything else and accept a higher ISO. Grain is far easier to fix in editing than a missed expression.
Two habits help most. Shoot a burst before the expression arrives rather than after, and check the focus indicator rather than assuming. Blinking is normal; you will get the same moment two frames later.
Step 6: Anticipate Moments Instead of Chasing Them
There are two shooting styles and both are legitimate. Close and direct means you are in the game, talking, close enough that a child forgets you have a camera. Step back and observe means you set the frame, engage the parents, and let the interaction happen without you in it.
Anticipating means you read the rhythm. Watch for the glance that precedes an answer, the hands that move before the jump, the pause after a question, the moment a child turns to check with a parent. Hold the camera ready through all of it and shoot during the transition, when the expression has settled but the body is still moving.
Talk yourself through the order of a typical burst: a wide environmental frame to place the child in the room, a mid shot of hands and the object, then a close frame on the face. You will not use all three, but the wide and mid are your insurance when the close frames miss.
Step 7: Make Small Adjustments Between Frames
Do not fix a composition by walking across the room. Fix it by taking one or two steps, or by raising or lowering the camera a few inches, while the child keeps playing. The change in their awareness is the thing you are avoiding.
Useful adjustments are small: shift so a bright window falls behind your shoulder instead of beside the child, lower the camera so hands and the object are in frame, step back to include the person the child is playing with, or nudge the exposure down a third of a stop because a white wall is stealing attention.
Once a sequence works, stay with it. Photographing children without posing them is mostly patience: the first burst of an activity is stiff, the middle is loose, and the best frames usually arrive in the final thirty seconds before the child moves on.
Step 8: Let the Session End on a High Note
Watch for the sign that attention has gone: a child who stops responding, sits down in the middle of the game, or turns to you with a blank, waiting look. Pushing through that is how you get stiff frames and, eventually, tears.
End by doing something easy and slow together. Walk, read a few pages of the book, let them show you the drawing. Shot continuously, that quiet minute gives you the images most parents actually want.
When a child has genuinely had enough, stop. Put the camera away, stay for another ten minutes, and the next session will begin halfway through trust instead of at zero. A session that ends with the child happy is worth more than the frames you missed.
Common Mistakes
Over-directing. Continuous instruction tells the child they are being managed, and managed children look managed. Fix: give one prompt, then be quiet for the length of three breaths.
Asking for a smile on command. A prompted smile is symmetrical and dead. Fix: ask for a silly face, a growl, or a laugh from a parent, then shoot the second after the peak of it. That is where the real expression lives.
Waiting for the perfect moment. The perfect moment arrives and leaves between two decisions, and you spent the whole time waiting for it. Fix: shoot in bursts, then pick later while editing.
Shooting from standing height. A downward angle makes a child feel small and watched. Fix: sit or kneel and stay there for the rest of the session.
Ignoring the background. Bright windows, bright white fences and clutter at head height pull the eye off the face. Fix: walk the position before the child arrives, and check what sits directly behind their head.
Stopping too early. The first ten minutes are for trust and the last five are often the best frames. Fix: budget your time so the session has a calm finish rather than an abrupt one.
A few shorter notes. Turn sound on so you catch a laugh before you see it. Check the histogram indoors, where faces next to a window go dark fast. And save a frame with a slightly squinty or confused expression, because those are the frames that look like your child rather than a posed version of them.
Frequently Asked Questions
How do you get natural expressions from children without telling them to smile?
Give the child an activity with movement in it, such as chasing bubbles or throwing a ball, and keep the camera low and out of their direct eyeline. Ask for a silly face, a growl or a laugh from a parent, then keep shooting through the second after the peak of it. Faces settle into a real expression right after the reaction, not during it.
What camera settings work best for photographing active children?
Continuous autofocus with subject tracking, burst mode at full speed, and a shutter speed matched to movement: around 1/125 for a sitting child, 1/250 for walking and crawling, and 1/500 for running, jumping or bubbles. Shoot wide open or at f/2.8, raise ISO rather than dropping shutter speed, and check the focus indicator instead of trusting the frame.
How do you photograph a shy child who will not engage with the camera?
Stop photographing for ten minutes and do something unrelated to the camera. Sit at their level, let them inspect the body and lens, and hand the activity to a parent rather than giving instructions yourself. Most cautious children start working with you without being asked. If they still refuse, respect it and come back another day.
Can I use a phone to photograph children without posing them?
Yes. Set the volume buttons as the shutter, enable burst mode in the camera app, and use the rear camera with the screen facing you at floor level so you can compose without holding the phone up. Tap the face to lock focus and exposure on the eyes, and raise the shutter speed in the app’s pro or manual controls if the child starts running.
How do I direct a child during a photo session without making it feel forced?
Keep prompts short, active and tied to the game: run to Mum, find something blue, jump three times. Avoid words like pose, still and smile, which all tell a child the picture matters more than the play. Talk to the parents instead and have the child look at their face. One prompt followed by ten quiet seconds beats continuous instructions.
What activities produce the best candid child photographs?
Anything with a start, a middle and an outcome, where the child has to move and react. Bubbles, a ball, a dog on a lead, a flashlight in a dim hallway, cooking together, leaf collecting, chalk on a patio and pillow fights all produce genuine concentration and laughter. Pick two activities rather than ten, since young children move on quickly.
Conclusion
Start by doing one thing differently: put the camera down for the first five minutes of the next session and give the child a single activity with movement in it. Everything after that, the light, the settings, the prompts, becomes easier because the child is already busy.
The photographs you keep come from comfort, timing and genuine interaction, not from holding a shape for ten seconds. Prepare the frame, start the play, and let the moment arrive on its own.