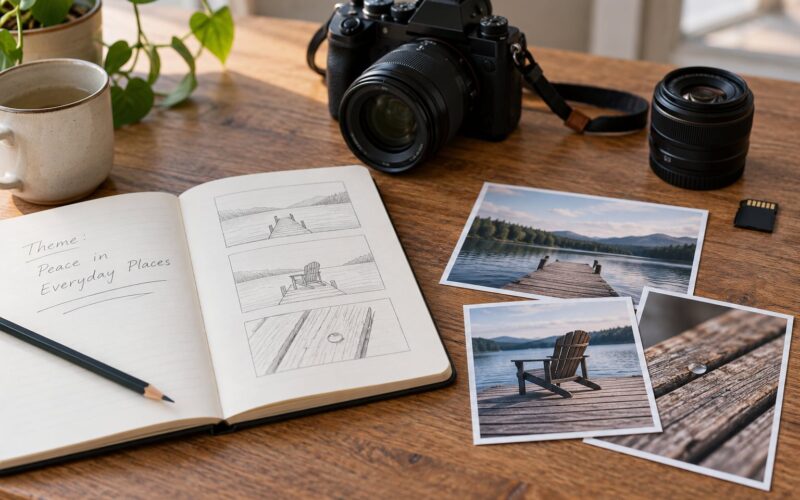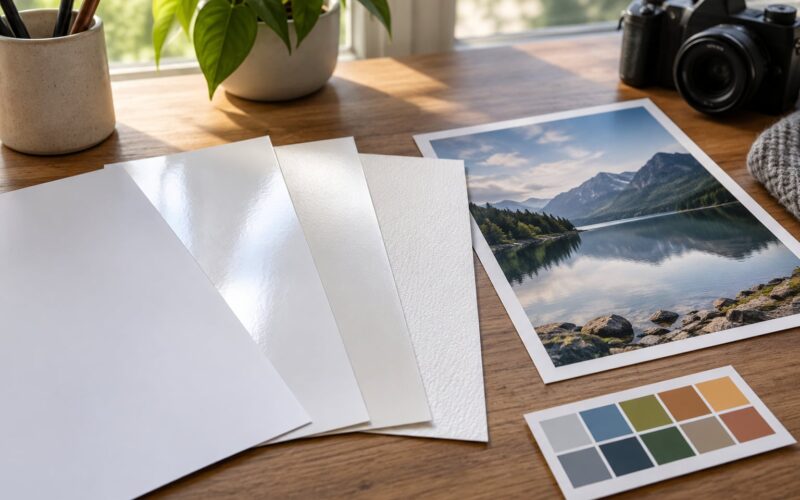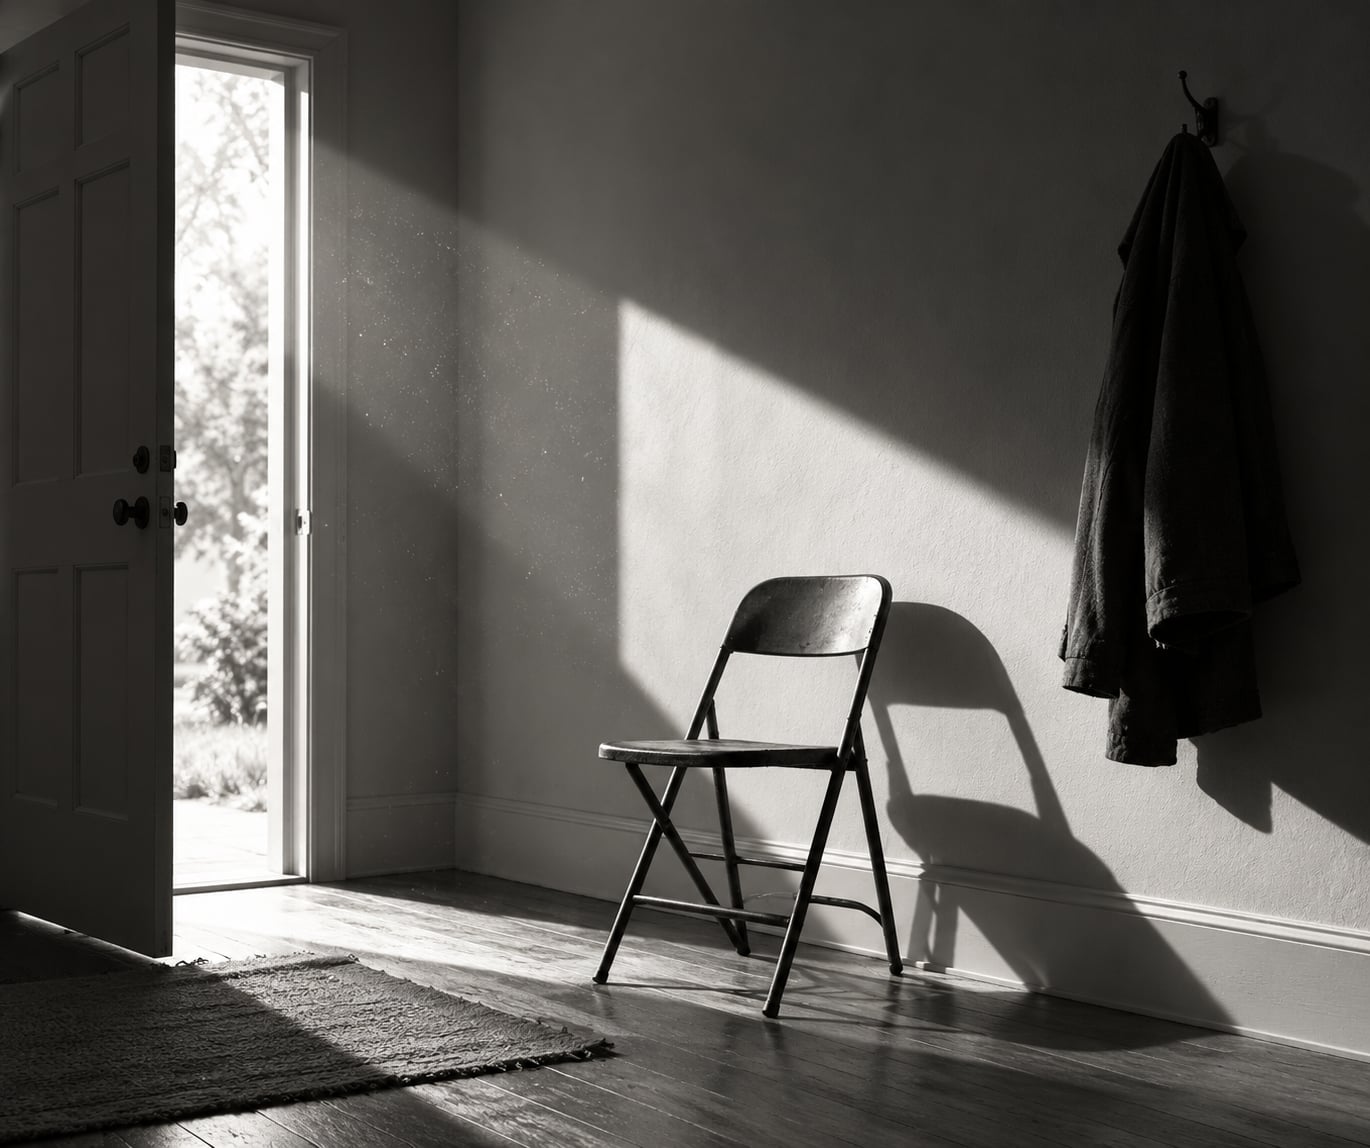
To see in black and white when shooting, you judge every scene by tone instead of colour: look at where the highlights, mid-tones and shadows fall, notice the shapes, textures and gaps between objects, and use a monochrome preview so your viewfinder shows you the contrast before you press the shutter. Shoot in colour RAW so you keep the tonal data, then convert later.
That is the short answer. The longer version is that this is a perceptual skill, not a camera setting, and it takes practice the same way judging exposure does.
When colour is gone, a frame has to hold together on light alone. A red door next to a grey wall is interesting in colour and invisible in monochrome, but the same door against a dark alley with a strip of sun across it is a strong picture either way. Learning to spot that second scene is what photographers mean when they talk about seeing in black and white.
It helps to know what you are training. You are not training your camera, because most cameras already have a monochrome preview buried in the menu. You are training your eye to answer three questions fast: where is the brightest thing, where is the darkest thing, and what separates the subject from everything around it. Get those three answers and the frame usually works.
One warning up front. Beginners often expect this to click on its own, and then get frustrated when their first twenty monochrome frames come out grey and lifeless. That is normal. Almost everyone posting a first attempt in the r/photocritique monochrome threads has the same complaint, and the fix is almost never the camera.
Table of Contents
- What You Need to See in Black and White When Shooting
- A camera that shoots RAW
- A monochrome preview or picture style
- A histogram and a highlight warning
- A grey card or a printed step wedge
- A screen and a conversion tool
- How to See in Black and White When Shooting: Step by Step
- 1. Look for light and shadow to see in black and white when shooting
- 2. Switch the camera to a monochrome preview
- 3. Set exposure for the tones you want
- 4. Compose around shape and contrast
- 5. Separate the subject from the background
- 6. Review the monochrome result and adjust the next frame
- Common Mistakes That Flatten a Black and White Photo
- Judging brightness on the colour screen
- Under-exposing every frame out of habit
- Reaching for a filter before you understand tone
- Stripping the frame down to nothing
- Letting highlights clip
- Converting first and composing later
- Frequently Asked Questions
- Do I need to shoot in black and white mode to learn how to see in black and white?
- What is the best black-and-white camera setting for beginners?
- Should I use a red, orange, or green filter for black-and-white photography?
- How do I know if my black-and-white photo is underexposed?
- Why do my black and white photos look grey and muddy?
- Start With One Frame Today
What You Need to See in Black and White When Shooting
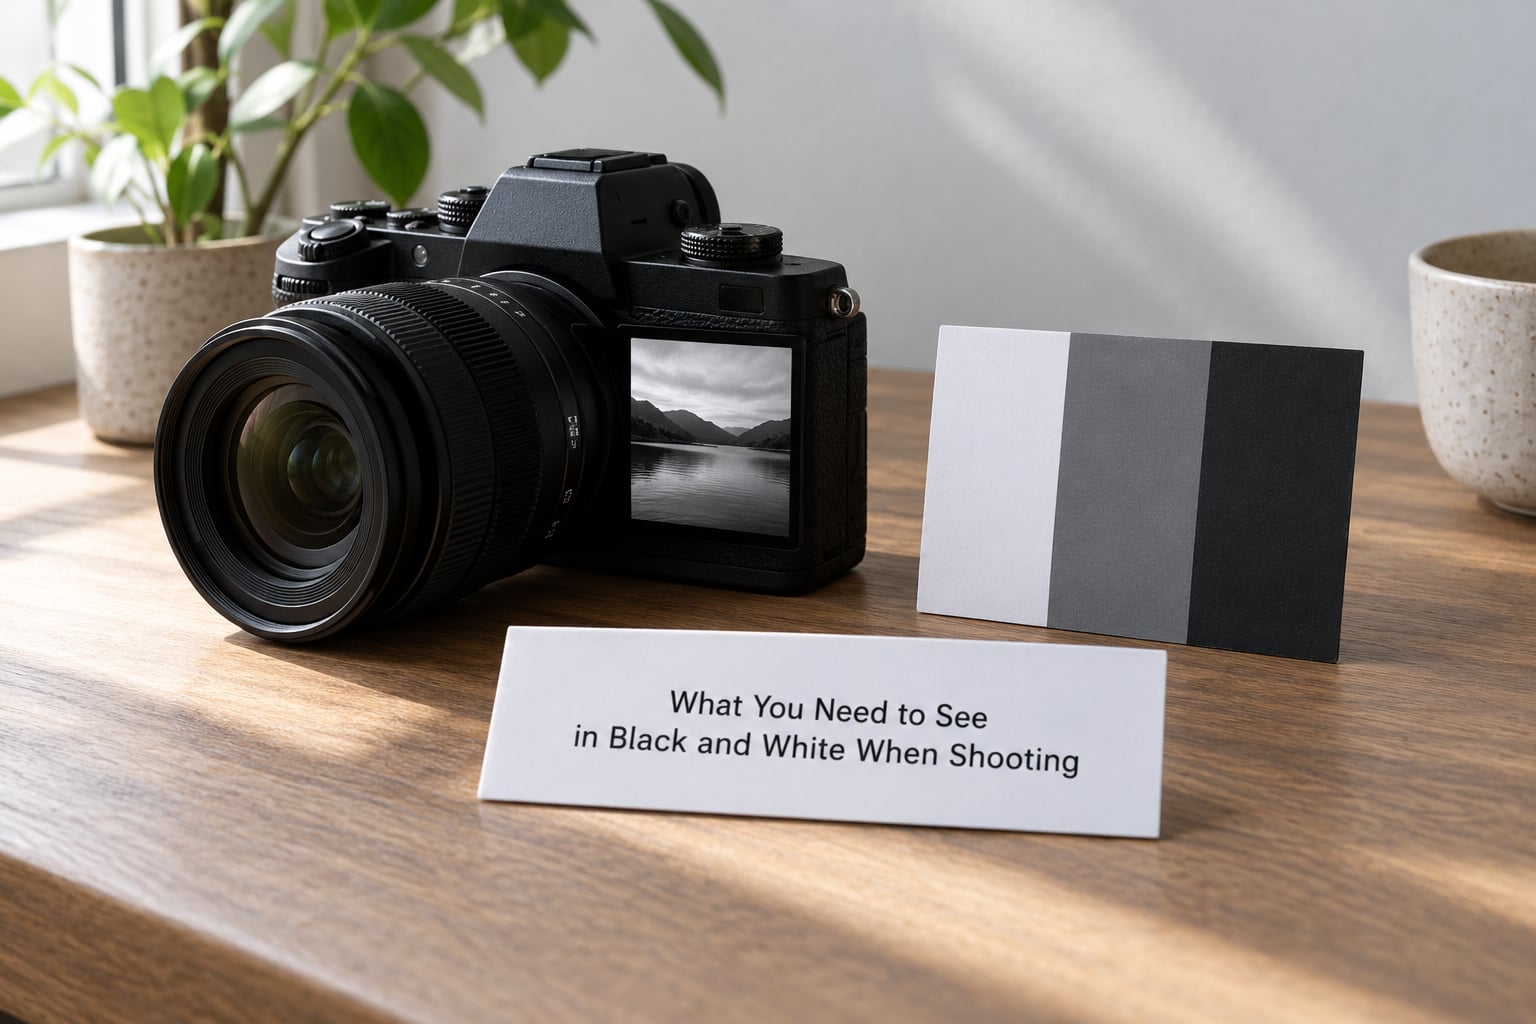
You need far less than people assume. Any camera that shoots RAW and has a rear screen will do, and the practice routine at the end of this guide costs nothing but time.
A camera that shoots RAW
RAW matters more than the megapixel number. A RAW file keeps separate colour channel data, so you can choose afterwards which channel carries the luminance and push each one independently. Shoot JPEG and you have thrown that choice away before you started.
A monochrome preview or picture style
Every current mirrorless and DSLR body has some version of it, and most cameras let you assign it to a button. This is the single most useful tool for learning to see in black and white when shooting, because it turns the viewfinder into a rehearsal of the final frame.
A histogram and a highlight warning
Clipped highlights are unrecoverable. If your camera can show you blown highlights in the frame or as zebras on the screen, turn them on and leave them on while you learn.
A grey card or a printed step wedge
A cheap 18% grey card tells you whether your mid-tones are actually mid-grey. A printed step wedge with known values from black to white is better, and it teaches you what each shade of grey looks like on a screen that is never quite calibrated the way you think it is.
A screen and a conversion tool
You need somewhere to check the result. Adobe Lightroom Classic has the B&W mix panel built in. If you have no paid software, Lightroom on a phone, Snapseed, GIMP or your camera’s own in-software converter will all get you through the learning loop.
How to See in Black and White When Shooting: Step by Step
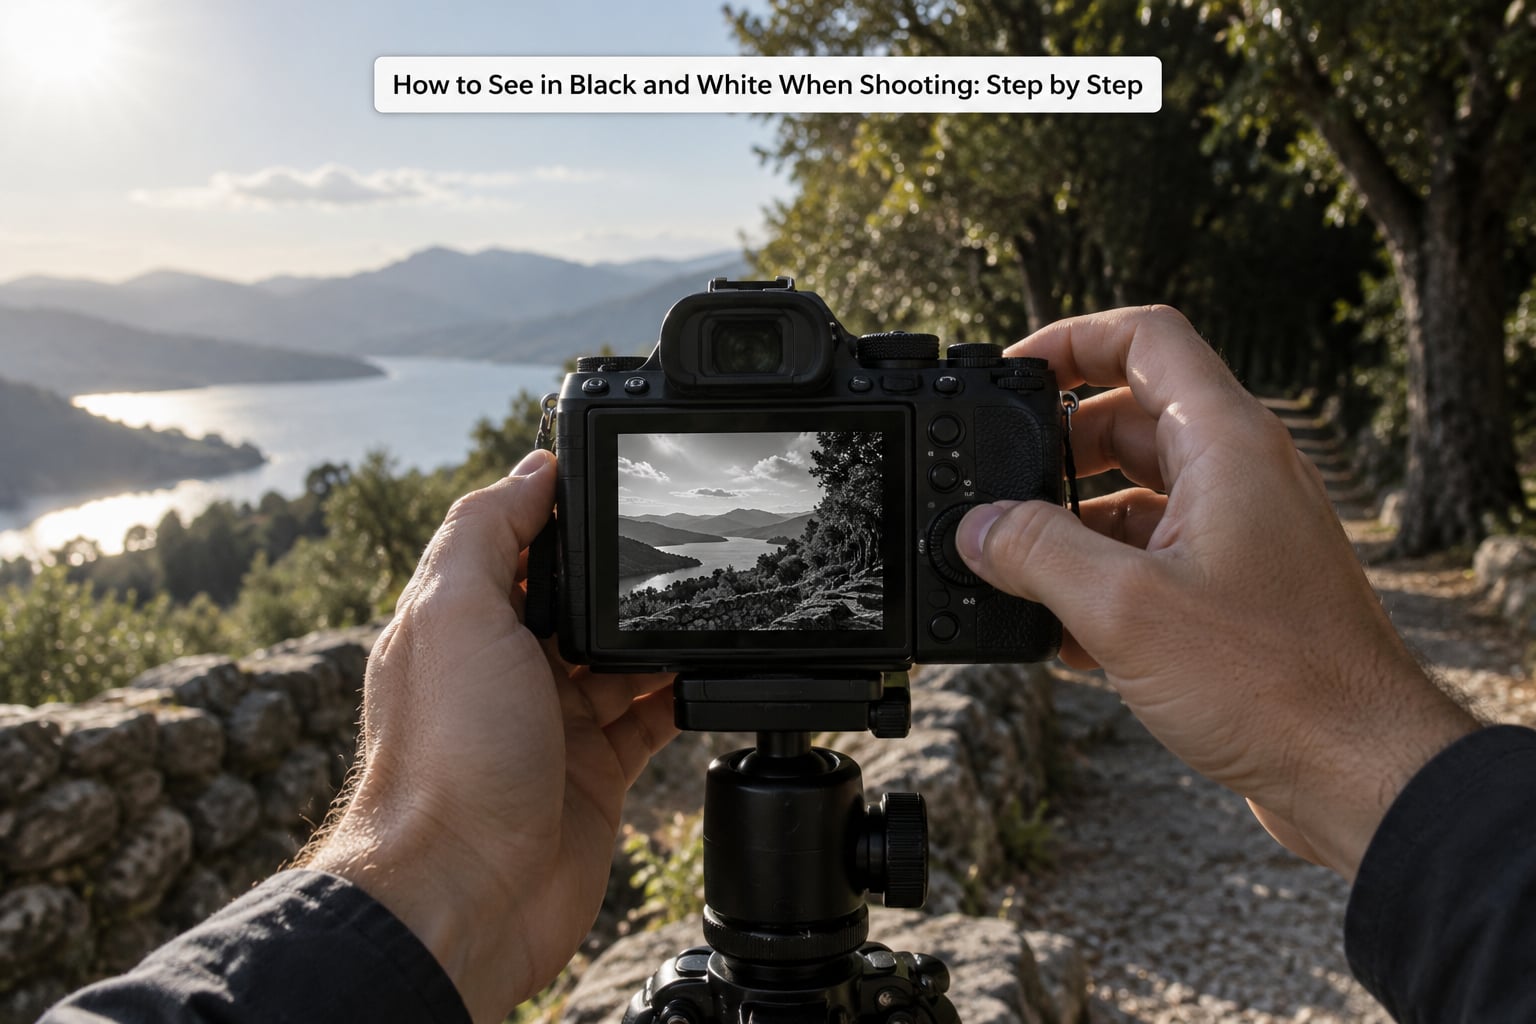
1. Look for light and shadow to see in black and white when shooting
Start by finding the light, not the subject. Directional light builds shape; flat overcast light gives you a subject with a shadow attached to it and nothing else to work with.
Scan the frame and name three values out loud: the brightest area you can see, the mid-tone that carries most of the detail, and the darkest area that is not pure black yet. If you cannot find all three, the frame is going to be flat, and it is the light’s fault rather than your composition.
Watch for the moment when a shadow crosses a face, a wall or a road. That edge is free contrast, and in monochrome it does more work than it does in colour, where the eye tends to get distracted by hue.
2. Switch the camera to a monochrome preview
Here is what monochrome preview actually does: it applies a conversion to the live view or viewfinder display so you can judge contrast before shooting. It does not change the scene, and if you are shooting RAW it does not change the file either. Some cameras apply the simulation to JPEG output only, so check which setting you are actually in.
Menu names change between models and between generations, but the paths are similar. On most Sony bodies it is under the display or custom key settings, where you can assign a monochrome display to a button. Canon usually keeps it in the shooting menu or picture style options, and Fujifilm has a dedicated monochrome picture style with contrast and filter effect sliders. Nikon users usually find a monochrome tone curve under the picture control menu. If your camera brand is not listed here, the setting is somewhere in either the picture style or the display menu.
The honest caveat, and it comes up constantly in forums: a monochrome preview can hold a beginner back. The screen hands you the answer, so you stop learning to read the scene yourself. A good compromise is to preview in monochrome, shoot, then check the LCD in colour before you commit to the frame.
3. Set exposure for the tones you want
A reasonable starting point for a beginner is aperture priority, an aperture around f/5.6 to f/8, the lowest ISO the light allows, and the shutter speed the camera picks. Then stop letting the camera decide for you and work with exposure compensation.
For monochrome, I would expose slightly darker than feels comfortable and check. A one-third stop under protects skin tones and bright surfaces, and in a conversion you can always lift the mid-tones. Clipped highlights cannot be fixed later.
Read the histogram before you leave the frame. A healthy monochrome image has a spread of values, some data near the dark end and some approaching the right shoulder without a wall of pixels jammed against it. If everything is bunched in the middle, you have a flat frame no slider can rescue.
Where light is wildly uneven, spot meter off the brightest important area. You are choosing which tone gets sacrificed, and in monochrome it is usually the highlight.
4. Compose around shape and contrast
In colour, composition leans on colour relationships. Take them away and you build on shape, edge, texture and empty space instead.
Look for tonal contrast first: a dark subject against a light wall reads instantly, and the same subject against something of similar value disappears. Then look for negative space. A figure at the edge of a wide empty frame carries weight that the identical figure centred in a busy one does not.
Texture is the other half. Rain on asphalt, peeling paint, a gravel road, hair, fog, rust. Texture only shows where light rakes across it, so side light beats front light whenever you have the choice. Pattern is texture repeated, and repeating it with one interruption is usually a stronger frame than the pattern alone.
5. Separate the subject from the background
Once tone is doing the work, clutter becomes obvious fast. A background at the same value as your subject is the most common reason a monochrome frame reads as noise.
Three fixes, cheapest first. Walk closer or change angle until the background simplifies. Open the aperture so the background falls out of focus while the subject stays sharp. Or wait for the subject to move against a contrasting background, which in street photography is a full-time job.
Perspective helps too. Shooting slightly lower or higher changes what sits behind your subject, and it costs nothing.
6. Review the monochrome result and adjust the next frame
Convert a frame and look at it before taking the next one. In Lightroom, open the B&W mix panel, then work in order: check the histogram, set the black and white points in the tone curve, adjust the midtone contrast, and only then move the individual mix sliders to decide which colour channel carries the luminance for this subject.
The sliders are the fun part and the trap. Push one too far and skin turns blotchy, skies break up or foliage goes chalky. Find where yours breaks and stay a little short of it. The point of the exercise is learning the scene’s tonal range, not winning a slider contest.
Then ask what you would change at the moment of shooting. Was the shadow side blocked up? Was the highlight clipping? Did the subject blend into the background? Write it down and carry it into the next frame. That loop, shoot, convert, diagnose, adjust, is the whole skill.
Common Mistakes That Flatten a Black and White Photo
Judging brightness on the colour screen
Colour screens lie to you about brightness, especially at night when the display brightens to match the room. Judge exposure on the histogram instead. This is the most common source of frames that look fine on the back of the camera and washed out on a computer.
Under-exposing every frame out of habit
Some beginners read “protect the highlights” as “always underexpose”, and the result is a file with no shadow detail and a flat, lifeless conversion. Nudge back toward neutral unless you have a specific reason not to.
Reaching for a filter before you understand tone
Red, orange and green filters darken skies and separate clouds from land, and they are useful. They are also a crutch that lets you skip learning tone. Shoot a few frames without one first. Once you know what the scene’s natural range looks like, a filter becomes a choice rather than a habit.
Stripping the frame down to nothing
Advice about removing clutter often gets read as remove everything. A monochrome frame still needs an anchor: one subject, one shape or one relationship. Simple is good, empty is not.
Letting highlights clip
Turn on highlight warnings and check every frame. Bright windows, sky gaps and chrome are where the loss happens, and once those pixels are gone, so is the separation you were counting on.
Converting first and composing later
Cropping a converted frame cannot recover a subject that was fighting its own background. Make the frame work while you can still move, because in monochrome you are the only thing that can change the composition.
A useful exercise for any of these: print or display a value-only scale from black to white and try to place your subject’s tones against it deliberately rather than guessing. Ansel Adams built his whole pre-visualization method around this, deciding the print before pressing the shutter.
Frequently Asked Questions
Do I need to shoot in black and white mode to learn how to see in black and white?
No. You can keep the camera in colour and use a monochrome preview or convert the image afterward. The key is learning to notice tonal relationships, contrast, texture, shape and light rather than depending on colour to judge a frame. A monochrome preview speeds up that training, but it can also do the thinking for you, so switch it off now and then to check you are still reading the scene.
What is the best black-and-white camera setting for beginners?
Start with aperture priority mode, a moderate aperture such as f/5.6 to f/8, automatic ISO, and the lowest ISO the camera allows in good light. Shoot RAW. Check the histogram after each frame and adjust exposure compensation until your values spread across the range without piling up against either edge. Turn on highlight warnings so clipping is visible immediately.
Should I use a red, orange, or green filter for black-and-white photography?
Filters can change contrast, but they are not required. Begin without one, understand the scene’s natural tonal range, and add a filter only after you know why you want it, for example to darken a bright sky or lighten foliage. On a digital camera the same effect comes from the B and W mix sliders or channel mixer in software, without changing the exposure.
How do I know if my black-and-white photo is underexposed?
Look at the histogram and the actual image, not the camera’s colour display. If many pixels are pushed against the dark end and important shadow details disappear, the frame is probably too dark. Bring exposure compensation up by a third of a stop at a time and compare. Keep in mind that highlights are far harder to recover than shadows, so err on the side of slightly brighter.
Why do my black and white photos look grey and muddy?
Muddy usually means the mid-tones are compressed, so nothing sits clearly light or dark. Check exposure first, then look for subjects with similar tonal values that merge together. Add midtone contrast in the tone curve, set proper black and white points, and dodge or burn the areas that need to separate. Flat overcast light is the other common cause, and no amount of editing fully rescues it.
Start With One Frame Today
Pick a scene with strong side light, switch the preview to monochrome, and shoot five frames while naming the brightest tone, the darkest tone and what separates your subject from the background. Convert them, compare, and write down one thing to change. That single loop is how you learn to see in black and white when shooting, and it still works on whatever camera you picked up in 2026.