To shoot beauty close ups well you need three things: soft light placed close to the face, a longer lens stopped down to f/4 or f/5.6 so the whole face stays sharp, and a short posing routine that changes one thing at a time. Frame tighter than the shoulders, meter for the skin, and check focus on every single frame.
- Lens: 85mm or 105mm is the easy place to start; 35mm only if you want a wider, more environmental face.
- Aperture: f/4 to f/5.6 for a whole face in focus. Go wider only when you deliberately want the far cheek soft.
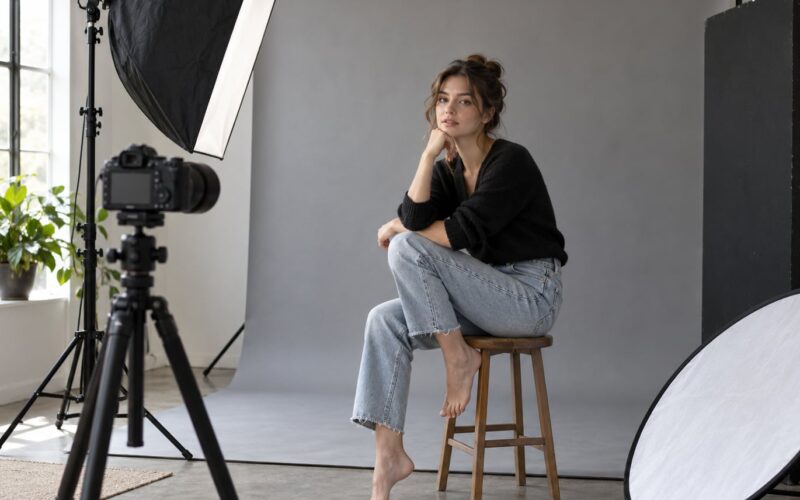
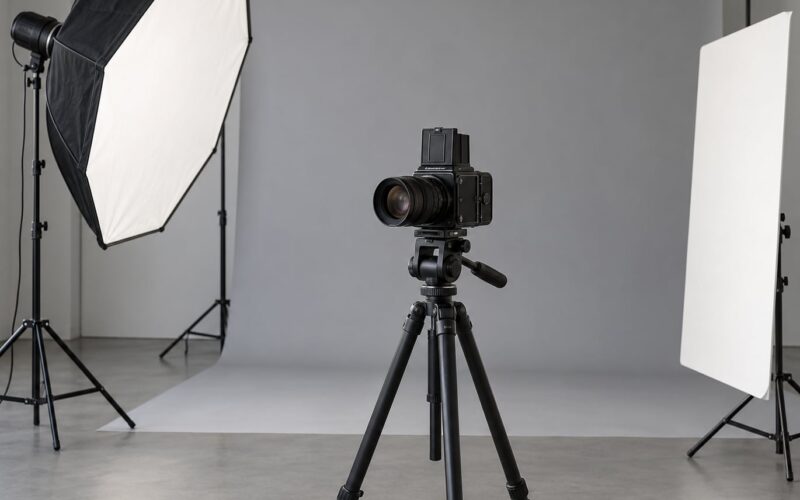
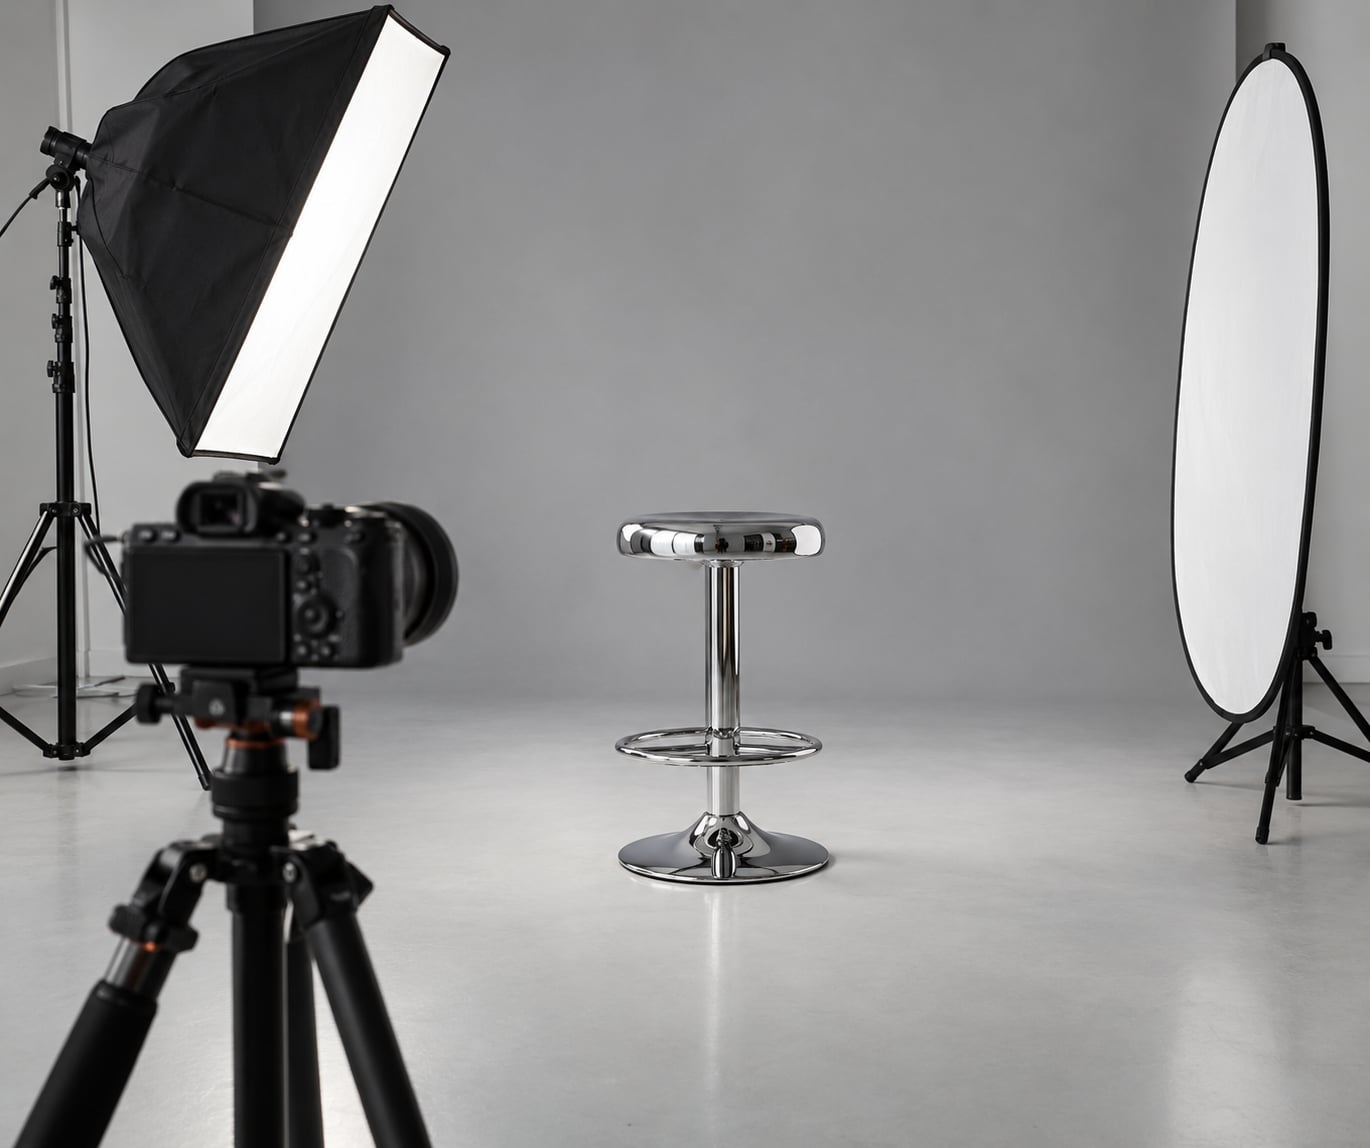
- Light: one big soft source at about 45 degrees and slightly above eye level, close enough that it wraps.
- Fill: a white reflector opposite the light, not a second lamp, until the shadow side feels too flat.
- Focus: single point on the near eye, f/8 or deeper if you want lashes and forehead sharp together.
- Skin: de-glow with blotting paper right before you shoot, and keep powder in your kit for touch-ups between frames.
- Pace: short bursts, then a break. Close-up sessions fall apart when the subject has been under lights for 90 minutes.
Close range exposes everything. Pores, uneven tone, a shiny patch on the forehead, harsh specular hits on the cheekbones. Lighting that flatters someone at six feet can look brutal at twelve inches, which is why close-ups need more deliberate light placement, a tighter aperture, and a posing plan rather than a lot of gear.
Table of Contents
- What You Need to Shoot Beauty Close Ups
- How to Shoot Beauty Close Ups: Step by Step
- 1. Prepare the Face and Shooting Area
- 2. Set Up Soft, Flattering Light
- 3. Choose Camera Settings for Sharp Detail
- 4. Direct Comfortable Poses and Expressions
- 5. Control Focus, Skin Texture, and Composition
- 6. Capture Variations and Review the Results
- Common Beauty Close-Up Mistakes and How to Fix Them
- Frequently Asked Questions
- How do I take clear close-up photos with my iPhone?
- Is f/2.8 or f/4 better for a beauty close-up?
- What aperture is best for beauty photography?
- Do I need a beauty dish for beauty close-ups?
- How do I stop my skin looking textured and shiny in photos?
- Is a ring flash good for beauty photography?
What You Need to Shoot Beauty Close Ups
The camera matters far less than most people expect. Any interchangeable-lens camera or recent phone can produce a clean beauty close-up. What changes the result is whether you can control the light and shoot RAW.
A 50mm f/1.8 or 85mm f/1.8 prime is the sensible one-lens buy. An 85mm gives a classic, flattering head shape and keeps working distance comfortable, which matters because you will be inches from the face. A macro-capable 100mm gives you more reach when your light needs to sit further back, and it lets you frame a single eye without clipping the nose. If you own nothing, a modern phone in portrait mode is genuinely usable as long as you understand its limits, which I cover in step 3.
For light, you have more options than the studio world suggests. A window works. A single LED panel or continuous light works. One strobe with a modifier works. A five-head rig is optional. Most of the results you see in cosmetics advertising come from careful placement with very few sources, and the setup below uses one light and one reflector to prove it.
| Modifier | Light quality | Highlight it leaves | Best for |
|---|---|---|---|
| Softbox or octabox | Soft, even, wraparound | Broad, rectangular catchlight | Clean commercial skin, beginners |
| Parabolic or silver umbrella | Soft with a bright hotspot | Round, defined catchlight | Glowy editorial looks |
| White beauty dish | Semi-hard, directional | Small bright catchlight plus crisp cheek highlights | Defined cheekbones and glossy skin |
| Ring flash | Flat, shadowless, on-axis | Even ring in the pupil | Skincare texture, quick social content |
| White reflector | Passive fill | None, it only lifts shadows | Controlling contrast on one light |
| Grid or snoot | Narrow spill control | Depends on source | Hair and rim separation |
Two small items earn their place more than any second light: a white reflector or a collapsible V-flat, and a piece of black foam board or a black flag for killing spill. The reflector opens up the shadow side. The black card lets you put shape back into a face that has gone flat. Blotting paper and a small powder compact belong in the same kit, because studio light is brighter and more sustained than daylight and skin will change over a session.
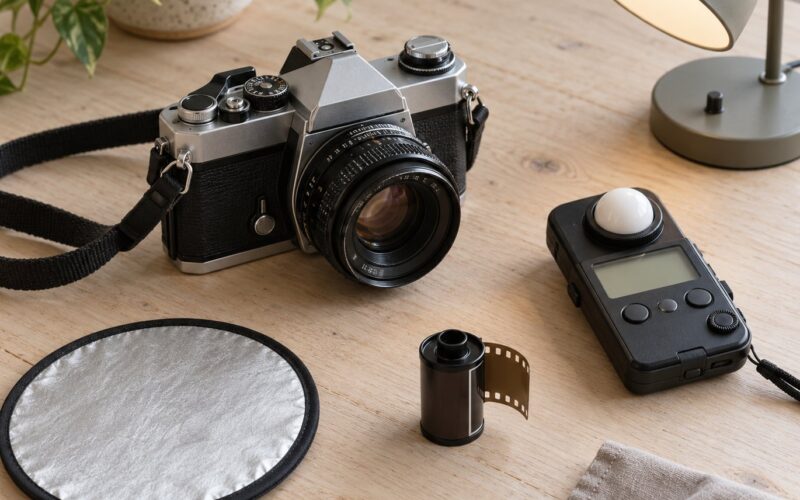
For editing, any software that opens RAW files and lets you dodge, burn, and adjust local contrast is enough. Capture RAW rather than JPEG. A JPEG close-up has already thrown away the tonal information you need to recover a slightly hot cheek or pull dull colour back up.
How to Shoot Beauty Close Ups: Step by Step
1. Prepare the Face and Shooting Area
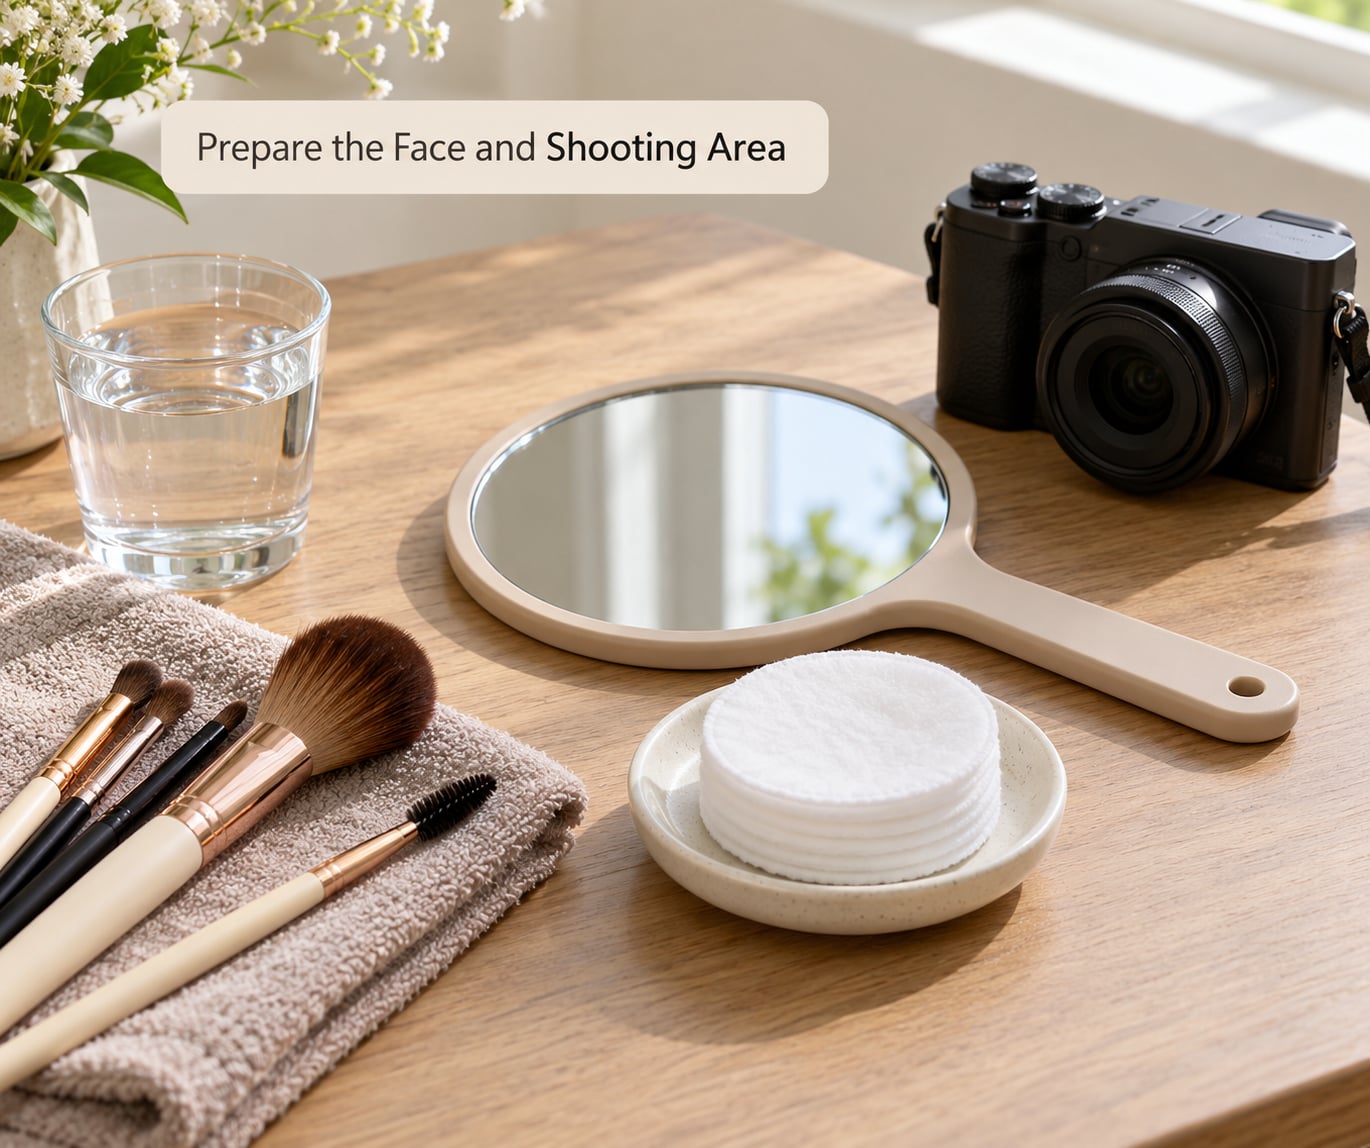
Treat preparation as part of the shot, not a warm-up for it. At close range the difference between a matte finish and a de-glowed one is the difference between skin texture and skin glare. Ask the model or makeup artist to blot, apply a light powder pass on the T-zone, and check the result on a monitor at full brightness rather than trusting the small screen.
Photography light is brighter than the room people prepare in, so makeup applied in daylight can read washed out on camera. A common professional fix is to add slightly more colour before the shoot, then blot again after the first test frames. If you work without a makeup artist, keep a compact and blotting papers in reach and re-check the T-zone every fifteen minutes.
Set up the space so the face is the brightest thing in the frame. Clear anything white or reflective behind the head, check for stray light from a doorway or monitor, and turn off overhead room lights so only your light shapes the face. Know how you’ll fix it if it goes wrong, but never make medical or product claims about skin preparation. Patch-test anything new that touches skin, and keep to products the person has already used.
2. Set Up Soft, Flattering Light
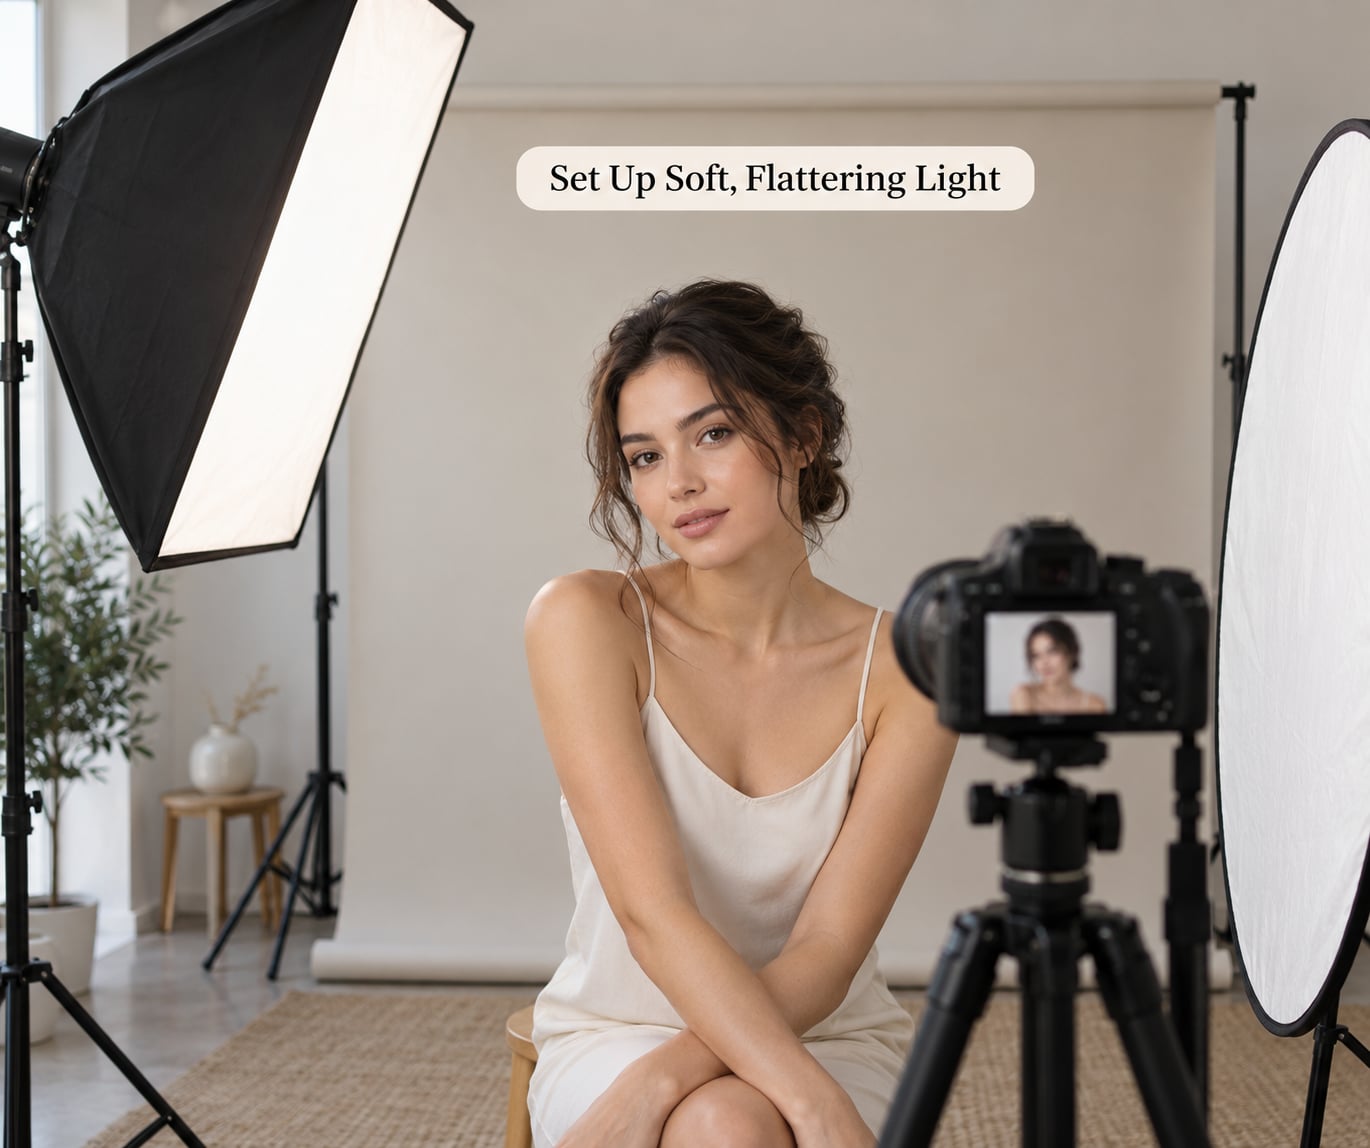
Place one large soft source about 45 degrees to one side of the face and slightly above eye level, roughly 3 to 4 feet from the subject. Closer is softer, so start close and check the size of the catchlight in the eye rather than trusting the distance. The classic beauty setup uses this angle because it puts light on the near cheekbone and the top lip, then lets the shadow fall across the far side of the face, which reads as shape.
Put a white reflector on the opposite side, close in, and let it lift the shadow without creating a second set of shadows. A reflector adds roughly one stop of fill. If you want more or less than that, meter the shadow side separately with a light meter or use your camera’s spot reading and adjust from there. Light ratio is easier to judge than calculate: a 2:1 ratio looks natural for everyday skin, 4:1 looks dramatic and sculpted, and equal light on both sides reads flat.
A beauty dish behaves differently from a softbox, and that difference is worth knowing. Its light is harder and more directional, and it leaves three signature highlights: the bridge of the nose, just beneath the nose on the top lip, and the small area under the eyes. Glossy or de-glowed skin makes those highlights read as sheen and structure. Matte, thickly powdered skin under the same dish can look dry and textured, which is why a dish suits a natural glow look better than a powder-heavy face.
For background separation, add a hair or rim light behind the subject and above, aimed at the crown and shoulders rather than the nose. Keep it dim enough that it draws an edge without turning into a second subject. If the background is bright white for a high-key look, make sure the light on the face is brighter than the light behind it, otherwise the face goes grey by comparison.
3. Choose Camera Settings for Sharp Detail
Start in manual exposure, RAW capture, portrait orientation, and the highest shutter speed your flash can sync with or that handheld work allows. A good repeatable baseline for a strobe or continuous light at close range is 85mm, f/4, 1/200s, ISO 100, adjusted until the skin sits just below clipping on the highlights channel. Increase ISO before you open the aperture further; noise on skin at high ISO is harder to retouch than softness.
| Setup | Focal length | Aperture | Shutter | ISO |
|---|---|---|---|---|
| Phone, window light | 2x or 3x, never the widest setting | f/1.8 equivalent | 1/120s or faster | Auto, capped low |
| One soft light or window | 85mm | f/4 | 1/200s | 100-400 |
| Two lights and a hair light | 85-105mm | f/4-f/5.6 | 1/200s | 100 |
| Full studio rig | 100mm macro or 85mm | f/8-f/11 | 1/200s or sync speed | 100 |
| Extreme eye close-up | 100mm macro | f/8 or narrower | 1/200s | 100 |
If you are shooting on a phone, use the 2x or 3x lens rather than the main one, tap the face to set exposure, and hold the phone steady against a tripod or a stack of books. Portrait mode simulates background blur with software and can smear eyelashes and hair edges at close range, so use it sparingly. Turn off the flash. Phone flash fires from the camera position, which produces the flat, red-eyed look the whole tutorial is trying to avoid.
One more note on close range with a phone: at arm’s length the depth of field is only a few centimetres, so a tiny lean changes focus. Lock exposure and focus on the face, and move your feet instead of moving the phone.
4. Direct Comfortable Poses and Expressions
Close-ups are won in the last five minutes of a session, when the subject stops performing and starts moving naturally. Build the frame one change at a time: chin forward and down a few degrees, head tilted slightly, shoulders dropped away from the ears, then a shift in gaze.
Chin position is the highest-value adjustment you can direct. A chin pushed forward and angled down lengthens the neck, sharpens the jawline, and brings the cheekbones into the light. Dropping the head straight down shortens the face and casts shadow under the eyes, which reads as tired at this distance.
Change one variable per burst, then check the frame. Start with the neutral pose and get one frame you like, then vary head tilt, then bring a hand into the shot near the jaw or through the hair without covering the face. With hands in a close-up, knuckles and fingers need to look relaxed; a hand near the cheek gives scale and a soft edge for the eye to travel along.
For expressions, ask for a look, not a smile. A small lift of the corners of the mouth with relaxed eyes photographs far better than a wide grin at 12 inches, where every tooth and every line is in focus. Gaze off-axis from the lens gives the eyes dimension, and a single blink caught mid-frame is often the shot that sells the set.
Keep a short shot list and move through it fast: neutral, three-quarter head turn, eyes closed with chin down, chin on hand, looking over the shoulder. Ten frames per look is plenty. Long sessions invite blinking, tension, and boredom, and all three show immediately in a close crop.
5. Control Focus, Skin Texture, and Composition
Focus on the nearest eye, using a single autofocus point placed directly on the lash line or iris. If you want the whole face sharp, from the near lashes to the far cheek, stop down to f/8 or use manual focus with live magnification at 100 percent. Check the magnification rather than the viewfinder size, which lies at this distance.
Watch the depth of field as the shot tightens. At 100mm and f/4 with the lens close to the face, the far ear may already be soft. If the whole face must be sharp, the two options are a narrower aperture or more distance between lens and subject, which means a brighter light or a higher ISO. Moving the light back to avoid distortion usually costs you softness, so plan the distance before you set up.
Do not crop so tight that a nostril is cut in half. Leave a small amount of space above the head and in the direction the eyes travel, and check the edge of frame for stray hairs and the edge of a hand. Slight asymmetry reads as natural; a head centred in a square crop reads like a passport photo.
Skin texture at close range is a lighting decision first and a retouching decision second. Texture reads best when it is lit from the side at a shallow angle, so a hint of side light does more for skin than any amount of sharpening. Sharpening a close-up amplifies noise and fine grain along with pores, so if the frame needs more detail, get closer or use a finer grain than you think you need.
Extreme close-ups go past what a single frame can hold. If you need an eye filling the frame, focus stack instead: shoot a series with the focus moved in small increments from the lashes to the brow, then blend them in software. This only works with a tripod and a subject who can hold completely still, so treat it as a backup plan rather than a technique to reach for on a moving face.
6. Capture Variations and Review the Results
Shoot in short bursts and zoom in on the result between them. Three checks, every time: is the near eye sharp at 100 percent, are the cheekbone highlights below clipping, and does the shadow side hold detail. Fixing those three in the first ten minutes leaves the rest of the session free for variety.
Change one thing at a time across variations, because you cannot judge a pose that changed three variables at once. Once you find a frame you like, nudge it: a few degrees of head turn, a slightly lower light, a tighter crop, or one stop less power on the hair light. Small corrections are cheap at this stage and expensive later in retouching.
Watch the clock and the subject, not just the buffer. Re-blot around the twenty-minute mark, and stop before the face looks tired. If you are on a commercial job, tethered shooting with a laptop screen showing the model is the fastest way to catch problems while they can still be fixed. If you are shooting alone, put a print of the last good frame somewhere you can see it, and match that instead of guessing.
Common Beauty Close-Up Mistakes and How to Fix Them
Harsh, shadow-heavy light. A bare flash or a small hard source pointed straight at the face creates a hard edge down the nose and deep sockets. Move the source closer, add a large modifier, or place it higher and further round so the shadow falls under the cheekbone rather than across the face.
Flat, shadowless light. A ring flash or a reflector on both sides removes every trace of shape, and skin looks like plastic at 12 inches. Keep one side in shadow. If it feels wrong to the model, pull the reflector back a foot rather than switching it off.
Clipped highlights. Cheekbone shine and foundation blow out to pure white and cannot be recovered from RAW. Check the highlights channel on the screen, and drop power by a third of a stop at a time until the brightest patch has detail.
Focus on the wrong thing. Autofocus that locks onto the nose or an eyebrow makes the eyes soft, which is the one thing nobody forgives in a close-up. Use a single point on the near eye, or switch to manual and magnify to check.
Blown-out skin with no texture. Heavy smoothing is the most common edit in beauty work, and it is easy to spot. Reduce the smoothing amount, keep some grain, and dodge gently instead of pushing clarity globally. Add texture back with a high-frequency layer at low opacity rather than sharpening the whole frame.
Distracting background. A bright edge, a window frame, or a light leak behind the head pulls attention from the face. Flag the spill with black card, or move the subject further from the backdrop so the falloff goes dark behind them.
Unnatural posing. The stiff symmetrical look comes from asking for a pose rather than a series of small adjustments. Build the frame one element at a time and keep the shoulders out of the jaw.
Shooting too long. Concentration fades, the face tightens, and the last hour of images is where the fatigue shows. Shoot the technically safest frames first while everyone is fresh, then spend the remaining time on variety.
Over-posing a close crop. Below the collarbone there is nowhere for a hand to go that looks intentional. Keep hands out of tight frames unless they have a clear purpose, such as resting under the chin or lifting hair away from the face.
One habit covers more mistakes than the rest: zoom in after every burst. Most close-up problems are obvious at 100 percent and invisible on the camera screen.
Frequently Asked Questions
How do I take clear close-up photos with my iPhone?
Use the 2x or 3x lens rather than the main camera, turn off the flash, and clean the lens before you start. Tap the face on screen to lock exposure and focus, then move your feet instead of moving the phone so focus does not shift. Hold the phone steady on a tripod or stack of books, shoot in portrait orientation, and step back slightly to get the whole face inside the thin plane of sharp focus.
Is f/2.8 or f/4 better for a beauty close-up?
f/4 is the better starting point for most beauty close-ups. At f/2.8 the plane of sharp focus becomes thin enough that the far eye, forehead, and chin drift soft, especially on an 85mm lens close to the face. Choose f/2.8 when you want the far cheek and background to fall away deliberately, or when you need more light in a small room.
What aperture is best for beauty photography?
Start at f/4 and work from there. If the whole face from lashes to chin needs to be sharp, use f/8 and give yourself more light or accept a higher ISO. The wider you go, the more the nose grows and the far features soften, which is why f/4 balances face shape and depth of field better than a very wide aperture at close range.
Do I need a beauty dish for beauty close-ups?
No. A beauty dish is useful because its slightly harder light leaves three defined highlights: the bridge of the nose, the top lip, and just beneath the eyes, which gives a natural glow look its structure. A large softbox and a reflector will produce a cleaner, flatter result that suits skincare work just as well, and cost far less to build.
How do I stop my skin looking textured and shiny in photos?
Shine is a lighting and preparation problem before it is a retouching problem. Blot and powder the T-zone right before the first frame, keep a compact with you for touch-ups, and choose a modifier soft enough that the highlight rolls off rather than blowing out. In editing, dodge rather than desaturate, drop the high-frequency smoothing strength, and keep some grain so pores still read as skin.
Is a ring flash good for beauty photography?
A ring flash gives perfectly even, shadowless light with a catchlight you can place exactly where you want it, and many cosmetic brands shoot product-only images with one. On a face it removes all modelling, which flattens features and makes skin look waxy at close range. It works best for texture-focused skincare shots and quick social content, not for sculpted editorial portraits.
If you only remember one thing from this guide, do this on your next session: set up one large soft light at 45 degrees with a white reflector opposite, shoot 85mm at f/4 and 1/200s in RAW, frame tighter than the shoulders, and zoom in at 100 percent after every burst to check the near eye and the cheek highlights. That single loop, repeated on the shoot you already had planned, will do more for your beauty close-ups than any equipment change.