How to teach a beginner photography workshop comes down to three decisions: one outcome, one timed run-of-show, and one exercise everybody completes. Get those right and a two-hour session can move someone from snapping on auto to a correctly exposed shot they took themselves.
This guide is written for a first-time instructor who shoots well and has never run a class. If you have taught before, the camera fundamentals are assumed and you can skip straight to the run-of-show table.
Table of Contents
- What You Need
- Camera equipment
- Teaching materials
- Venue requirements
- Participant prerequisites
- Optional props
- How to Teach a Beginner Photography Workshop: Step-by-Step
- Build the Run-of-Show
- Define One Clear Learning Outcome
- Prepare the Cameras and Teaching Materials
- Teach the Essential Controls Visually
- Run a Guided Practice Exercise
- Give Useful Feedback on Participants’ Photos
- Close With a Repeatable Cheat Sheet
- Common Mistakes
- Frequently Asked Questions
- How long should a beginner photography workshop be?
- How do I teach a photography workshop with mixed skill levels?
- What equipment do I need to teach a beginner photography workshop?
- How much should I charge for a beginner photography workshop?
- Can I teach the camera controls without a projector?
- How many people should be in one photography workshop?
- Conclusion
What You Need
Most first workshops fail on logistics, not content. Someone arrives with no charged battery, or the only good light source is a flickering fluorescent and half the room is a silhouette.
Camera equipment
- One working camera per participant, plus two spares. Borrowed bodies are fine. Mixed brands are normal and worth saying out loud before you start.
- A charged battery per camera and a spare battery in your own bag. Batteries die mid-exercise more often than anything else.
- A formatted, empty memory card per camera. Format it in front of them. It teaches something and it removes a whole category of problems.
- A card reader and a laptop or tablet you can display from. You need this to show images to the room, so treat it as required, not optional.
- A projector, TV or large monitor for the demonstration. If you cannot get one, you need a different demo strategy. See the common mistakes section.
Teaching materials
Keep it to one page per participant. A camera control diagram with the mode dial, shutter button, ISO, aperture, shutter speed and exposure compensation labelled is worth more than thirty slides.
Add a printed settings reference for the exercise itself, so nobody is guessing numbers mid-shoot. Bring a timer you can project, and a printed agenda with start and end times.
Venue requirements
Walk the space a day before. You need a wall or screen everyone can see from the back row, enough light that a group of eight can all shoot without blocking each other, and a surface for the gear check.
Bring a simple waiver that names you as instructor and states participants use their own equipment at their own risk. It is not legal advice and it will not protect you in every situation, so check what your local rules and insurance require before running a paid class.
Participant prerequisites
State these before anyone pays: bring any camera, including a phone, a fully charged battery and an empty card. No prior experience, no editing software and no expensive gear required.
Optional props
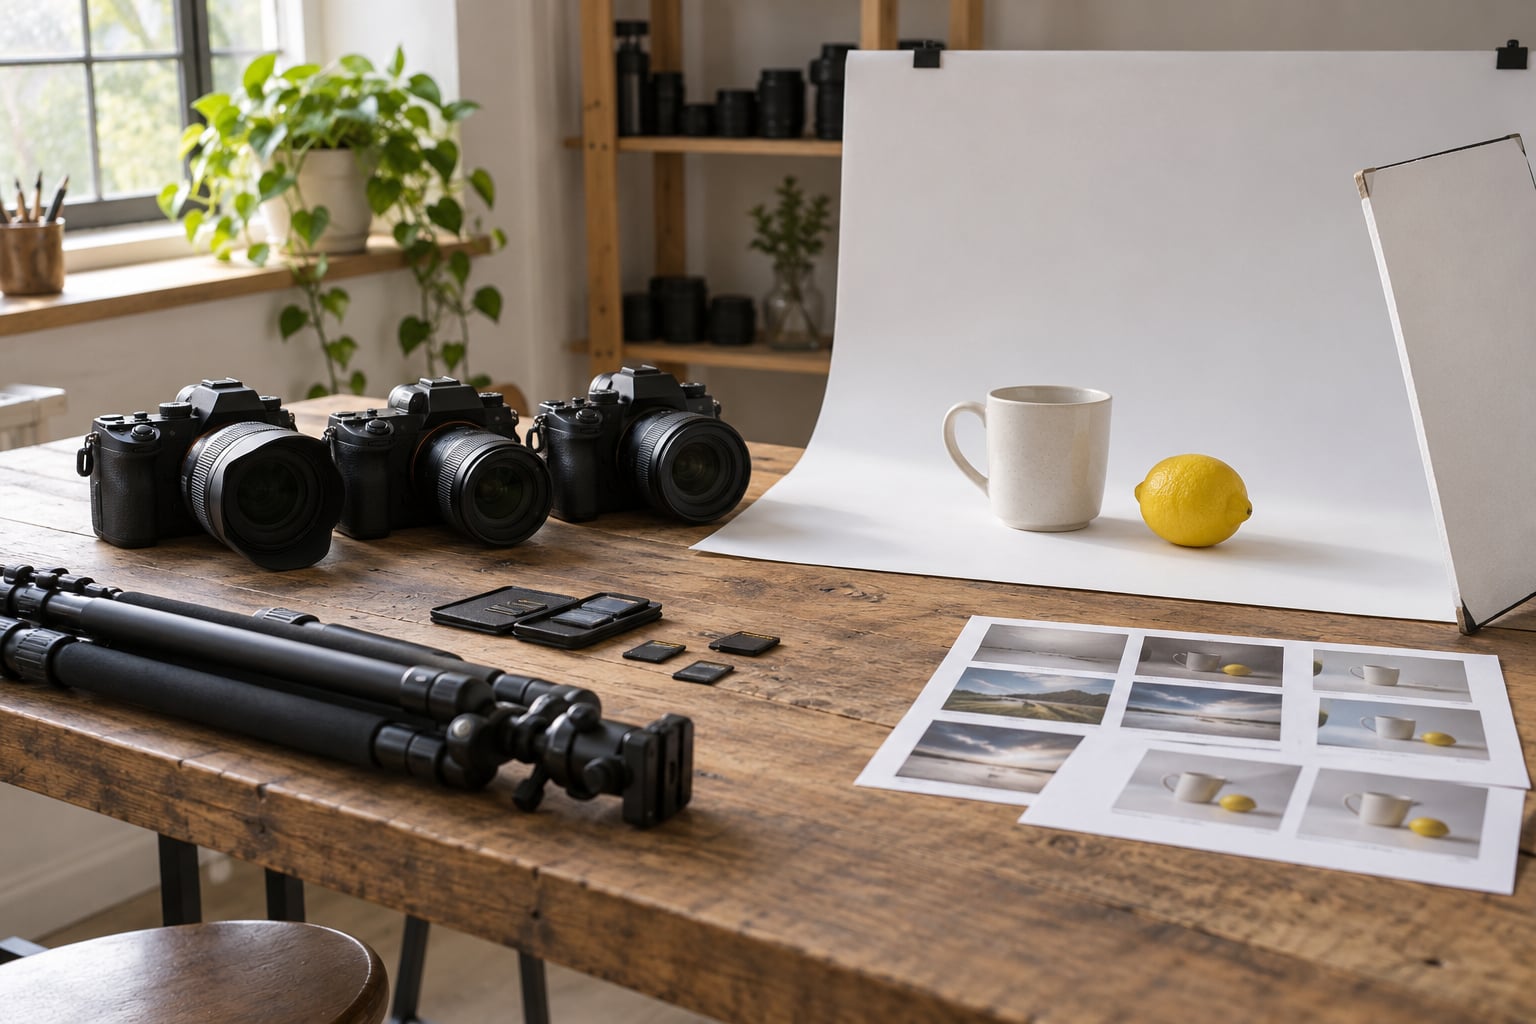
A white poster board or a piece of foil card makes a cheap reflector, and a folding chair or two gives faces at different heights. A small still-life setup lets someone practise on a subject that never moves.
How to Teach a Beginner Photography Workshop: Step-by-Step
Here is the sequence that works. The timings assume three hours with a break; adapt the whole thing from there.
Build the Run-of-Show
Write every block with a start time and an end time before you write a single slide. Untimed teaching always overruns, and overrun means the exercise gets cut, and the exercise is the part people remember.
| Time | Block | Purpose |
|---|---|---|
| 0:00-0:15 | Welcome and outcome | Show what everyone walks out with |
| 0:15-0:35 | Gear check and control tour | Every camera on the same starting settings |
| 0:35-1:05 | Demonstration | Aperture, shutter speed, ISO, focus, compensation |
| 1:05-1:15 | Break | Ask questions in small groups |
| 1:15-2:00 | Guided practice | Same task for everyone, instructor circulates |
| 2:00-2:30 | Review and feedback | Project images, one change per person |
| 2:30-2:50 | Cheat sheet and follow-up task | Settings summary and next assignment |
| 2:50-3:00 | Questions | Open floor |
Three hours is the sweet spot for a first session: long enough to include real practice, short enough that people commit to a Saturday morning. Two hours works if you drop the demo block to 20 minutes and cut the review to two images per person.
Group size changes the plan more than duration does. Under six people you can hold the whole group on one subject. Over twelve, split into pairs and give each pair a station, then run one group at a time through the exercise and let the other group review frames while they wait.
Experience level changes what you demo, not the order. A mixed room still starts at the beginning; you just park the advanced questions for the break instead of answering them live.
Define One Clear Learning Outcome
Write one sentence describing what a participant can do at the end. “Take a correctly exposed portrait in manual mode using window light” works. “Understand photography” does not.
Every block in the run-of-show should trace back to that sentence. If a demo does not serve it, cut it. This single constraint is what separates a beginner photography workshop that works from one that feels like a photography overview nobody remembers.
Say the sentence out loud at the start and again at the end. Beginning instructors often under-explain what success looks like, and participants leave feeling like failures when their shots are close but not perfect.
Prepare the Cameras and Teaching Materials
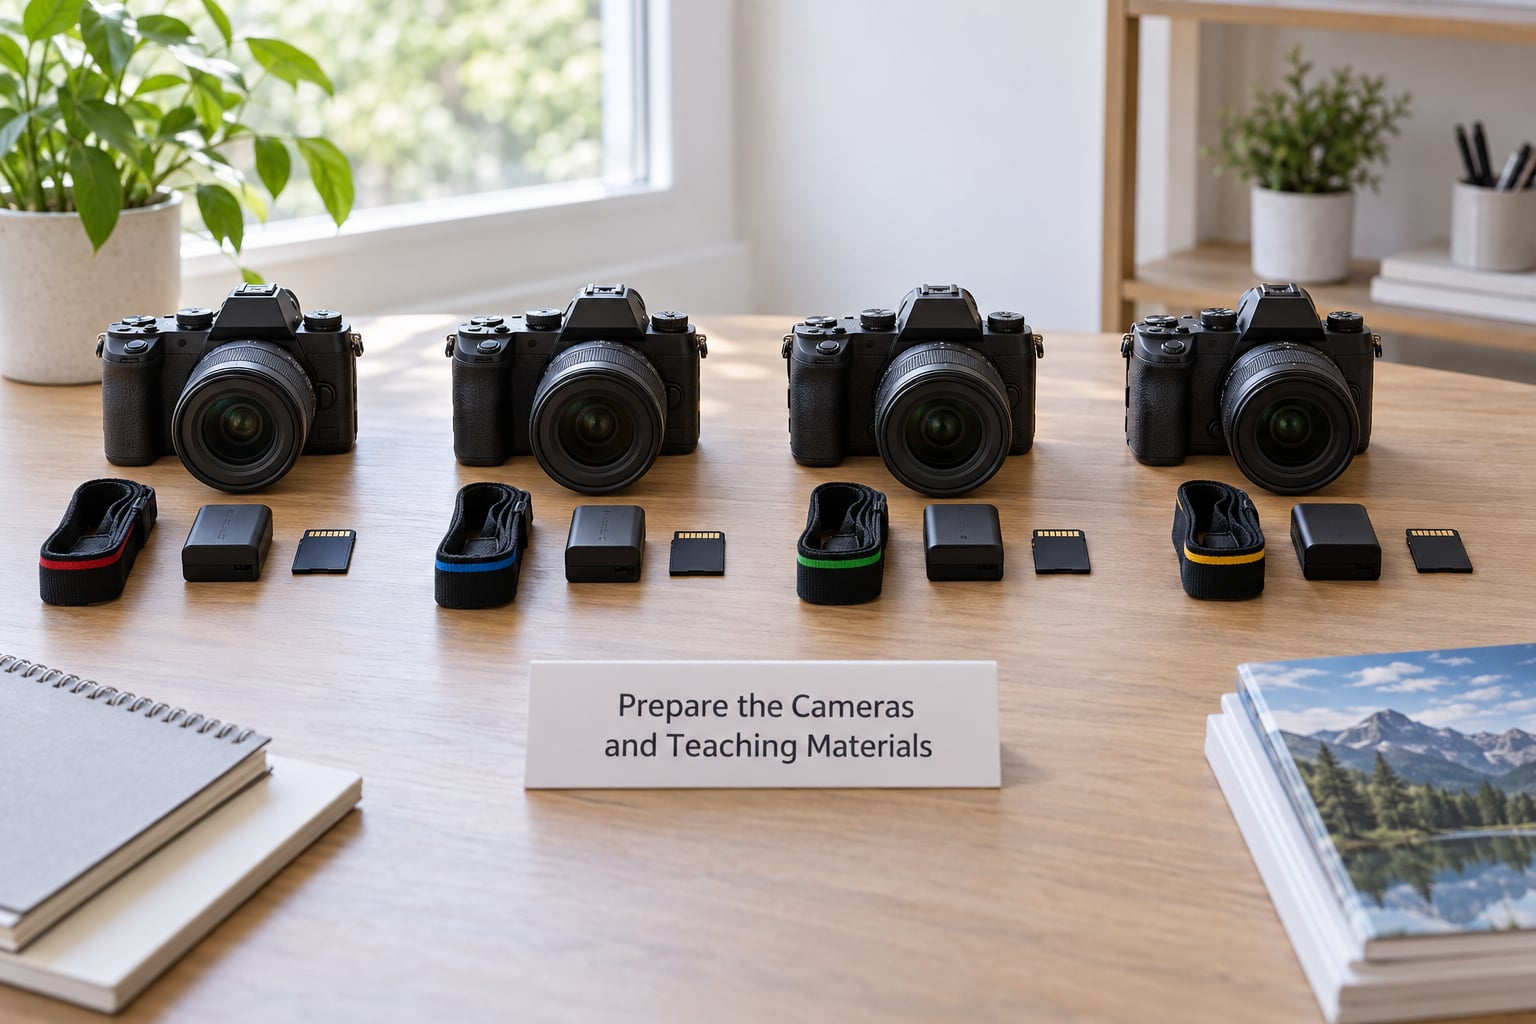
Normalise every camera before participants arrive so you are not troubleshooting eight devices at once. Put each one in manual or aperture priority mode, reset ISO to a single value, clear the card, and set a known aperture and shutter speed.
Write those starting settings on a card taped to each camera. A beginner who picks up a camera and sees a stranger menu spends the first ten minutes lost instead of learning.
Do the control labelling yourself. Use removable dots to mark the mode dial, shutter release, front and rear dials, ISO button, focus switch and viewfinder. Colour-code the three exposure controls with the same three dots so the labels match the printed guide.
Test the display path before the room fills. Plug the laptop into the projector, confirm the camera images open full screen, and check that the image is bright enough for the back row to see exposure detail.
Teach the Essential Controls Visually
Demonstrate on the projected display, not in your hands. An instructor holding a camera at chest height is invisible to anyone more than two rows back, and that is most of the room.
Teach the three exposure controls as a set, because they interact. Say it as: aperture controls how much light comes in and how much the background is blurred; shutter speed controls how long the sensor is exposed, and how motion is frozen or smeared; ISO controls how sensitive the sensor is, and how much noise you get when you raise it.
Show the effect, not the definition. Take one shot wide open, then one stopped down, and project both. Change the shutter speed and show the same subject sharp and then streaked. A pair of before-and-after frames teaches what two paragraphs of numbers never will.
Do the same for focus. Switch between single autofocus, continuous autofocus and manual on one subject and let the room watch focus hunt. Then show what back-button focus does with a moving subject if the camera supports it.
Finish with exposure compensation. Put the camera in aperture priority, show a shot at minus one stop and the same shot at plus one stop, and explain that this is the dial most people will actually use for years. Beginners who understand this one control stop being afraid of their cameras.
End the demo by reading the histogram together. Show the left clip, the middle grey and the right clip, and connect each to the setting change that caused it. Two minutes here pays for itself in the practice block.
Run a Guided Practice Exercise
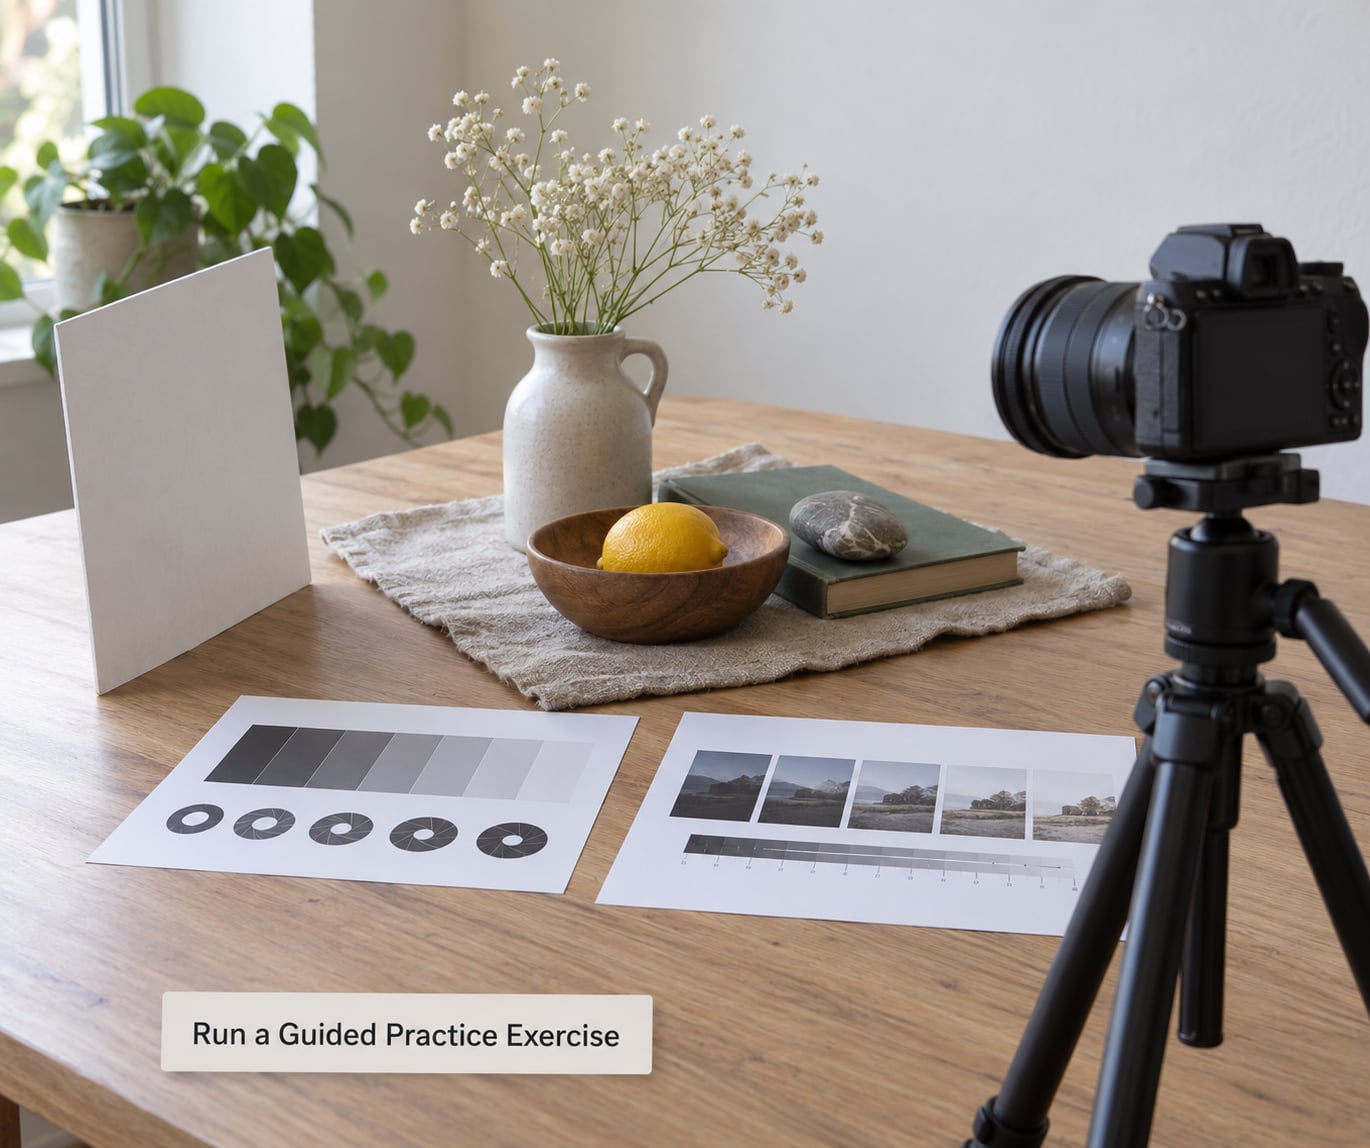
Give everyone the same task with a fixed starting point, because comparing results is what makes the practice teach. The window-light portrait works well: turn the subject a quarter turn to the window, put them on manual mode, start at a medium aperture and a shutter speed around 1/125, then adjust.
Explain the task as three instructions, not a paragraph. Set the mode and starting settings. Frame so the window is beside the face, not behind it. Make five frames, changing one setting at a time between shots.
That last instruction is the whole lesson. Beginners who change three settings at once cannot tell which change fixed the picture, so they learn nothing from the attempt.
While they shoot, circulate and check three things: is the face exposed, did they change one thing at a time, and do they know what they were trying to change. Ask questions instead of correcting. “What happens if you go to a faster shutter speed?” teaches more than “try 1/250”.
The session worked when each person has a frame they like and can say which setting change produced it. If they have pretty images but cannot name the change, the exercise was too guided and you should have given them more rope.
Give Useful Feedback on Participants’ Photos
Project images and give feedback in a fixed order, so criticism stays about the photograph rather than the photographer. Four steps work: the stated goal first, then the settings, then the composition, then one single change for next time.
Start with whether it met the outcome. Did it hit the exposure they were aiming for? Then name the actual settings on the frame, because hearing a real photographer say “you chose a wide aperture here, which is why the background is soft” is worth more than any compliment.
Describe composition in physical terms. The subject is at the edge and feels cramped. There is a bright window behind them and the face went dark. That is specific and it points at the next attempt.
End every critique with one change, never a list. “Move two steps to the right and shoot again” is a task. Five things to fix is homework nobody does. For a first session, confidence matters as much as technique, and one clear win per person keeps them shooting after you stop teaching.
Avoid taste-based critique in a beginner room entirely. Comments about style and artistic intent land as judgement. You can note an interesting choice and move out.
Close With a Repeatable Cheat Sheet
End with something they can hold. One page: the exposure triangle in three lines, the starting settings for the exercise, the three-step framing routine, and the one-change-at-a-time rule. If you teach more than one workshop type, add a second page per type.
Assign a follow-up exercise that takes fifteen minutes and produces five frames. Something like one indoor window portrait and one outdoor shot at golden hour, both in manual mode, both with the settings written down.
Give them a way to ask questions afterwards and tell them exactly how you will answer. A shared group thread where you post the exercise works well. Silence after the workshop reads as indifference.
Ask for the follow-up frames before the next session. It keeps people accountable and it gives you a reason to talk to them, which is where repeat attendance comes from.
Common Mistakes
Teaching everything you know. Novice instructors copy their own notes. Pick the outcome sentence, then delete anything that does not serve it. Depth can come in workshop two.
Instructions that are too vague. “Play with your settings” produces nothing. Say the mode, the starting values and the number of frames. Specific instructions are not boring; they give people something to succeed at.
Demonstrating where the back row cannot see it. Move everything to the screen. If no screen is available, put a second camera on a tripod filming the controls and show its live output, or have participants crowd around your camera in pairs and watch together.
Running over. Decide in advance what gets cut, and make it the demonstration detail rather than the practice. A short practice block is worse than none; a cut demo detail is fine.
Failing to normalise the gear. Ten minutes of settings reset before the session prevents most of the frustration people associate with cameras. Do it the night before, not on arrival.
Critiquing taste. Comments about style shut beginners down. Use the four-step order: goal, settings, composition, one change.
Ignoring the mixed-skill room. The advanced participant slows everyone else down. Give them a job, such as second-shooting for the person next to them, and they stop derailing the pace.
Promising instant results. Say clearly at the start that the workshop builds a habit and a starting point, not a finished portfolio. Participants who expect pro results from one afternoon leave disappointed no matter how good the images are.
Frequently Asked Questions
How long should a beginner photography workshop be?
Two to three hours is the right length for a first workshop. That leaves room for a short demonstration, roughly forty-five minutes of guided practice, and a group review. Two hours works if you trim the demonstration and review only two images per person. Under ninety minutes usually means no real practice, and past four hours beginners fade and stop taking the follow-up exercise seriously.
How do I teach a photography workshop with mixed skill levels?
Start everyone at the same place and park advanced questions for the break, not the main session. Give experienced participants a role, such as second-shooting for a beginner or helping check settings, which keeps them engaged without slowing the group. Tell the advanced people at the start what the outcome is so they understand the plan rather than resisting it.
What equipment do I need to teach a beginner photography workshop?
You need one working camera per participant plus two spares, a charged battery and an empty card for each, and a laptop or tablet with a card reader so you can display images. For the demonstration, a projector, TV or large monitor is worth the effort, though a second camera filming the controls onto a screen works as a substitute. A printed one-page control guide completes the setup.
How much should I charge for a beginner photography workshop?
Work out your costs first, including venue, insurance, printing, travel and the value of your preparation time, then look at what comparable sessions in your area run. Test with a small first group rather than a large one, since a first cohort tells you where the gaps are. Publish clearly what is included so people can judge the session on the teaching, not the price.
Can I teach the camera controls without a projector?
Yes, but change the setup rather than the content. Put participants into pairs and have them watch your camera over your shoulder as you change settings, which is slower and works well with eight people or fewer. A second camera on a tripod filming the controls and displaying its live output on a laptop screen is the other option. Whichever you use, test it before the room fills.
How many people should be in one photography workshop?
Six to ten works well for a first session. Smaller groups let you circulate and give individual feedback without losing the room. Above twelve, split into pairs at stations and run the practice one group at a time while the other reviews frames. Beginners rate hands-on practice as the most useful part of the session, so keep the instructor-to-student ratio as tight as you can manage.
Conclusion
Pick one outcome and write it as a single sentence before you plan anything else. Then build the run-of-show around that sentence, rehearse it once end to end with a friend playing the beginner, and only then worry about marketing the session. Most of the work in learning how to teach a beginner photography workshop happens before anyone arrives, and it is much cheaper to fix a bad outline than a bad afternoon.