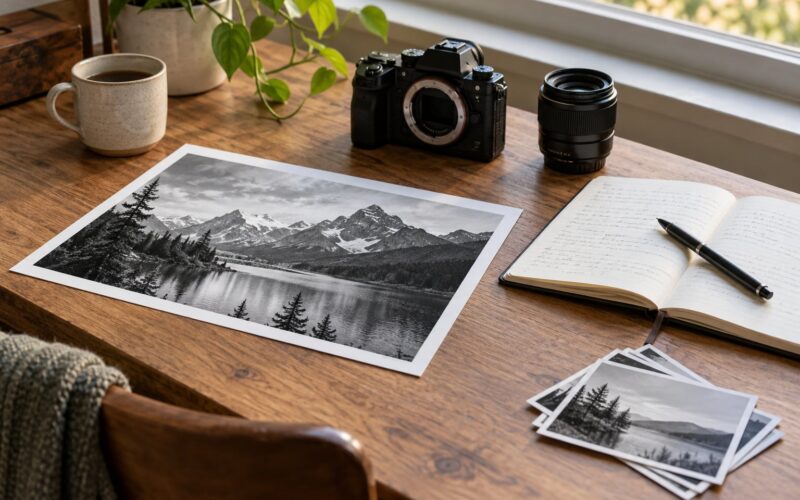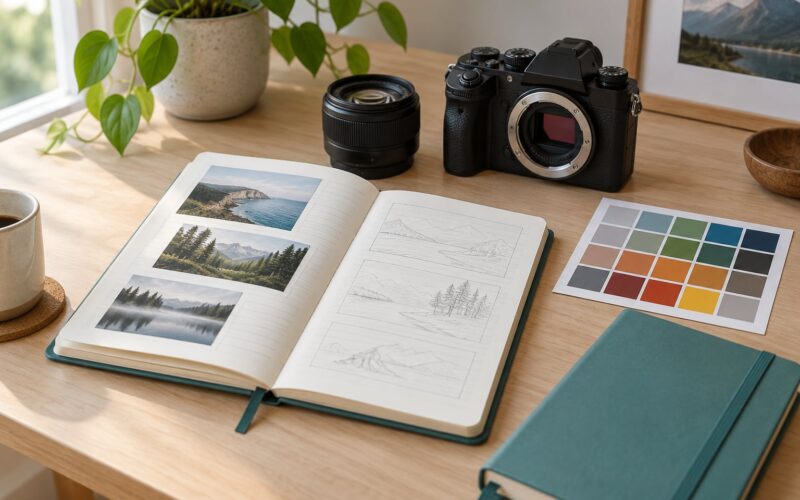
The fastest way to improve photography is to stop shooting at random and run short, deliberate projects that isolate one skill at a time. Working through how to improve photography fast with practice projects means photographing the same subject under five different lights, then ten compositions from a single scene, then reviewing the results the same evening. Six sessions of 30 to 45 minutes will teach you more than a winter of tutorial videos, and none of it needs gear you don’t already own.
A practice project is simply a bounded assignment you give yourself: one subject, one constraint, one thing you want to get better at, and a defined end. Constraints are the point. When you have unlimited lenses, unlimited frames and unlimited time, you avoid decisions, and decisions are where skill actually forms. Fix the variables and every shot forces you to solve something.
Table of Contents
- What You Need
- Step-by-Step: How to Improve Photography Fast With Practice Projects
- Practice Project 1: Shoot One Subject in Five Lighting Conditions
- Practice Project 2: Build 10 Compositions From One Scene
- Practice Project 3: How to Improve Photography Fast With Manual Exposure
- Practice Project 4: Create a Consistent Portrait Lighting Study
- Practice Project 5: Tell a 12-Frame Visual Story
- Practice Project 6: Repeat, Edit, and Measure Improvement
- Common Mistakes
- Frequently Asked Questions
- How quickly can I improve my photography?
- How many practice sessions do I need to see progress?
- Do I need a better camera to improve photography fast?
- How long should each practice project take?
- How do I review my own photos to get better?
- How should I practice photography day to day?
- Conclusion
What You Need
You need less than most people assume. An entry-level camera works, and so does a phone, because the constraint does the teaching rather than the sensor.
- A camera you already own. Any interchangeable-lens camera, compact camera, or smartphone with a manual or pro mode. Manual mode matters most for Project 3; on an iPhone, tap and hold the screen to lock exposure and focus, and on most Android phones the same gesture does it.
- One lens. Pick the lens you’ll use for the whole project rather than swapping. Working with a single focal length teaches you what that lens is good at instead of what another lens might do better.
- A stable surface. A tripod is nice, but a table, a wall, or a bag of books on a windowsill does the job for anything that isn’t moving.
- A reflector or a sheet of white card. Cheap, thin, and it turns a flat portrait into a portrait with shape. A piece of foil on cardboard works too.
- A neutral backdrop. A plain sheet of grey or white fabric for the portrait study. A sheet of paper taped to a wall is fine.
- A subject. A willing friend, a mannequin head, or yourself. The street portrait project needs a person who says yes.
- A review tool. Your phone’s photo app, or a free editor like a phone-based raw processor. Grab a few free practice files from Unsplash, Pexels or Pixabay for the editing project.
- A notebook or a notes app. This is the item people skip and then wonder why nothing improves. One line before each frame, a verdict after it.
Step-by-Step: How to Improve Photography Fast With Practice Projects
Run these as a six-session cycle, roughly one session a week or two sessions a month. Each project follows the same loop: shoot with one clear intention, review honestly while the memory is fresh, get specific feedback if you can, then apply the one thing you learned on the very next outing.
Keep each session inside a 60-minute ceiling. A project you finish in half an hour beats a project you abandon on Sunday night, and the shorter version gets repeated, which is where the speed comes from.
Practice Project 1: Shoot One Subject in Five Lighting Conditions
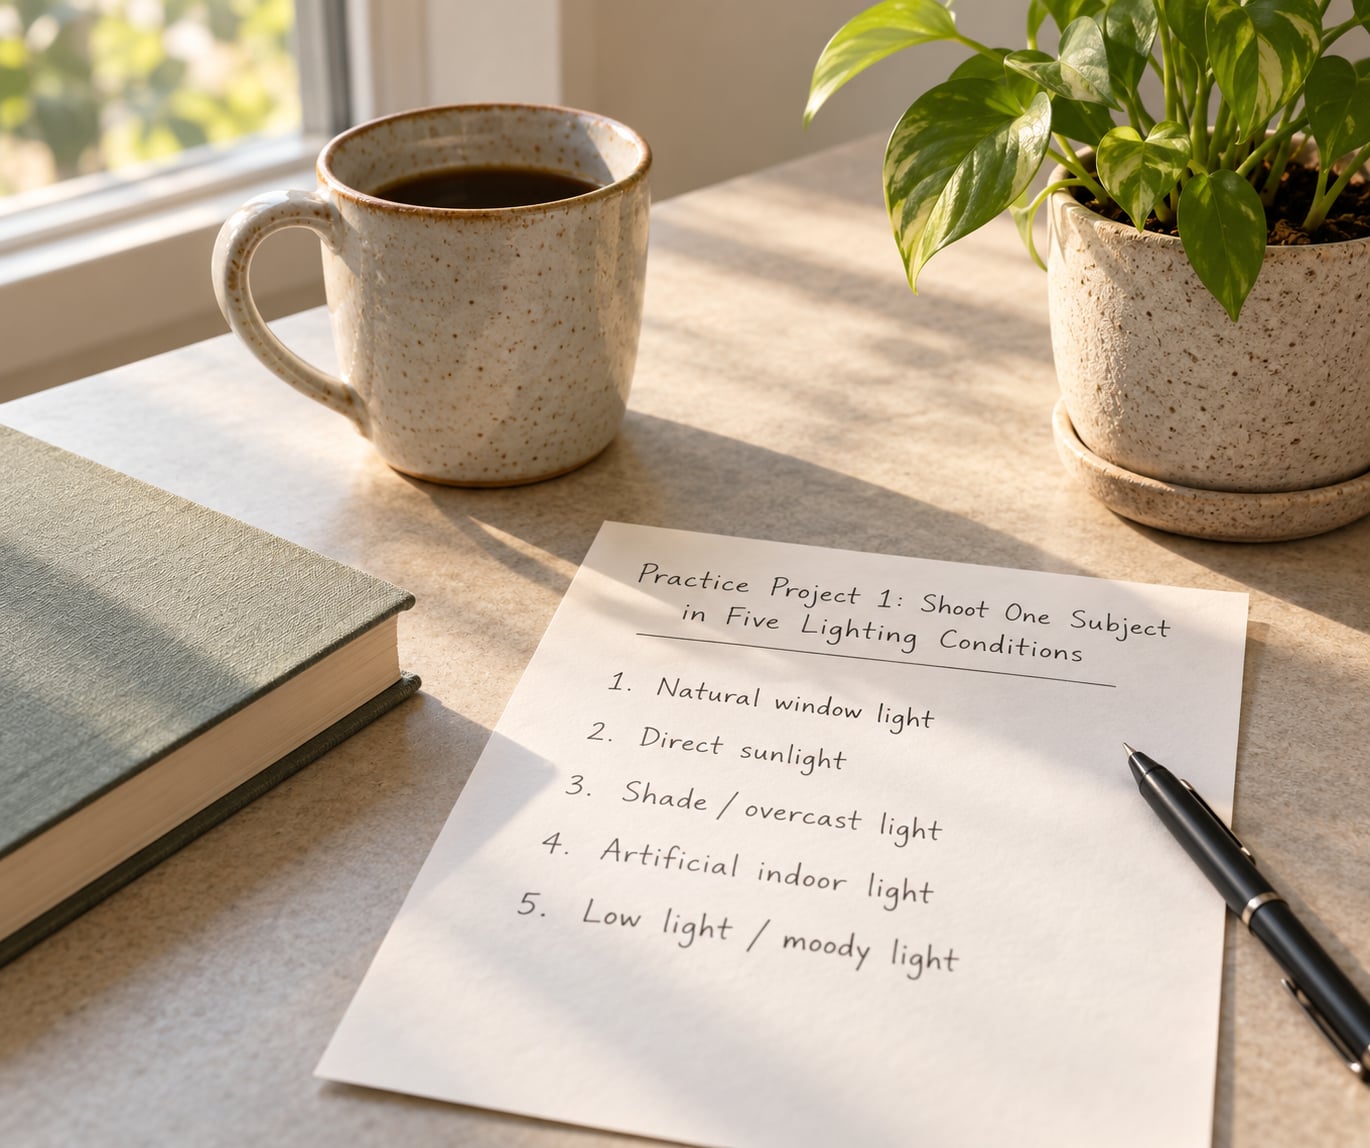
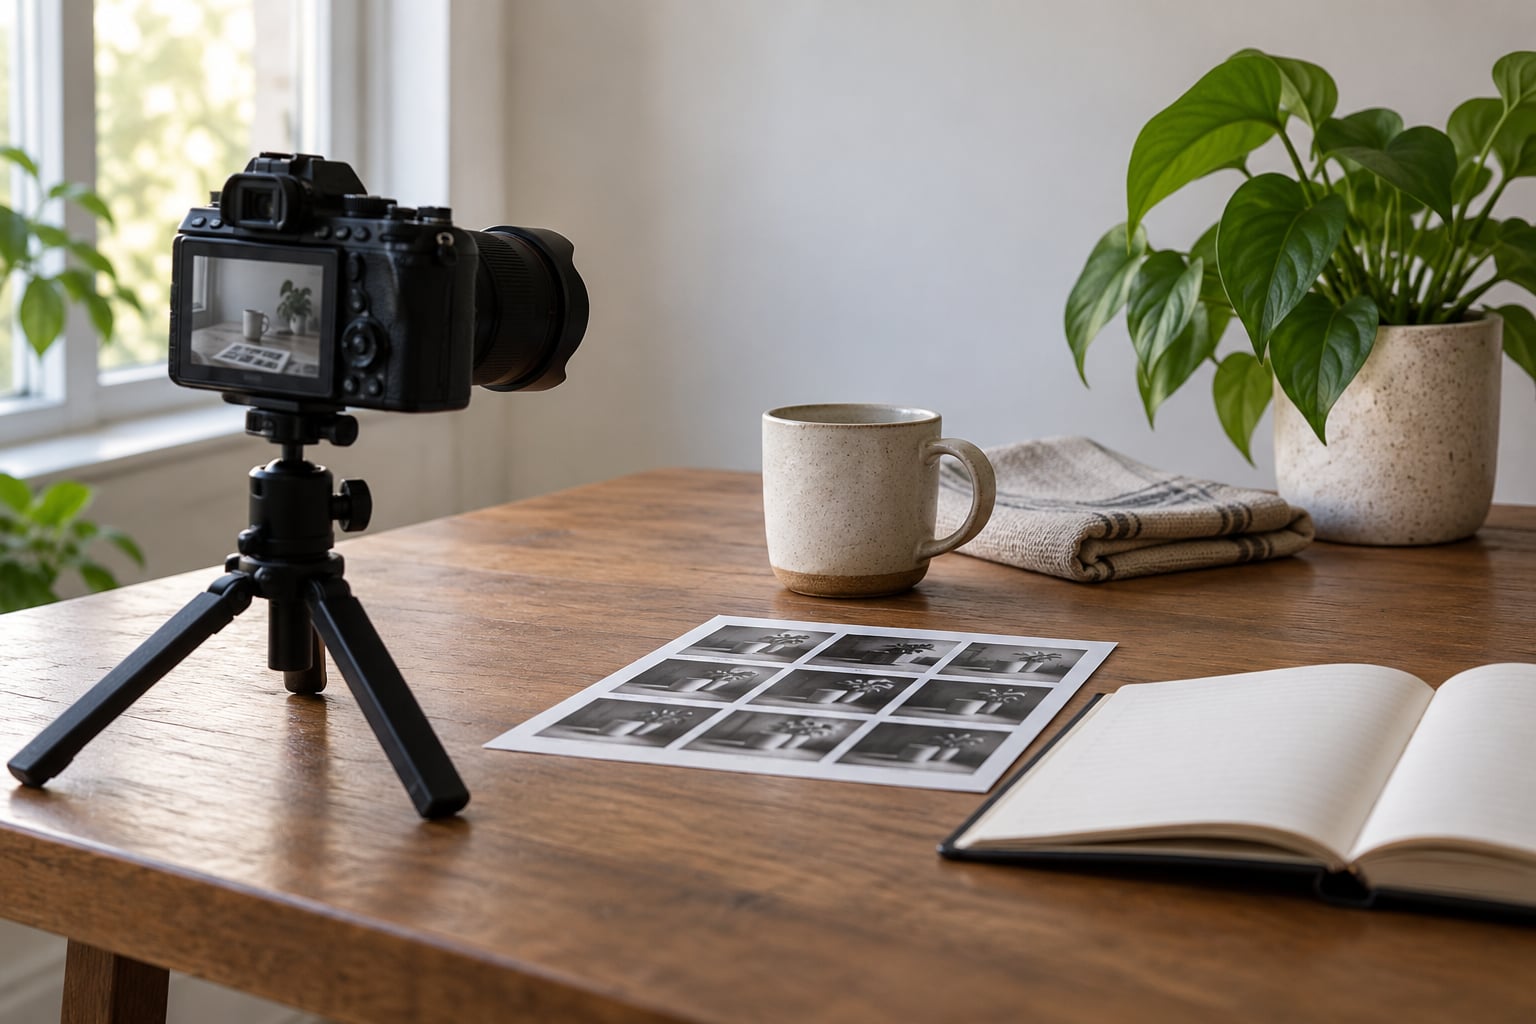
Put one small still life on a table — a mug, a folded cloth, a plant — and photograph it five times: in window light, in direct light, in shade, in mixed light, and under an artificial lamp. Keep the framing and camera settings identical so the only thing changing is the light.
Compare the results on your screen. Look at shadow quality, how many shadows there are, how hard their edges are, how colour shifts, and whether the white mug went warm or cold. Note the one change that hit you hardest, because that’s usually the lesson.
Skill it builds: reading light, which is the difference between settings you set and settings the camera sets for you. Time: 45 to 60 minutes indoors. Phone-valid: yes. How you’ll know it worked: you can name why one frame looks better than another without saying “it just does”.
Practice Project 2: Build 10 Compositions From One Scene
Pick one location you can return to — a street corner, a kitchen table, a stairwell — and make ten compositions from it: leading lines, framing, symmetry, layers, negative space, scale, patterns, foreground interest, depth, and the rule of thirds. Before each frame, write one sentence about what the picture is about.
At review time, lay the ten out on a contact sheet and ask which three actually communicate their intended idea. The gap between what you meant and what you got is your composition lesson, and it’s much clearer when you see ten frames side by side than when you scroll through a hundred near-identical ones.
Skill it builds: composition and intentional framing. Time: 45 to 60 minutes. Phone-valid: yes, though a wider lens helps with some frames. How you’ll know it worked: at least three frames survive the contact sheet, and one of them is a composition you didn’t plan.
Practice Project 3: How to Improve Photography Fast With Manual Exposure
Shoot the same subject in three conditions: bright sun, low indoor light, and a backlit subject against a window. Before each one, predict the exposure out loud, then set shutter speed, aperture and ISO manually, take a test frame, check the histogram or the brightness of the frame, and adjust in one step at a time rather than three at once.
The backlit frame is where this gets interesting. The camera will fight you to expose the bright window and blow out your subject, so meter for the subject and let the window clip. Do that deliberately three times and you own the exposure triangle in a way that no tutorial gives you.
Skill it builds: the exposure triangle and confidence with manual settings. Time: 30 to 45 minutes. Phone-valid: partially — use a pro mode with an ISO dial, or lock exposure and use exposure compensation in roughly one-stop steps. How you’ll know it worked: your predicted exposure lands within a stop of the result in all three conditions.
Practice Project 4: Create a Consistent Portrait Lighting Study
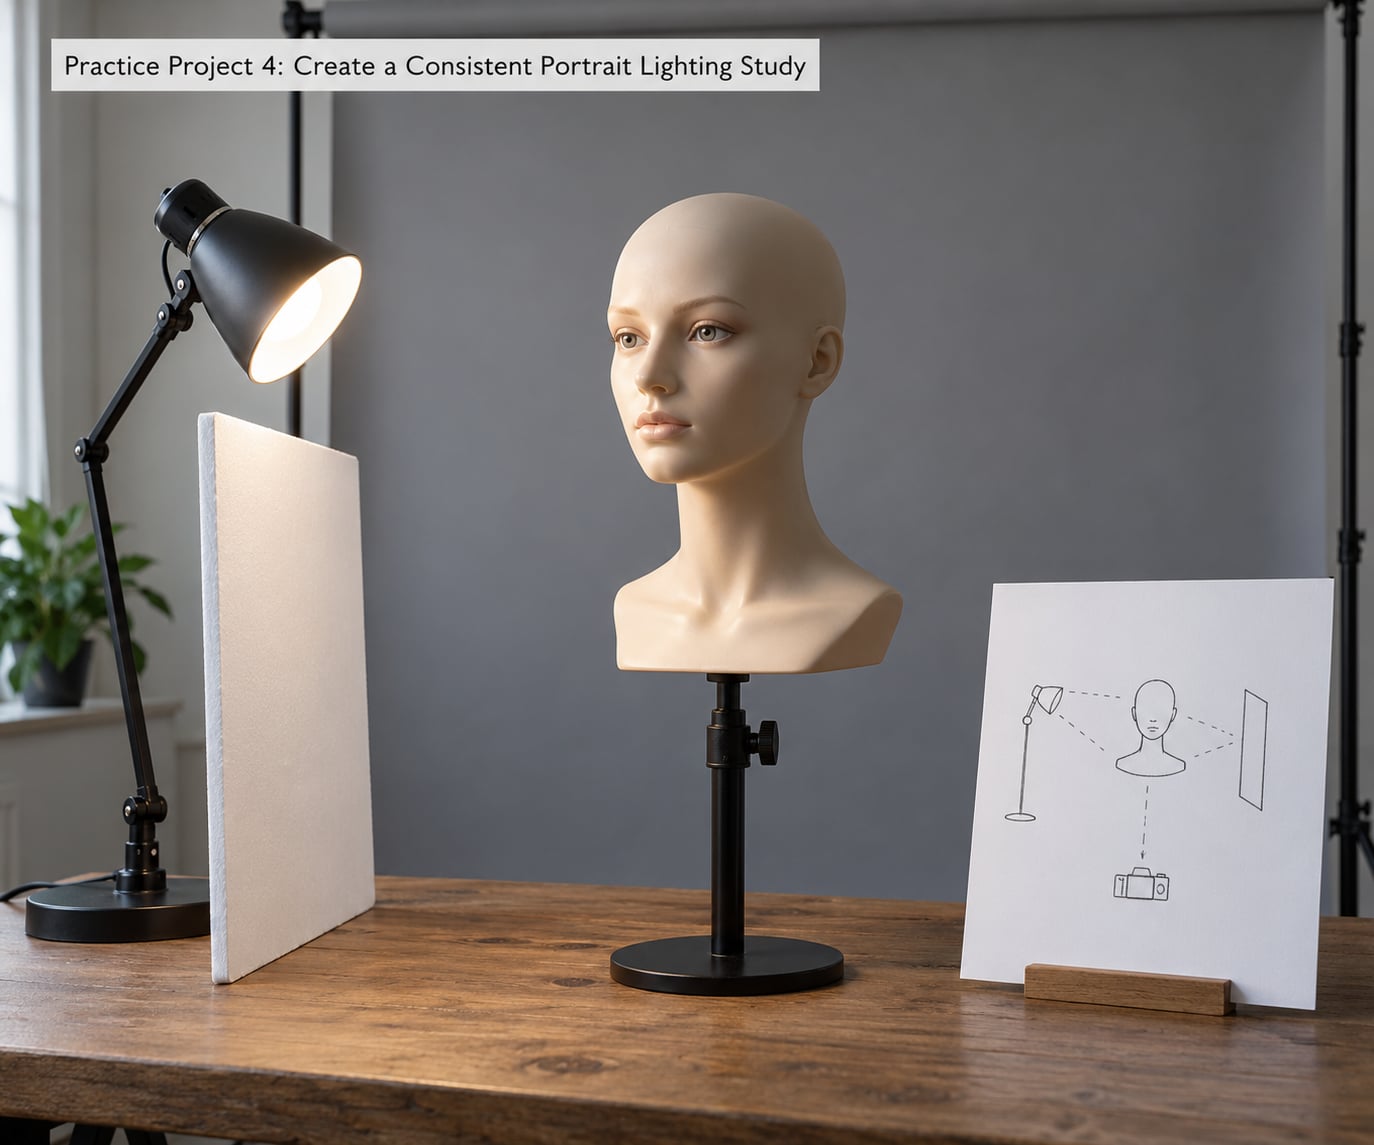
Set one light at 45 degrees to your subject and lock your camera settings. Shoot, then change one thing per frame: move the light higher, then lower, then closer, then further, then raise the intensity, then bring in the reflector. Nine frames, six variables, one variable per frame.
Compare how each change affects the shape of the face, where the catchlight sits in the eyes, how deep the shadow side goes, and whether the background separates from the subject. This is the project that turns a flattering-somewhere-around-here result into a repeatable setup you could rebuild in a different room.
Skill it builds: portrait lighting and control. Time: about an hour. Phone-valid: yes, with the exposure locked. How you’ll know it worked: you can describe your best frame as a repeatable recipe — light at a height, a distance, an angle — rather than “lucky”.
Practice Project 5: Tell a 12-Frame Visual Story
Photograph an event, a routine, or a single walk around your block as a sequence of twelve frames: establish the setting, three details, two different viewpoints, one transition, three supporting frames, and one strong close. Plan the order on paper before you shoot so you know which gaps you still need.
Review it as a contact sheet, not as individual pictures. The question isn’t whether frame six is your best photograph, it’s whether frame six belongs. Weak sequences break because one frame does a job its neighbours already did.
Skill it builds: storytelling and sequencing. Time: 60 to 90 minutes including review. Phone-valid: yes. How you’ll know it worked: somebody who wasn’t there can describe the story back to you roughly in order.
Practice Project 6: Repeat, Edit, and Measure Improvement
Take the strongest project you shot and do three things with it. Edit one image in black and white and the same image in colour. Then produce three versions with different crops or contrast choices and put them side by side. Finally, compare your best frame against the first frames you shot four sessions ago.
That last step is the one people skip, and it’s the only honest measure of improvement. Pick one number or one property for your next session — cleaner backgrounds in portraits, fewer clipped highlights, ten frames where eight are keepers — and write it down before you head out.
Skill it builds: editing judgment and self-assessment. Time: 45 to 60 minutes at a desk. Phone-valid: yes, using a free raw editor on practice files from Unsplash, Pexels or Pixabay if your phone camera doesn’t shoot raw. How you’ll know it worked: you can see a difference between the first frames and the latest ones, and can say what caused it.
Common Mistakes
Changing too many variables at once. If the light, the location and the focal length all move between frames, you learn nothing from any of them. Fix everything except one variable, and the frame becomes an experiment rather than a coincidence.
Practising without a specific goal. “Go shoot for an hour” produces an hour of pictures and no feedback. “Shoot ten frames where the background is as simple as possible” produces something you can check.
Shooting hundreds of near-identical frames. Volume isn’t reps. Twenty frames where you changed the composition each time beats two hundred where you nudged the same setup by a few centimetres.
Ignoring contact-sheet review. Single images hide weakness; twelve thumbnails show it instantly. Build the contact sheet the same day, while you still remember what you were trying to do.
Editing before evaluating the original. Look at the unedited frame first and write down what’s wrong with it. Edit second. If you jump into sliders first, you make the image prettier without ever diagnosing it, and you repeat the same mistake next month.
Skipping the follow-up session. A project ends when you’ve applied one change from it in the next shoot, not when the folder is full. That application step is the whole loop, and it’s the part people leave out.
A few planning habits help more than anything else here. Schedule the next session before you pack the camera away, keep projects small enough to finish in one sitting, and ask for specific feedback rather than general praise — “your focus landed on the wall behind her” teaches something, “nice shot” doesn’t. When a project flops, that counts as data, not as a reason to quit; write down what you’d change and run it again next month.
Frequently Asked Questions
How quickly can I improve my photography?
Most photographers notice a real change within six to eight weeks of consistent project work, though the first change is usually judgment rather than technical control. Two or three focused sessions a week beat one long weekend session, because skill consolidates between sessions. The six projects in this guide are sequenced so each one supplies the raw material for the next.
How many practice sessions do I need to see progress?
About twelve sessions gets you through the full cycle once, which is enough to spot a real difference in your contact sheets. Beyond that, progress comes from repeating a project with the same brief, not from collecting new ones. Forum discussions repeatedly show that photographers who lack a plan, rather than a camera, are the ones who stall.
Do I need a better camera to improve photography fast?
No. Every project here works on a phone, and the limits that teach you are self-imposed rather than equipment-based. A phone covers exposure lock, manual controls on most models, and all the composition work. Buy gear when a specific limit blocks a specific project, not because a tutorial told you to.
How long should each practice project take?
Keep sessions between 30 and 60 minutes. A still-life lighting study fits in 45 minutes; a twelve-frame story takes an hour or so including review. Sessions that run longer tend to produce filler frames and end without a review step, which is the part that actually builds skill.
How do I review my own photos to get better?
Build a contact sheet the same day and look at thumbnails, not full-screen images. For each frame write what you intended and whether the frame delivered it, then mark the single biggest gap. Compare against a contact sheet from four sessions earlier, since individual images never reveal how far you have moved.
How should I practice photography day to day?
Shoot with one clear intention, review the frames honestly the same evening, get specific feedback from someone more skilled than you, and apply one change on the very next outing. Repeat that loop in short sessions rather than trying to improve several skills at once. Skip the follow-up session and the loop breaks, which is why most self-taught practice stalls.
Conclusion
How to improve photography fast comes down to a loop, not a gear list: shoot one subject under controlled conditions, review it honestly the same day, take one specific piece of feedback, and change one thing next time. Six bounded projects will do more for your eye than six months of unstructured shooting.
So start now, with the five-lighting-conditions project on a table in your own home. Pick one variable to study, review the five frames as a contact sheet before bed, and put the next session in your calendar before you pack the camera away.