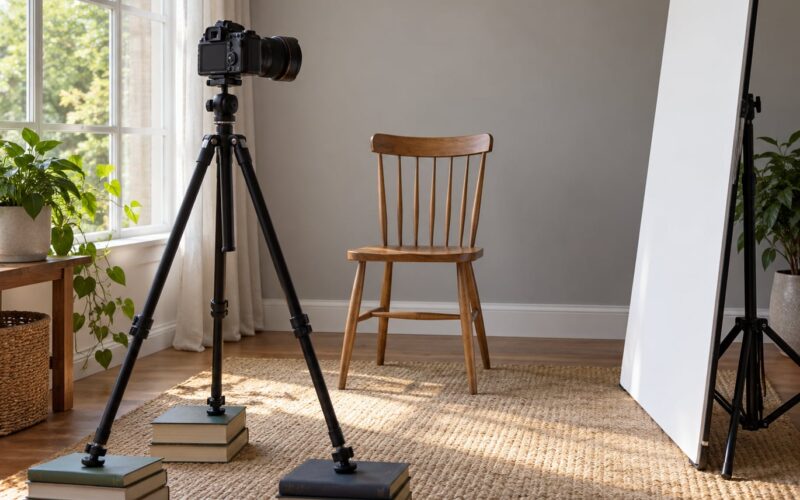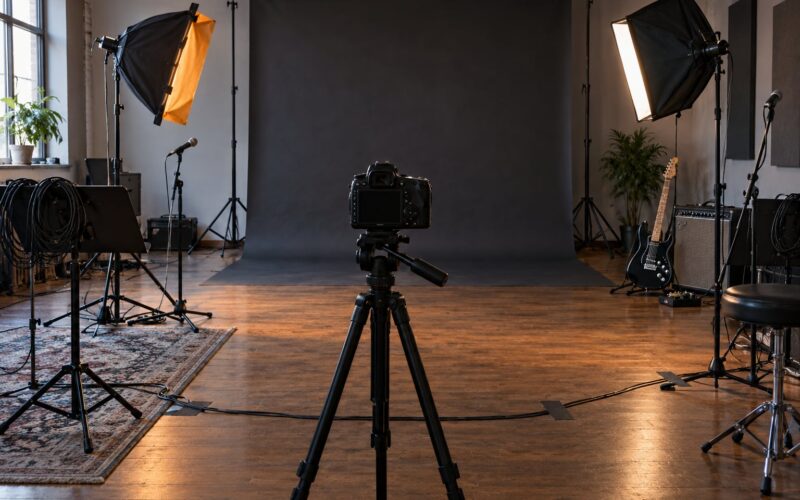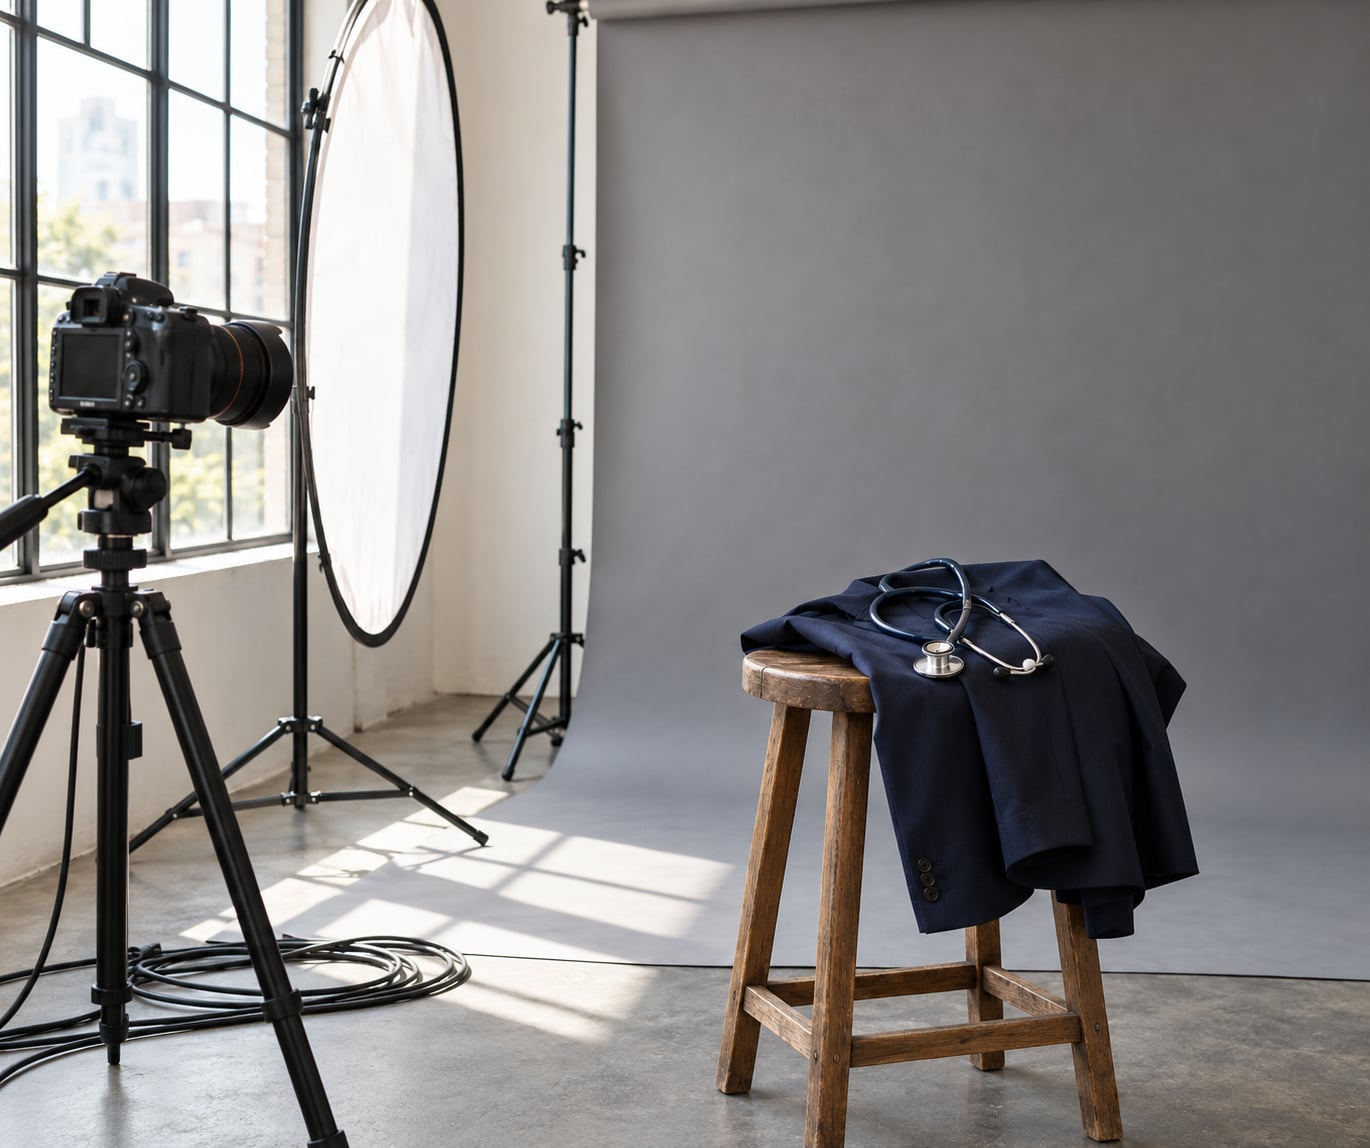
How to photograph doctors and lawyers for websites comes down to five repeatable choices: one large soft key light placed about 45 degrees off the lens axis, solid mid-tone wardrobe that separates the body from the backdrop, a neutral uncluttered background, a head-to-mid-chest crop with the face filling 60 to 70 percent of the frame, and an expression that reads as competent and approachable at thumbnail size. Get those right and a session moves quickly, even with a subject who would rather be back in the exam room.
This guide is for photographers shooting for a medical practice or a law firm, for in-house marketing staff running a corporate headshot day, and for practice owners booking their own session. Budget roughly 30 to 45 minutes per subject for a usable set, and about 15 minutes of prep before the first person walks in.
The two professions share the same technical demands but not the same visual standard. A doctor headshot is judged on warmth and calm, because the person is about to let a stranger into a vulnerable situation. An attorney headshot is judged on composure and structure. Every choice below keeps those two reads in mind.
Table of Contents
- What You Need
- Camera and lens
- Light
- Background
- Session kit
- Preparation and admin
- Step-by-Step: How to Photograph Doctors and Lawyers for Websites
- 1. Plan the Portraits Around the Website
- 2. Prepare the Subject and Choose Clothing
- 3. Choose a Setting That Supports Their Work
- 4. Set Up Simple, Flattering Light
- 5. Direct the Subject Without Losing Authenticity
- 6. Photograph Essential Website Variations
- 7. Retouch for Trust, Not Plasticity
- 8. Export, Review, and Deliver
- Common Mistakes
- Frequently Asked Questions
- What is the best lighting for a professional headshot?
- What to wear for a doctor headshot?
- What colors not to wear for a headshot?
- Do doctors and lawyers need different headshots?
- How many pixels should a website headshot be?
- What are the most common headshot mistakes?
What You Need
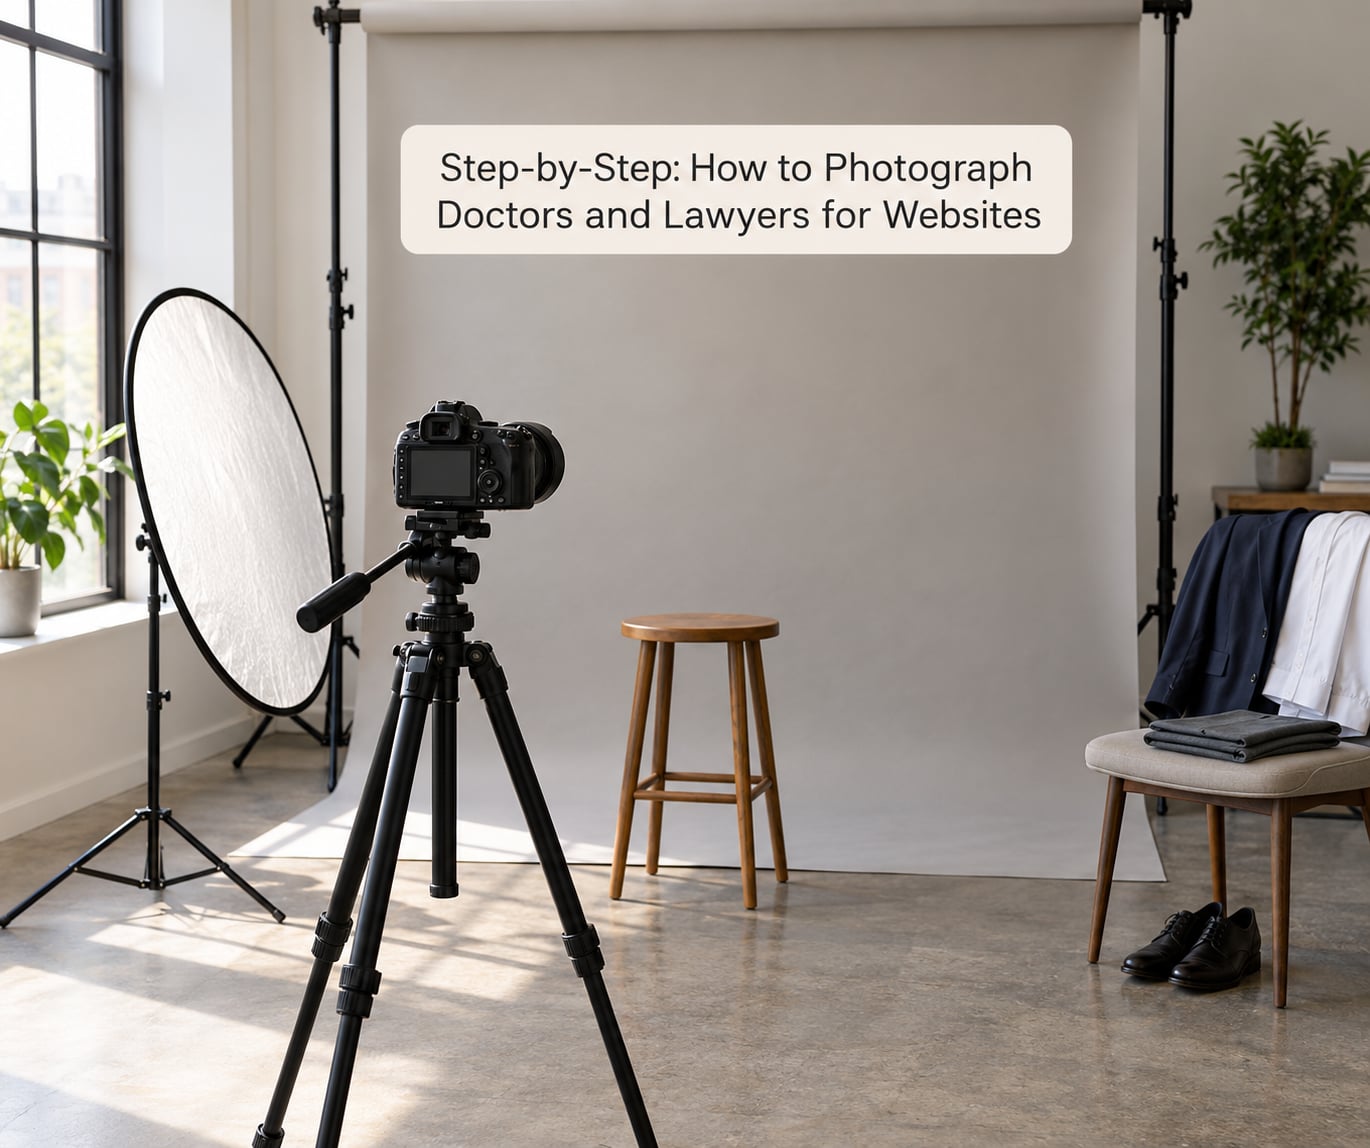
You need less kit than most people expect, because the working kit is small and boring on purpose: one camera, one big soft light, one background colour, and a printed plan.
Camera and lens
A full-frame or APS-C body with an 85mm short telephoto, or a 70 to 100mm equivalent zoom, keeps facial proportions honest and compresses the background so office clutter disappears. Shoot head-and-shoulders frames at f/5.6 to f/8 so both eyes and the front of the hair stay sharp. Hold the ISO wherever the light needs it and expose for the skin, not for the white coat.
Light
One large source does the work: a 3 to 4 foot softbox, an umbrella, or a reflector with diffusion on a stand. Place it about 45 degrees to one side of the camera and 30 to 45 degrees above eye level, far enough away that it subtends a wide angle at the subject. A white foam board opposite the key lifts the shadow side without adding a second fixture.
Background
One roll of mid-tone paper, roughly gray, warm gray, taupe, or a muted navy, covers both professions. Mid-tone beats white because it holds a white coat and scrubs without clipping, and it keeps skin tone honest instead of glowing. Skip pure white unless the site’s design demands it.
Session kit
Bring a printed shot list, a clip-on microphone so you can play previews and give direction in a noisy office, a lint roller and steamer, a small flag or black card, a spare battery, and a second outfit option per subject. On a team day, tape the background down and keep the setup untouched so every face is lit identically.
Preparation and admin
Get the practice website URL before the session and confirm with whoever maintains the site which pages will use the images. Ask for a written release that names the usage term and territories, and book a room where the overheads can be switched off. Between subjects, allow a ten minute buffer so the next person has time to settle.
A low-cost route works for a first shoot: a north-facing window, a plain wall in a warm mid-tone, a borrowed 50mm lens, and a shoot in early or overcast light. The studio route buys you repeatability, which matters far more when eight clinicians all have to look like the same practice. Both routes need the same paper on wardrobe, posing, and delivery.
Step-by-Step: How to Photograph Doctors and Lawyers for Websites
1. Plan the Portraits Around the Website
Open the practice or firm site on your phone before the session and write down every placement the portraits need to serve. Those are the bio block, a team grid, a directory listing that may display at 300 pixels square, a speaker bureau profile, a press page, and a testimonial section. Then ask the site owner for the exact pixel dimensions and aspect ratio of each slot, because content management templates crop hard and usually centre on the face.
Decide the set before anyone arrives: one primary vertical portrait, one tighter square crop for directory thumbnails, one horizontal frame for a hero band or team row, and one environmental frame showing the person at work. Shoot roughly 20 percent wider than you think you need, because a crop that cannot be undone in a photo editor cannot be undone in a template either.
2. Prepare the Subject and Choose Clothing
Send preparation notes 48 hours ahead: wardrobe options, grooming, arrival time, parking, and who to ask for at reception. Ask for a second top. People arrive having eaten a sandwich in the car, and a backup option solves that faster than any lighting change.
For doctors, a white coat over navy, charcoal, or slate reads as clinical and formal at once. Scrubs in teal, navy, burgundy, or graphite work well when the group’s own website already leads with scrubs, which is common in surgical, emergency, and urgent care groups. Therapists, nurse practitioners, and physician assistants usually look better in business casual with no coat, since the coat is a role marker rather than a wardrobe staple for them.
For lawyers, a navy or charcoal suit with a dark blazer over a white or pale blue shirt reads formal and composed. Skip the pocket square unless it is worn every day, and keep the tie pattern quiet. Trial litigators can carry slightly warmer tones, while transactional and corporate practices tend to photograph best in dark solids.
Colours to avoid are the ones that fight the camera and the website: pure white shirts, which clip and reflect; neon and very high saturation; visible logos; fine pinstripes and dense checks, which create moire on the web; a collar tone that contrasts sharply with the neck; and shiny fabric. The 20-60-20 rule works here too, with a 60 percent neutral base, one mid-tone, and one accent colour doing the work.
| Standard | Doctor headshot | Lawyer headshot |
|---|---|---|
| Wardrobe | White coat over navy or charcoal, or solid scrubs in teal, navy, burgundy, graphite | Navy or charcoal suit, dark blazer, white or pale blue shirt, quiet tie |
| Expression | Warm, open, relaxed mouth with teeth just visible | Composed, direct gaze, mouth closed or a restrained smile |
| Body angle | Slightly turned, shoulders relaxed, leaning a little toward the lens | Turned 30 to 45 degrees, squared shoulders, upright posture |
| Background | Soft mid-tone, or a clinic space with all signage and charts out of frame | Neutral mid-tone, or bookshelves rendered soft by shallow depth of field |
| Framing | Head to mid-chest, face filling 60 to 70 percent of the frame | Same crop, framed slightly tighter through the shoulders |
| Retouching ceiling | Cleanup only, keep skin texture and age lines | Cleanup only, keep skin texture and age lines |
3. Choose a Setting That Supports Their Work
Match the setting to what the practice sells. A studio keeps a large team consistent, because the light and the background never change. A real office communicates the work, and for a solo practitioner it often sells better than a paper roll ever will. A clinic or conference room can work if the lighting can be controlled.
For law firms, bookshelves and a corridor with depth both look credible when the depth of field is shallow enough to soften them. Leave two or three feet between the subject and the background, otherwise the room reads as a wall of clutter. For medical practices, avoid frames that include exam room signage, door labels, wall-mounted computer screens, or anything with patient information on it, even out of focus.
On location, triage the light before the subject arrives. Switch off overhead fluorescents and blinds, find the best window, and position the subject so the window sits about 45 degrees to one side of the camera. Mixed colour temperature from daylight plus LED bulbs is a real problem in renovated offices, so shoot RAW and correct white balance later. If the only light is overhead fluorescent, do not fight it with the camera, change rooms.
4. Set Up Simple, Flattering Light
One large soft source at 45 degrees is the best headshot lighting for a website, because it shapes the face without cutting shadows and it puts a catchlight in both eyes. Stand the subject about 1.5 to 2 metres from the light, raise it above eye level, and meter for the skin. Keep a foam board on the shadow side and adjust its distance to set the contrast ratio; closer softens the shadow, further deepens it.
A two-light setup adds a second head behind and just above the subject’s shoulder to separate dark hair from a dark background. Aim it at the backdrop, not the face. Bounce an on-camera flash off a white ceiling or a large white board when no stands are available, and never use direct on-camera flash, which flattens the face and puts a hard shadow under the chin.
Set white balance around 5200 to 5600K and shoot RAW so skin tone stays adjustable later. Check that both eyes show a catchlight; if one does not, shift the key a few degrees or have the subject move their head toward the light.
| Setup | Strength | Watch out for |
|---|---|---|
| Window light plus reflector | Free, natural, fast for a small shoot | Changes with cloud and time of day, hard shadows if the sun is direct |
| One softbox with foam board fill | Reliable, easy to repeat, gives clean catchlights | Needs a stand and about 2 metres of space |
| Two lights with background separation | Best control for dark hair and dark backdrops | Slower to set, easy to blow out the hair light |
| Bounced on-camera flash | Travels well, fits a small office | Uneven when the ceiling is low or tiled |
| Existing overheads | No equipment at all | Green or magenta colour shift, flat shadows under the eyes |
5. Direct the Subject Without Losing Authenticity
Ask the subject to put their weight on their back foot, roll one shoulder forward, and push the other slightly back. This creates a curve in the shoulder line without any visible effort. Then have them turn 30 to 45 degrees toward the camera and lean in a few centimetres. Lean is the single fastest way to make a portrait feel warm rather than formal.
For the chin, ask for forward and down. It lengthens the neck, softens the jaw, and removes the double chin that a straight-on pose creates. Hands can usually go out of frame; if a hand has to be in, place it loosely on a desk edge or a chair back rather than hanging at the side.
On expression, give eyes first and mouth second. Ask them to think of a specific person they are comfortable with, then have them say hello out loud and keep the smile. The squinch helps: slightly lowering the brow makes the lower eyelid lift, which reads as a genuine smile without showing a full grin. For attorneys, ask for the same warmth at half volume.
Glasses need a tilt down and a tilt across the face so the eyes are not hidden behind the top rim, and a quick clean with a microfibre cloth. A white coat should be pressed, closed at the top, and the subject should stand straight rather than slouch, because a coat turns any lean into a rumple.
For camera-shy doctors, shoot a few throwaway frames first and show the best one on the camera screen before asking for the real one. For lawyers who are genuinely rushed, agree the three frames you need up front, shoot them in the first four minutes, and use the rest of the slot for variations.
6. Photograph Essential Website Variations
A single shoot should produce the full set of website crops without changing a single lighting or styling decision, because inconsistency across a team page is the fastest way to make a practice look assembled rather than cohesive. Keep the same background colour, the same light position, and the same lens for every variation.
Make the primary vertical portrait first, with the face filling 60 to 70 percent of the frame and the eyes on the upper third. Then step back for a wider vertical that reaches mid-chest, shoot a square head-and-shoulders version for directory thumbnails, and rotate for a horizontal frame with the subject placed to one side for a hero band. Finish with an environmental frame at a wider angle showing the subject at work, ideally in the same clothing.
Shoot the team and group frames last. Use the same lighting and background, give people room to overlap slightly, and check that nobody is blinking by shooting a burst for each frame.
7. Retouch for Trust, Not Plasticity
Professional website portraits need cleanup, not transformation. Start with the global work: white balance, exposure, and contrast, so the set of faces matches across a practice page. Then remove lint, stray hairs, dust on the lens-visible shirt collar, and distracting background objects such as cords, light switches, and reflections in glass.
Clean up under-eye shadows lightly and lift a stray eyebrow if it looks distracting, then stop. Keep skin texture, age lines, freckles, and hair flyaways, because over-smoothed skin reads as synthetic and undermines the trust the image is supposed to build. Practitioners are sensitive about this in both fields, and there has been public pushback from attorneys who felt AI-altered portraits did not look like them. Never change face shape, age, skin tone, or expression beyond the removal of temporary blemishes, and get written sign-off before any alteration beyond that.
Check every frame for privacy before delivery. A wall chart, a name badge, a whiteboard, or a computer screen showing patient data should be removed even when it is only slightly out of focus.
8. Export, Review, and Deliver
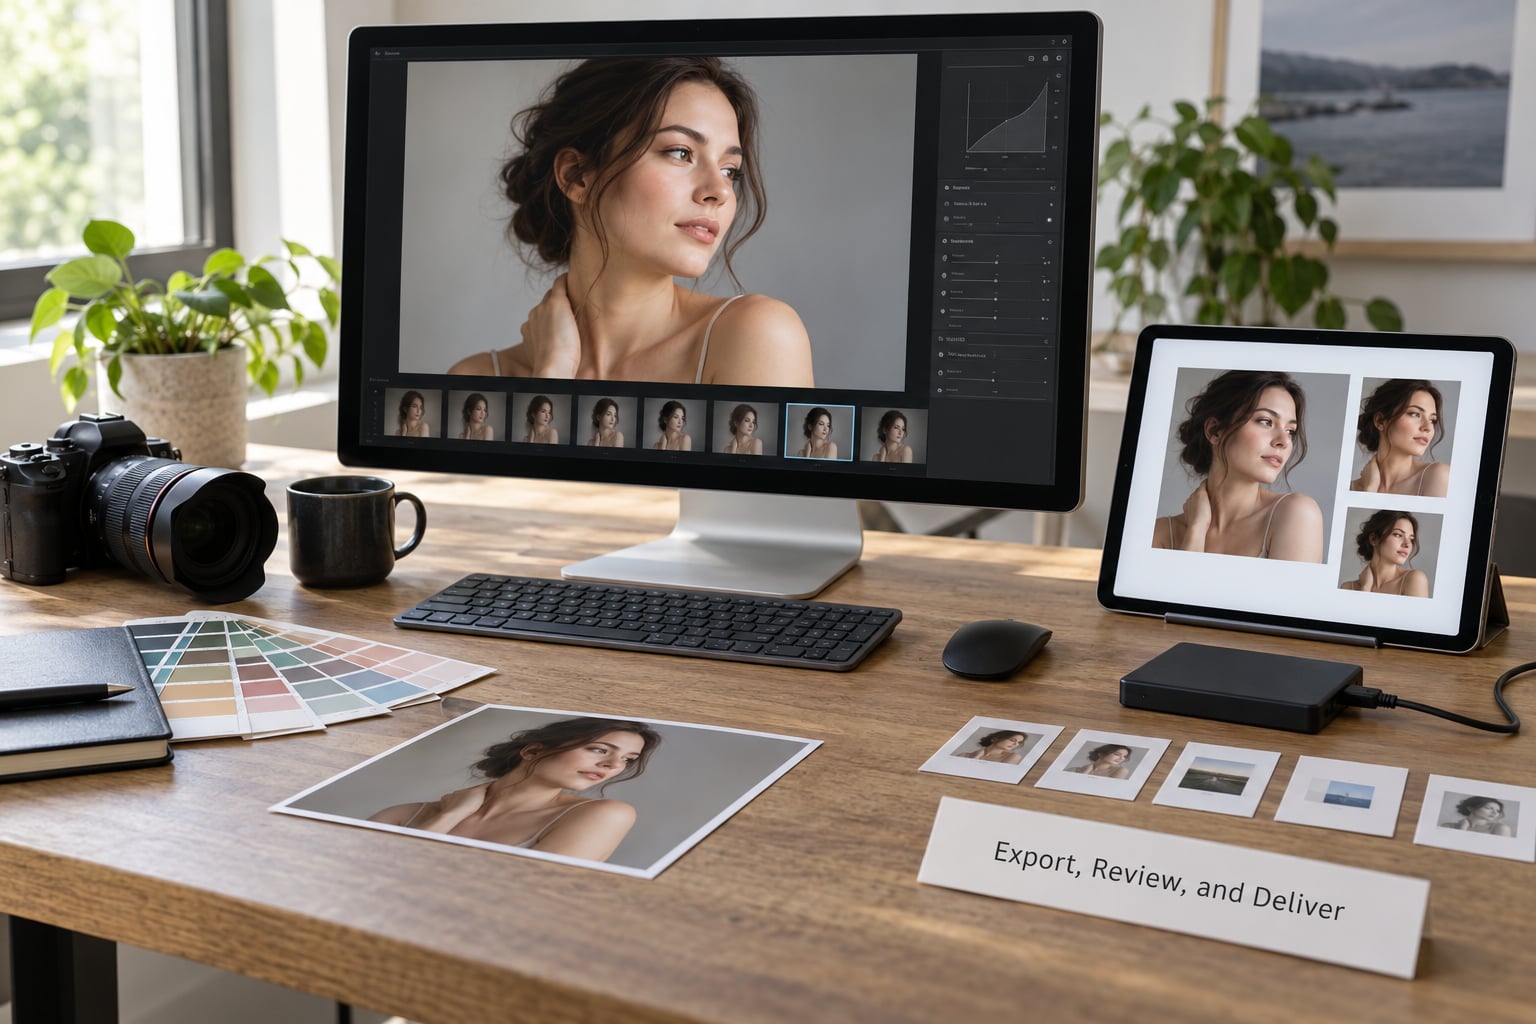
Export in sRGB, apply output sharpening for screen viewing rather than heavy capture sharpening, and save JPEG at quality 80 to 85 for the web, which keeps a 400 by 500 pixel portrait comfortably under 100 KB. Name files predictably so the site owner can find them without emailing you, and hand over a folder grouped by person rather than by session.
Review the set with the practice or firm contact before anything goes live. The point of the review is not taste, it is catching technical and representation problems: a frame where the subject’s eyes look in the wrong direction, a crop that cuts off the top of the head, a background that shows a room the practice does not want public, or a variation that does not match the rest of the team page.
Deliver the sizes the site actually requested, plus one larger master per person for future print use. Keep the release on file with the usage term and territories written down, and agree in advance how long the photographer’s name may appear and what happens to the images if the photographer retires.
| Placement | Aspect ratio | Pixel size | Format |
|---|---|---|---|
| Bio page portrait | 4:5 or 3:4 | 800 x 1000 px | JPEG, quality 80-85 |
| Directory listing thumbnail | 1:1 | 400 x 400 px | JPEG, quality 80 |
| Hero band or team row | 3:2 | 1200 x 800 px | JPEG, quality 85 |
| Team grid cell | 1:1 | 600 x 600 px | JPEG, quality 80 |
| Retina or high-density screen | Match placement | 2x the CSS size | JPEG, quality 85 |
| Print master for future use | Original | 3000 px on the long edge | TIFF or maximum quality JPEG |
Common Mistakes
Most disappointing professional headshots fail on a short list of fixable things. Each mistake below has a quick fix you can apply before the subject leaves the building.
| Mistake | Quick fix |
|---|---|
| Overhead fluorescent or mixed office light | Turn the overheads off and work from a window or one soft source |
| Direct on-camera flash | Bounce it off a white ceiling or board, or move to a softbox |
| Pure white shirt against a pale background | Change the shirt or darken the backdrop to one side of the subject |
| Cropping above the top of the head | Leave a hand’s width of space above the hair in every frame |
| A rigid, unsmiling subject | Ask for a specific person in mind, then a spoken hello |
| Different framing on every team member | Fix one crop ratio and reuse it for the whole set |
| Heavy skin smoothing | Keep texture and lines, remove only temporary blemishes |
| Signage, charts, or screens in frame | Reframe, then check the corners of the image before delivery |
| Wrong aspect ratio for the slot | Get pixel dimensions from the site owner before the session |
| No written release | Sign a release naming usage term and territories before publishing |
A few habits smooth out the rest of the session. Shoot the whole team in the same order, front to back of the headshot day, so the person who has been waiting longest is not the most tired. Label clothing as you unpack it. And show two or three frames on the camera screen early on, because a subject who sees a good frame stops arguing with the process.
Frequently Asked Questions
What is the best lighting for a professional headshot?
One large soft source placed about 45 degrees to one side of the camera and 30 to 45 degrees above eye level, with a white reflector on the shadow side. That setup shapes the face, keeps shadows soft, and puts a catchlight in both eyes. Shoot RAW and set white balance near 5200 to 5600K. Avoid overhead office light and direct on-camera flash.
What to wear for a doctor headshot?
A white coat over navy, charcoal, or slate is the safest clinical choice, and solid scrubs in teal, navy, burgundy, or graphite work when the group already leads with scrubs on its website. Therapists, nurse practitioners, and physician assistants usually read better in business casual without a coat. Bring a second option and skip logos, thin stripes, and shiny fabric.
What colors not to wear for a headshot?
Avoid pure white shirts, which clip and reflect light, plus neon and highly saturated tones that fight the brand palette. Skip fine pinstripes and dense checks because they create moire once scaled down for the web. Steer clear of collar tones that contrast sharply with the neck, glossy fabrics, and large jewellery. Aim for a mostly neutral wardrobe with one mid-tone.
Do doctors and lawyers need different headshots?
The technical standards are identical: same lens, same 45-degree key light, same neutral background, same crop. The difference is in how relaxed the expression reads. Patients tend to want warmth and reassurance from a doctor, while prospective clients tend to want composure and structure from an attorney, so a restrained smile usually suits the legal bio and an open one suits the medical page.
How many pixels should a website headshot be?
For a bio page, 800 by 1000 pixels in a 4:5 ratio covers most content management templates, and a 400 by 400 pixel square crop handles directory listings. Hero bands usually want 1200 by 800 pixels. Export at JPEG quality 80 to 85 in sRGB, which keeps a typical portrait file comfortably under 100 KB while still looking sharp on high-density screens.
What are the most common headshot mistakes?
The recurring ones are overhead office lighting, direct on-camera flash, a pure white shirt, cropping too tight above the head, a stiff expression, inconsistent framing across a team, over-smoothed skin that no longer looks like the person, and signage or screens left in the background. Every one of them is fixable in the first ten minutes of a session if the setup is checked before the subject arrives.
If you take one thing from this, open the practice or firm website right now and list every slot a portrait has to fill, with its pixel dimensions. Build the setup around those crops, keep one large soft light at 45 degrees, and hold every subject to the same wardrobe and framing rules, and the consistency across the page takes care of itself.