To add grain to a digital photo, put randomized noise or a scanned film texture on a duplicate layer, blend it with Soft Light or Overlay, and keep the opacity around 40 to 60 percent. Apply it near the end of your edit, after color and sharpening, so nothing later wipes it out.
That is the whole trick, and it takes about five minutes once you know where the menus are. The reason it matters: a modern camera produces an image that is technically perfect and visually bare. Skin, sky and shadow all sit on flat, even surfaces, and the eye reads that as cold. Grain puts back the irregular texture that film used to give you for free.
I have shot weddings on mirrorless bodies and edited alongside people who still shoot Portra, and the difference shows up fastest in two places. Skin stops looking like plastic, and a big smooth sky stops looking like a computer gradient. Both are the same fix.
What follows covers the three tools most people have access to, the numbers to start from, and how to walk it back if you overshoot.
Table of Contents
- What You Need
- Step-by-Step
- How to Add Grain in Photoshop 2026
- How to Add Grain in Lightroom 2026
- How to Add Grain in GIMP 3.0
- Choosing the Right Grain Amount
- How to Make Grain Look Natural
- How to Remove or Reduce Grain
- Common Mistakes
- Frequently Asked Questions
- How much grain should I add to a digital photo?
- Should I add grain before or after sharpening?
- Is color grain better than black-and-white grain?
- How do I make digital grain look more like film?
- Can I add grain to a photo without making a destructive edit?
- Does adding grain help a low-resolution photo?
- Conclusion
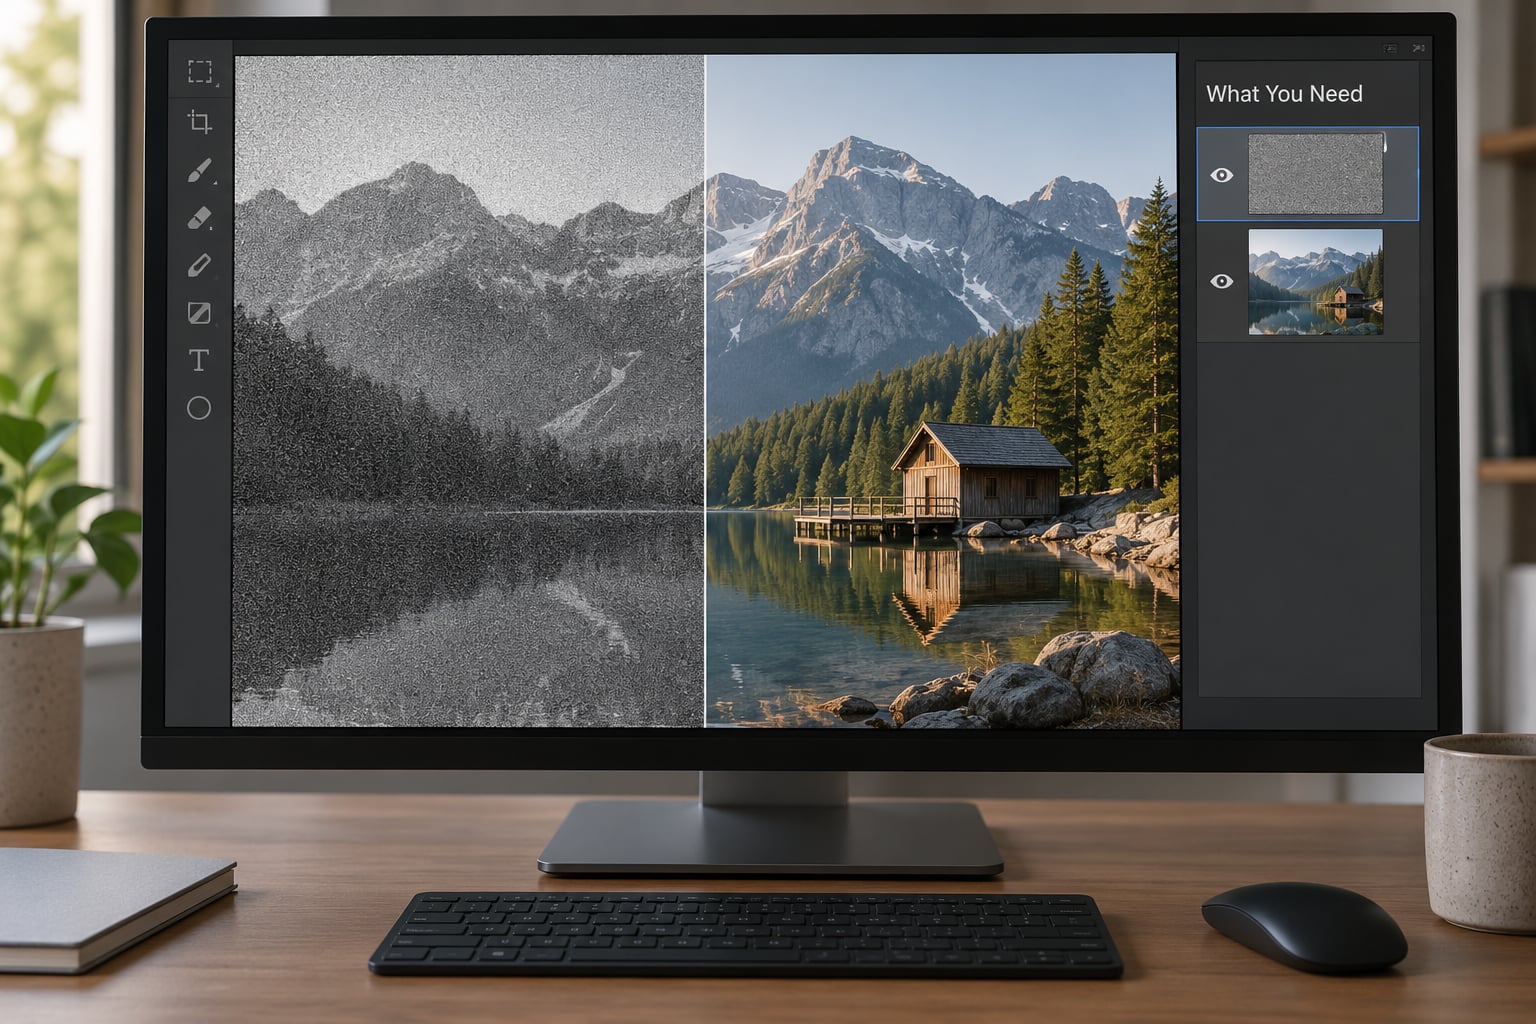
What You Need
You need an editor that gives you a separate layer for the grain and a blend mode to control it. That is the minimum. Anything that can hold a layer and blend it softly will do the job.
For desktop work, you have three solid routes. Adobe Photoshop gives you the most control, including a dedicated Grain filter. GIMP 3.0 does the same job for free, with a slightly different menu layout. Adobe Lightroom Classic and Lightroom mobile both include a grain effect in the Effects panel, which is the fastest option if you already live in those apps.
Affinity Photo and DaVinci Resolve’s photo page both handle layer-based grain too, so if you already use them there is no reason to switch.
On a phone, the Apple Photos app on iOS has adjustments built in that will not give you real grain, and the honest truth is you will want a dedicated app. GrainLab, Filmera and Filmic Firstlight are the ones photographers mention most; the recurring complaint is the same on every one of them, which is which tier is free and whether it watermarks the export. Check the app page before you commit to a workflow.
Before you start, do three preparation steps. Duplicate the layer, keep it in 16-bit if your file allows, and never flatten after you add grain.
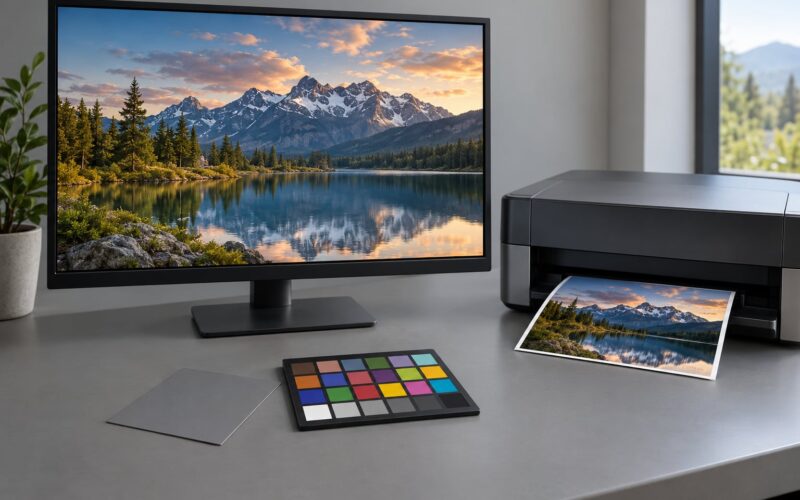
A calibrated monitor matters more here than in most edits. Grain is a high-frequency, low-amplitude signal, and an uncalibrated screen with boosted contrast will either hide grain you need or invent grain that is not there. If you have a hardware calibrator, use it. If not, at least turn off brightness boosting and judge the result in a neutral room.
Step-by-Step
The general workflow is the same in every editor, and getting the order right matters more than the exact slider values.
- Duplicate the background layer and name it. Everything after this happens on the copy.
- Finish your color work first. Grain applied before grading gets shifted, crushed or flattened by the next curve.
- Sharpen, then add a small amount of blur if the file is very sharp. Grain sitting on razor-sharp detail is the single biggest reason digital grain looks fake.
- Add the grain at a low amount. You can always go up; you cannot go back on a flattened file.
- Blend it in with a Soft Light-type blend mode and moderate the opacity.
- Zoom to 100 percent and check the shadows and highlights, then zoom out and check the image as a whole. Grain that looks right at one size often falls apart at the other.
- Save as a layered file. Never flatten.
If you want a variable result across a batch of exports, vary the position of the grain layer slightly on each image, or use a different scanned texture. The same pattern on forty photos is a dead giveaway.
How to Add Grain in Photoshop 2026
In Photoshop, the classic route is the Add Noise filter on a duplicated layer, set to a blending mode so the noise tints the image instead of sitting on top of it.
- Open your image and select the Background layer in the Layers panel.
- Choose Layer > Duplicate Layer, name it Grain, and press OK.
- With the duplicate selected, go to Filter > Noise > Add Noise.
- Set Amount to 20 percent as a starting point. Set Gaussian noise on for a clumpy, organic distribution, or leave it off for an even, uniform speckle. Monochromatic stays checked unless you specifically want colored speckle.
- Click OK, then set the layer’s blend mode in the Layers panel to Soft Light. Overlay gives a heavier result, and Normal gives you flat noise sitting on the image like dirt.
- Lower the layer opacity to roughly 50 percent. Drop it until the grain reads as texture in the shadows rather than dots in the highlights.
- Zoom to 100 percent. If the shadows are getting muddy or highlights look dirty, add a layer mask, paint black with a soft brush over those areas, and the grain disappears there while the rest stays.
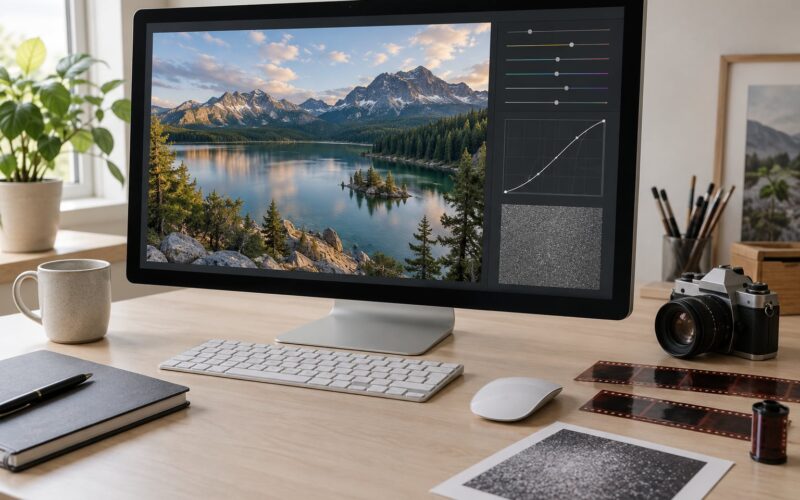
Photoshop also has a purpose-built Grain filter that most people never open. Open a Camera Raw Filter by going to Filter > Camera Raw Filter, and in the Effects panel you will find Grain with Amount, Size and Roughness. Roughness is the one worth understanding: low values give smooth, even grain, and higher values give irregular, clumpy grain that looks closer to real film.
You can also add a Grain adjustment layer from the Adjustments panel, which keeps everything non-destructive and lets you come back to the Amount, Size and Roughness values at any time. For a portrait session where I want to revisit the grain on every frame later, that adjustment layer is what I use.
How to Add Grain in Lightroom 2026
Lightroom has grain built into its Effects panel, so you do not duplicate anything or touch blend modes. It is the quickest route of the three.
- In Lightroom Classic, open a photo and go to the Develop module.
- Scroll the right-hand panel down to Effects and expand Grain.
- Drag Amount up until grain appears. Start low, around 15 to 20, and keep going up from there.
- Set Size to about 25 to 50 for a fine texture, or push it higher for a coarse film look. Roughness controls how irregular the grain clumps are.
- Watch the clipping indicators above the histogram while you drag. If highlights start clipping, grain has pushed the brightest pixels past white, and you have gone too far.
In Lightroom mobile the path is Edit > Effects > Grain, with the same three sliders once you drag the Amount slider to switch the effect on. The undo button at the bottom of the screen puts everything back, which makes trial and error cheap.
If the effect gets away from you, use the panel’s reset icon to zero the three sliders, or hold Alt while clicking the icon to reset the whole panel. There is no need to start the photo over.
How to Add Grain in GIMP 3.0
GIMP handles this the same way Photoshop does, with a noise filter on a duplicate layer, though the menu names differ slightly.
- Open the image and choose Layer > Duplicate Layer.
- On the duplicate, go to Filters > Noise > RGB Noise. Set the red, green and blue values to the same number, around 0.15 to 0.30, and set the alpha channel to zero. That single setting is what keeps the grain monochrome instead of colored speckle.
- For an even, fine texture, Filters > Noise > HSV Noise gives you finer control over the distribution.
- Set the layer mode to Soft light in the Layers dialog, then lower the layer opacity to around 50 percent.
- To keep grain out of specific areas, use Filters > Layer Mask > Add Layer Mask, fill it with black, set the foreground swatch to white, and paint where you want the grain back.
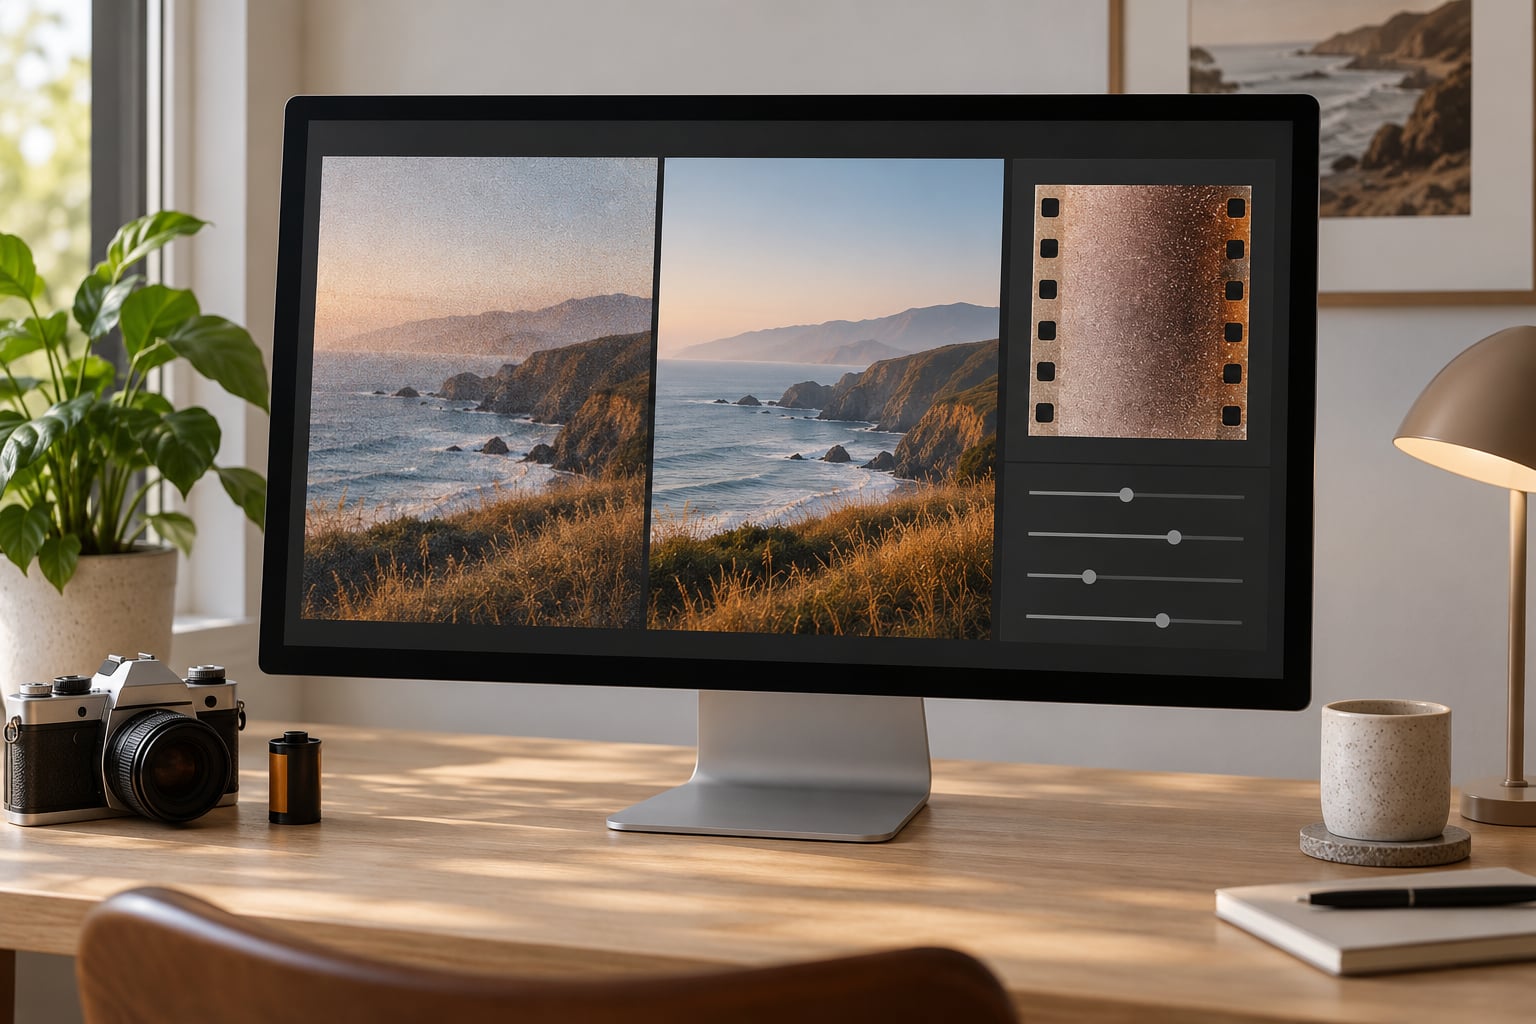
If you are working in GIMP and want the real thing rather than synthetic noise, Filters > Texture > Texture from File loads a scanned film texture directly as a layer. Forum threads on r/AffinityPhoto point to the same idea: procedural noise looks acceptable, but a genuine scan looks better because the grain clumps are irregular in ways random noise never quite is.
Choosing the Right Grain Amount
Match the grain to the output, not to a fixed slider value. The same amount that looks right on a 2000 pixel Instagram post looks like visible dirt on a print, because a print is viewed much closer and the grain is physically bigger.
Fine digital texture reads as intentional and filmic. Deliberately coarse grain reads as a style choice, and it suits a different set of images. If you are going heavy, commit to it deliberately across the whole series rather than adding a moderate amount to one frame.
A few variables to keep in mind. Subject matter changes the amount: skin needs a lighter touch because grain in shadows reads as dirt on a face, while an empty architectural shot can take more. Monochrome images can carry more grain because there is no color for it to compete with.
| Photo type | Amount | Size | Roughness | Blend mode | Opacity |
|---|---|---|---|---|---|
| Portrait, color | 15 percent | Fine | Medium | Soft Light | 40 percent |
| Portrait, black and white | 20 percent | Fine | High | Soft Light | 50 percent |
| Scenery and wide shots | 12 percent | Fine | Low | Overlay | 35 percent |
| Street and documentary | 20 percent | Medium | High | Soft Light | 45 percent |
| Heavy painterly look | 30 percent | Large | High | Overlay | 65 percent |
| Video footage | Amount 20 to 30 | Size 40 | Roughness 60 | Not applicable | Not applicable |
For video, the same effect exists in Premiere Pro, DaVinci Resolve, CapCut and Lightroom mobile’s video tools. A moving image hides grain better than a still, so editors tend to use slightly more than they would in a photograph.
How to Make Grain Look Natural
Four things separate grain that reads as film from grain that reads as a filter.
Use more than one noise scale. Layer two grain layers with different sizes, at low opacity each, and the result has a finer structure than a single layer. This is also how you get a painterly result rather than a uniform speckle.
Vary the grain across the frame. Real film grain is stronger in the midtones and weaker in the brightest highlights and deepest shadows. If you mask grain out of the highlights and let it live in the midtones, the image gains depth for free.
Soften the image first. Most over-sharpened digital files need the opposite treatment anyway, and grain on a soft image reads as organic. Put a light blur on the layer beneath the grain, not on the grain itself.
Do not run noise reduction before you add grain. This is the mistake beginners make most often, because they assume grain is a defect to be cleaned up. Sensor noise reduction smooths away exactly the raw texture that makes simulated grain believable, so what you add later sits on a plastic surface and screams filter. If your file needs noise reduction for color blotches, reduce chroma noise only and leave luminance noise alone.
How to Remove or Reduce Grain
Grain is not baked in unless you flatten it, which is the reason the whole workflow is built on a duplicate layer. If you overshot, you almost certainly still have the original underneath.
The quickest fix is to select the grain layer and drop its opacity. Half the amount is a very different picture, and you can also paint a layer mask to remove grain from just the areas that need it, like a bright sky or a face.
In Photoshop, the Camera Raw Filter’s Effects > Grain panel and a Grain adjustment layer are both fully adjustable after the fact, so changing your mind costs nothing. In Lightroom, reset the Amount slider and start again.
If the grain has genuinely been flattened into the file, you can soften it but not remove it. A small amount of blur on the grain layer reduces the harshness, and Camera Raw’s Detail > Noise Reduction will pull luminance noise back, but it also costs you the fine detail grain was there to hide. That is the trade-off worth avoiding by keeping layers intact.
Common Mistakes
- Too much grain. The most common one by a distance. You will always be able to add more, so start at half of what you think you need, check at 100 percent, then decide.
- Grain added too early. Color grading and sharpening after the fact will crush or smear it. Merge your visible layers, then add grain as the last step.
- Judging only at full screen. Zoom to 100 percent to check the texture, then zoom out to judge whether the image still hangs together. Both checks are needed.
- Noise reduction first. See above. You remove the texture that makes grain believable, then wonder why the result looks fake.
- Color noise on a color photo. Colored speckle reads as a sensor defect, not film. Keep Monochromatic checked and the RGB values equal.
- The same pattern on every export. Shift the grain layer a few pixels, or rotate and scale a scanned texture, so a batch does not look identically processed.
- Flattening the file. Once merged, the grain is in the pixels. Keep a layered master and export flattened copies.
- Forgetting the print check. Zoom in on the final exported file at 100 percent before sending it to a printer. Grain that looked right at screen size can look coarse at print size.
If you are chasing a specific film stock rather than a general grain, note that grain alone will not get you there. On r/AskPhotography, photographers chasing a painterly high-grain look tend to push Portra 400 two stops in development rather than trying to simulate it, and most of them end up back in software. Use grain as the texture layer and let a film emulation preset handle the color response.
Frequently Asked Questions
How much grain should I add to a digital photo?
Start at 15 to 20 percent on an Add Noise layer at 50 percent opacity in Soft Light, then adjust from there. Judge it at 100 percent zoom and at fit-to-screen, since the two views often disagree. Less grain is almost always the safer error, because you can increase it at any point while you still have your layers.
Should I add grain before or after sharpening?
Sharpen first, then add grain last. A sharpening pass applied over grain chews the texture up and leaves a speckled edge, which is the classic digital-grain giveaway. If your image is very sharp, blur the layer beneath the grain slightly before you add it, since grain sitting on razor-sharp detail still looks artificial.
Is color grain better than black-and-white grain?
For most color photographs, monochromatic grain is the safer choice. Colored speckle reads as a sensor defect rather than film, because real film grain varies in density more than in hue. Color grain can work in a black and white conversion or a heavily stylized project, but on a color portrait it usually looks like a mistake.
How do I make digital grain look more like film?
Use more than one noise scale, vary the strength so grain lives in the midtones rather than the deepest shadows, and set Roughness high in the Grain panel so the grain clumps irregularly. A scanned film texture layer beats synthetic noise because the clumping is uneven in ways random noise never quite manages to imitate.
Can I add grain to a photo without making a destructive edit?
Yes. Duplicate your layer, put the grain on the copy, and keep the blend mode and opacity adjustable. In Photoshop, a Grain adjustment layer or the Camera Raw Filter keeps Amount, Size and Roughness changeable at any time. In Lightroom, the effect lives in the Develop module and resets with one click. Never flatten the file after adding grain.
Does adding grain help a low-resolution photo?
Grain does not add detail, so it will not rescue a genuinely low-resolution file. It can make softness less noticeable by giving the eye a texture to sit on instead of searching for edges that are not there. On a small file, keep the amount low, since fine grain at low resolution can look like compression noise.
Conclusion
Duplicate your layer before you do anything else, then add your grain last, at half the amount you think you want. Check it at 100 percent and again zoomed out, and save a layered master so you can change your mind in a few seconds. That is the whole workflow, and it takes less time than reading about it did.