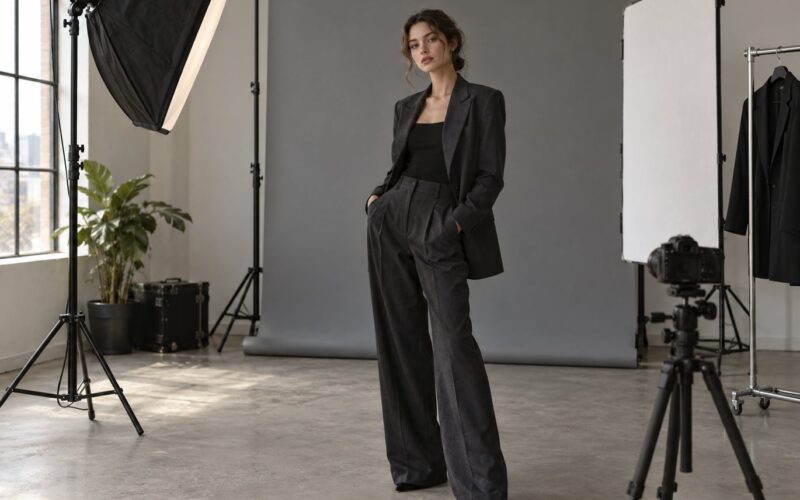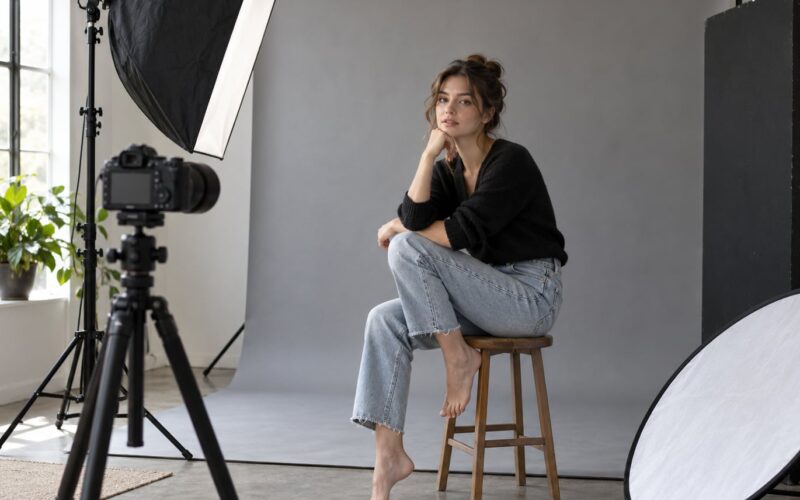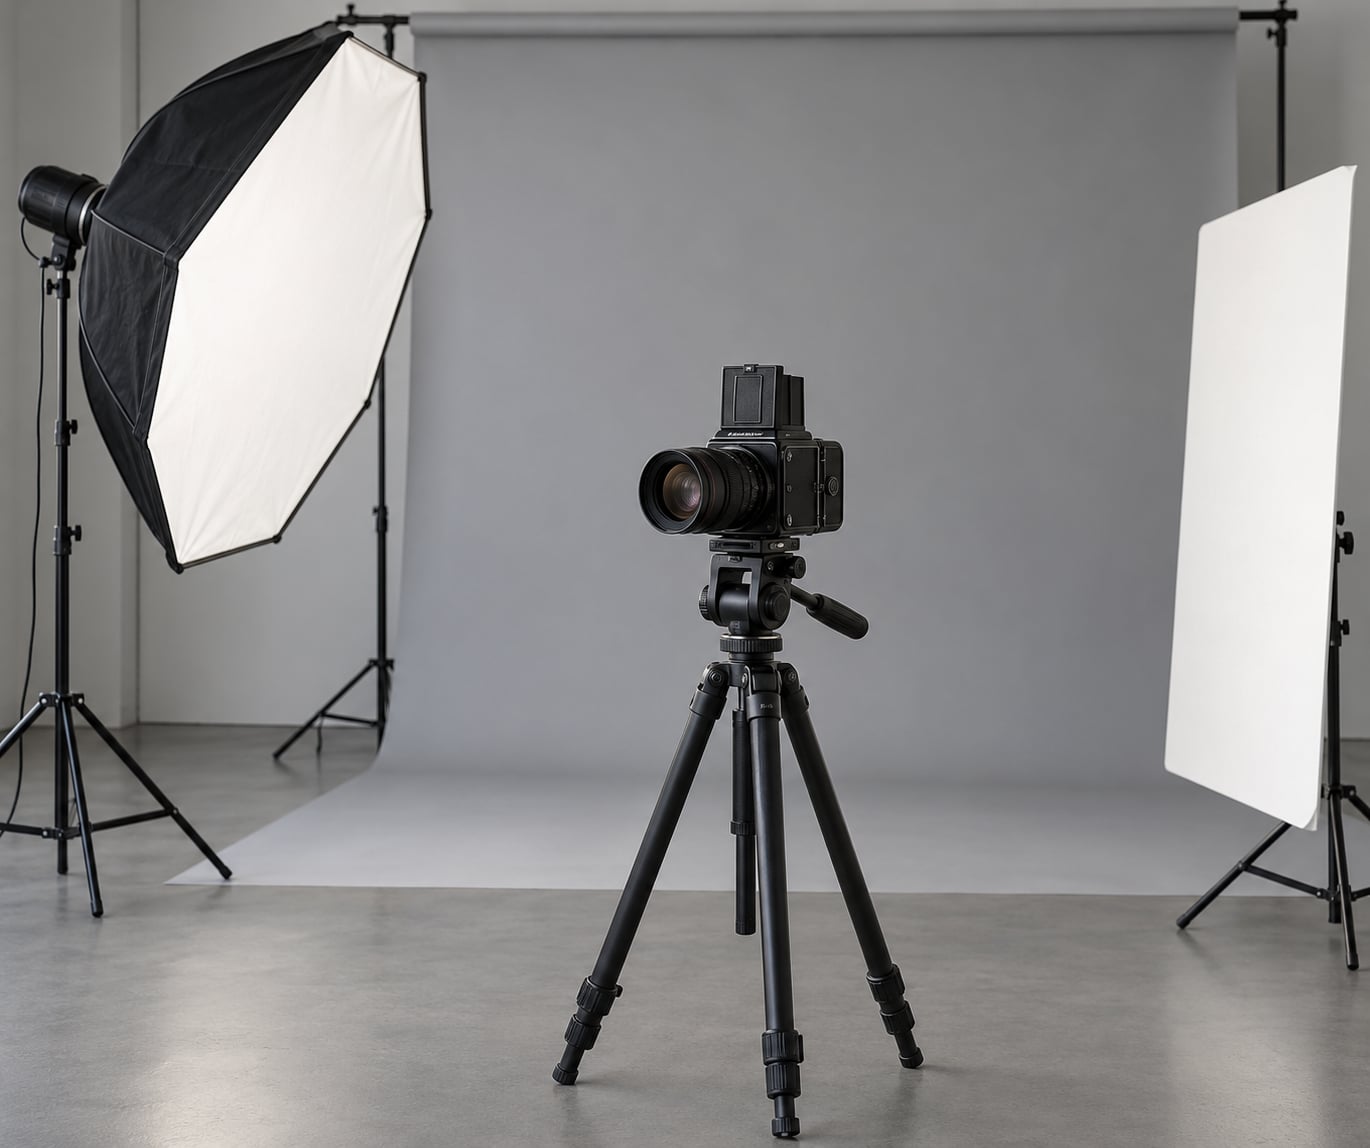
How to shoot medium format portraits comes down to four decisions in the right order: where the camera stands, which lens goes on it, where the light comes from, and how you handle focus on a sensor or negative that is far less forgiving than your phone. Get those four right and the rest is normal portrait craft. Get them in the wrong order and you will spend a session fighting blur, blown skin highlights, and eight frames of 120 film that never made it to the developer.
This is the workflow I actually use in the studio and on location, updated for 2026. It assumes a manual-focus film body or a digital medium format back, and it works just as well if you only own a full frame camera and want to borrow the medium format look. Budget roughly 90 minutes of setup and light checking before the subject arrives, then treat every frame as a decision rather than a burst.
Table of Contents
- What You Need
- Step-by-Step: How to Shoot Medium Format Portraits
- 1. Plan the Portrait Around the Camera Format
- 2. Choose and Position the Lens
- 3. Set Up Lighting for Facial Dimension
- 4. Establish Focus and Exposure
- 5. Direct the Subject Without Losing the Portrait
- 6. Make Adjustable Test Exposures
- 7. Capture Variations Without Losing the Idea
- 8. Review, Process, and Deliver Each Portrait
- Common Mistakes
- Frequently Asked Questions
- Do I need a tripod to shoot medium format portraits?
- What is the best depth of field for a medium format portrait?
- Is medium format better than full frame for portraits?
- How many frames do I get on a roll of 120 film?
- What film should I use for medium format portraits?
- What medium format camera is recommended for portraits?
- Conclusion
What You Need
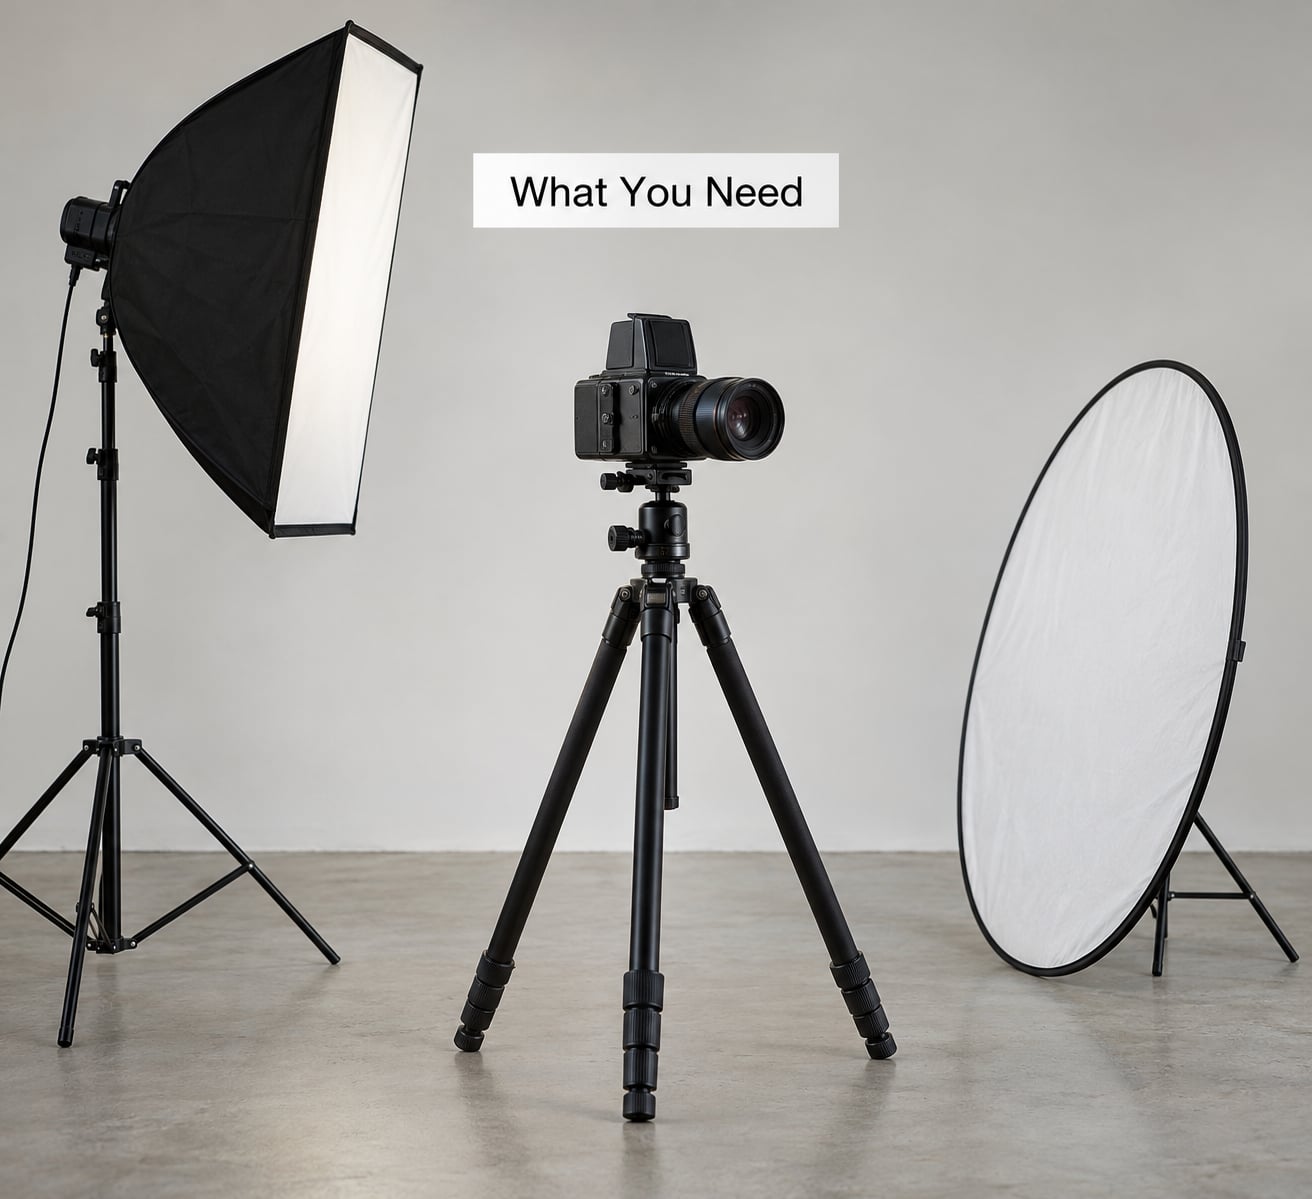
Medium format portrait gear divides cleanly into what the session cannot happen without and what makes it easier.
The essentials are a body with a working film back or digital back, one normal-to-short-tele portrait lens, a tripod, and a light source larger than a bare speedlight. Everything else is a convenience.
- A medium format body. Any 6×4.5, 6×6, or 6×7 system that fires reliably. A twin lens reflex is genuinely the easiest place to learn, because waist-level viewing and a bright waist-level finder remove most of the manual focus panic.
- One lens, not a lens bag. An 80mm on 6×6 or a 110mm on 6×7 covers headshots through half-length portraits. A fast f/2.8 to f/4 normal is the useful range, because wide-open is how you separate a face from a background in this format.
- A tripod with a remote release. The bodies are heavy and unbalanced, and the sync speeds are slow. Tripod plus remote release is the near-universal answer to camera shake on portrait work at this format.
- Film and a spare, or charged digital backs. If you shoot film, budget two rolls of 120 for every planned look, plus one for mistakes. One roll gives you 12 exposures on 6×6, 16 on 6×6 shot in 220, and 6×7 gives you 10 to 11.
- A light and something to fill with. One large soft source, a white reflector or foam board, and a background you can separate the subject from.
Optional but useful: a loupe or articulating loupe for checking the ground glass, a cable or radio release, a hand meter for incident readings on skin, gaffer tape for marking floor position, and a gaffer or assistant for lighting moves.
Step-by-Step: How to Shoot Medium Format Portraits
1. Plan the Portrait Around the Camera Format
Decide the aspect ratio and the number of frames before the subject arrives, because that sets how deliberate the session has to be.
6×4.5 gives you 24 frames and a horizontal frame that suits environmental and corporate work. 6×6 gives you 12, and the square sits naturally with a head and shoulders without fighting the crop. 6×7 gives you 10 to 11 larger frames and is the choice when the portrait is going to be printed big and cropped hard later.
How to shoot medium format portraits without wasting a roll: write the shot list in frames, not poses. Twelve frames on 6×6 means one establishing frame, two lighting variants, five directed poses, and the rest for the expression you did not plan. The low frame count is a useful constraint, honestly. It forces you to evaluate each frame on the spot, and that discipline shows up in the finished images.
2. Choose and Position the Lens
Set your camera position first and pick the focal length second, because focal length does not change facial perspective. Perspective comes from where the camera stands relative to the subject’s face.
Stand at the working distance you want, then choose the lens that fills the frame from there. That flips the usual order and removes the nose-enlarging wide-angle look from most headshots.
| Focal length on 6×6 | Portrait type | Working distance note |
|---|---|---|
| 35-40mm | Environmental, subject in a room | Close, keep 1.5m of space in front of the subject and watch wide-angle distortion |
| 55-65mm | Half-length, seated | Comfortable standing distance, shoulders fill the frame |
| 80mm | Head and shoulders | The safe default for studio portraits |
| 105-150mm | Tight headshot, formal | More working distance, flatter facial rendering |
An 80mm on 6×6 frames roughly like a 50mm lens on 35mm. That normal-to-short-tele range is why short telephoto lenses keep getting recommended for studio work: they let you fill the frame with a head while keeping a working distance that does not crowd the subject.
If the composition needs more width, move back rather than reaching for a wider lens. That is the whole trick, and it is the piece of perspective advice most guides leave out.
3. Set Up Lighting for Facial Dimension
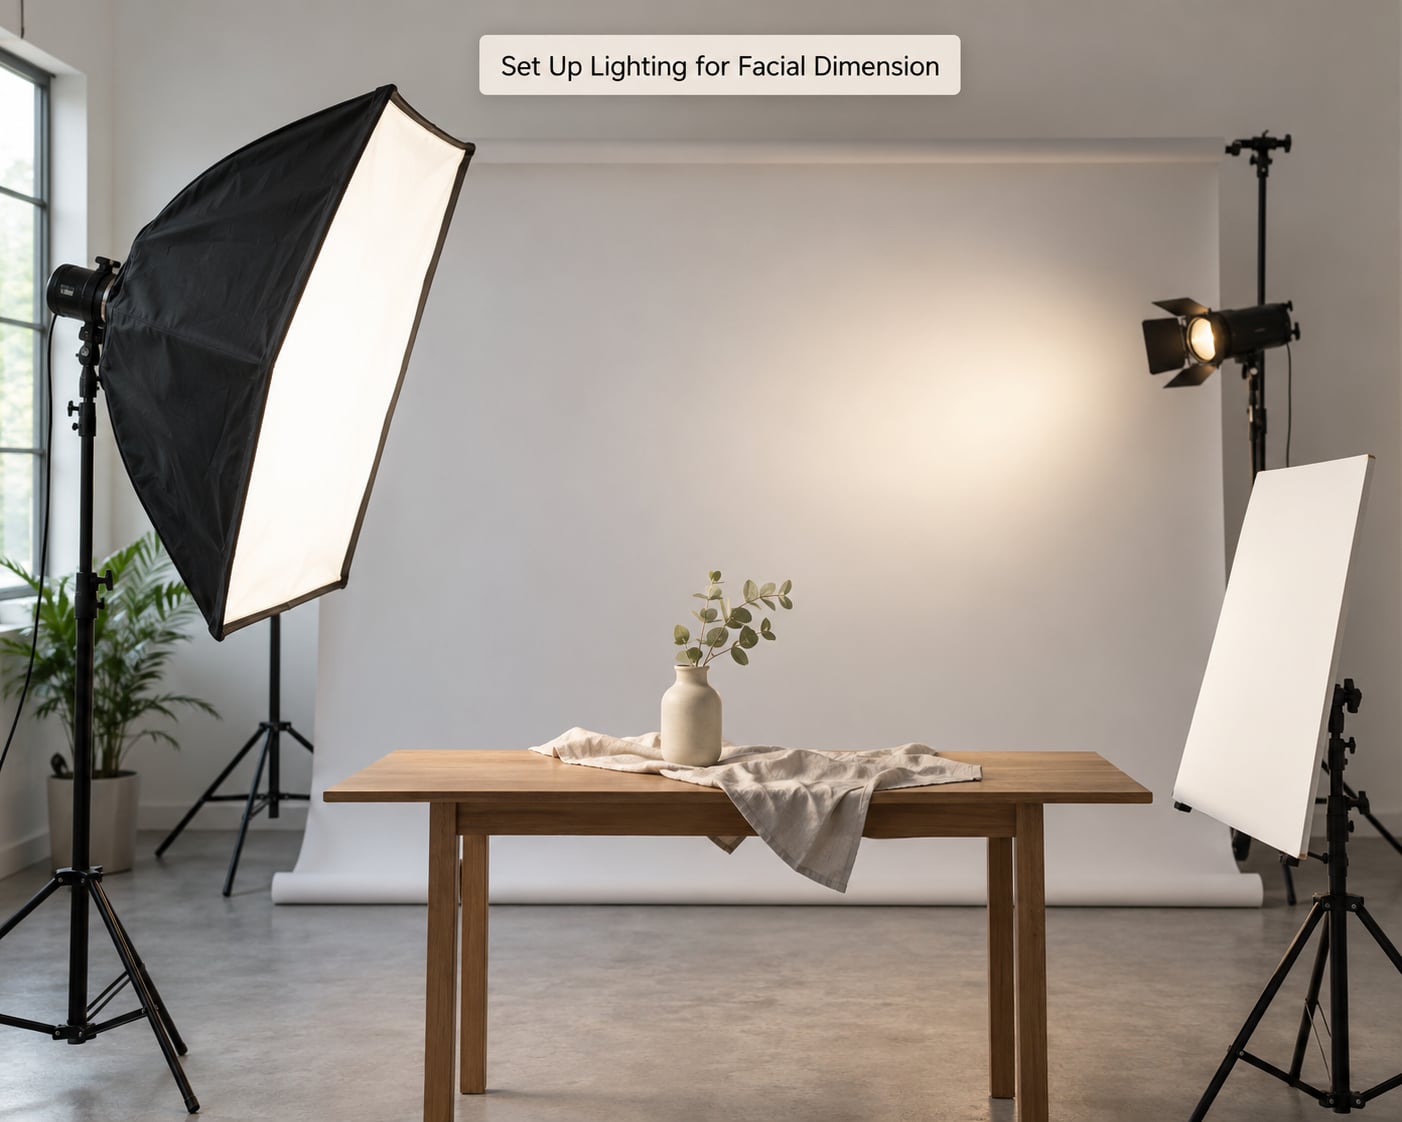
A medium format portrait needs shape, not coverage: one key light for form, a fill no more than two stops under it, and separation from the background.
Start with the key at 45 degrees to the side of the face and slightly above eye level. Add a reflector on the shadow side for a one- to two-stop fill ratio. That ratio is what keeps a nose from flattening into a cheek. Two stops under is forgiving, four stops under is dramatic, and anything past that belongs to a different kind of portrait.
Push the subject a couple of metres back from the background and light the background separately. On a head-and-shoulders frame the separation does more for the medium format look than any gear decision you make at the counter.
Window light works the same way: window is key, a white card opposite is fill, a dark wall or sheet behind the subject handles separation. A reflector clipped to a stand can slide into the fill position in two seconds.
One warning that only shows up in this format: bodies with a leaf shutter sync at high speeds, while bodies with a focal plane shutter top out around 1/500. If you are blending flash with daylight on a focal plane body, meter the ambient for the background and expose for skin at the sync speed, or bring in a graduated neutral density filter to buy yourself three stops of daylight balance.
4. Establish Focus and Exposure
Focus is where most medium format portraits fail, because shallow depth of field means a small head turn pulls an eye out of the plane. Treat focus as a repeatable procedure, not a reaction.
Use zone focusing. Set the lens to its hyperfocal distance, focus on the near eye, and note the distance. Mark the floor where the subject stands. From then on, anyone standing on that mark at that distance is in focus without touching the lens again.
Add a focus trap when the subject moves. On a moving subject, set focus slightly ahead of them and fire as they enter the plane. The rule is simple: aim ahead, and shoot as they cross into focus.
Use the aids your body gives you. A waist-level finder with a split-image or rangefinder patch beats guessing, a loupe on the ground glass turns a soft guess into a measurable one, and a digital back with magnification lets you confirm the near eye at 100 percent before you waste a frame.
Re-check focus after any meaningful movement. A head turn, a lean forward, a step toward camera, all of it changes the plane. On a slow film body you cannot just fire a burst, so get into the habit of looking at the focus screen every time the pose resets.
Now set the aperture. The larger imaging area means shallower depth of field at the same framing, so you are choosing how much depth you are willing to give up for separation.
| Portrait situation | Aperture starting point | Focus target |
|---|---|---|
| Frontal headshot, subject still | Maximum aperture or one stop down | Near eye, both eyes inside the plane |
| Three-quarter turn | Maximum aperture | Near eye, accept the far eye going soft |
| Half-length or seated | One stop down | Eyes, check hands fall inside the zone |
| Two people | One to two stops down | Both near eyes, stack subjects on one plane |
| Small group | Two stops down or more | Front row, accept a softer back row |
Match shutter speed to movement next. The camera position does not change this; the subject does.
| Subject movement | Shutter speed starting point | Note on a tripod |
|---|---|---|
| Seated, still, studio | 1/125 sec or the sync speed | Handheld at 1/125 with a heavy body is risky, use the release |
| Small head turns and gesture | 1/250 sec | Keep the sync speed in mind when adding flash |
| Walking or leaning | 1/500 sec | Focal plane bodies may cap here anyway |
| Any movement, handheld | Mirror lock-up if the body offers it | Otherwise assume 1/250 is your floor |
Confirm exposure before you direct anything. On a digital back, check the histogram and the skin highlight readout. On film, take one frame at your chosen setting, then one at two stops under and one at two over, and decide from how the shadows behave rather than from the meter.
5. Direct the Subject Without Losing the Portrait
Direct in a fixed order every time: feet, weight, torso, shoulders, head angle, hands, eyeline, expression. It takes about ten seconds per adjustment and removes the wandering.
Medium format gives you a stable frame, so use it. A waist-level finder on a twin lens reflex or a view camera-style hold keeps your face low and your subject relaxed, since they stop seeing a photographer looming over them. Where the camera position does not support waist-level work, use it for the wide environmental frames and switch to the eyepiece for the tight ones.
Resolve hands before you wait for a perfect expression. Ask for one hand in a pocket, on a chair back, or lightly holding the other wrist. Loose hands drift, and on a slow format you will not get a second frame for free.
Give one instruction at a time and change only one thing between frames. “Turn your chin toward the window, keep everything else” beats three instructions that land as a shuffle.
6. Make Adjustable Test Exposures
Bracket around a chosen exposure instead of chasing a perfect single frame: one at the metered setting, one stop under, one stop over.
On film this costs frames you do not have, so bracket only when the light is genuinely uncertain or when the subject is moving through the light. On a digital back it costs nothing and takes seconds.
Meter skin, not the room. An incident meter held at the subject’s forehead or aimed at the fill side gives a reading that survives the dark background and the bright window. A reflected reading off the back wall will over-expose the face by a couple of stops in exactly the setups medium format invites.
Watch the background separately. If it is two stops brighter than skin and you have latitude, expose for the face and let the background blow a little. If there is no latitude on film, meter the background and use the reflector to lift the face.
7. Capture Variations Without Losing the Idea
Change one variable at a time: pose, then expression, then head angle, then lighting, then crop. That keeps a roll of 12 frames usable instead of four good ones and eight variations on nothing.
Keep the lighting fixed while you work poses. Move the subject against the same light for a whole roll, then reassess. Moving both at once is how a session ends with twelve frames that are all different and none of them finished.
Capture the safe frame early. One conventional headshot that works gives the client something and gives you a reference for exposure and focus before the experimental frames start.
A thought on print intent, since it drives everything. If the finished portrait lives in a 16×20 inch print or a large magazine page, a 6×7 negative or a digital medium format back has the surface area to hold it. If it is for a phone screen, an upsized full frame file will do the same job for less money and far less weight. The look comes from depth of field, gradual focus falloff, and lens geometry, not from resolution.
8. Review, Process, and Deliver Each Portrait
Film and digital diverge completely at this step, and the workflow you chose in step one determines how much of the session you can judge on set.
| Stage | Film workflow | Digital medium format workflow |
|---|---|---|
| On-set review | You cannot see the frame; judge composition and light only | Full image review on the back at 100 percent |
| Focus confirmation | Ground glass, loupe, rangefinder patch | Magnified view before each frame |
| Frame economy | 12 to 24 frames, then a reload | Hundreds of frames, review after the session |
| Color | Judged later, from negative density and lab processing | Set a fixed white balance and hold it through the session |
| Retouching | Scanning, dust spotting, exposure decisions after the fact | RAW processing, masking, restrained cleanup |
| Turnaround | Days, including development and scanning | Same day |
Scanning sets the ceiling on a film portrait. A lab scan handles volume, a flatbed handles a few rolls at high resolution, and a dedicated scanner gives you control over sharpness and density. Any of them needs a sharp scan, or the advantage of the negative is gone.
Process RAW, lock white balance, match skin tones frame to frame, and keep retouching to the things a client actually asked for. Over-retouched skin from a medium format file looks worse than an over-retouched smaller file, because there is enough detail left to see it.
On 6×7, crop for the deliverable before delivery. On 6×6, resist cropping the square down to 4:5 unless the composition supports it, and export at the size the print needs rather than the size the file allows.
Common Mistakes
These are the errors that keep repeating when people move from full frame digital to medium format and keep full frame habits.
| Mistake | What it looks like | Direct fix |
|---|---|---|
| Wider lens instead of more distance | Distorted nose, small ears, tight background | Choose the camera position first, then the lens that frames from there |
| Shooting wide open on a moving subject | Sharp nose, soft eyes | Stop down one stop, move the subject farther from the background, use a focus trap |
| Not refocusing after a head turn | Both eyes soft on an otherwise good pose | Mark the subject’s floor position and recheck focus at every pose reset |
| Flashing past the sync speed | Dark band across the negative on a focal plane body | Respect the sync speed, or use a body with a leaf shutter for outdoor flash |
| Metering off the background | Blown skin highlights, grey-looking face | Meter off skin with an incident reading and fill with a reflector |
| Handholding a heavy body at slow speeds | Whole-frame softness that looks like missed focus | Tripod plus remote release, and mirror lock-up where it exists |
| Badly wound film roll | Light leaks, fogged frames, an entire roll lost | Load in subdued light, keep tension even, seal the take-up spool, tape the back |
| No shot list | Twelve frames of experiment and nothing finished | Assign each frame a purpose before the session starts |
| Expecting a huge file to fix everything | Sharp file, awkward portrait | Fix the light and the direction, then evaluate the file |
Three habits that pay off fastest: mark the subject’s position on the floor with tape, set the exposure once and stop touching it, and review the histogram or the ground glass at every pause.
If you do not own a medium format body, you can still work this whole process on full frame. Shoot wide open at f/1.2 to f/2.0 for the shallow depth of field and gradual focus falloff, back the subject off from the background, use a longer focal length for the same framing, and apply a film profile in post. It costs you the tonal ceiling, not the look.
Frequently Asked Questions
Do I need a tripod to shoot medium format portraits?
Yes, treat the tripod as part of the camera. Medium format bodies are heavy and front-heavy, and the shutter speeds this format encourages are slow enough that handholding regularly costs you sharpness. Shoot from a tripod with a cable or radio release, and use mirror lock-up if the body offers it. At the weight of a GX680 or an M645, a tripod is not really an accessory.
What is the best depth of field for a medium format portrait?
For a still headshot, focus on the near eye and open the aperture until the far eye falls out, usually at maximum aperture or one stop down. For half-length work, stop down one stop so hands and shoulders stay inside the zone. For two people or a small group, one to two stops down. The larger imaging area means depth of field is shallower at the same framing, so depth is a deliberate choice, not a default.
Is medium format better than full frame for portraits?
It is better for maximum subject separation, smoother tonal transitions in skin, and large prints with heavy cropping, and it costs you frame count, sync speed, and handling speed. Worth noting that the medium format look comes from shallow depth of field, gradual focus falloff, and lens geometry rather than resolution. If the look is the goal, a wide-open full frame lens gets you most of the way.
How many frames do I get on a roll of 120 film?
6×4.5 gives you 24 exposures, 6×6 gives you 12, and 6×7 gives you 10 or 11. A 220 roll carries 16 exposures on 6×6 but has no paper backing, so it offers no light protection. For a portrait session, load a second roll rather than stretching the first, and keep one roll spare for a lighting change you did not plan.
What film should I use for medium format portraits?
A negative film rated at ISO 200 to 400 with generous exposure latitude handles skin tones and a changing light better than a very fast film. Portra at ISO 400 is the common starting point for warm skin and forgiving development. Shoot digital if you want the frame rate, a visible histogram, and same-day delivery, and use a manual-focus film body only if the slower pace is the point.
What medium format camera is recommended for portraits?
Match the body to the light you use. For studio strobes on a tripod, a leaf-shutter body with a fast normal lens syncs anywhere and shoots wide open. For outdoor handheld work, you want the biggest sync speed available. For learning manual focus, a twin lens reflex with waist-level viewing and zone focus removes the panic. For subject movement, a digital medium format back with autofocus is the practical answer.
Conclusion
Start with one thing: load a roll, tape a spot on the floor, and shoot ten frames from that mark with the key light at 45 degrees and a reflector opposite. Nothing else on this list matters until that behaves the way you expect.
From there, setup and observation do the work. Set the position, then the lens, then the light, then focus, and let everything after that be adjustment rather than rescue. Run one unpaid test session before you take a paid one, and you will arrive with marks on the floor and a plan for twelve frames instead of a camera and a hope.