To shoot film portraits as a beginner, you pick a film and a look, meter the light on the face, set a shutter speed fast enough to hold steady and an aperture wide enough for a soft background, then focus and shoot deliberately with roughly 36 frames to spend. It takes about an hour of practice to get comfortable, and the whole session fits in an afternoon.
Film portrait photography is portrait photography shot on light-sensitive film rather than a sensor, so there is no preview screen telling you what you got. Every frame costs money and cannot be checked until the roll comes back from a lab. That constraint is annoying for about three rolls, then it becomes the reason the pictures are good.
The workflow below is the one I hand to anyone starting out: decide the look, meter the face, build simple directional light, direct the subject, focus on the near eye, shoot the roll on purpose, then handle and review the negatives. Repeat it identically for a few sessions and results start looking like they were made by someone who knows what they are doing.
Table of Contents
- What You Need
- Step-by-Step: How to Shoot Film Portraits for Beginners
- 1. Choose a Film Look and Portrait Style
- 2. Set Up the Camera and Meter the Light
- 3. Create Simple, Directional Light
- 4. Direct the Subject and Build Poses
- 5. Focus on the Eyes and Make the Frame
- 6. Take Test Exposures and Shoot a Roll Intentionally
- 7. Handle, Develop, and Review the Film
- Common Mistakes
- Frequently Asked Questions
- What camera should I use to shoot film portraits as a beginner?
- Should beginners use black-and-white or color film for portraits?
- How do I meter a portrait correctly with a film camera?
- What is the best lens for beginner film portraits?
- How do I pose someone who is uncomfortable in front of the camera?
- How do I get film portraits developed and reviewed?
- Conclusion
What You Need
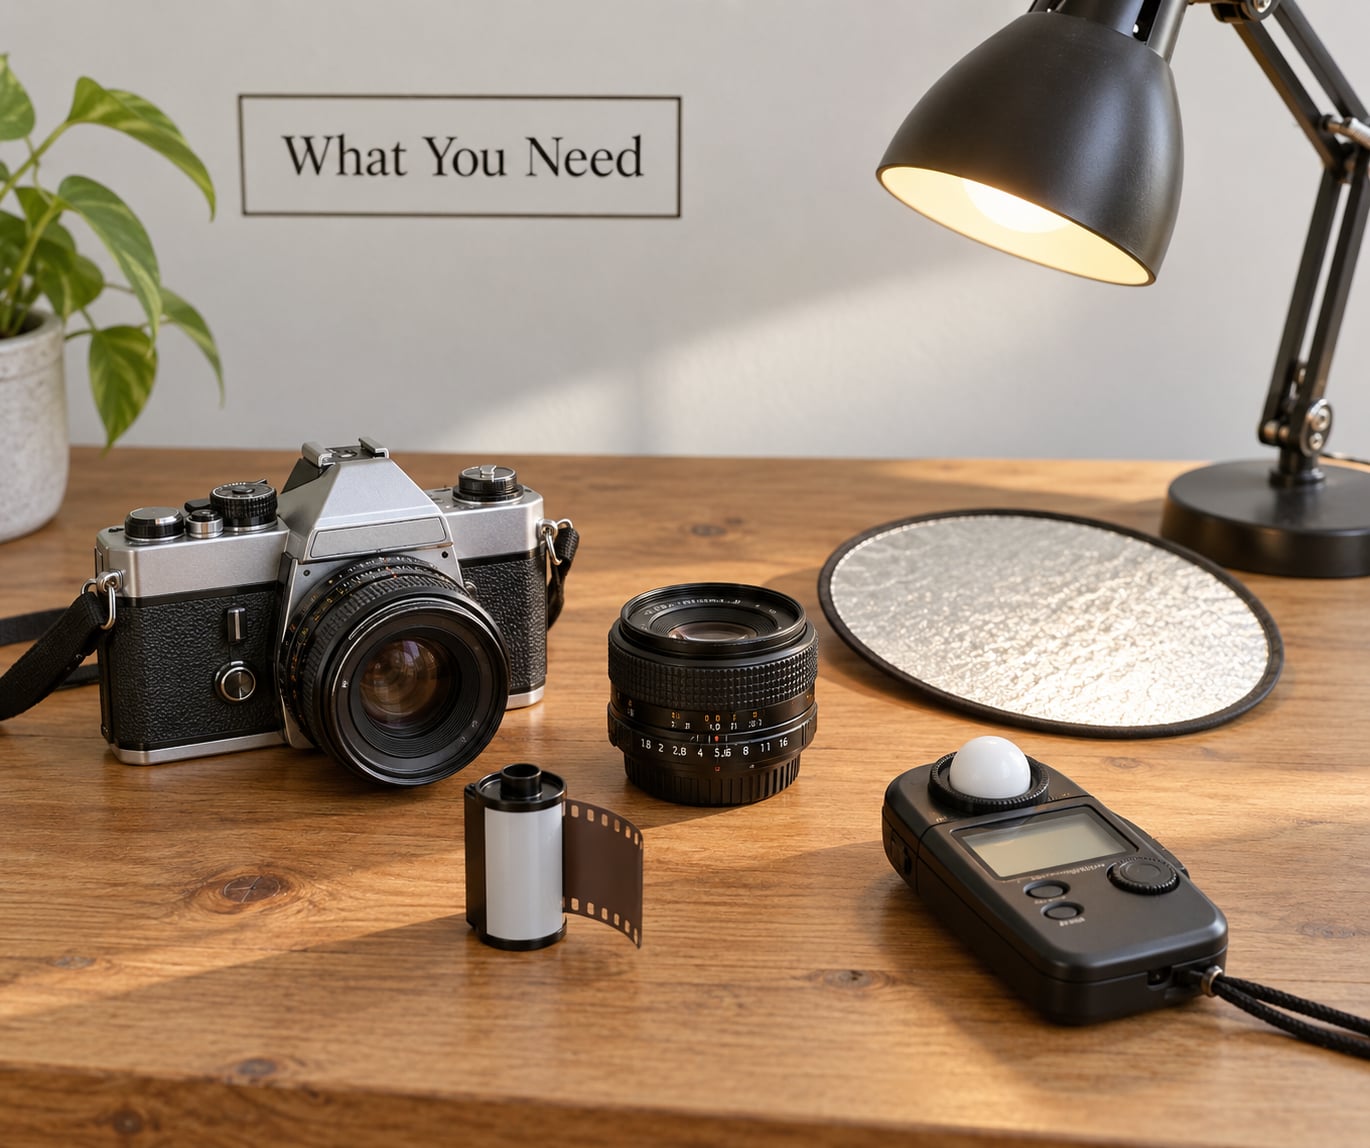
You can shoot a full portrait session with less than most beginners expect to buy. The essentials are a camera that fires, a lens, film, a way to judge brightness, one light source and a notebook. Everything else is a refinement.
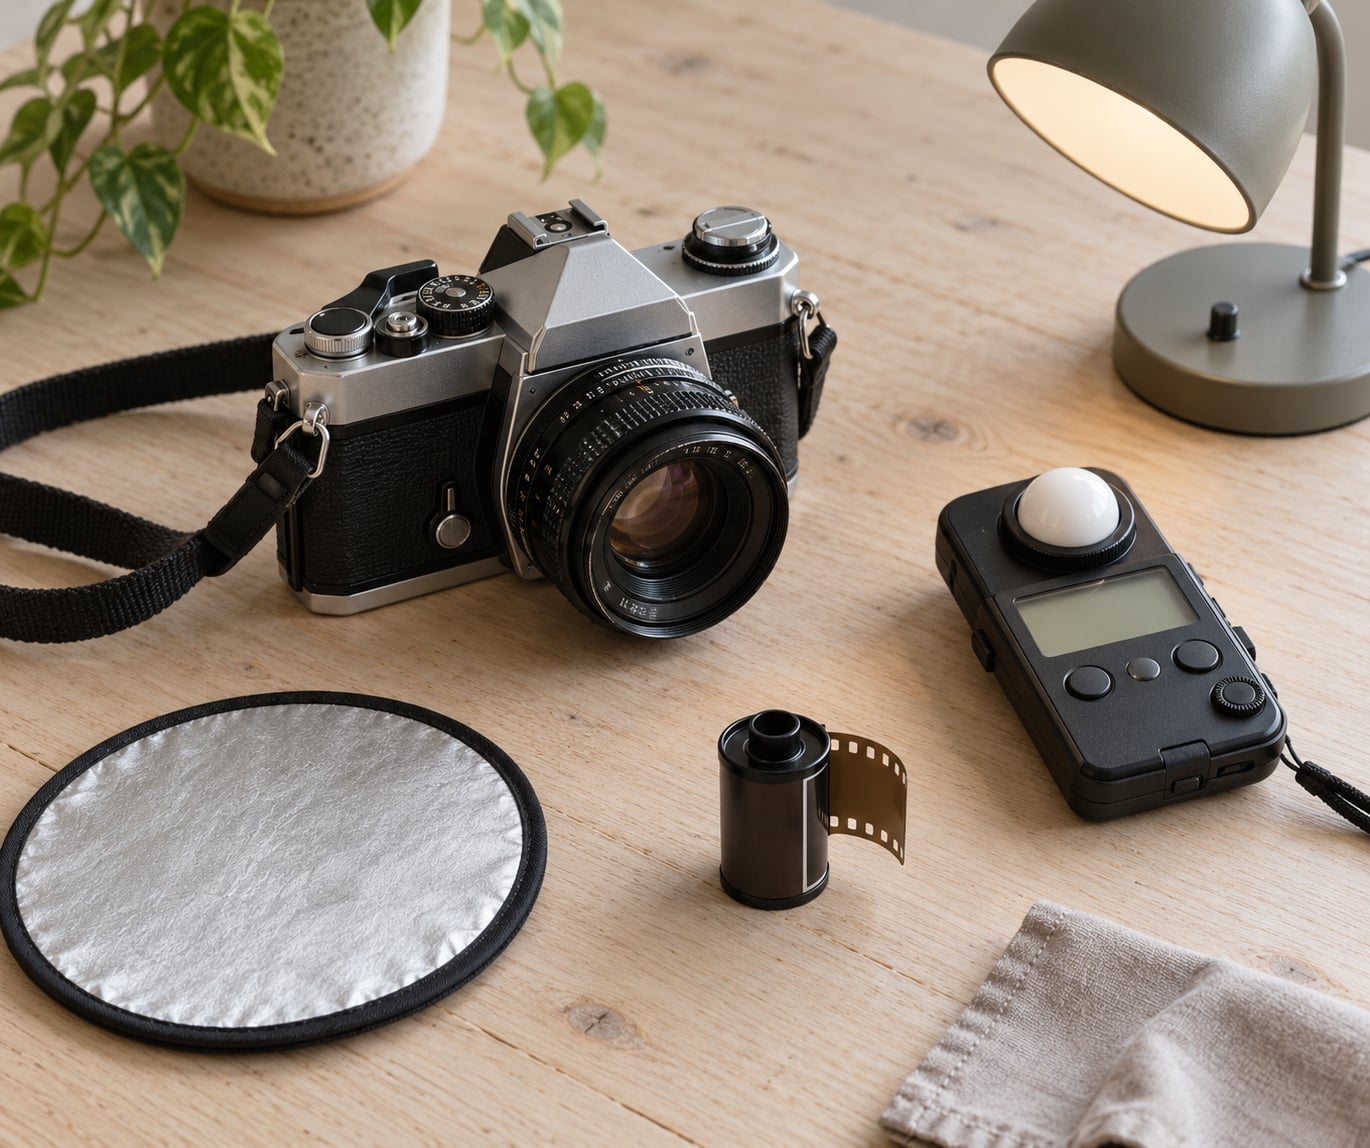
A 35mm SLR, a fixed-lens rangefinder and a point-and-shoot all produce good portraits. Manual exposure cameras give you the most control and teach metering fastest, because there is no electronics to hide a bad decision. A camera with a working light meter saves a lot of guessing.
Film speed is the one thing you should choose deliberately. A 400-speed film gives you more light per frame than a 200-speed one, which means a faster shutter or a wider aperture in the same light. Beginners on r/AnalogCommunity are told over and over to start at 400 for exactly that reason.
For measuring light, a handheld meter is the cheapest upgrade you can make. Until then, the Sunny 16 rule works on any camera without a meter: in bright sun use 1/100 at f/16, in light overcast use 1/100 at f/11, and open shade lands around 1/50 at f/8.
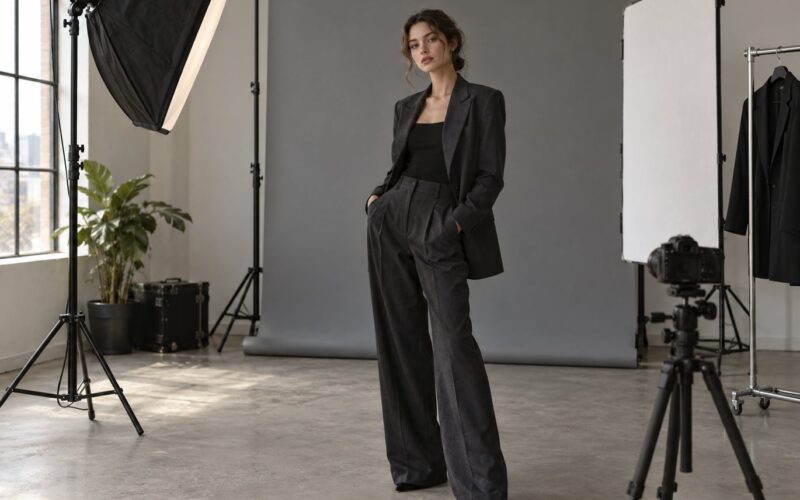
For light, one source is enough on a first session. A window, a desk lamp with a shade, or a single strobe bounced off a pale ceiling all count. A reflector, which can be a sheet of white foam board or a car sunshade, fills the shadow side of a face for almost nothing.
Really optional for the first shoot: a tripod, a flash, a lens hood, a colour checker, medium format. Bring a spare battery if your camera is digital only, and treat the notebook as required equipment since exposure notes are what let you learn from a roll.
Step-by-Step: How to Shoot Film Portraits for Beginners
1. Choose a Film Look and Portrait Style
Decide whether you are shooting colour or black and white before you buy anything, because it changes how you see light. Colour negative film is forgiving with skin tones and easy to develop anywhere. Black and white film, such as an HP5 Plus at 400, forces you to watch tone and shape instead, which is why people who shoot it say they learn light faster.
Then pick a mood in one sentence: quiet and formal, or loose and laughing. Write it down. A session that drifts between styles burns frames, and a 36-exposure roll does not have any to spare.
Choose a portrait style to match your subject rather than your gear. Head-and-shoulders suits a first session because the face fills the frame and every mistake is obvious. A wider environmental frame is harder, since you have to manage the subject, the light and the background at once.
2. Set Up the Camera and Meter the Light
Set the ISO dial or setting to match the film speed printed on the canister. On film, ISO is not a gain dial you can raise later; it is the sensitivity of the emulsion, and it is the only exposure factor you cannot change during the shoot.
On shutter speed, 1/125 is the practical handheld floor for film portraits. A standing subject needs that or faster because any movement softens the face. A seated subject can hold 1/60, and a still subject indoors can manage 1/30 with a braced camera.
On aperture, f/2.8 to f/4 gives a soft background and hides small focusing errors, which makes it the beginner’s choice. Shoot wide open and the depth of field becomes thin enough that a head tilting forward falls out of focus. f/5.6 is a reasonable compromise when the background is busy.
Meter for the face. Point the meter or the camera’s centre-weighted spot at the subject’s cheek and forehead, not at the background. A bright window behind your subject will drag the average down and underexpose the face, so meter the face directly or use spot metering.
On colour negative film, give yourself a little room. Skin sits close to the top of the tonal range, and clipping a highlight leaves a permanent patch of pale skin. Metering slightly darker and letting the negative hold the tone is safer than metering dead on.
| Light condition | Film speed | Aperture | Shutter speed | Note |
|---|---|---|---|---|
| Bright sun | 200 | f/8 | 1/500 | Move to open shade for a softer face |
| Overcast sky | 400 | f/4 | 1/250 | Easiest condition for a beginner |
| Open shade | 400 | f/2.8 | 1/125 | Watch the edge of the shadow for contrast |
| Golden hour backlight | 400 | f/2.8 | 1/500 | Expose for the face, expect flare |
| Window light, indoors | 400 | f/2.8 | 1/60 seated | Subject one turn from the window |
| Single lamp, dim room | 400 | f/2 | 1/60 | Hold the meter on the lit cheek |
Nothing here is a rule. It is a starting point so that when you meter a value, you already know roughly which direction to move the dial.
3. Create Simple, Directional Light
One light coming from one side, slightly above eye level, gives every face shape. Light straight from the front flattens features, and light from directly overhead drops shadows into the eye sockets.
Place your subject so the light hits them at an angle. Indoors, sit them one turn away from a window rather than facing it, so one side of the face is lit and the other falls into soft shadow. Outdoors, put them at the edge of open shade with the sun behind your shoulder, not behind them.
Control contrast with the shadow side, not the highlight side. A reflector close to the dark cheek softens the transition and opens the eyes. Move the reflector further away, or take it away, and the same light becomes moody and dramatic. That one variable changes the mood of a portrait faster than anything else you can do.
Check the exposure on the face before you compose anything. Look for two things: whether the brightest part of the forehead is holding detail, and whether the shadow under the chin is so dark that the jaw disappears. If the face is too dark by a stop or more, open the aperture or halve shutter speed rather than hoping the negative will rescue it.
If your light source is a bare lamp, add diffusion. A thin white shower curtain or a sheet of baking paper taped over the shade turns a hard hotspot into something far kinder to skin. Harsh light is the single most common reason first portraits look harsh.
4. Direct the Subject and Build Poses
Talking produces better expressions than posing, and people on film show it. Shoot a few frames, then change one thing at a time: angle of shoulders, then head tilt, then where the hands go, then expression. Change one variable per frame and you end up with a set of choices instead of 36 near-identical pictures.
For a standing pose, ask the subject to stand at a slight angle with the weight on the back foot. That drops one shoulder, gives the torso a line instead of a slab, and lengthens the neck. Ask them to bring one shoulder toward the camera by about 45 degrees.
Hands are the hard part and most beginners avoid them. Give them a job: one hand in a pocket, both hands lightly holding a prop, one hand touching a collar, or fingers lightly joined in front of the body. Forearms forward and elbows in reads as relaxed, elbows out reads as tense.
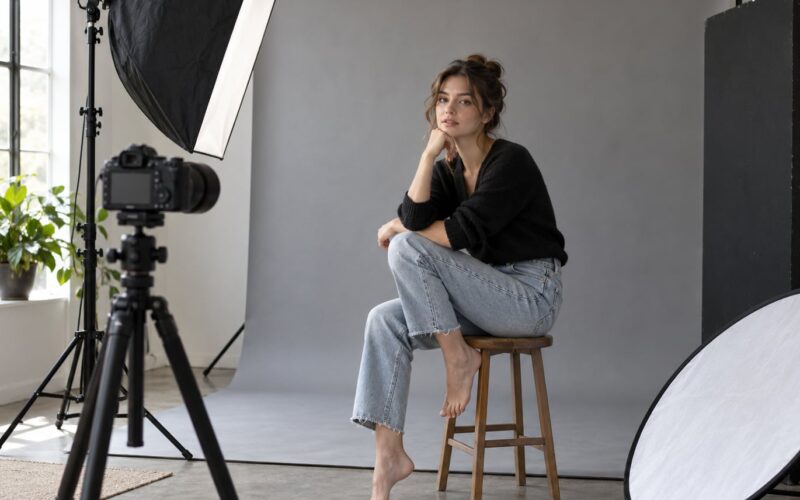
For a seated pose, have them sit forward off the back of the chair or edge of a step. Feet flat on the ground, hands somewhere deliberate, spine long but not stiff. Seat people at a diagonal to the camera so one shoulder sits closer than the other.
On eye line, look toward the light rather than at the lens. Straight into the lens works for headshots and feels formal, which is sometimes exactly what you want. For everything else, have them look slightly past the camera or down the street, and the picture relaxes.
Keep sessions short. Twenty minutes with one setup often beats two hours, because attention drops and so does the quality of the frames you spend.
5. Focus on the Eyes and Make the Frame
Focus on the eye nearest the camera, or on the bridge of the nose and pull the plane forward slightly. A face in focus but eyes soft reads as an accident to everyone who sees it.
If your camera has a split-image rangefinder, focus until the two halves of the split line match, then check that the split has widened slightly at the pupil. If it has not, you have focused on the lids rather than the iris. If your camera uses a microprism collar or a plain ground glass, focus until the texture of the iris looks sharpest.
If your camera has no focusing aid at all, use the hyperfocal distance. Focus on something six feet away, and everything from roughly two feet to infinity on 35mm film will be acceptably sharp at f/8 or wider. It means you can stop focusing and start talking, which is the state where the best portraits happen.
Zone focus works similarly. Set the distance on the lens to the subject, stop down to f/8 or f/11, and the depth of field becomes a usable zone rather than a single plane. This is how you stop wasting frames to focus misses.
On camera height, match the subject’s eye level for a direct, confident look. Shoot from slightly below for a heroic feel or slightly above for a softer, younger one, but decide it on purpose rather than because your back hurt.
On focal length, 50mm is the natural one. It matches roughly what the eye sees, keeps distances flattering, and is cheap to replace. An 85mm compresses the face and blurs backgrounds more, which is lovely outdoors and awkward in a small room because you need to stand back. Start with whatever is on the camera and upgrade later.
Finally, leave room in the direction the subject is looking or moving, keep some space above the head, and check the background for a pole growing out of a shoulder. The last fix takes two seconds and has saved more portraits than any piece of equipment.
6. Take Test Exposures and Shoot a Roll Intentionally
Shoot one frame before the session starts, of anything, to confirm the camera fires and the film advances. On a camera you have not used before, that one frame is worth more than the entire theory you have read about it.
During the session, work in bursts of three or four frames around each pose rather than firing single shots. Film cameras with manual advance have wide frame spacing, so you will never catch the peak expression in a single frame. Batching raises your chance of getting it.
Track how many frames you have used. Eight for a test, twenty-four for the main setups, and the last four for a change of position or a wider frame. Knowing you have twelve frames left makes you choose better than an open-ended session does.
Write down the exposure for each setup in the notebook. A line like f/4 at 1/60, open shade, reflector on the shadow side is enough. When the negatives come back you will know whether the problem was light, focus or direction, and you will not be guessing from memory three weeks later.
Finish the roll with something you would not be disappointed to see developed. A stray frame of a wall or a wide environmental shot costs one exposure and gives the roll a frame that might actually work.
7. Handle, Develop, and Review the Film
Rewind the film fully before you open the back. On most cameras the rewind crank turning freely for several turns, or the tension dropping away, means the leader has left the cartridge. Opening the back with film still inside fogs the entire roll, and that is the most expensive beginner mistake there is.
Keep undeveloped film cool and dry. Avoid a hot car, a glovebox and anywhere the roll changes temperature quickly. If you must store it somewhere odd for weeks, put it in a sealed container so the surrounding air cannot touch it.
Label the cartridge before you mail it. Write the film type, the ISO, the approximate number of frames and whether any frames were push or pull processed. A lab that receives an unlabelled roll will guess, and guesses cost you a re-scan.
When you send it out, ask for a flat scan of the full frame at a decent resolution, colour negative handled as negative, no automatic corrections or auto white balance. Auto-enhance throws away the colour accuracy you shot for, and it is impossible to undo.
Home development is possible with black and white film and a changing bag, but do not attempt it on your only portrait roll. For a first year, a lab is cheaper than one ruined reel.
Review the negatives on a light table if you get prints, or open the scans and look at the whole set at once. Ask three questions per setup: was the face exposed, was it sharp, and did the light fall where I wanted. Whatever failed most often is the one thing to change next roll.
Common Mistakes
Almost every disappointing first film portrait comes down to one of eight things, and every one of them has a simple fix.
Underexposed faces. You metered the background instead of the face. Point the meter at skin, or use spot metering, and check the forehead for detail before you commit.
Focus landed behind the subject. You focused on the nose or the glasses frame. Focus on the near eye, or use zone focusing at f/8 so the whole face is inside the zone.
Blown highlights on skin. Colour negative clips the brightest skin tones permanently and the fix cannot be done in editing. Meter a third of a stop darker and let the negative hold the tone.
Light straight from the front or from above. Turn the subject about 45 degrees from the source and lift the light to just above eye level. Shape comes back immediately.
Shadows that swallow the face. Add a reflector close to the shadow cheek, or move the source further away and larger. Check under the chin before you start shooting.
Shutter too slow for a standing subject. Keep handheld work at 1/125 or faster, or pick a faster film and open up. A sharp face beats a technically balanced frame every time.
36 near-identical frames. Change one thing between bursts, shoot three or four frames of each pose, and write down what you changed. A roll of variations is more useful than a roll of duplicates.
Forgotten film speed. Set the camera to the ISO printed on the canister before loading. If you do not, every frame on the roll will be misjudged by several stops and there is no recovering them together.
One more that never appears on a mistake list but costs beginners more: rewinding late. Open the camera back while the leader is still inside and the roll is fogged before you ever took a picture.
Frequently Asked Questions
What camera should I use to shoot film portraits as a beginner?
Any film camera that fires will make portraits. A manual 35mm SLR teaches metering fastest because nothing is automated, a fixed-lens rangefinder is quieter and more discreet, and a point-and-shoot works well outdoors in daylight. Pick whichever one is available, check the shutter speeds and the light meter, and only upgrade once you know which limitation you actually hit.
Should beginners use black-and-white or color film for portraits?
Colour negative film is the easier starting point because skin tones stay predictable and any lab can develop it. Black and white film such as HP5 Plus at 400 is more forgiving of exposure and forces you to notice light and shape rather than colour, which many beginners find educational. Shoot one roll of each on the same setup and compare the negatives when they return.
How do I meter a portrait correctly with a film camera?
Point the meter or the camera spot reading at the brightest part of the face, usually the forehead and cheek, rather than at the scene. A bright window or pale wall behind the subject will drag a whole-frame average down and underexpose the face. On colour negative, meter slightly darker to protect skin highlights, and if you have no meter use the Sunny 16 rule as a starting point.
What is the best lens for beginner film portraits?
A 50mm lens is the safest first choice because it approximates normal vision, flatters distance, and costs little to replace later. An 85mm gives a compressed face and softer backgrounds outdoors, but needs more room indoors. Whichever you use, one lens is enough. Learn to focus it well before collecting more, and shoot wide open only when the light genuinely needs it.
How do I pose someone who is uncomfortable in front of the camera?
Give the pose a job instead of a name. Ask them to walk slowly toward you, turn toward the window, or hold a cup with both hands, and keep talking between frames. Avoid telling people to relax; it makes them self-conscious. Shoot short bursts so you are not holding them in front of a camera for long, and review the results together while the session is still fresh.
How do I get film portraits developed and reviewed?
Label the cartridge with the film type, ISO and frame count, then send it to a lab with a flat full-frame scan request and a note asking for no automatic corrections. Ask for negatives back if you want to review or print them yourself. Look at the whole set together on a light table or on screen and check three things per setup: face exposure, sharpness on the eyes, and where the light fell.
Conclusion
Start with one test roll outdoors in open shade on a 400-speed film, at f/4 and 1/125, with the subject one turn from the open sky. Shoot one frame to confirm the camera fires, keep the shutter above the handheld floor, focus on the near eye, and write down every setting you use.
When the negatives come back, look for one thing to fix rather than ten. Over the next three rolls, keep the workflow identical and change only what the negatives told you to change. That is the whole trick to shooting film portraits for beginners, and it works from the very first roll onward.