Testing a used lens before buying takes about thirty minutes and happens in three stages: hold it up to a light and check the glass for fungus, haze and scratches, work the focus, zoom and aperture rings to feel for grittiness or damage, then mount it on a compatible body and confirm autofocus, aperture and image stabilisation actually work.
Most buyers spend all their attention on step one and none on step three, which is backwards. The scratch on the barrel that bothered you in the seller’s living room is cosmetic. The fungal threads you can only see with a flashlight held a few inches from the rear element are the thing that will cost you real money.
Used glass gets sold on appearance, and appearance is the least useful signal available. Here’s how to test a used lens before buying so you know exactly what you are getting.
Skip to the tool list if you already know what you are doing and want the checklist.
Table of Contents
- What You Need Before You Start
- Step-by-Step: How to Test a Used Lens Before Buying
- Step 1: Confirm the Lens and Accessories
- Step 2: Inspect the Barrel, Mount, and Exterior
- Step 3: Test the Zoom, Focus, and Aperture Controls
- Step 4: How to Test a Used Lens Before Buying – Check the Front and Rear Elements
- Step 5: Test Autofocus and Electronic Functions
- Step 6: Shoot a Practical Test and Review Results
- Common Mistakes When Testing a Used Lens
- Frequently Asked Questions
- Is it safe to test a used lens before buying?
- How much dust or fungus on a lens is acceptable?
- Can I test autofocus if the lens is not compatible with my camera?
- What should I check when buying a used lens online?
- Does haze or fungus always mean a used lens is not worth buying?
- How can I tell if a used lens has problems with image quality?
- Conclusion
What You Need Before You Start
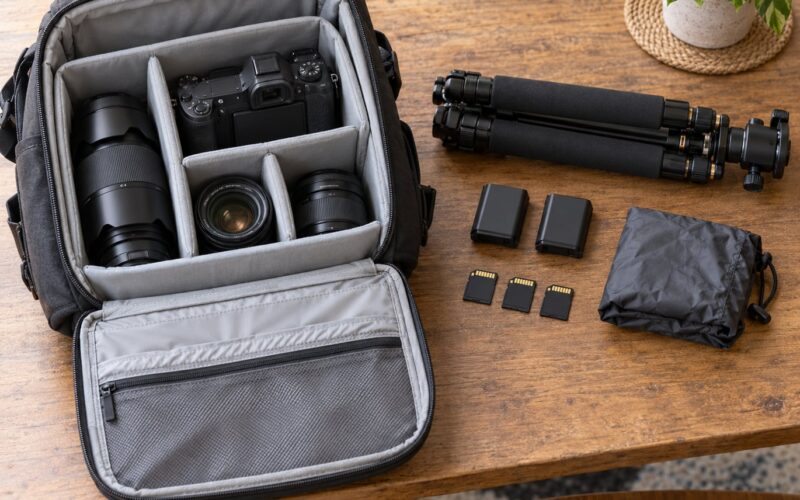
A proper inspection needs very little, and most of it costs nothing. The one thing you cannot buy on the spot is a compatible camera body, so bring yours, charged, with a spare battery if the lens is old.
- A compatible camera body with a charged battery. Without a body you cannot test autofocus, electronic contacts, aperture control or image stabilisation, which is roughly half the test.
- A small flashlight or torch. A penlight is fine. Bright and narrow is better than dim and wide.
- A gray card or plain white target such as a sheet of printer paper taped to a wall. This is for the aperture and flare tests.
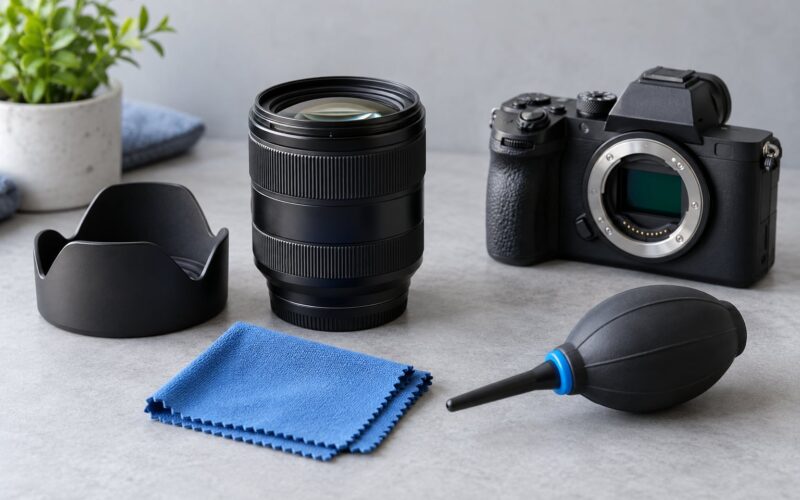
- A rocket blower and a lens brush so you can clear loose dust off the rear element and tell real haze from a speck sitting on the surface.
- A microfiber lens cloth.
- A step-up filter ring matched to the lens thread, so you can inspect the rear element and the aperture blades without touching the glass.
- A flat subject with fine detail. A brick wall is the classic choice. A bookshelf or a page of newspaper works nearly as well.
Before you travel, spend ten minutes on the specific model. Search the lens name plus “fungus” or “known issues” and you will usually find whether image jump at start-up, zoom creep or a rattling focus ring is a quirk of that design or a fault. Buyers on photography forums treat a dent in the barrel as a proxy for how the owner stored the gear, and therefore as a proxy for what is happening inside.
If you only have five minutes, check the glass for fungus and haze, run the focus ring through its full travel, and shoot one frame of the brick wall wide open. Those three tests catch most of what would ruin the purchase.
Step-by-Step: How to Test a Used Lens Before Buying
Step 1: Confirm the Lens and Accessories
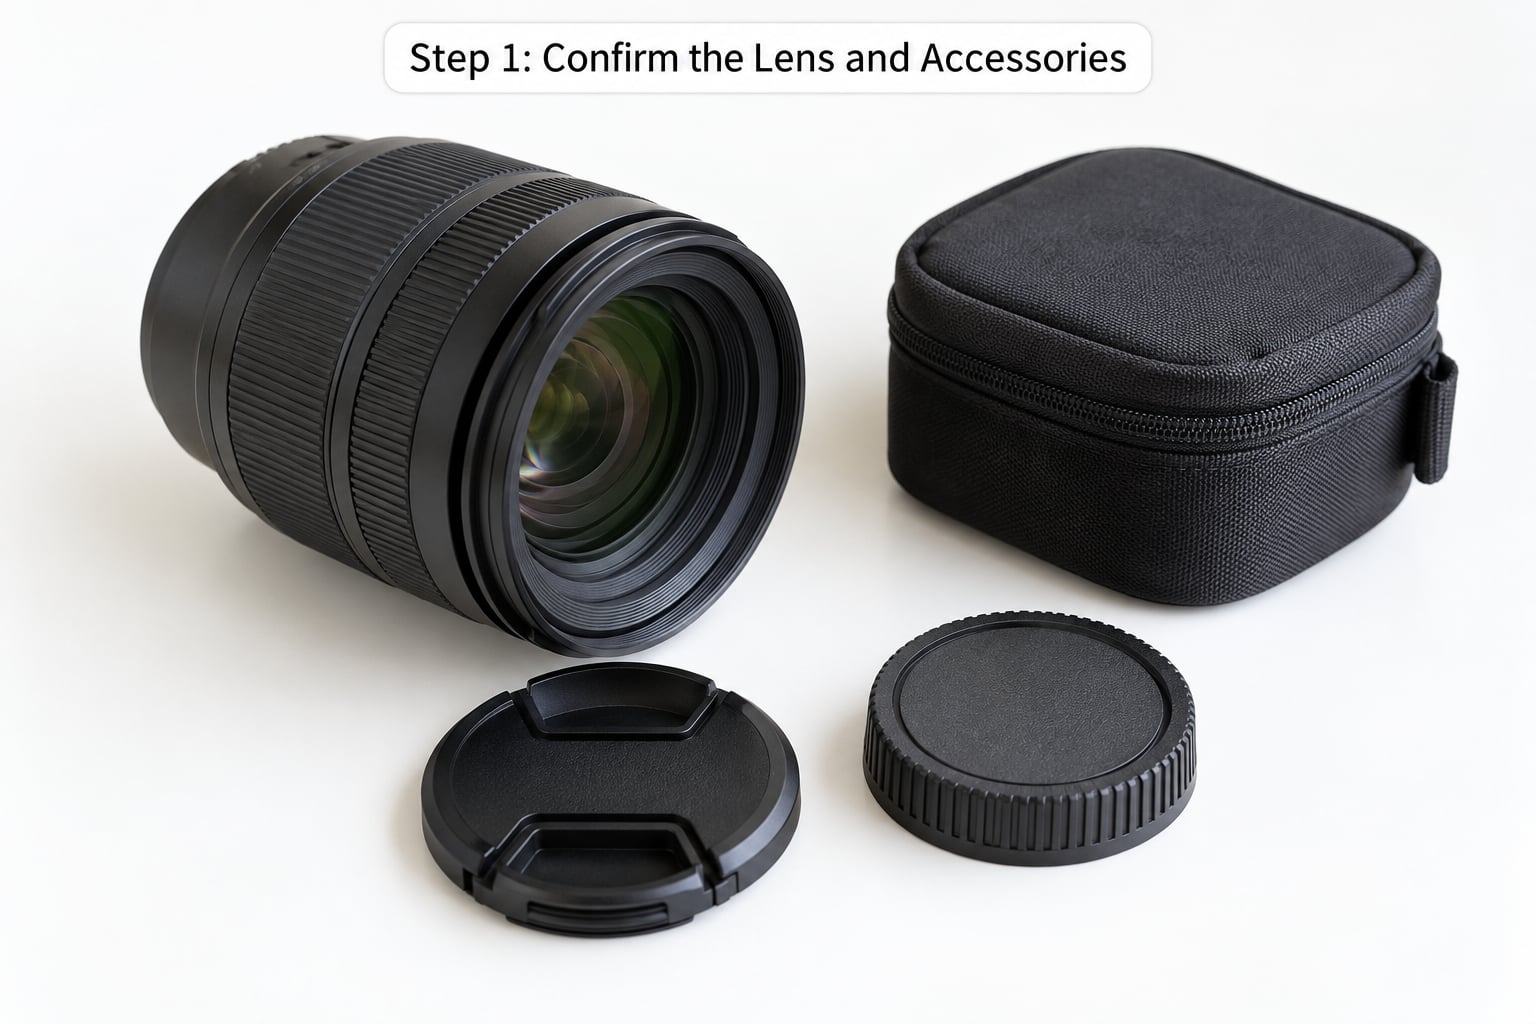
Start by confirming you are holding the lens you thought you were coming to look at. Check the model name, the mount type and the serial number against the listing before you do anything else with it.
Mount compatibility has to be exact, not approximate. A lens with an electronic contact pattern will not mount on an older body even when the metal rings line up, and a manual-focus lens that mounts fine may have an aperture ring the body cannot control. If the body does not report the lens correctly in its status display, no electronic feature will work and you should keep that in mind for the price.
Count what came with it: front and rear caps, hood, lens pouch or hard case, and any filters. A missing hood or cap is not a defect, but it is fair negotiating material, and a case that has clearly been in a hot car is a hint about storage.
Step 2: Inspect the Barrel, Mount, and Exterior
Turn the lens in your hands under good light and look at it the way you would look at a used car. The question is not “is it pretty”, it is “was it dropped”.
- Dents and impact marks near the mount or the filter thread are the ones that matter. Paint scuffs on a flat panel are cosmetic. A dent that changes the roundness of the barrel is not.
- Brassing, where the black finish wears through to the white metal underneath on a metal barrel, usually means the lens sat in a bag for years. On its own it is fine. Combined with grittiness in the rings, it suggests neglect.
- Missing or turned screws, cracked plastic, split hood hinges and loose distance scales suggest the lens has been apart or dropped.
- Filter threads should run true. Screw a filter on gently and check that it seats evenly all the way round. A thread that binds, or a filter that rocks, points to a bent barrel.
- The mount should be flat, clean and free of rust. Look straight into it and check the bayonet tabs. Missing electronic contacts on a lens that has them fitted is a red flag.
- Moulding marks on a plastic barrel are part of the finish. They are not cracks and they are not a fault.
Cosmetic problems reduce the price. Structural ones, meaning anything that affects the mount or the geometry of the barrel, end the inspection.
Step 3: Test the Zoom, Focus, and Aperture Controls
Work every ring through its full range and pay attention to how it feels, not just whether it moves.
The focus ring on an electronic lens with a motor should be smooth and uniform, without dry patches, hesitation or a gritty sensation. A little play or backlash at the very end of travel is common on older glass. What is not common is a ring that feels like there is sand in it, or one that stalls halfway.
On a zoom, run it from one end to the other slowly and listen. A faint whir is normal. A ratcheting or clicking sound as it extends often means a dry internal barrel. Tilt the lens upward after zooming out and see whether it slides back down on its own, which is called zoom creep. Mild creep on a heavy pro zoom is expected; creep on a light lens that slides as soon as you let go points to a dry guide.
For manual focus lenses, the helicoid matters more. Turn the ring slowly and listen for even spacing of the clicks. A helicoid that is dry or uneven in one part of its travel will make precise focusing on a fast prime frustrating even when the optics are perfect.
On the aperture ring, check that every stop clicks into place cleanly and that the blade clicks are even as you rotate. A ring that slips without clicking means the detent is worn. Screw the step-up ring on and look through it at the aperture blades: they should move together, dry and fast.
Step 4: How to Test a Used Lens Before Buying – Check the Front and Rear Elements
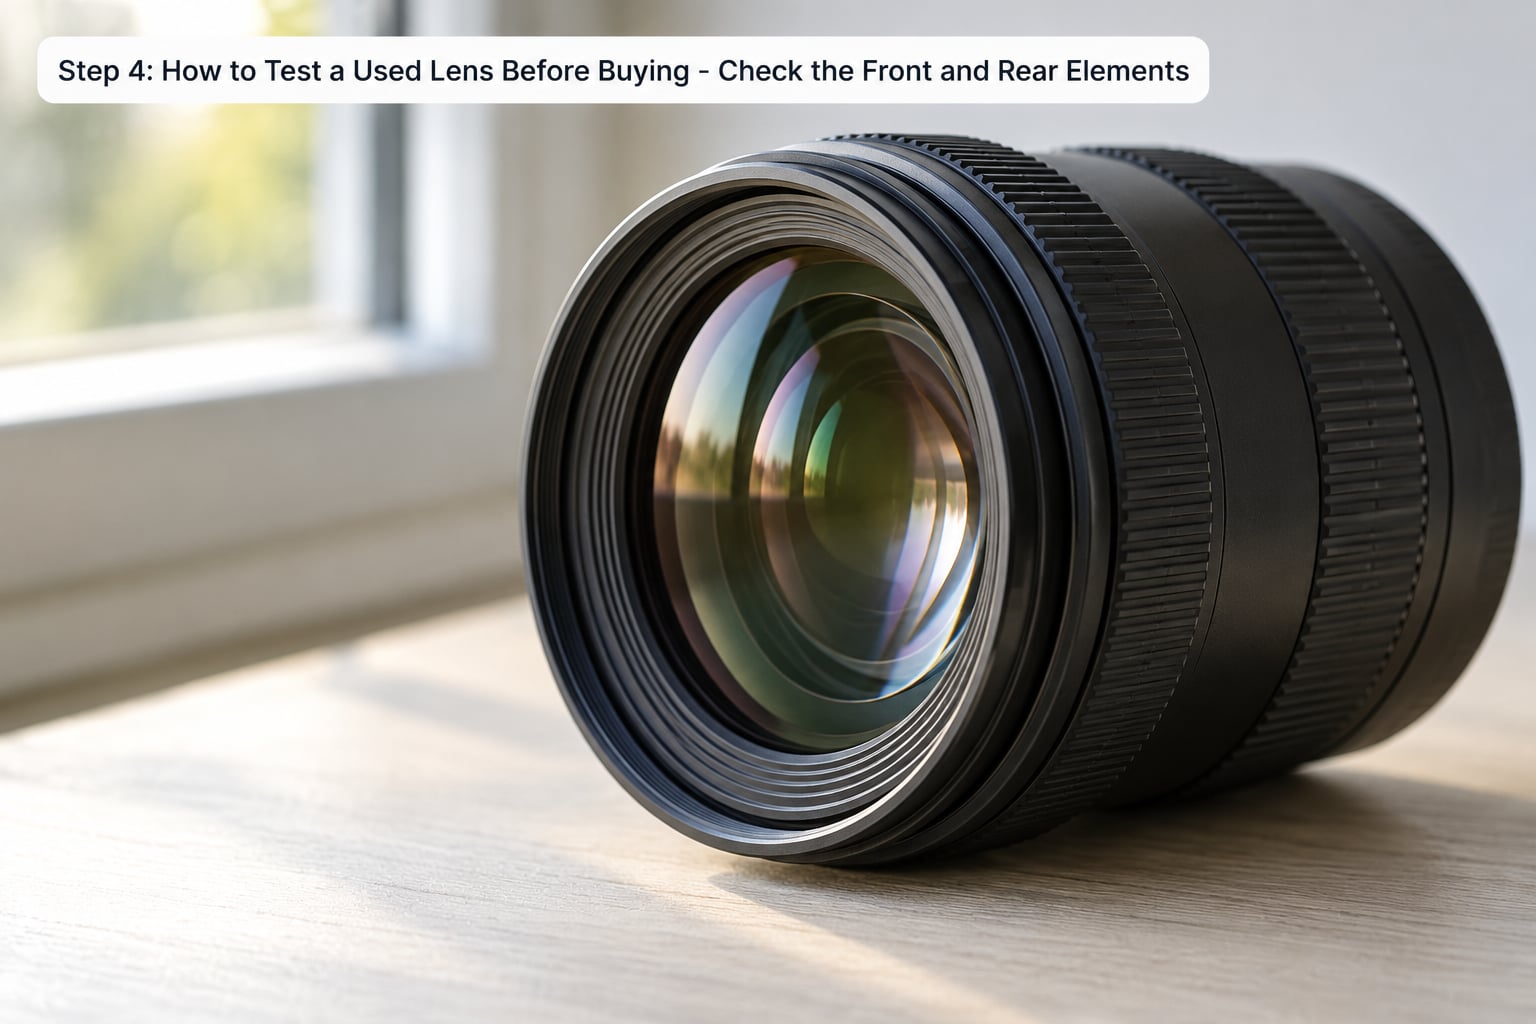
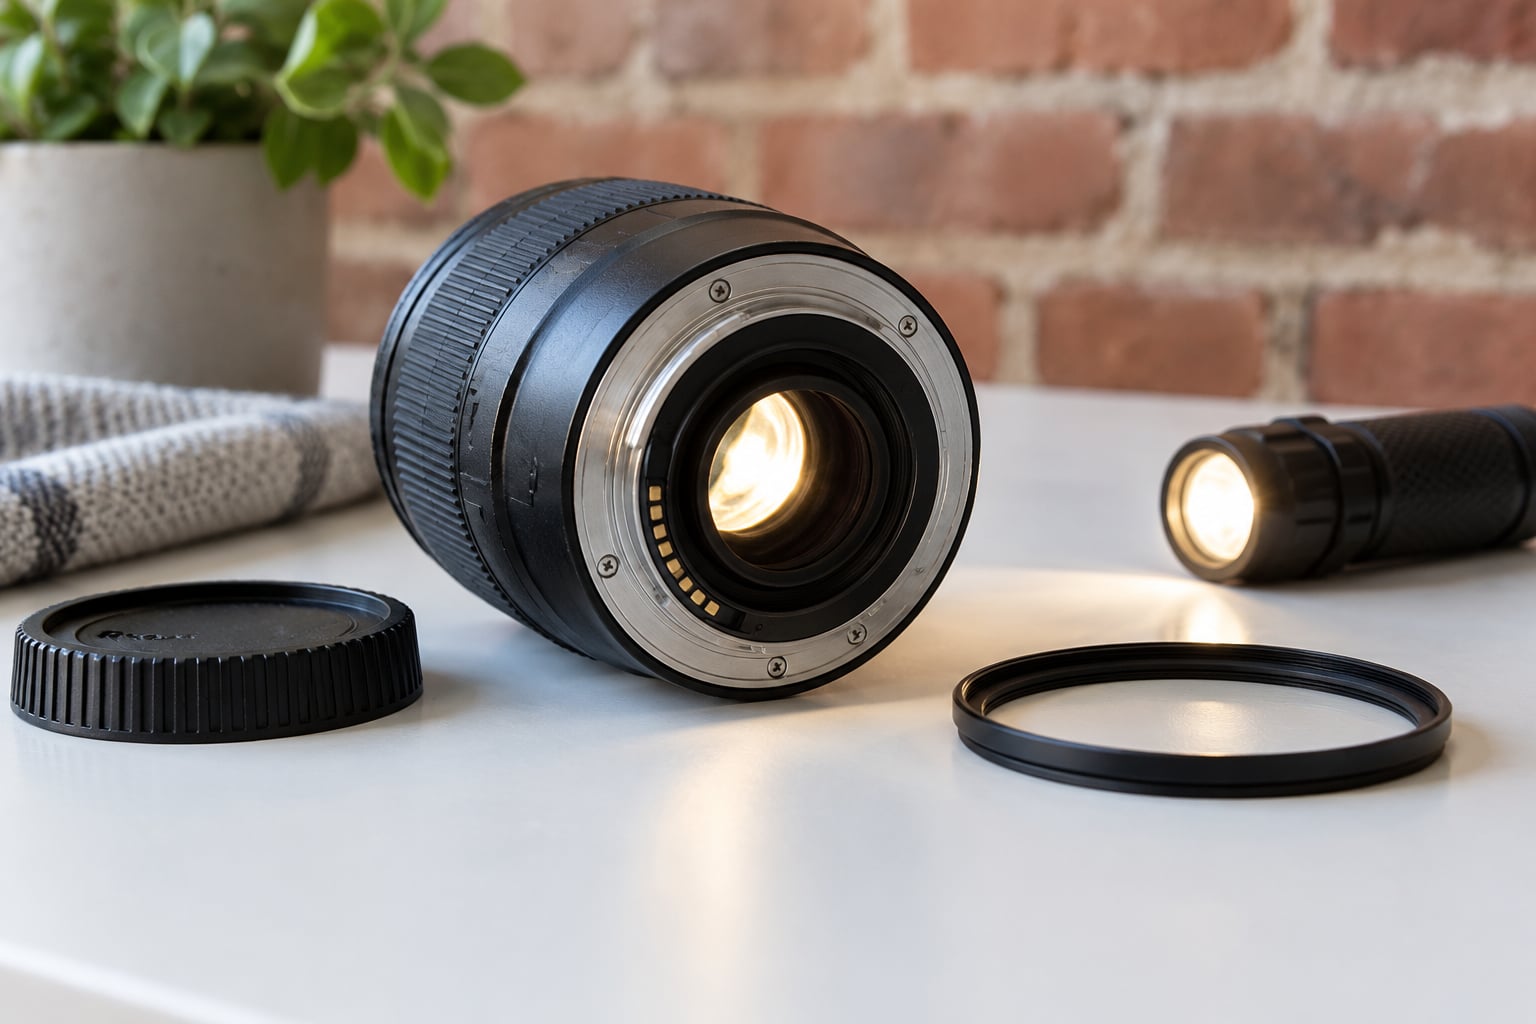
Glass is where the expensive problems live. Turn the lens face down, remove the rear cap, and hold a flashlight a few inches above the rear element aimed down through the glass while you watch the front from below. Then reverse it and shine through the front.
What you are looking for, in order of seriousness:
- Fungus or mould. It appears as web-like strands, branching patterns or clustered white spots, like tiny plants growing inside the glass. Any fungus at all is a walk-away. It attacks the coatings permanently, it will not come out without the lens being opened, and it can spread to other lenses stored in the same bag. Shining a light from both ends catches it far more reliably than looking at the lens against a window.
- Balsam or element separation. A cloudy film between two cemented elements, often with rippled edges. This is the lens equivalent of a cataract, it kills contrast, and no amount of cleaning helps. Walk away.
- Internal haze. A foggy veil that lowers contrast across the whole frame, different from dust because dust is discrete specks and haze is uniform. Blowing on the element with the rocket blower will clear surface dust but will not touch internal haze, which is how you tell them apart in thirty seconds.
- Dust. A few motes are fine. Many lenses have had dust since new, and dust does not reduce image quality noticeably until it is heavy. Several specks visible against the front element are acceptable.
- Scratches and chips. Distinguish a scratch in the coating from a chip in the glass. Coating scratches catch light as a thin rainbow line and never show in a photograph. A chip in the glass shows as a hard-edged dark blob, and a chip on the rear element gets much worse once you stop down.
If you can, photograph the lens while the flashlight is shining through it. A clear image of fungus is hard to argue with later if the deal falls apart.
Step 5: Test Autofocus and Electronic Functions
Mount the lens and switch the body on before you do anything else. If the lens is not detected at all, stop: either the contacts are dirty or the mount does not match, and there is no point testing further.
Autofocus gets tested at three distances, because lenses fail at different ranges. Focus on something close, about half a metre away. Focus on a subject a few metres off. Then focus on something far away and check that the lens can actually drive to infinity rather than stopping short.
Listen as well as watch. A lens that hunts, or that buzzes and stalls for a second before locking, has a tired motor or a failing gearbox. On older Canon EF lenses you can also flip the AF to manual on the lens itself; on older Nikon AF-D lenses the motor lives in the body, so the lens may still drive correctly on a body that has one. Check what your body does rather than assuming.
Take one frame at each distance and check it at full size. The focus point should sit where you put it, not consistently in front of or behind it. A consistent offset is a calibration issue that a service can sometimes address; a random miss points to a failing motor.
Image stabilisation is easy to test and often skipped. At the longest focal length the lens offers, listen for the servo startup when you switch it on. Then take two pairs of frames at the same shutter speed with stabilisation off and on. If the pair without stabilisation is visibly sharper, the system is working.
Finally, work the aperture from the body. Every stop should produce a distinct change in the histogram when you shoot the gray card. A slow or sticky aperture that takes a second to close is either oil on the blades or a failing mechanism, and both get worse with use.
Step 6: Shoot a Practical Test and Review Results
This is the test that tells you whether the optics are actually good, and it takes about five minutes. Put the camera on a tripod or a table, level and parallel to a flat subject with fine detail such as a brick wall, a bookshelf or a page of newspaper.
Shoot four frames: wide open, f/5.6, f/8 and f/11, all at the lowest ISO your camera allows, with stabilisation off and a timer or remote release. The wide-open frame shows you the lens at its worst, and f/8 and f/11 show you whether it resolves evenly across the frame.
Review each at 100% and compare the centre with all four corners. One side of the frame being noticeably softer than the other is decentering, which means an element has shifted in its mount, usually after an impact. A lens can be decentered and still be usable, but it is not going to get better, and it is worth knowing before you pay.
Look for the other things the frames tell you. Contrast falls off badly at the edges on a hazy lens. Vignetting shows as darkened corners, which is normal to a degree and easy to correct in software. Flare and ghosting show up as washed-out or bloomed areas when you include a bright light source in the frame. A soft, smeary look wide open that clears up by f/5.6 is usually normal for a fast prime; the same softness at f/8 suggests a real problem.
Not every trait is a defect. Wide-open softness, slight vignetting and mild corner falloff are all normal for particular designs, so compare against the model rather than against an ideal you have invented. Judge what you cannot explain away.
Common Mistakes When Testing a Used Lens
- Testing only in bright sunlight. Fungus, haze and separation all show up far more clearly with a flashlight in a dim room than against a window. Do the light test first, before you mount anything.
- Forgetting the rear element. It is the element closest to the sensor, the one most likely to be scratched, and the one that hurts most when you stop down. Use the step-up ring so you can see it without touching it.
- Ignoring mount wear. A lens with a worn or corroded mount can be perfectly good glass on a body that has a problem, or the other way round. Look into the mount before you look through it.
- Trusting autofocus without checking the corners. A lens can lock focus accurately in the centre and be decentered at the edges. The frame at f/8 is what catches this.
- Judging a lens by listing photos. A single photo under bad light tells you about the seller’s photography, not the lens. Multiple well-lit photos of the actual glass, plus a stated optical condition, tell you something real.
- Deciding under pressure. Sellers often want a quick answer. Say you need to check it on your body first, and do not hand over money until you have.
- Skipping the research. Knowing that image jump on start-up is normal for that model saves you from walking away from a good lens over nothing.
Frequently Asked Questions
Is it safe to test a used lens before buying?
Yes, and it is the point of doing the inspection in person. Mounting a lens, working the rings and taking test frames cannot damage it, provided you do not force a stiff ring, do not oil anything and keep the rear element away from grit. If a seller will not let you mount the lens on your own body before paying, treat that refusal as the finding.
How much dust or fungus on a lens is acceptable?
A few dust specks inside a lens are acceptable and do not affect image quality noticeably; many lenses have dust from new. Fungus is different. Any fungal growth is permanent, attacks the coatings, and can spread to other lenses kept in the same bag, so treat any you see as a walk-away. Internal haze and balsam separation are also walk-away items.
Can I test autofocus if the lens is not compatible with my camera?
Not fully. Without a matching body you can still check the glass, the rings, the filter threads, the mount, the aperture blades by hand and the bayonet fit. You cannot test autofocus, electronic contacts, body-controlled aperture, focus-by-wire behaviour or image stabilisation. In that case ask the seller to send you a short video shooting the brick wall wide open and stopped down.
What should I check when buying a used lens online?
Ask for well-lit photos of the front and rear elements shot against a light, the serial number, whether the lens has been disassembled, and a short video of it focusing on a brick wall wide open. Check the seller’s listing history and feedback for accurate descriptions rather than flattering wording. Buy only where you have a return window, and inspect the lens on arrival before the clock runs out.
Does haze or fungus always mean a used lens is not worth buying?
Haze usually does, because it reduces contrast across the whole frame and cannot be cleaned away. Light haze in a cheap kit zoom is sometimes a fair trade for the money. Fungus always does, unless the lens is a manual-focus legacy glass where you have no electronic contacts to harm and accept a future repair. Judge by price and by what else you are giving up.
How can I tell if a used lens has problems with image quality?
Shoot a flat detailed subject at wide open, f/5.6, f/8 and f/11 and view every frame at full size. Decentering shows as one side of the frame being softer than the other. Haze shows as flat contrast. Oil on the aperture blades shows as an uneven or hexagonal bokeh shape and a hazy patch in the centre when stopped down. Softness that never clears by f/8 is a fault rather than a design trait.
Conclusion
Start with the glass, in the seller’s light, before you touch anything else. Fungus, haze and element separation are the defects that cost money, they are invisible in listing photos, and a flashlight takes two minutes to rule them out.
Then work the rings, then mount it and shoot four frames of a flat surface at wide open, f/5.6, f/8 and f/11. If those three stages come back clean, buy it. If not, you now know whether to negotiate, walk away or budget for service, and you know that from evidence rather than from a description.