An about page is where a stranger decides whether to trust you with a memory, and learning how to write an about page as a photographer comes down to editing, not inspiration. The pages that work are short, specific and faintly opinionated: they say what you shoot, how you work, and what changes for the person in the frame.
The ones that fail bury that person under 400 words of gear lists, client name-drops and apologising for charging money. Budget about an hour for the first draft and thirty minutes for the edit, and it is done in a sitting.
Here is the order I would write it in, and what each part has to do for the page to earn its place on your site.
Table of Contents
- What You Need Before You Draft the Page
- Step-by-Step: Writing the Page Section by Section
- Start With a Clear Introduction
- Show Your Style and Approach
- Explain What You Photograph
- Add Trust-Building Details
- Write for the Reader You Want to Hire You
- Edit for Clarity, Voice, and Proof
- Common Mistakes and the Fix for Each
- Frequently Asked Questions
- How long should a photographer about page be?
- Should a photographer bio be in first or third person?
- What should I include in a photography about page?
- How do I sound professional without sounding stiff?
- How often should I update my about page?
- How do I connect my about page to bookings?
- Conclusion
What You Need Before You Draft the Page
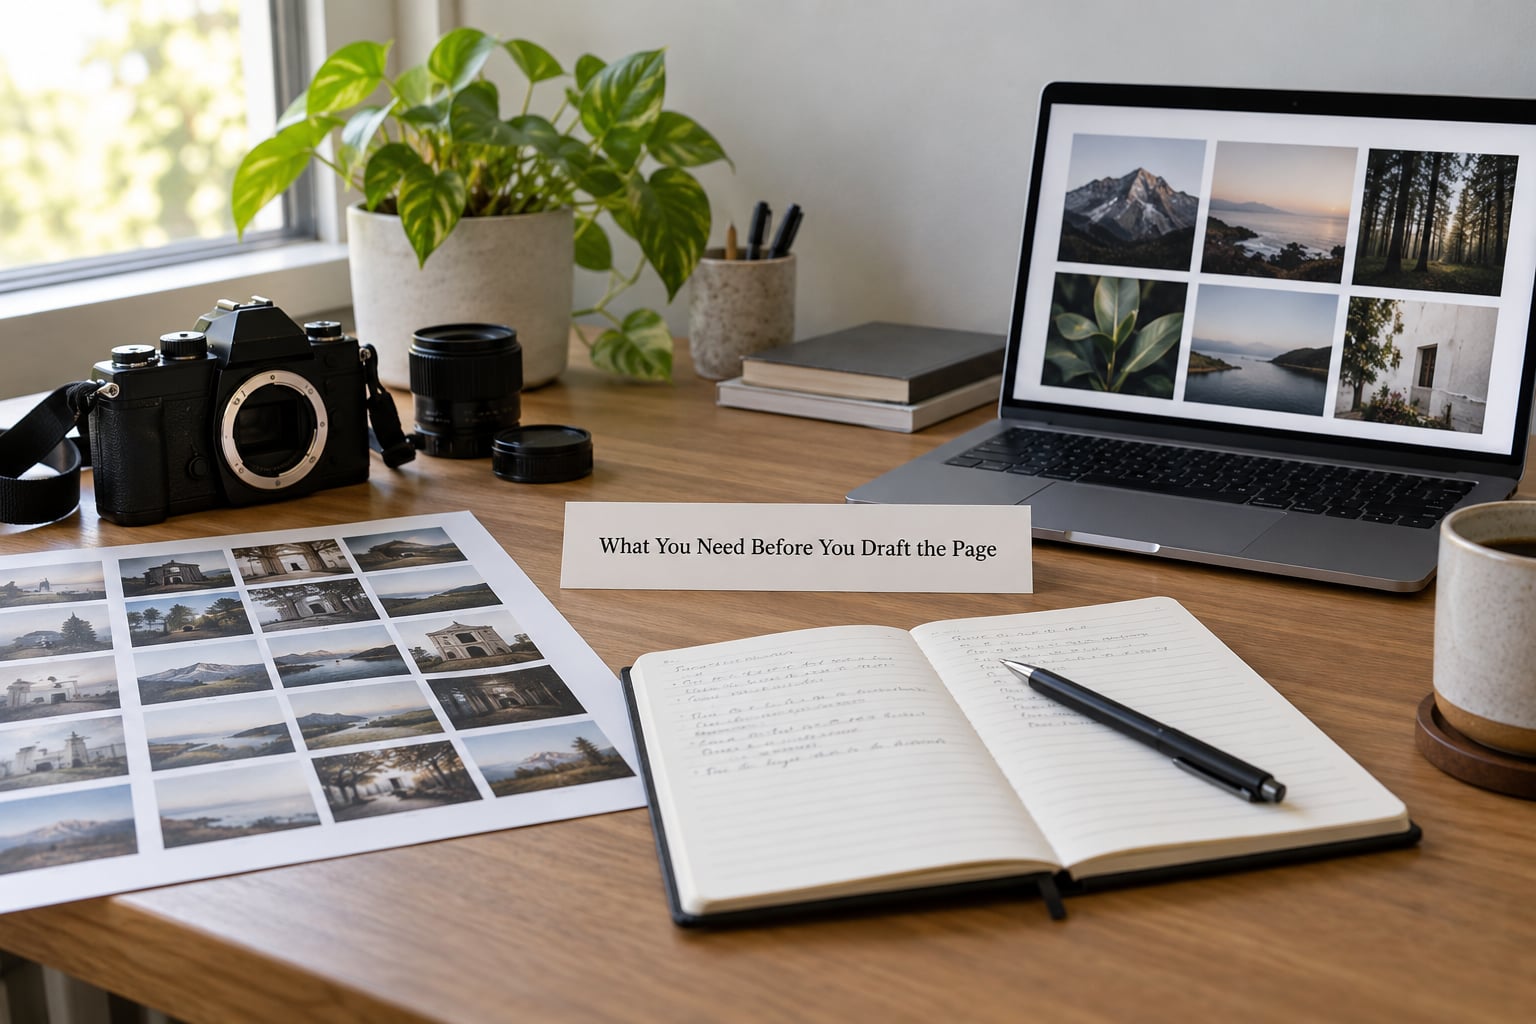
Gather five things first, and the writing stops being hard. Photographers get stuck mid-sentence because they are deciding what to include while trying to phrase it, and nothing resolves until the raw material is sitting in one place.
- Your specialty in one line. Not “photographer” but “wedding photographer working in the Yorkshire Dales” or “portrait photographer for actors and musicians”. Narrow reads as confident; broad reads as a beginner.
- Three to five checkable facts. Years working, number of weddings shot, where you trained, studios you have shot in, one recurring client you can name out loud.
- Two or three client sentences. Pulled from reviews, not invented. What clients praise is regularly not what the photographer thought was impressive.
- A working photo of you. A frame from a session, ideally mid-shoot, beats a formal headshot from four years ago.
- The one next step you want. Every page ends somewhere. Decide now whether that is a date checker, a short inquiry form or an inbox a person actually opens.
Add the awkward parts too: what you will not photograph, how a session usually runs, what happens when the weather turns. Those specifics do more to settle a nervous first-time client than any adjective you can stack up.
Step-by-Step: Writing the Page Section by Section
Start With a Clear Introduction
Open by naming yourself, your specialty and what the client walks away with, in two or three sentences. Most pages lose the reader in line one, usually because they start with “I am a passionate, self-taught photographer who fell in love with light”.
A workable opening has three parts: name and location, what you shoot, and a promise about the result. “I shoot weddings across the Yorkshire Dales and the Lake District. You get the whole day documented, a second photographer once the guest list passes 120, and a hand-printed album.” That reads like a person who does this most weekends.
Test it by covering the rest of the page. If someone could stop after two sentences and still know whether to email you, the introduction is doing its job.
Show Your Style and Approach
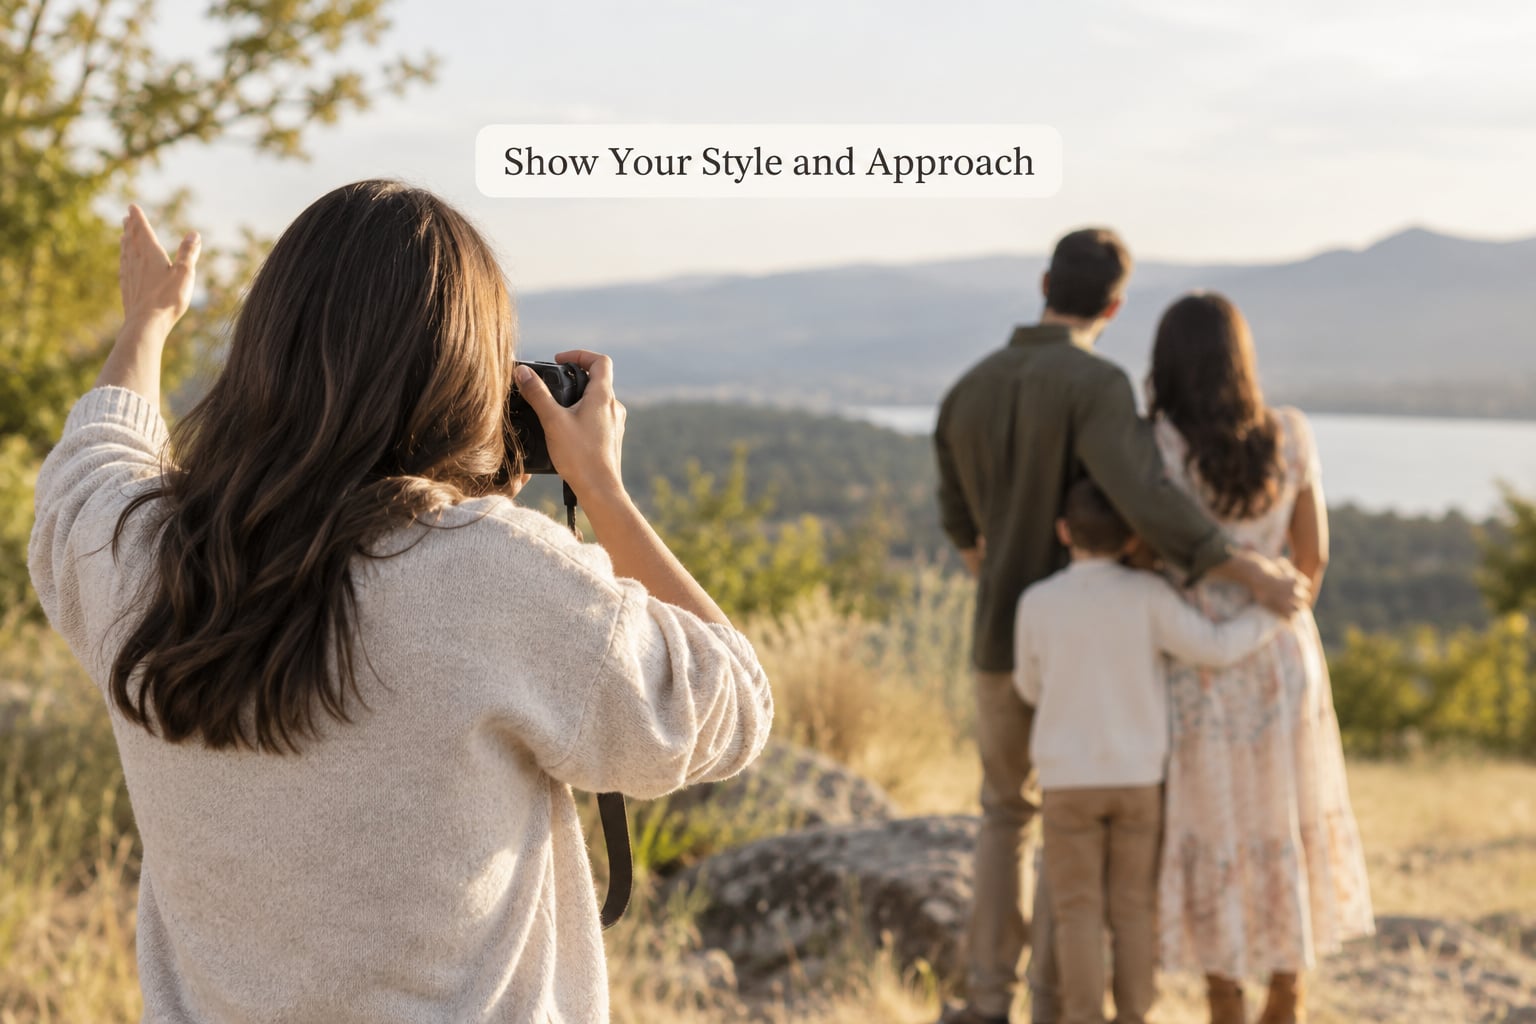
Turn abstract style words into concrete behaviour. “Documentary, warm, unposed” does nothing alone; it becomes useful the moment you attach it to a habit, such as keeping the whole family together instead of splitting them off, talking more than posing, or shooting the messy middle of the day rather than the tidy hour.
The process paragraph is the part most photographers skip and most clients read twice. Explain what happens in the first ten minutes, how you handle people who hate having their picture taken, and what you do with nervous children. Personality shows up in those details more reliably than in any self-description you write about yourself.
One small, slightly embarrassing detail beats a polished adjective every time. Mention the joke you make at every shoot, or that you keep a running list of the names of dogs you have photographed. It is exactly the sort of thing a client repeats to their own friends afterwards.
Explain What You Photograph
Describe your services as situations rather than a menu. “Weddings, portraits and headshots” tells a visitor nothing; “couples who want a record of a day they actually enjoyed, actors who need headshots that survive a casting submission, families finished with blurry phone photos” tells them whether to book.
Pick two or three and give each one a sentence of context: who hires you, where you travel, what the session feels like, how many images they end up with. Where packages or pricing live on a separate page, link there rather than summarising your own terms badly at the bottom of a paragraph.
Then check the page against the rest of your site. If the services page says you only take bookings in one region and the about page says you are available everywhere, one of them is quietly losing you inquiries.
Add Trust-Building Details
Support the promise you just made with proof that can be checked. Ten years shooting, 140 weddings, training at a named workshop, two features in a named magazine, regular work for three studios you can name. Vague claims such as “seasoned professional” or “an award-winning eye” read as filler, and readers have learned to scroll past them.
Client sentences do more work than anything you write about yourself. Drop two or three reviews in as plain text next to the paragraph they support. Mining your own reviews for this section usually turns up your real differentiator, and it is rarely the thing you assumed: galleries arriving early, children handled calmly, someone feeling relaxed within ten minutes.
Leave out the equipment list unless the gear genuinely is the reason to hire you. Nobody has ever chosen a photographer based on the camera body.
Write for the Reader You Want to Hire You
Turn every sentence toward the client. “I have an eye for detail” becomes “you get your frames back in two weeks, colour graded and ready to print”. A quick test: read the paragraph and count how many times you are talking about yourself.
Finish with one instruction, not four. A link to check a date works for wedding work; a short form asking for shoot type and rough dates works better for portraits and small commercial jobs. Two competing buttons on one page split the decision and you lose half of it.
If you shoot several unrelated things, give each its own short block with its own link, so a portrait client never has to scroll past four paragraphs of wedding talk to find a way to book you.
Edit for Clarity, Voice, and Proof
Run the draft through five passes in a fixed order, so you are not changing wording and facts at the same time.
- Cut 20 percent. Deleting is editing. Most first drafts run roughly a fifth long, and the trimmings are almost always the second explanation of the same idea.
- Strip the hedging. “I try to always” and “I would say possibly” make you sound unsure about work you have done a hundred times. State it.
- Verify every claim. Numbers, years, publication names and client names all get checked against reality before this page goes live.
- Read it on a phone. Half your visitors will arrive on one. If the first sentence sits below a fold, it moves up.
- Read it aloud. Any sentence you stumble over was written for nobody. This also catches the wall of commas and the missing apostrophe.
Ask one person outside photography to read it and tell you what kind of work you do. If their answer is vaguer than your headline promised, rewrite the top third, not the middle.
Common Mistakes and the Fix for Each
These six problems cover most of the about pages I see go live, and each one has a quick fix.
- The vague opening. Starting with adjectives about yourself instead of what you shoot. Fix: rewrite line one as name, specialty, result.
- The 900-word autobiography. Nobody reads it, so the two good sentences in the middle get found by accident. Fix: split the long story into a blog post and link it, keep the page under 400 words.
- Unsupported claims. “Top photographer”, “award-winning”, “leading expert”. Fix: replace with one number or one named credit you could prove if asked.
- Inconsistent service information. Different locations, different session lengths, different contact details on different pages. Fix: pick one source of truth for your packages and make every page agree with it.
- No photo, or a photo from years ago. A page of pure text is noticeably harder to trust than the same words under a current picture. Fix: a working shot from last month beats a studio headshot from your first year.
- No next step. Readers who like you and then find no button simply leave. Fix: one link, one sentence telling them what happens next.
The underlying fix for most of these is the same habit: keep asking what a specific reader is trying to find out. Perfection paralysis is usually just an unasked question, and the answer is almost always a sentence you can write now.
Frequently Asked Questions
How long should a photographer about page be?
Aim for 250 to 400 words on your website, plus two or three short service blocks. Instagram wants 150 characters and a link out; LinkedIn allows roughly 2,600 characters; a printed leave-behind needs under 150 words. The website version can run longer because readers scroll, but past 500 words you need clear subheadings so nobody gets lost halfway down.
Should a photographer bio be in first or third person?
First person suits almost everyone selling to couples, families and small brands, because it reads as a person rather than a brochure. Third person fits fine art and editorial work, or any studio bio written by someone else, where a neutral voice suits the tone. Pick one and stay with it: a page that opens in first person and slips into third later reads as unedited.
What should I include in a photography about page?
Your name, where you are based, what you shoot, how you got started, three to five facts someone could verify, one or two client sentences, a current photo of you working, and a clear next step with contact details. Also describe what a session feels like, since that is what people are really buying. Skip the equipment list and anything you could not prove if challenged.
How do I sound professional without sounding stiff?
Write the way you would explain your work to a friend who asked at a party: contractions, short sentences, and one specific detail instead of three vague ones. Professionalism comes from precision rather than formality. Telling someone you use two off-camera lights and hand over the gallery in three weeks does far more reassuring work than calling yourself a passionate, detail-oriented creative.
How often should I update my about page?
Every six to twelve months, and immediately whenever something material changes: a new specialty, a new city, a published feature, a studio move or a rebrand. Put a calendar reminder on it rather than waiting for the mood. Refresh the photo at the same time, because an out-of-date picture costs you more trust than a slightly stale sentence.
How do I connect my about page to bookings?
End with one instruction, not four. A linked date checker suits wedding work, while a short form asking for shoot type and rough dates suits portraits and small commercial jobs. Keep that button visible on the same screen as your services and pricing. One page, one ask, one place to click beats three options competing for the same click.
Conclusion
Start by picking the one specialty you want more of, then draft a three-sentence introduction that names it and promises a result. Add proof someone could check, two client sentences, and a single button that tells the reader what happens next.
Then read it out loud, cut a fifth of it, and ask one non-photographer what kind of work you do. That answer is the test, and getting how to write an about page as a photographer right comes down to passing it.