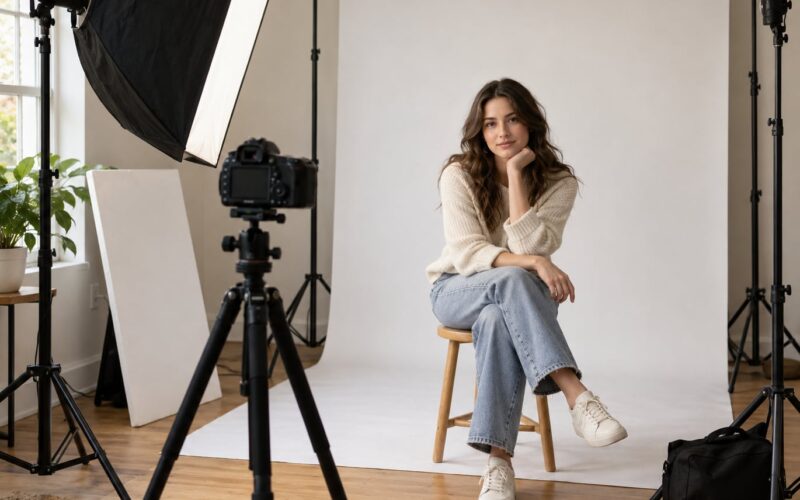
A good maternity session is mostly planning and pacing, not gear. Get the light right, start the client in poses she can hold comfortably, give short specific instructions instead of vague ones, and the frames take care of themselves. Most sessions finish in 60 to 90 minutes.
This guide is written for the photographer behind the camera, whether you shoot your first bump portrait this month or you already do family sessions and want maternity to stop feeling unpredictable. The work is different from a standard portrait in one specific way: the pregnancy is temporary. There is no reshoot. That changes how you plan, how you direct and how carefully you watch your client’s energy.
Table of Contents
- What You Need
- How to Photograph a Maternity Session Step by Step
- Plan the Session Around the Client
- Choose a Location and Lighting Plan
- Set Up Your Camera
- Start With Comfortable Poses
- Direct With Simple, Specific Prompts
- Vary the Portraits Without Forcing It
- Watch the Light and Adjust as You Shoot
- Review and Deliver the Final Images
- Common Mistakes
- Frequently Asked Questions
- What are the best camera settings for a maternity photoshoot?
- What month of pregnancy should you take maternity photos?
- How do I shoot maternity photos at home?
- How long should a maternity photo session be?
- How do I pose and direct a client who is not a model?
- Conclusion
What You Need
You can shoot a complete maternity session with a camera, one lens, a reflector and a place with soft light. Anything beyond that is convenience, not requirement.
- Camera and lens. Any interchangeable lens camera works. A 35mm or 50mm prime keeps you far enough back to shoot full body and profiles without wide-angle distortion. An 85mm is better for close portraits and details.
- A support. A tripod, a monopod or just a stable stance against something. Many of the strongest bump frames are made while you hold still and let the client move.
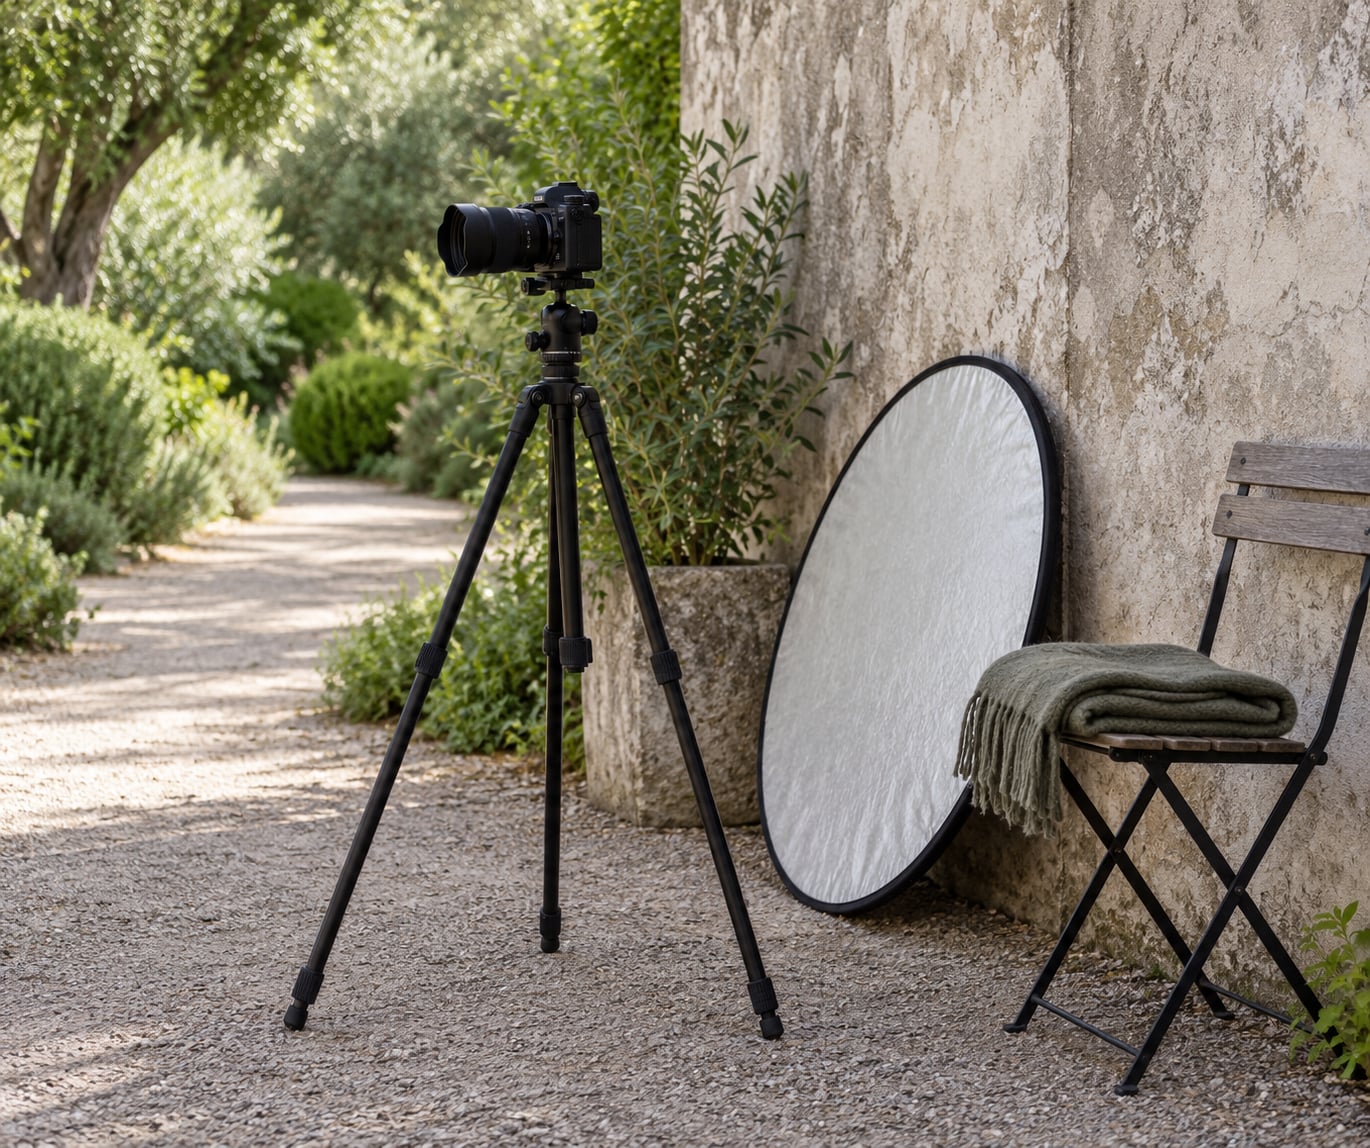
- A reflector. A 5-in-1 reflector or a white foam board bounces open shade light back into the shadow side of her face. Cheap, and it does more for skin tones than any flash does.
- Optional light. A speedlight with a small softbox or white bedsheet diffusion gives you rim light after sunset or in a dim living room. Skip strobes entirely if you are comfortable outdoors.
- Comfort items. A folding chair, a blanket for the ground or a low stool. Anything that lowers her centre of gravity is worth carrying.
- Clamps or safety pins. For pinning fabric, holding a hem out of puddles, or keeping a gown from catching on a fence.
Natural light through a large window handles a whole home session on its own. Put her about 1.5 to 2 metres back, turn the window off to one side of her shoulder rather than straight on, and shoot for the hour before the sun hits the glass hard.
How to Photograph a Maternity Session Step by Step
The workflow below runs in the order I actually work in: plan the session around the client, choose the location and light, set the camera, start with comfortable poses, direct with specific prompts, vary the frames, watch the light, then review and deliver. Skip ahead and the session still works, but the order keeps the client comfortable, which is what keeps the gallery good.
Plan the Session Around the Client
Start the conversation before you talk about the camera. Ask what she wants to see in the photographs ten years from now, what weeks she is at, how long she can stand, and whether she has been on her feet all day.
Most clients land somewhere between 28 and 36 weeks. The bump is clearly visible from about 28, and energy tends to drop past 34 or 35, so the 32 to 34 week window gives you the strongest shape without a long fatigue conversation. If she is carrying multiples, move earlier, closer to 28 to 30, because everything arrives sooner. If the pregnancy is high risk, let her doctor set the date and build in a reschedule buffer.
Then get specific about the practical things. Ask about stairs and uneven ground, whether she needs to sit down frequently, if she has any back or pelvic pain that rules out kneeling, and whether she wants her partner or older children in the frame. Book six to eight weeks out. Clients frequently pick outfits after they understand the light, so leave room for that conversation.
Ask about wardrobe on the pre-session call and give guidance rather than asking them to guess. Solid colours photograph cleaner than busy prints, and a fitted dress with an empire or soft waist line shows the bump without clinging. Confirm where her seamless underwear sits under the fabric, because a visible waistband ruins five frames in a row.
Choose a Location and Lighting Plan
Pick the location for its light and its ground, not its reputation. Open shade under a tree line or beside a building gives you even, soft light for hours. Direct sun at midday is the hardest light you will ever ask a pregnant client to stand in, and it is the one most people still book by accident.
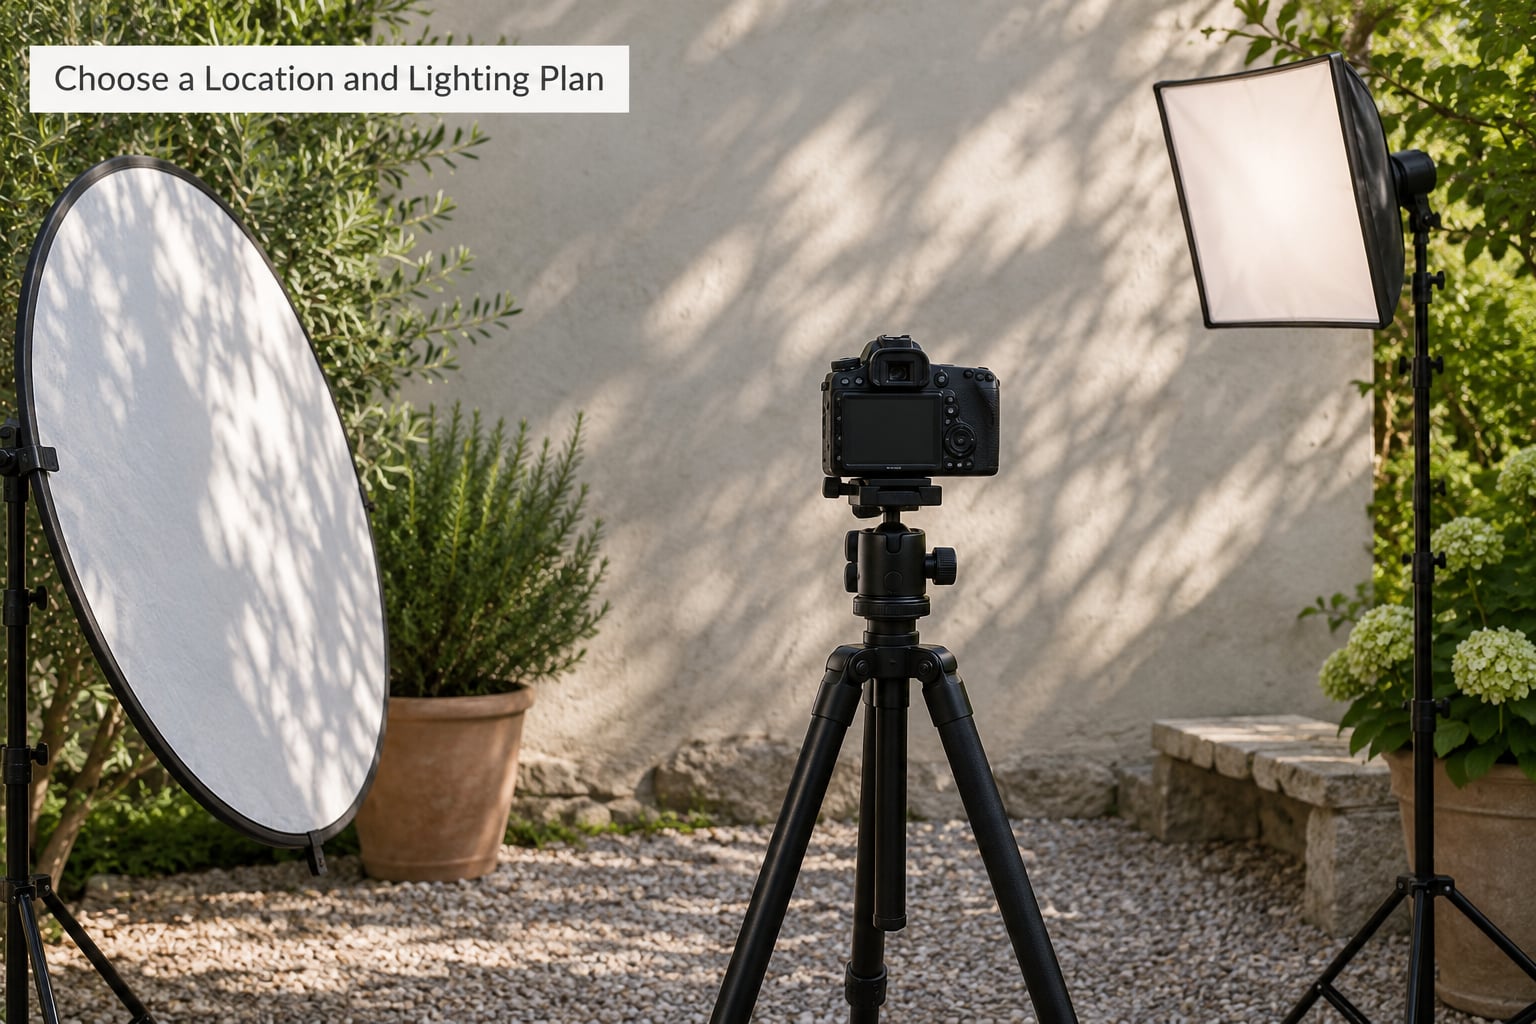
Golden hour is the easiest window to work in. Stand her with the sun behind and to one side of her, expose for her skin, and the bump picks up a rim of light on its curve. Bring a reflector to fill the face side, because backlit skin goes flat fast.
Scout the location the week before if you can, at the same time of day. Look for a clean background five metres behind her: a plain wall, an open field, a stretch of water. Note where the shade falls, whether there is a bathroom nearby, whether you can park close, and where the client can sit down. Beach and river sessions need a tide check and a flat route to the water.
Set Up Your Camera
Start every session in aperture priority at around f/2.8 to f/4, ISO 100 outdoors in good light, and the fastest shutter the light allows, around 1/250s. Shoot RAW, use continuous autofocus with eye detection, and set white balance to the shade or cloudy preset so skin tone stays consistent as the light changes.
Focus on her eye nearest you. For full body profile frames, focus on the front edge of the bump if you want it sharp. Move closer rather than opening the aperture when you need more depth of field, especially with two people in the frame.
These are starting points, not rules. Adjust like this:
- Golden hour backlight: f/2.8, 1/500s, ISO 100, exposure compensation around +0.3 to +0.7 to lift skin out of the shade.
- Open shade: f/3.2, 1/320s, ISO 200 to 400, no compensation needed.
- Window light at home: f/2, 1/250s, ISO 400 to 800, white balance on daylight or a custom grey card reading.
- Overcast outdoors: f/2.8, 1/400s, ISO 200. Overcast is the most forgiving light there is.
- Studio or flash indoors: f/4, 1/200s, ISO 200, flash set to about 1/16 to 1/32 power depending on distance.
Keep the light in the shoot consistent so the edit is fast. Most mismatched galleries come from changing white balance halfway through, not from bad exposure.
Start With Comfortable Poses
Build the session from the easiest position to the hardest. Start standing, relaxed weight on one leg, hands resting lightly on the bump. Move to seated, then to movement, then to detail and close portrait moments.
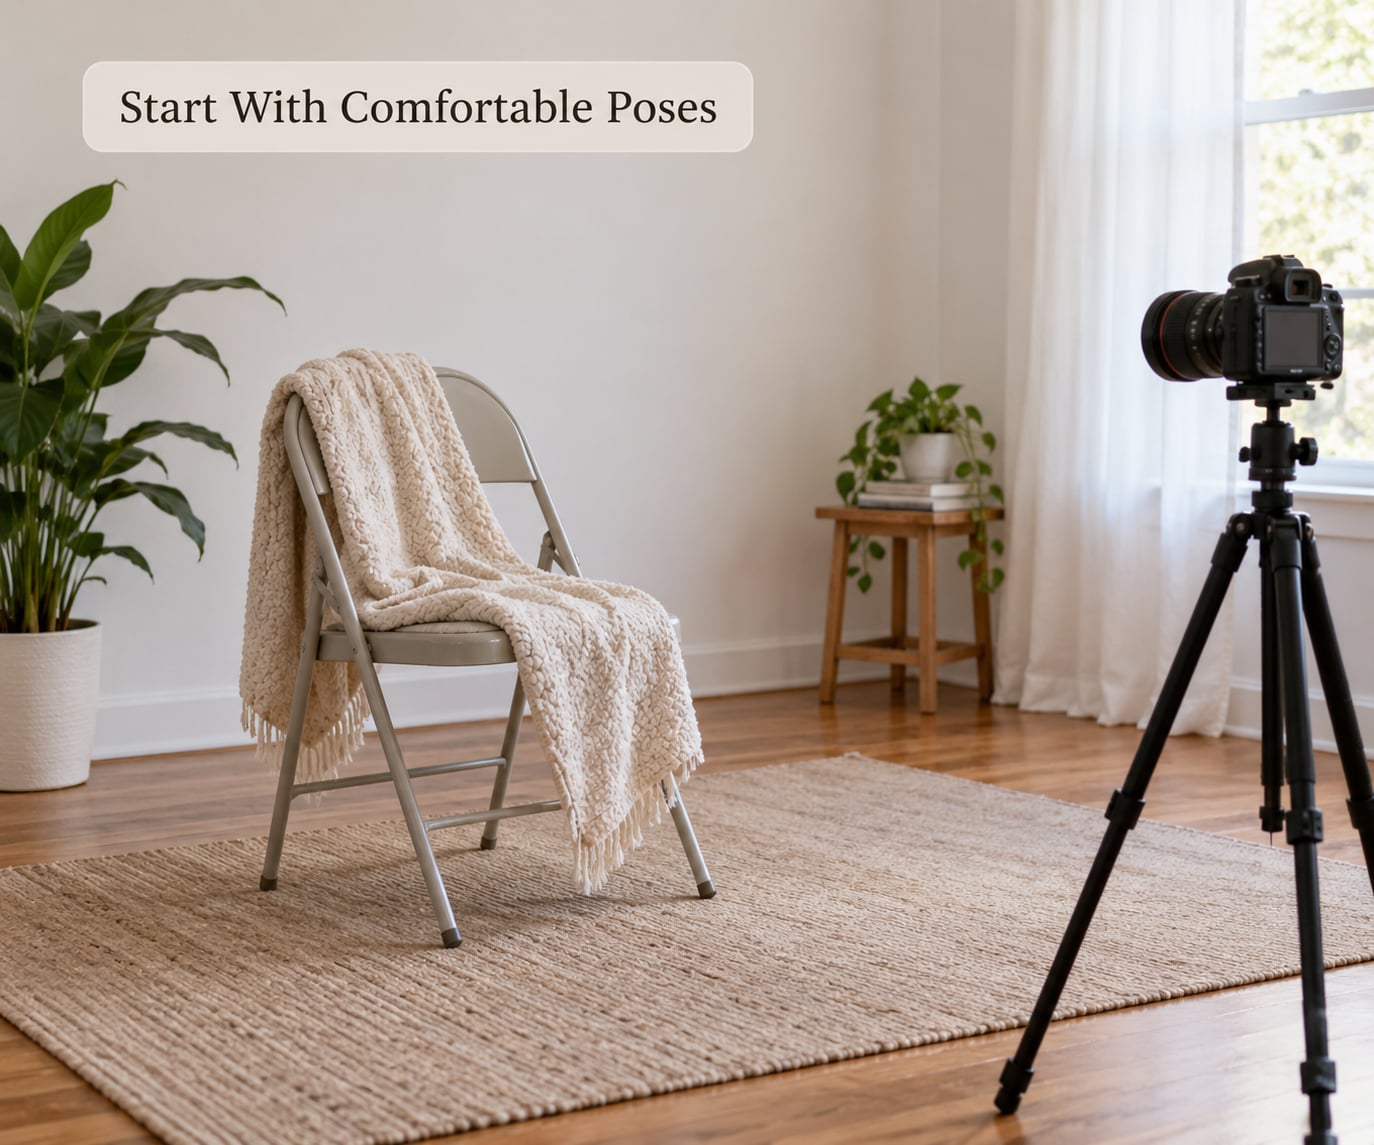
Group poses by what her body can do that day rather than by a shot list you printed. Standing and leaning work for most clients. Seated on a chair works at 34 weeks and beyond. Half-lying on her side with the bump framed forward is the most flattering option late in pregnancy and the one clients are most surprised by. Save kneeling for the beginning of the window and skip it entirely if there is any pain.
Name the poses so you can direct quickly. The hand cradle, the profile, the lean, the seated three-quarter, the half-lying frame, the partner embrace. Clients relax when they know what is happening next, and you shoot faster when you are not inventing directions on the spot.
Direct With Simple, Specific Prompts
“Relax and have fun” produces a stiff smile every time. Give one instruction at a time, use movement, and keep talking between frames.
- Movement: “Take three slow steps toward me and look down at your belly.”
- Hands: “Cup your hands under the bottom of the bump, fingers relaxed.”
- Breathing: “Take a deep breath in and let it out slowly, then hold that.”
- Eye line: “Look past my shoulder toward the light.”
- Warmth: “Think about the first time you felt the baby move.”
- Interaction: “Put your hand on your partner’s chest and turn to talk to them.”
Give feedback about what worked, not about her body. Say the light on her face is beautiful and that the frame with her looking down is my favourite so far. Never tell her to relax her shoulders, hold it in, or lose weight. If you want a change, ask for the version of the pose you want rather than correcting her.
Vary the Portraits Without Forcing It
Vary one variable at a time: distance, angle, expression, framing or body position. Shoot one frame, change one thing, shoot again. That way you always know which change helped and the gallery grows without repeating itself.
Move from full body to three-quarter to waist up to hands only. Rotate her ten or fifteen degrees between setups rather than repeating the same angle. Collect the details too: hands on the bump, bare feet on grass, the sonogram in her palm, a sonogram frame held low, a hand from a partner resting beside hers. Those frames take ten minutes total and they hold the wall of a gallery.
Watch the Light and Adjust as You Shoot
Check the histogram after the first frame of each setup rather than after twenty. If the skin is clipping, bring the subject out of the light or angle the reflector to fill instead of dropping exposure and raising noise later.
Shade moves fast in open ground. Every ten minutes, look at the background behind her and check for a hard shadow line crossing her face. The fix is almost always to move her, not to fix the file. When the sun drops and backlight turns harsh white, move to open shade and change the angle rather than fighting it with exposure compensation.
Watch skin tones too. Mixed light from a warm wall and a blue sky can turn skin green. Turn off anything coloured in the frame and shoot RAW so you can correct it cleanly. If you have a grey card, reading one at the start and end of the session takes a minute and keeps the whole gallery consistent.
Review and Deliver the Final Images
Cull fast. Zoom to 100 percent and check focus, closed eyes, expressions and hands. Look for variety in distance and expression, not fifty near-identical frames. Most maternity galleries land somewhere between 40 and 80 delivered images from a 90 minute session.
Edit with one preset built on a single culled frame, then apply it across the batch and adjust skin tones individually. Do not smooth skin into a texture the client never had, and do not reshape her body. Ask for feedback on a small preview set before you spend a day on the full gallery.
Back up to two places before delivery, then send a gallery that includes a mix of the client, the bump and the people she chose to include. Many families order albums from a maternity session, so deliver images large enough to print. On an average maternity shoot I get a phone call or email about two weeks later, usually from a parent who prints the profile portrait.
Common Mistakes
Most problems on a maternity shoot come from rushing or from asking the client to hold a hard position too long. Here are the ones I see repeatedly and what fixes them.
- Booking a one hour slot for a session that needs ninety. Rushing shows up in the frames: stiff hands, missed expressions, no breaks. Add time rather than cutting the posing short.
- Choosing direct midday sun because it was convenient. Move to golden hour or open shade. Squinting clients and harsh shadows cannot be rescued in post.
- Running the same pose for twenty minutes. Build a list of eight to twelve setups and work through them. A tired client cannot hold a new expression.
- Leaving a busy background. Walk backwards and check the frame edge before you ask her to hold still. Five minutes of moving fixes more than any crop.
- Over-directing. Two instructions at once get you neither. One instruction, shoot, change one thing.
- Skipping the detail shots. Hands, feet, the sonogram, the ring, fabric texture. These take ten minutes and clients mention them most in feedback.
- No breaks. Offer water and a sit at the midpoint even if she looks fine. Fatigue is invisible at 34 weeks and obvious in a frame at 30 pixels.
One habit covers most of these: shoot the first five minutes wide and easy, before anyone is tired and before she is self conscious about what you are doing. That is usually where the frame you deliver as the lead image gets made.
Frequently Asked Questions
What are the best camera settings for a maternity photoshoot?
Start in aperture priority at f/2.8 to f/4 with the fastest shutter the light allows, usually 1/250s to 1/500s, and ISO 100 outdoors or 400 to 800 by a window. Shoot RAW, use continuous autofocus with eye detection, and focus on the eye nearest you. Set white balance to shade so skin tone stays consistent across a session.
What month of pregnancy should you take maternity photos?
Most clients book between 28 and 36 weeks, with 32 to 34 weeks the sweet spot. The bump is clearly rounded by 28, and energy usually starts dropping after 34. Carrying multiples, schedule earlier, closer to 28 to 30 weeks. For a high risk pregnancy, let the doctor set the date and keep a reschedule buffer built into your booking.
How do I shoot maternity photos at home?
Find the biggest window you have and turn the client so the glass sits about 45 degrees off her shoulder, not straight on. Move her 1.5 to 2 metres back so the light stays even. Shoot in the hour before direct sun hits the glass, put a white sheet behind her if the room is busy, and bring a reflector for the shadow side of her face.
How long should a maternity photo session be?
Plan on 60 to 90 minutes for a single client, and add 30 minutes for a partner, siblings or an outfit change. The first five minutes should be wide and easy, the middle holds the bulk of the bump work and family frames, and you want a sit and water halfway through. Shortening a session usually means fewer poses, not faster shooting.
How do I pose and direct a client who is not a model?
Give one instruction at a time and use movement rather than static holds. Try walking three steps toward you, cupping hands under the bump, a deep breath and a slow release, or looking down at the bump and back to the light. Praise the frame that worked instead of correcting her body. Clients relax when they know what happens next, so name the next setup out loud.
Conclusion
Learning how to photograph a maternity session comes down to three things before you touch the camera. Ask what she wants the photographs to say, find light that wraps around the bump instead of cutting across it, and begin with poses she can hold while standing or sitting. Everything else, the settings, the reflector, the pose list, the edits, is refinement on top of that. Get those three right and the rest of the session takes care of itself.