Face detection focus lets your camera find a human face anywhere in the frame, put a box around it and drive the focus motor to it, so you stop guessing where to place the AF point. Turn it on, choose the matching AF mode and frame the subject so the face is visible, and portraits stay sharp even when the person moves. It takes about two minutes to set up once you know where your brand hides the menu.
I shoot a lot of portraits and street work, and face detection is the setting I leave on more than any other. It is not magic, and it does fail in specific, predictable ways. Once you know those failure patterns, this guide walks through the whole process: what the camera is actually doing, how to enable it on Canon, Sony, Nikon and Fujifilm, how to pick which face in a group, and how to tell that focus has genuinely locked before you take the picture.
Table of Contents
- What You Need
- Step-by-Step: How to Use Face Detection Focus
- Enable Face Detection on Canon, Sony, Nikon and Fujifilm
- Choose the Right Focus Mode and Face Behaviour
- Position the Subject So the Camera Can See the Face
- Confirm Focus Before You Press the Shutter
- Use Face Detection Focus in Real Shooting Situations
- When Face Detection Is the Wrong Choice
- Common Mistakes
- Frequently Asked Questions
- Does face detection focus work with glasses and sunglasses?
- Should I use eye detection or face detection for portraits?
- What focus mode should I use with face detection?
- Does face detection change the exposure on my camera?
- Can I use face detection focus for video and vlogging?
- Why does my camera focus on the background instead of the face?
- Conclusion
What You Need
You need very little to make face detection focus work well. The camera matters most, the light matters second, and everything else you can work around.
A camera with human subject recognition built in. Every current mirrorless body from Canon, Sony, Nikon and Fujifilm does this, and most recent DSLRs do too. If your camera is older than roughly 2018 and has no tracking options in its AF menu, it will only do fixed face detection on compacts and phones rather than the full tracking behaviour described here.
A lens that focuses reasonably close. Portrait primes around 50mm to 85mm full-frame equivalent are the sweet spot. Face detection finds the face, but the lens still has to be able to focus on it, and a kit zoom at its far end plus a close subject is where hunting shows up.
Enough light to reach a decent shutter speed. Detection reads a darker, noisier image than the camera does when it exposes for it. Below about 1/125 second you should assume the camera will need to work harder, so either open up or add light rather than blaming the autofocus.
A steady shooting position. Face detection handles finding the subject. It does not stop you bobbing up and down as you press the shutter, so a tripod, a monopod or a braced elbow still matters for the final sharpness.
One or two faces in the frame for your first attempt. Start with a single subject in good light. Multi-face scenes are where the interesting failures live, and you want to know the basics work before you add the variables.
Step-by-Step: How to Use Face Detection Focus
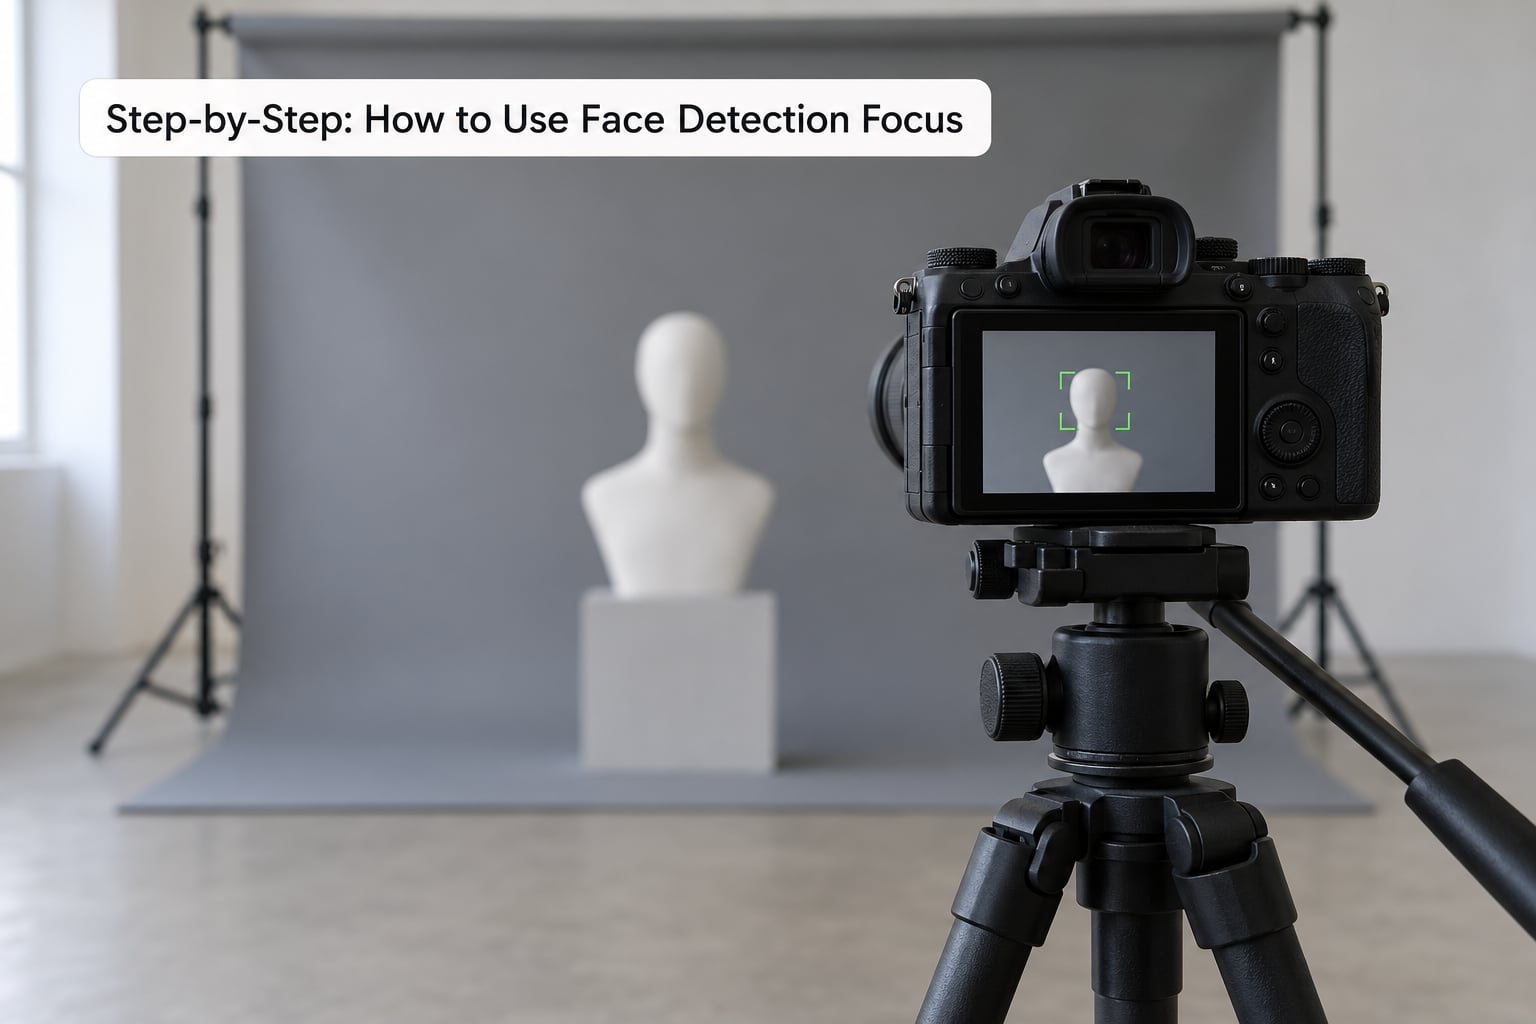
The workflow is the same on every brand: enable subject detection, pick the focus behaviour you want, make sure the camera can physically see the face, verify the focus indicator, then shoot. Work through it in that order every time until it becomes automatic.
Enable Face Detection on Canon, Sony, Nikon and Fujifilm
Face detection is buried in a different menu on every brand, and the labels changed several times in recent years. Menu paths below reflect current naming on recent bodies; older models use different words for the same setting, so search your manual for “subject detection” or “face detection” if a path does not match.
| Brand | Where the setting lives | AF area mode to select | Face and eye options |
|---|---|---|---|
| Canon | Menu, AF tab, “Subject to detect” | Face + Tracking (icon of a face in brackets) | Eye detection Auto, Right eye, Left eye, Auto, Disable |
| Sony | Menu, Focus, “Subject Recognition” (AF) | Face detection or Subject Recognition AF area | Face, Eye, Right eye, Left eye, Subject Recognition Sensitivity |
| Nikon | Photo menu, “Subject-recognition” (sub-menu “People”) | Wide-area AF (L), Wide-area AF (M), or Auto-area AF | People, Faces only, People and animals, Animals, Vehicle detection |
| Fujifilm | Photo menu, AF/MF tab, “Face Detection” | AF-C or AF-S with Wide/All tracking | Face/eye auto, right eye, left eye, Face priority auto |
On Canon, set Subject to detect to Human, then choose Face + Tracking as your AF method. On Sony, turn Subject Recognition on and pick the Human option, which exposes Face and Eye sub-menus. Nikon’s wording trips people up: you enable People under Subject-recognition, then pick the area mode that searches the frame. Fujifilm hides it in the AF/MF tab as Face Detection, with a Face/Eye Detection option underneath.
Give it a dedicated button. Whichever mode you shoot most, put it on a custom function key or an Fn or M button so you can toggle detection without going back through the menu mid-shoot.
Choose the Right Focus Mode and Face Behaviour
Match the AF mode to how much the subject moves. One-shot AF (Canon and Fujifilm) or single-servo AF (Nikon, AF-S) for a subject who holds still. Servo AF (Canon, AF-C) or continuous AF for anyone walking, turning or gesturing.
Now pick which part of the face gets priority. Auto lets the camera choose, which is right most of the time. Right eye and left eye force a specific side, which matters for profiles and for shots where you know the subject’s stronger eye. Nearest eye picks whichever eye is closer to the camera, useful when someone leans toward the lens.
Here is the part most manuals bury. Detection runs on a fallback chain: eye first, then the face, then the head, then a plain subject box. If the camera cannot find an eye, it focuses the face instead of giving up. That is why leaving eye detection on is usually harmless. Several Canon shooters on photography forums report switching eye detection off entirely for subjects running straight at them, arguing the eye search consumes processing headroom and slows acquisition. That is a real trade, but test it yourself on your own bodies rather than taking my word for it.
On most bodies the detected face also drives exposure. Fujifilm users consistently report that face and eye AF changes both metering and white balance on their cameras, and Canon largely does not, apart from the 1D and R3. If a detected face is filling half the frame and backlit, expect your exposure to shift and either expose for the face or use spot metering on it.
Position the Subject So the Camera Can See the Face
Detection needs pixels, so how you place the face decides whether it gets found at all.
Keep faces away from the frame edge. A face half out of frame gives the detector less to work with and often gets missed or picked up late. Move your framing rather than asking the camera to guess.
Give the face some contrast. Backlighting is the single most common reason a face goes undetected: the detector sees a bright rim and a dark middle. Turn the subject so the light falls across the face, move them off the sun, or use a small reflector or fill flash. A face lit from the side with visible catchlights in the eyes is the easiest thing for the system to lock.
Expect trouble with glasses, sunglasses, helmets and masks. Reflective lenses bounce light back and confuse the eye finder, and the visible part of a face under a helmet may not read as a face. This is a documented weakness, not a defect in your camera. Tilt the head so the eye is less oblique to the lens, and if it still hunts, switch to a face or single-point AF box placed manually.
Angle beats front-on for profiles. A face turned 30 to 45 degrees is easier to detect than a full profile with only one eye visible, and it flatters most faces in a portrait anyway.
Mind the distance. Detection slows as the subject fills more of the frame with a wide lens attached, and cameras reliably fail to track when a face is small or very far away. Move closer instead of trusting long-range detection.
Confirm Focus Before You Press the Shutter
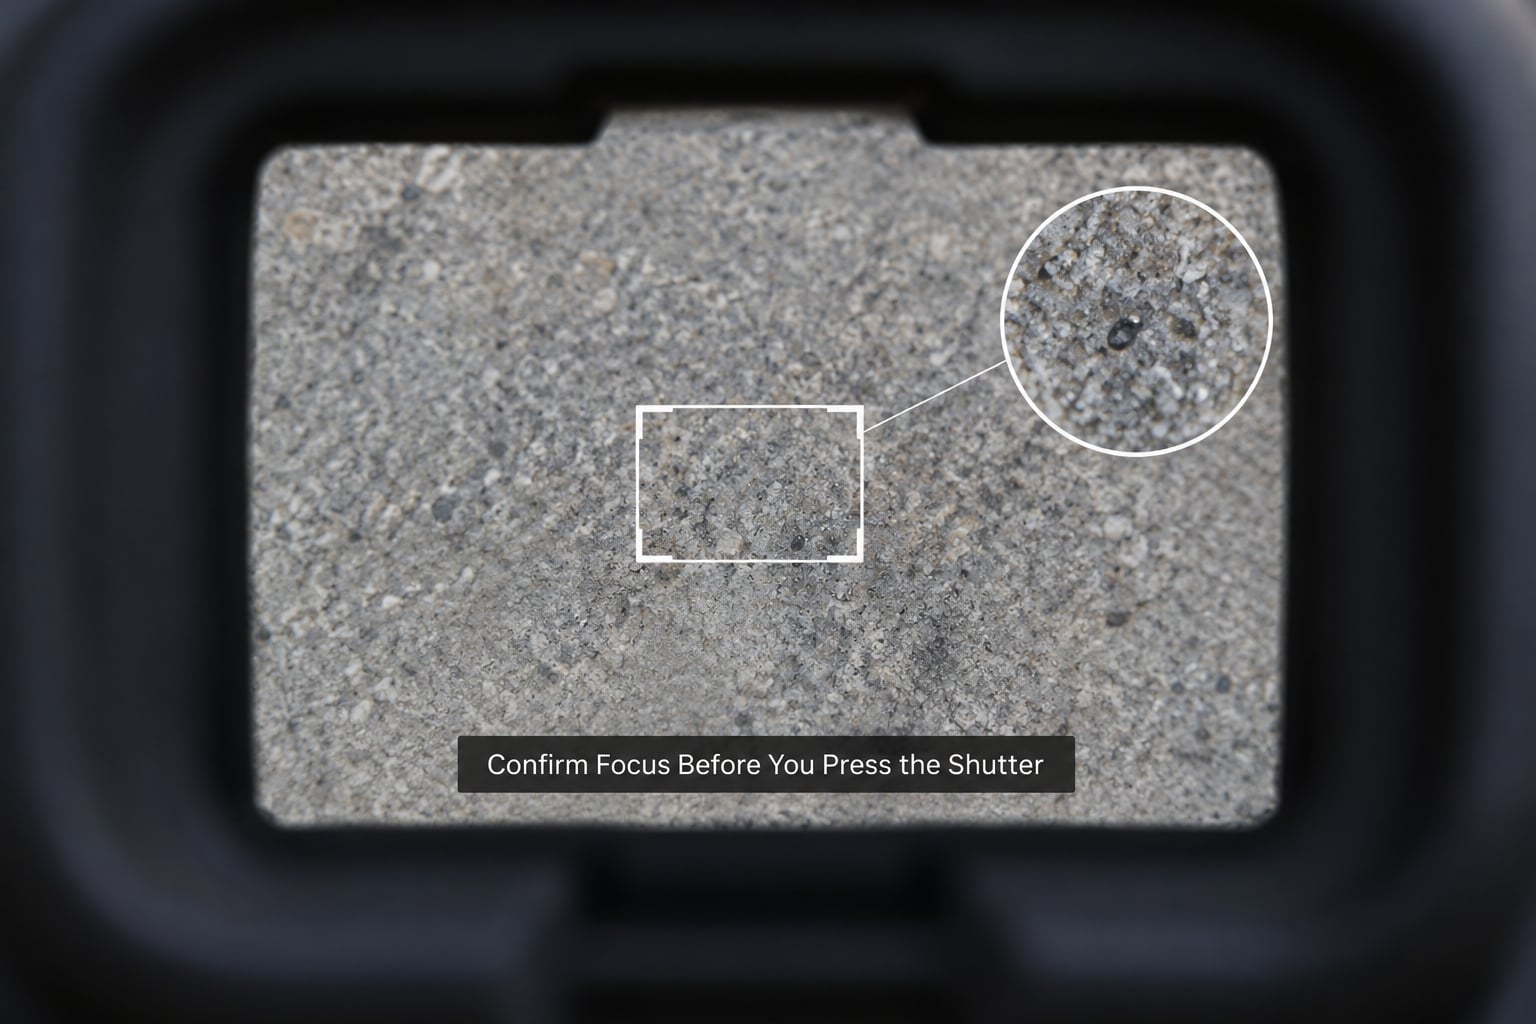
A box on the face does not mean the shot will be sharp. The box tells you the camera has decided what to focus on, not that it has reached the correct distance yet. Learn to read three things before you fire.
The focus indicator. A green or white dot, or a solid green box, means focus is confirmed. A blinking or dimmed box means the camera is still acquiring. In low light this indicator takes noticeably longer, so give it a beat rather than firing into the gap.
Box colour and stability. On most systems the box turns green when locked, white while searching, and turns orange or red when focus has been achieved off-centre. A box that keeps switching colour as the subject breathes is hunting.
Magnify before you commit. The magnification or focus-assist button is the honest test. Zoom to 5x or 10x on the eye and look at whether the eyelashes and iris edge are crisp. If they smear, you are early or late. I would rather take a second of eye-checking than a hundred keepers out of three hundred.
Use Face Detection Focus in Real Shooting Situations
Portraits and headshots: one-shot AF, Auto eye, a subject facing camera with the light turned about 45 degrees off-axis. This is the setup where detection helps most and fails least.
Children and pets: continuous AF with Subject Recognition on. Children do not hold a pose, so acquisition speed matters more than precision. Set subject detection to include animals if your camera offers it; one photographer on a photography forum reported their camera locking onto a dog’s eye in wide-aperture low light, which is exactly the case where a manual box would have missed.
Groups and weddings: pre-select a starting point rather than letting the camera search the whole frame. Professionals pair face detection with a chosen AF start point, because whole-frame face search gets unreliable in a crowd of similar-distance faces. To choose a specific face, tap it on the touch screen, or cycle the box with the control wheel or joystick to the face you want, then it locks on. Fujifilm users report single-face tracking succeeding under half the time in newborn and crowded group work, so compose and shoot tighter rather than trusting the search.
Street and candid: continuous AF with a wide area mode, frame slightly wider than you need and let the box find the face. Detection beats fast manual repositioning when subjects are moving unpredictably.
Low light and backlit: turn the subject toward the light or add fill. Detection will not rescue a face that is two stops underexposed and lit from behind. Shoot in RAW so you can pull shadows back later, and consider raising the detection sensitivity setting if your camera offers one.
When Face Detection Is the Wrong Choice
Some subjects are not people. Old machines, statues, masks on walls, paintings, reflections, faces on a screen: the detector will find these too, often confidently and wrongly.
Tricky lighting cases need a manual point. Strong backlight, heavy rim light and hard shadows all produce dark hollows that eye detection can mistake for an eye. Shooters on the FredMiranda Canon forum describe exactly this, with shadow recesses and even dog tails being picked up as eyes.
Deep depth of field is the quiet winner. If you are stopped down to f/11 for a group, anything within a few feet is sharp and a single AF point does the job faster and more predictably. Detection is solving a problem you do not have.
When detection frustrates you, drop to a single-point or small zone AF area, place it on the face or forehead yourself, and use continuous AF if the subject moves. That is a perfectly professional choice, not a failure to learn a feature.
Common Mistakes
Almost every face detection complaint I hear falls into one of these buckets, and each has a straightforward fix.
| Sympt | Likely cause | Fix |
|---|---|---|
| No box ever appears | Subject detection is off, or set to Animal/Vehicle only | Set it to Human or People, then confirm the AF area mode searches the frame |
| Box on the wrong person in a group | Several faces at similar distance | Tap or cycle to the face you want, or start from a selected AF point |
| Focus hunting or cycling eye to head to body | Subject turning, lighting changing, or shadows read as eyes | Turn the face toward the light, or switch off eye detection and keep face detection |
| Box appears then disappears | Face too small, too far, too dark, or at the frame edge | Move closer, reframe, add light, keep faces off the edges |
| Detects a face but the shot is soft | Box shows selection, focus not yet acquired | Watch for the green focus indicator and check at 5x magnification |
| Detection drops in video | Frame rate or resolution setting | Lower the recording resolution and keep the subject moving less within frame |
The first mistake I see most often is enabling face detection and forgetting the AF area mode. Turning on subject detection alone does nothing if your AF area is a single small point in the centre of the frame. The camera still has to be allowed to search.
The second is trusting the box instead of the focus indicator. A highlighted box is a selection, not a confirmation. The green dot or the bright green frame is the confirmation.
The third is assuming detection fixes sharpness. It fixes focus point placement. Camera shake, subject motion at a slow shutter speed, and a lens focusing too close all still produce soft pictures with a perfect box on the face.
The fourth is leaving eye detection on when it does not belong. If a subject has heavy shadows around the eyes or wears sunglasses, face detection alone often gives a more reliable result.
Frequently Asked Questions
Does face detection focus work with glasses and sunglasses?
Sometimes, and less reliably than with bare faces. Clear glasses are usually fine, especially if the subject is facing the lens. Sunglasses, mirrored lenses and helmets reflect light back at the camera and hide eye shape, so detection often falls back from eye to face or fails outright. Tilt the head slightly so the eye is more open to the lens, turn the face toward the light, and if the box keeps hunting, turn eye detection off and keep face detection on.
Should I use eye detection or face detection for portraits?
Eye detection for a single subject who is holding still and facing the lens, because it puts focus on the eye and nothing else competes for attention. Face detection when the subject turns, wears glasses or a mask, or when several people are in frame and you care more about getting the face sharp than the exact eye. Many shooters leave eye detection on as the default since the fallback chain drops to the face automatically when no eye is found.
What focus mode should I use with face detection?
Use one-shot AF or AF-S when the subject holds still, because it locks once and stops hunting. Use servo AF or AF-C for anyone walking, turning or talking, because it keeps adjusting as the distance changes. Continuous AF pairs naturally with a face box because the camera is already tracking the face. If subjects move unpredictably, continuous AF with a wide-area mode gives the detector room to find them.
Does face detection change the exposure on my camera?
On many recent bodies, yes. The detected face is treated as the metering subject, so a face filling the frame changes the exposure compared with centre-weighted metering. Fujifilm cameras are reported to also adjust white balance based on the detected face, while Canon generally leaves metering alone apart from the 1D and R3. If exposure keeps shifting when a face is detected, switch to spot metering on the face or use exposure compensation.
Can I use face detection focus for video and vlogging?
Yes, and it is one of the easier cases because the subject is usually a single person at a predictable distance. Set the same subject detection option for video as you use for stills, use continuous AF, and keep the face reasonably large in frame. Tracking gets weaker at higher frame rates and 4K on some bodies, so if the focus wanders, drop the resolution or move closer. A small tripod matters more in video because your hands move the whole frame.
Why does my camera focus on the background instead of the face?
In most cases the face is not visible to the detector. Backlighting, heavy shadow, sunglasses, a face at the very edge of the frame, or a subject too far away all cause this. Check that subject detection is set to Human and that your AF area mode is a wide or auto area rather than a single point. If the face is lit from behind, turn them toward the light or add fill; that fixes more cases than any menu change.
Conclusion
Start with the first thing: turn on subject detection, set it to Human, and pair it with a wide-area AF mode so the camera is allowed to search the frame. Then confirm focus with the focus indicator or a quick magnification check rather than trusting the box, and adjust from there based on how much your subject moves.
If a session fights you, change one variable at a time. Turn off eye detection and keep face detection. Move the face off the frame edge. Turn the subject toward the light. Once you know which of those fixes the problem, you can repeat it on any shoot, which is the whole point of learning how to use face detection focus.