A photoshoot concept is the one idea a whole shoot hangs from: a mood, a story, a color palette, a time period, an emotion. Knowing how to plan a photoshoot concept means writing that idea down in a single sentence, then building every reference, location, outfit and frame around it, so nothing on the day contradicts anything else.
Most shoots that disappoint were never badly photographed. They were just built on five half-formed ideas instead of one clear one. The process below takes about two to three hours of planning for a half-day shoot, and it fits a weekend hobby project or a paid client session about the same.
Table of Contents
- What You Need to Plan a Photoshoot Concept
- Step-by-Step
- Step 1: Define the Purpose and Audience
- Step 2: Write a Clear Creative Direction
- Step 3: Create a Reference Board
- Step 4: Choose a Location and Time
- Step 5: Build the Shot List
- Step 6: Plan People, Wardrobe, and Props
- Step 7: Test the Plan and Create a Schedule
- Step 8: Review the Results and Adapt on Set
- Common Mistakes
- Frequently Asked Questions
- How do I create a photoshoot plan from scratch?
- What should I include in a photoshoot plan?
- What are some creative theme ideas for a photoshoot?
- Where do photographers find inspiration for a concept?
- Do I need a shot list for a photo shoot?
- How many pictures should I expect from a one-hour shoot?
- Conclusion
What You Need to Plan a Photoshoot Concept
You need less than most people gather first. The planning kit is short, and anything you do not have yet can be improvised on the day.
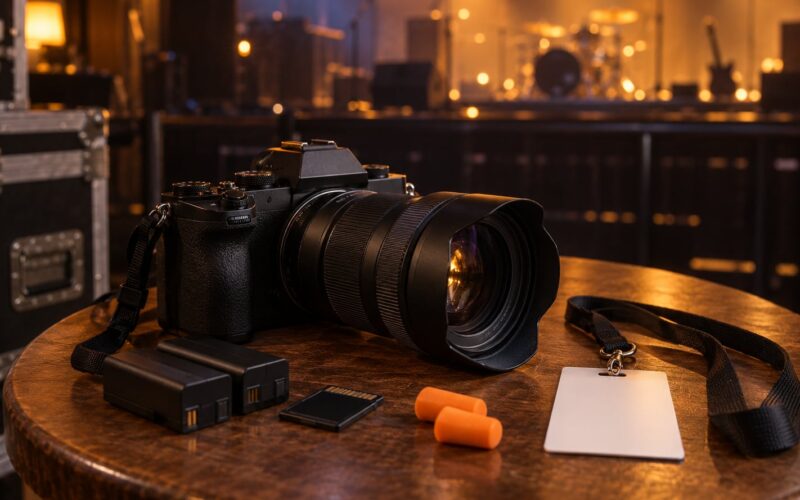
- Gear notes: body, one or two lenses, the light you plan to use, spare batteries, a charger, cards formatted in advance and a tripod if you expect low light or long exposures.
- A reference folder: saved images in one place, sorted into boards for composition, light, wardrobe, color and atmosphere.
- A planning document: a shared board (Milanote and Notion both work), a spreadsheet, or a single page you can print.
- Location details: address, parking, entrance, restroom, what you are allowed to bring, who holds the key, and whether you need a permit.
- A written brief: one page with the concept sentence, the palette, the shot list, the schedule and the backup plan.
- Paperwork: a model release if a recognizable person appears in commercial work, and permission to shoot inside any private property.
- People details: contact numbers, call time, arrival time, breaks, payment if a model or stylist is involved.
Keep the gear list short on purpose. The most common planning error is over-planning equipment and under-planning the idea, and it shows up in the frame.
Step-by-Step
Step 1: Define the Purpose and Audience
Start by answering one question: what is this shoot actually for? A portfolio piece, a personal branding set, a brand campaign, a client gallery and a self-directed creative project each need a different shoot, even when the location looks the same.
Then name who will look at the finished images. A headshot has one job and the audience gives it about two seconds. A personal branding set needs enough variety to build an entire page. Write the audience down, because every later decision gets easier when you know who has to be convinced.
Finish with the single thing you want them to notice or feel. Warm competence. Restlessness. Calm. That one phrase becomes the filter for every reference you collect later. If a saved photo does not support the phrase, it does not go on the board.
Step 2: Write a Clear Creative Direction
This is where most planning guides start late, at the mood board, and it is the reason a lot of shoots never get past a vibe. Generating a concept is a repeatable job, and five frameworks do most of the work.
- Color: pick a palette first, then build the shoot around it. Muted earth tones in an open field. Deep green and brass in a mid-century interior. One strong accent color against a neutral wardrobe.
- Era: pick a decade or a specific year and dress the shoot in it. The styling, the location, the film grain treatment and the poses all follow from that choice.
- Narrative: write a short story the images can be pulled from. A morning routine before an early shift. The last hour of light in a laundromat. A person rebuilding a workshop after a flood.
- Emotion: start with a feeling and work backward. Restlessness in a still frame looks like movement, tension and a hard edge on the composition.
- Constraint: limit yourself. One color, one room, one prop, one lens, 20 frames total. Constraints kill the blank-page feeling faster than inspiration does.
Then compress all of it into one sentence you could read aloud to a stranger on shoot day. Something like: “Early-morning calm in a small bakery, cream and warm wood tones, soft window light, no flash.” That sentence is the test. Any outfit, prop or frame that does not serve it comes out.
Step 3: Create a Reference Board
Collect references into separate boards instead of one giant collage. Most photographers end up with forty images of “nice light” and no decision to make. One board for composition and framing, one for light direction and quality, one for wardrobe and styling, one for palette, one for atmosphere.
Cap each board at ten to fifteen images. A board you can scan in a minute on your phone is worth more on the day than a board of two hundred.
Watch for contradictions. Six references with six different lighting directions produce a shoot that drifts for six hours. Pick one board as the strongest and let it outrank the others when you are choosing a frame.
Organize saved images by location as well as by category. It sounds fussy, but it means you can look at one board on the drive over and know exactly what is shootable where, instead of improvising under time pressure.
Step 4: Choose a Location and Time
Scout before you commit. Visit the spot at the hour you plan to shoot, not at the hour that was convenient. Note where the light falls, what the background actually looks like from low and high angles, whether a wall is usable, and whether you can move furniture or need to bring your own.
Light direction decides the look. Frontal light flattens; side light adds depth and texture; back light gives you a silhouette or rim and pushes you toward exposure compensation and a reflector. Decide which one your concept needs before you pick the lens.
Time of day matters more than most people budget for. Golden hour sits roughly an hour before sunset to about twenty minutes after, and it is short. Sunset and blue hour need separate plans. If the whole concept depends on that light, build the shoot so the key frames land inside the window, not near it.
Then sort the admin. Parking, load-in, power access, restrooms, noise, foot traffic, permission from the property owner, and a location permit if it is a public space. Allow travel and setup time inside the schedule rather than after it.
Write a backup. Rain, a locked gate, a no-show or a missed golden hour window will happen. A backup location, an indoor alternative and a second time slot cost nothing to arrange in advance and save the shoot.
Step 5: Build the Shot List
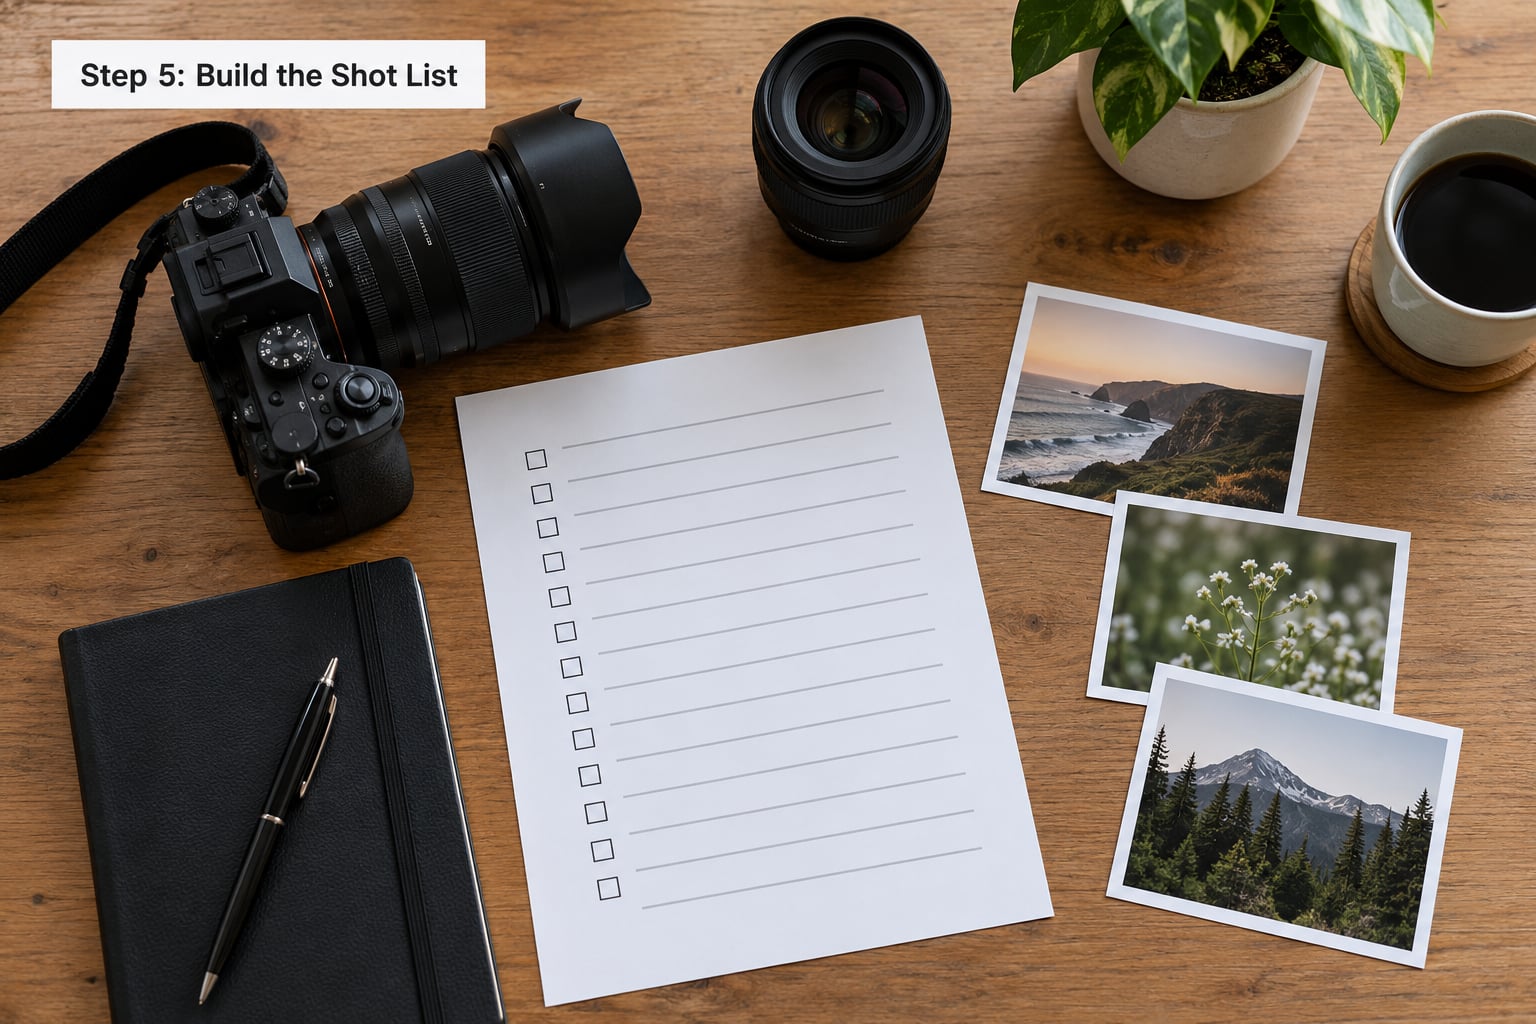
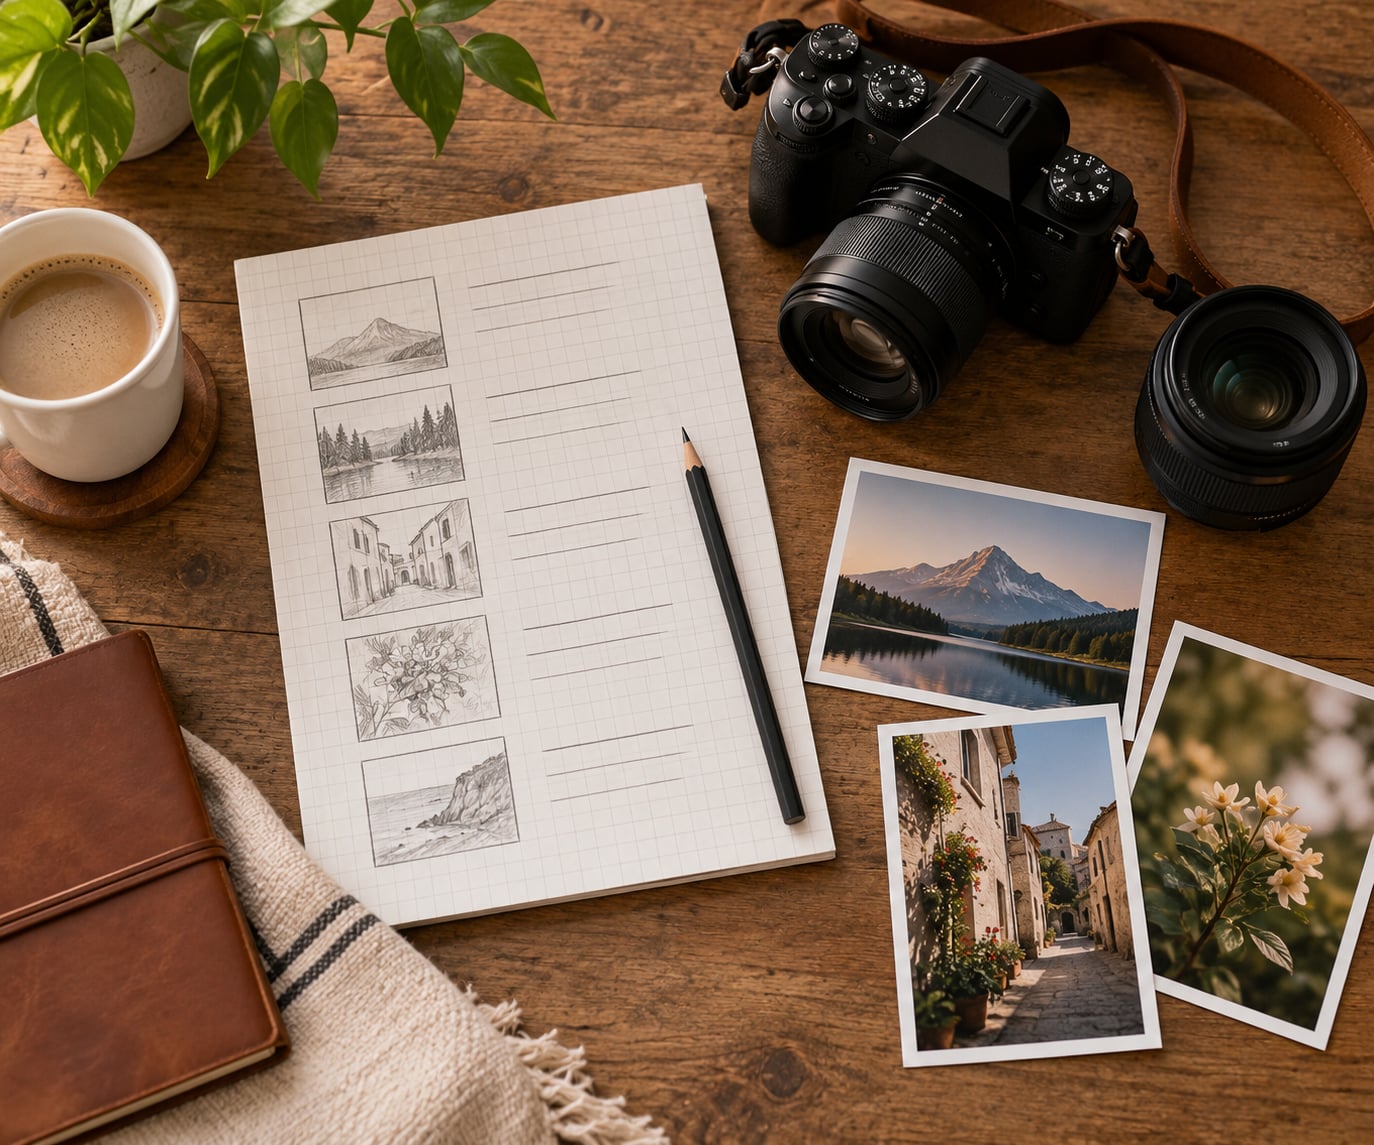
The shot list is the document that runs the day. Sort every idea into three buckets: must-have, useful and optional. If the shoot goes well you finish the useful pile. If the light disappears early you have already got the must-haves.
Within each bucket, work across shot sizes so the final gallery has rhythm. Wide frames that set the place, medium frames that carry the body language, close frames for expression and detail, and a few frames of hands, texture and objects that connect the set together.
Add a handful of behind-the-scenes and process frames if the shoot is for a brand or a personal site. They are easy to get and they fill the gaps between the planned images.
Bring category names along with specific shots. When your mind goes blank twenty minutes in, an open list of categories gives you somewhere to go: action, walking, seated, close-up, wide environmental, detail, backlit, silhouette. Photographers who shoot with a category list report far less dead time than those relying on recall.
Step 6: Plan People, Wardrobe, and Props
Send the concept sentence and the reference boards to everyone involved before the day, not on the morning of it. Subject, model, stylist and assistant should all be able to answer the question “what is this shoot?” without phoning you.
Wardrobe planning is a shot list in clothing. Two or three outfits at most, chosen for palette fit and for movement, plus a backup layer if you are shooting outside. Fabric that holds shape beats fabric that fights you. Anything with a big visible logo is a distraction in a close frame.
Choose props with a rule of thumb: fewer than you think, each one used at least three times. A prop nobody touches wastes setup time.
Agree the practical bits in writing. Arrival and call times, how long the session runs, breaks, and what happens if someone cannot make it. If a recognizable person appears in work you will use commercially, get a signed model release before you start.
Step 7: Test the Plan and Create a Schedule
Before the day, test the plan with a few frames in similar light. A twenty-minute test on a Sunday tells you whether the location works at that hour, whether the palette reads the way you imagined, and whether the lens gives you the coverage you expected.
Estimate time per setup honestly. A simple standing portrait setup is a couple of minutes; a changed outfit plus a moved light is fifteen; a look that needs real direction can eat half an hour. Add ten percent for the things that always happen.
Write the schedule as time blocks with a call sheet: call time, first frame time, the golden hour window, meal and rest breaks, wrap time, and each person’s contact number. Share it the day before.
Pack the kit the night before against a written list, then format the cards and clear the drive. Missing a battery at 7am ruins more shoots than bad light ever will.
Step 8: Review the Results and Adapt on Set
Shoot a few test frames before the real session and check them against the concept sentence. Compare the frame with the board. If the background is busy, if the light is flatter than planned, or if the palette is not reading, fix it now rather than after lunch.
Protect the must-haves first. When time runs short, cut optional frames, not the core set. Re-shoot the key frames at the best light of the day rather than shooting everything badly at once.
Review roughly every thirty minutes on a screen. Small corrections during a shoot cost nothing; large ones require a second session.
Afterwards, write three lines on what worked and what did not. That note is the raw material for the next concept, and it takes less time than finding the same folder again.
Common Mistakes
These seven errors come up again and again, and each one has a simple correction.
- Chasing too many styles. Three references pointing in three directions produce three different shoots. Correction: pick one board as the anchor and let it outrank the others.
- Relying on a single location. If the weather turns or the gate is locked, the shoot is over. Correction: scout a second option within a fifteen-minute drive.
- Overpacking equipment. A heavy kit slows setup, and setup is where the schedule goes wrong. Correction: write the gear list from the shot list, not from the spec sheet.
- No priorities. A flat list of thirty ideas gets you thirty mediocre frames. Correction: label every item must-have, useful or optional.
- Ignoring permits and access. Being asked to leave mid-shoot wastes the whole day. Correction: confirm permission, parking and restrictions before you load the car.
- Skipping the backup plan. Assume rain, a no-show and a missed golden hour. Correction: name a backup location, an indoor option and a second time slot.
- Copying someone else’s board. A folder of saved photos is not a concept, and reproducing it exactly is the fastest route to forgettable work. Correction: reverse-engineer what the images share, then change the setting, palette or wardrobe to make it yours.
A few habits cover most of the rest. Write the concept sentence before opening any gear bag. Show the plan to your subject or client early so nobody is surprised by the result. Bring one category list as a safety net for dead time. And schedule the day in real blocks, including the travel and the tea break.
Frequently Asked Questions
How do I create a photoshoot plan from scratch?
Knowing how to plan a photoshoot concept from scratch starts with the purpose and audience, then one sentence describing the mood, setting, palette and light. Collect ten to fifteen references per category into separate boards, choose a location you have scouted at the correct hour of day, and turn the references into a shot list sorted into must-have, useful and optional. Finish with a timed schedule that includes travel, setup and breaks, plus a backup location and time slot.
What should I include in a photoshoot plan?
A practical plan carries ten items: the purpose, the audience, a one-sentence concept, a reference board per category, the location with parking and permit details, a shot list split into priorities, a wardrobe and prop list, the lighting and time-of-day window, a timed schedule with contact details, and a backup plan for weather or no-shows. Model releases belong in the folder before the shoot, not after.
What are some creative theme ideas for a photoshoot?
Work from a framework rather than waiting for inspiration. Color themes pair a limited palette with a setting that supports it. Era themes dress a shoot in a specific decade. Narrative themes follow a short story, such as a morning routine before an early shift. Emotion themes start with a feeling and choose the framing to match it. Constraint themes limit yourself to one room, one lens or one prop.
Where do photographers find inspiration for a concept?
Most photographers gather references first and read the theme back out of them, which is how a folder of saved photos becomes a shoot. Save into separate boards by category and by location so you can scan them on the day. Other useful sources are the reference library in a shared planning tool, film, museum collections and the color palette of a building you already have access to.
Do I need a shot list for a photo shoot?
Yes for anything beyond a casual hour with friends. A shot list stops creative drift, makes you shoot varied framing instead of thirty near-identical frames, and tells everyone what the finished set should contain. Keep it short, sort it into must-have, useful and optional, and add category names such as action, seated, close-up and wide environmental for the moments when your mind goes blank.
How many pictures should I expect from a one-hour shoot?
A reasonable target is roughly sixty to one hundred usable frames from one hour with one subject in a single location, before editing. The number of final deliverables is far smaller, usually ten to twenty images. What actually determines your result is not the count but the variety of shot sizes in the list, so build in wide, medium, close and detail frames from the start.
Conclusion
Knowing how to plan a photoshoot concept comes down to one habit: decide the idea before you decide anything else. Purpose and audience first, then a single concept sentence, then references that support it, a location checked at the right hour, a prioritized shot list and a schedule that respects setup and travel.
Do one thing before you touch your gear bag or book a location. Write four lines on one page: who this shoot is for, what they should feel, the concept in a single sentence, and your three must-have shots. Everything after that gets faster, and the day itself becomes calmer.